

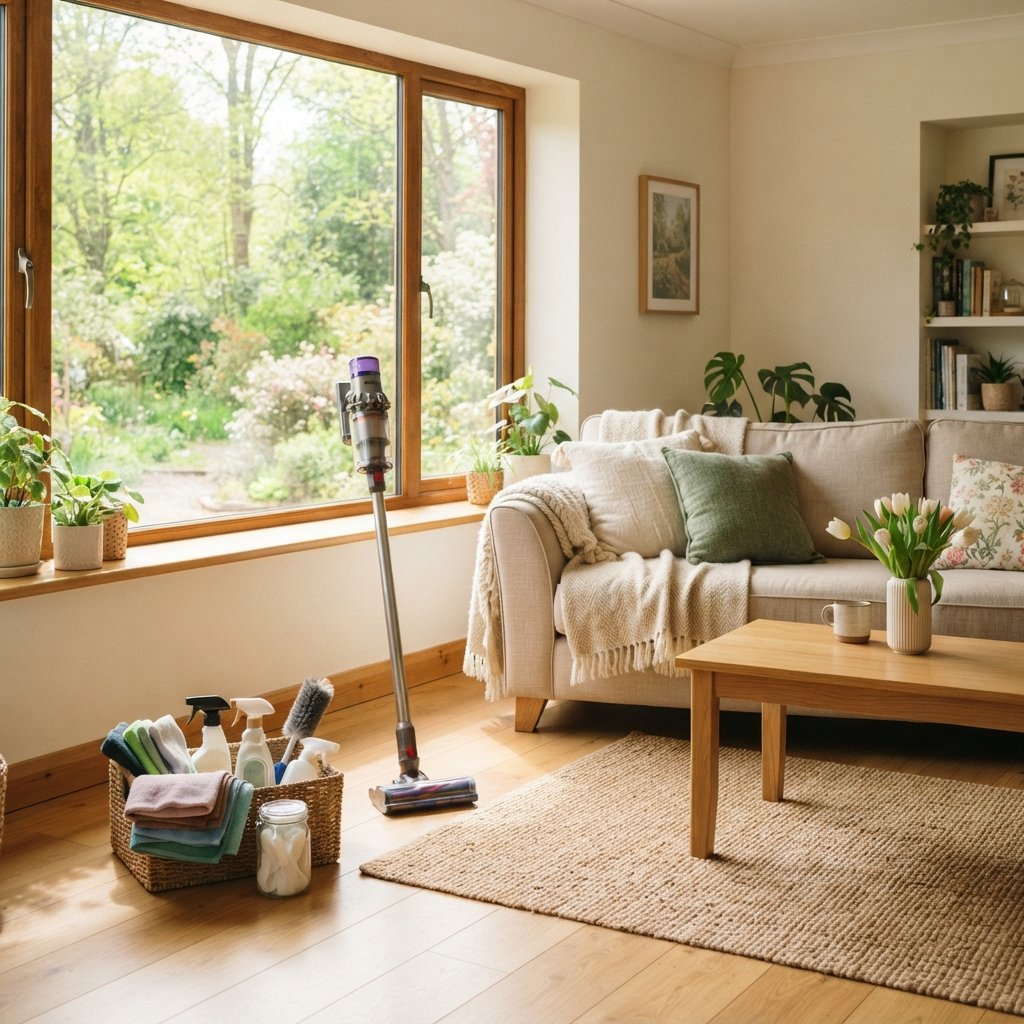
Spring cleaning can feel overwhelming when you look at the entire house at once.
The kitchen needs attention. Dust has collected on baseboards. Windows look cloudy. Closets are overflowing, and there are probably a few places you haven’t intentionally cleaned in months.
The solution isn’t necessarily spending an entire weekend scrubbing everything.
A better approach is to work strategically.
These clever spring cleaning hacks you need to try focus on making the process easier: clean from top to bottom, let appropriate cleaning products sit long enough to work, carry supplies with you, tackle forgotten areas, and organize while you clean.
You don’t need dozens of specialty products, either. A basic collection of microfiber cloths, a vacuum with attachments, a mop, a bucket, and cleaning products appropriate for your home’s surfaces can handle much of the job.
Before using any cleaner, always check the product label and the care instructions for the surface you’re cleaning. Never mix household cleaning products unless the manufacturers specifically say it is safe to do so.
Ready for a fresher home? Start with these 21 practical spring cleaning ideas.
1. Put Together a Portable Cleaning Caddy
One of the easiest ways to waste time while cleaning is repeatedly walking back to the cabinet for supplies.
Create a portable cleaning caddy with the basics you use throughout the house.
Depending on your surfaces and products, that might include:
- Microfiber cloths
- Appropriate surface cleaner
- Glass cleaner
- Small cleaning brush
- Gloves
- Duster
Then carry the caddy from room to room.
Keep chemicals in their original labeled containers unless the manufacturer specifically provides other storage directions, and store cleaning products securely away from children and pets.
2. Clean From Top to Bottom
Don’t start with the floor.
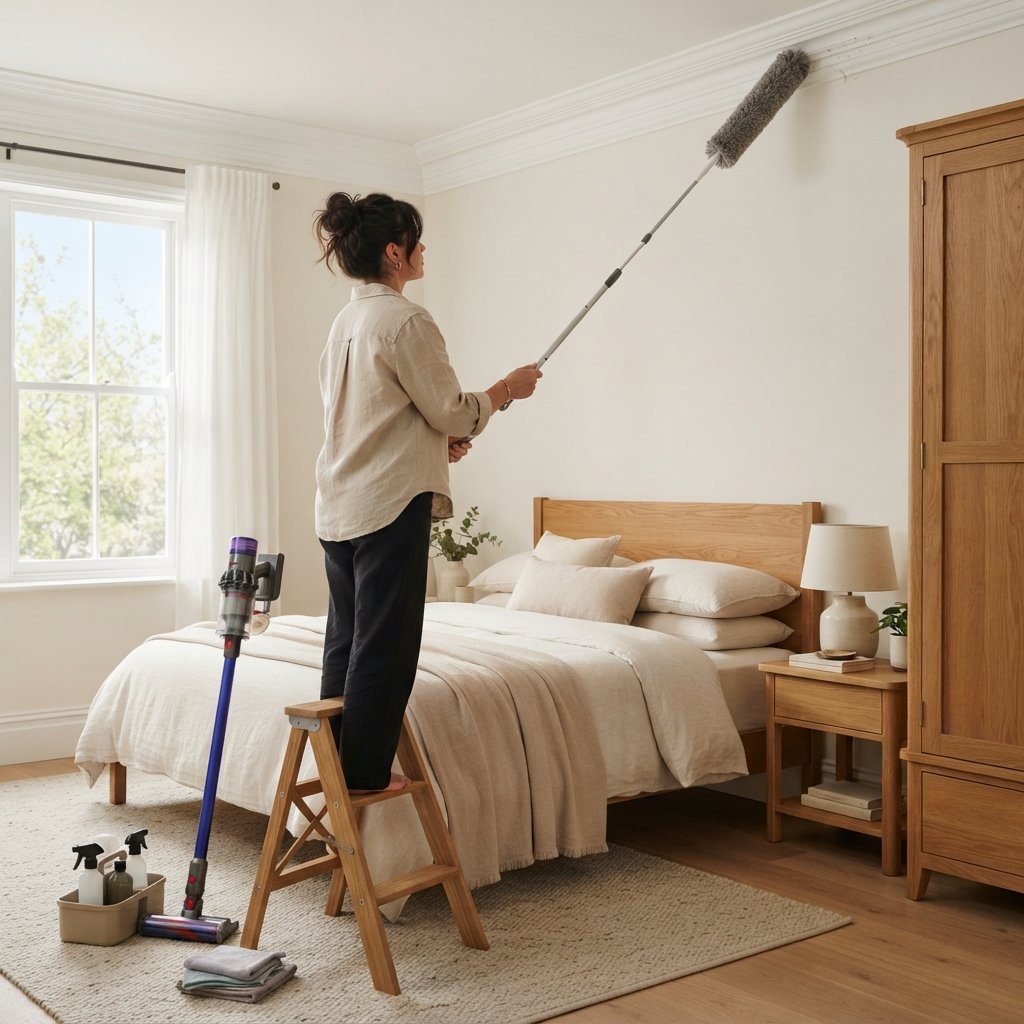
Dust and debris naturally fall while you’re cleaning.
A more efficient order is:
- Ceiling-level surfaces and appropriate fixtures
- Upper shelves
- Furniture
- Baseboards
- Floors
Vacuuming first and then dusting a ceiling fan usually means vacuuming twice.
3. Work One Room at a Time
Trying to clean the kitchen, bedroom, and bathroom simultaneously can make the entire house feel worse.
Choose one room.
Finish it.
Then move on.
If a full room feels like too much, divide it into smaller sections:
Closet → dresser → nightstands → windows → floor
Visible progress makes spring cleaning easier to continue.
4. Declutter Before You Deep Clean
Cleaning around clutter takes much longer.
Before reaching for cleaning supplies, quickly sort loose belongings.
Use categories such as:
- Keep here
- Move elsewhere
- Donate where appropriate
- Recycle where accepted
- Dispose of safely
Don’t worry about perfectly organizing every drawer yet.
First, clear the surfaces you need to clean.
5. Carry a Relocation Basket
Keep a basket nearby for anything that belongs in another room.
Instead of leaving the room every time you find something misplaced, put it into the basket.
When you’ve finished cleaning the room, return those belongings to their proper places.
This prevents the classic cleaning problem where you walk upstairs to put away one object and somehow start reorganizing a completely different closet.
6. Let Appropriate Cleaners Sit Before Wiping
One of the simplest cleaning tricks is giving a product the contact or dwell time specified on its label instead of immediately wiping it away.
Apply the cleaner according to its directions, let it work for the instructed amount of time, and then wipe or rinse as directed.
This can be especially helpful in areas such as:
- Bathroom sinks
- Showers
- Tubs
- Kitchen surfaces
Different products have different directions, so don’t assume every cleaner should sit for the same amount of time.
7. Use Microfiber Cloths Strategically
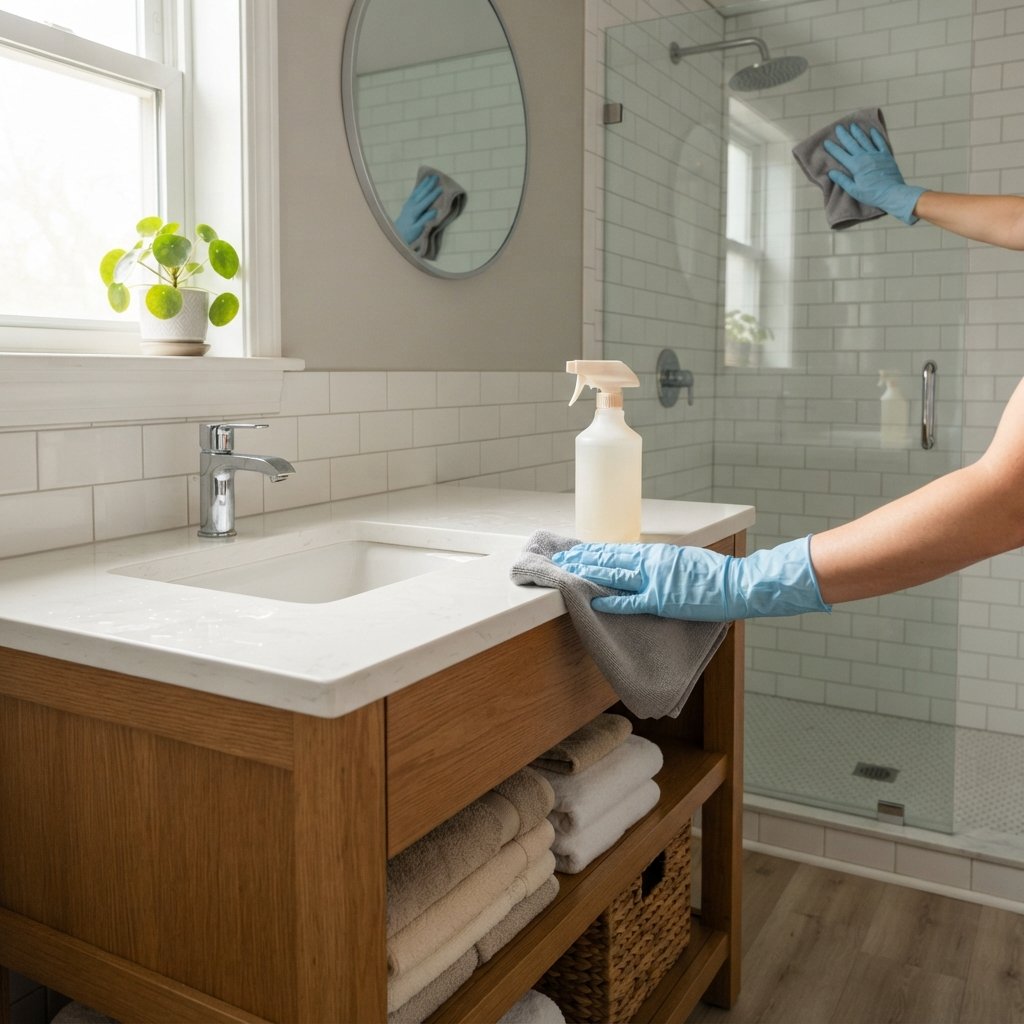
Instead of carrying one cloth around the entire house, use separate cloths for different cleaning jobs.
For example:
- Dusting
- Glass
- Kitchen
- Bathroom
This helps reduce the transfer of grime from one area to another.
Wash reusable cloths according to their care instructions after cleaning.
8. Vacuum Before Mopping
Dry debris and wet cleaning don’t mix particularly well.
Vacuum or sweep loose:
- Dust
- Hair
- Crumbs
- Dirt
before mopping.
Then use a cleaning method appropriate for the floor material.
Hardwood, laminate, luxury vinyl, tile, and natural stone can have very different care requirements.
Avoid assuming that one homemade cleaning mixture is safe for every floor.
9. Use the Vacuum Attachments You Usually Ignore
Those extra attachments aren’t just there to take up closet space.
Use appropriate attachments to clean areas such as:
- Upholstery
- Baseboards
- Window tracks
- Mattress surfaces
- Corners
- Stairs
Follow the vacuum and surface manufacturers’ instructions, particularly for delicate fabrics and finishes.
10. Vacuum Baseboards Before Wiping Them
If your baseboards have a thick layer of dust, don’t start with a wet cloth.
First remove loose dust with a vacuum attachment or dry microfiber cloth.
Then, if the painted or finished surface allows it, wipe remaining marks with an appropriate damp cleaning method.
Removing dry dust first keeps you from turning it into muddy streaks.
11. Clean Door Frames and the Tops of Doors
Some of the dustiest places are the ones we rarely look at.
During spring cleaning, check:
- Tops of door frames
- Top edges of doors
- Upper window trim
- High shelves
Use a stable, appropriate step stool when needed rather than standing on chairs or unstable furniture.
12. Don’t Forget Light Switches and Door Handles
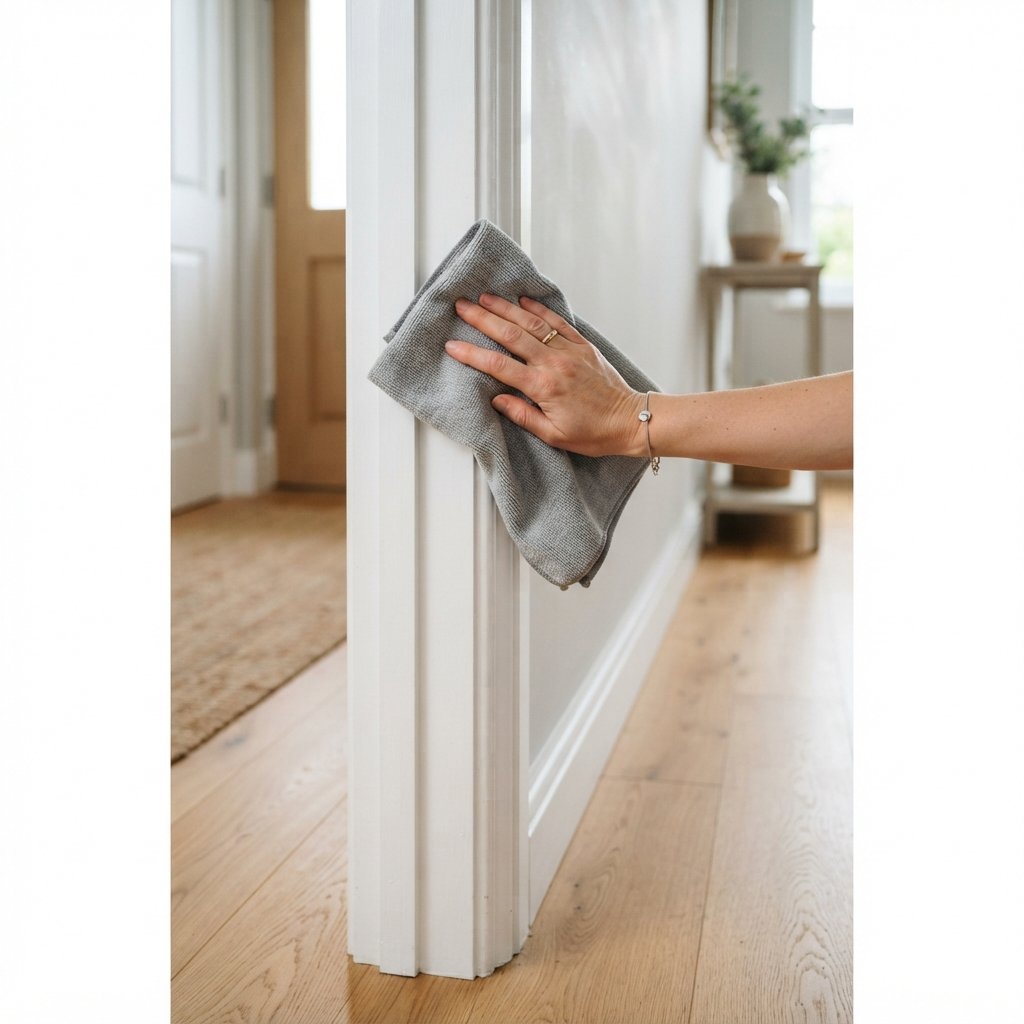
Frequently touched areas are easy to overlook.
Clean appropriate:
- Light switch plates
- Door handles
- Cabinet pulls
- Drawer handles
Use cleaning methods suitable for the material and keep liquids away from electrical openings.
Don’t spray cleaning liquid directly into switches, outlets, electronics, or other electrical components.
13. Clean Under Furniture You Can Safely Move
Spring cleaning is a good time to reach places the weekly vacuum misses.
If a piece of furniture can be safely moved without injury or damaging the flooring, clean underneath it.
You may discover:
- Dust
- Pet hair
- Toys
- Missing socks
- Small objects
Don’t attempt to move heavy furniture alone.
Use appropriate help or furniture-moving equipment where needed.
14. Pull Out Lightweight Furniture Carefully
Small side tables, movable chairs, and lightweight storage pieces may be easy to shift temporarily.
Clean:
- Behind the item
- Under it
- Baseboards
- Floor
Then put it back.
For large appliances and heavy furniture, don’t move them casually. Follow manufacturer guidance and get assistance when necessary.
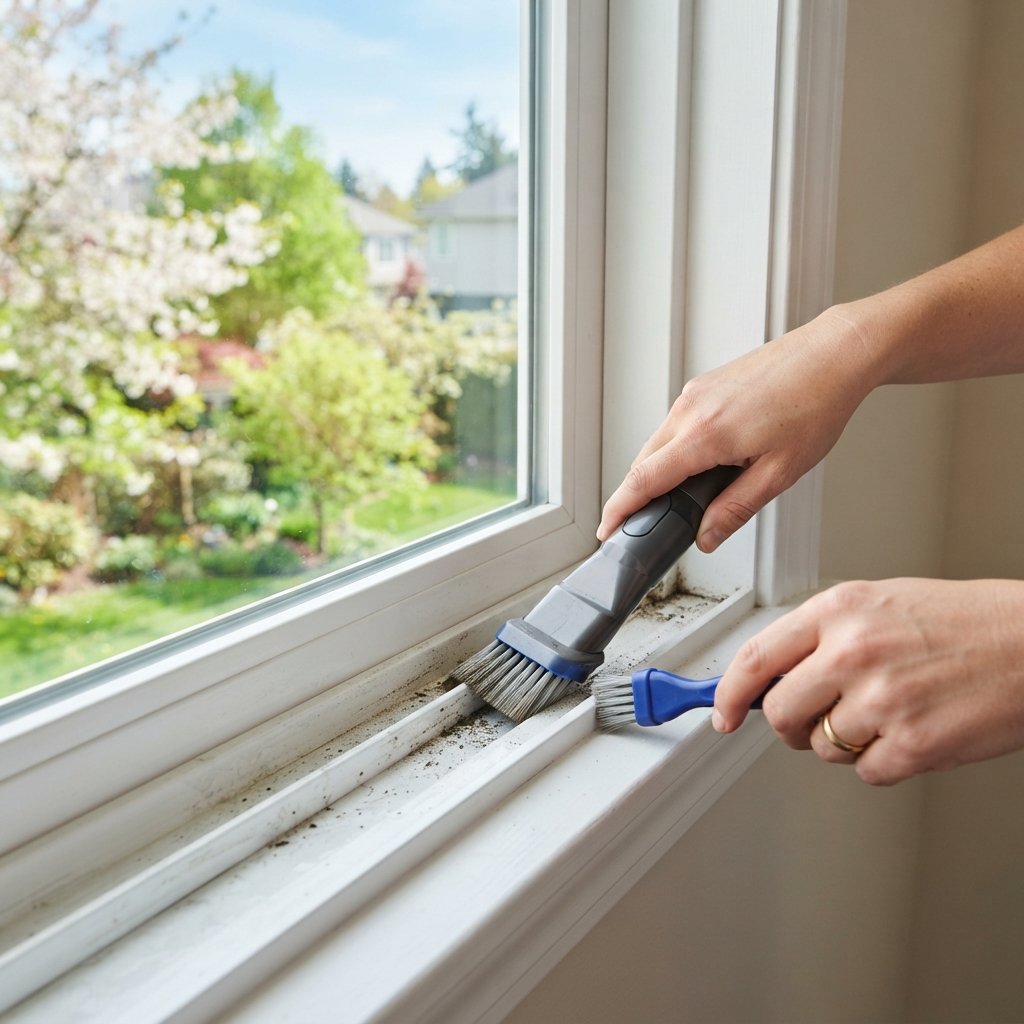
15. Give Window Tracks Some Attention
Window tracks can collect surprising amounts of dirt.
Start by vacuuming loose debris.
Then use a cleaning method compatible with the window material and finish.
A small brush can help reach corners.
Avoid flooding tracks with liquid, particularly when it could enter walls, mechanisms, or surrounding materials.
16. Wash Window Treatments According to Their Care Instructions
Curtains, shades, and blinds can hold plenty of dust.
Before washing anything, check its care label.
Some curtains can be machine washed.
Others require:
- Gentle vacuuming
- Spot cleaning
- Professional cleaning
Blinds may only need dusting or wiping with a method appropriate for their material.
Don’t assume every window treatment can go into the washing machine.
17. Clean the Mattress Area
The bed deserves some spring-cleaning attention too.
Wash bedding according to its care instructions.
While the bed is stripped, clean the surrounding area and, if appropriate for your mattress, vacuum its surface using a suitable upholstery attachment.
Check the mattress manufacturer’s care instructions before rotating, flipping, spot-cleaning, or applying any product. Many modern mattresses have specific orientation and care requirements.
18. Wash Pillows Only If the Care Label Allows It
Some pillows can be washed.
Others cannot.
Before putting a pillow in the washing machine, read the manufacturer’s care label.
If washable, follow the specified water temperature, detergent, drying, and machine instructions.
Make sure washable pillows are thoroughly dried according to their care directions before returning them to the bed.
19. Clean the Space Under the Bed
The area beneath a bed can become a hidden storage-and-dust zone.
Pull out anything stored underneath.
Sort it.
Vacuum the floor.
Then return only what you actually want stored there.
If you use under-bed containers, clearly categorize them so they don’t become mystery boxes.
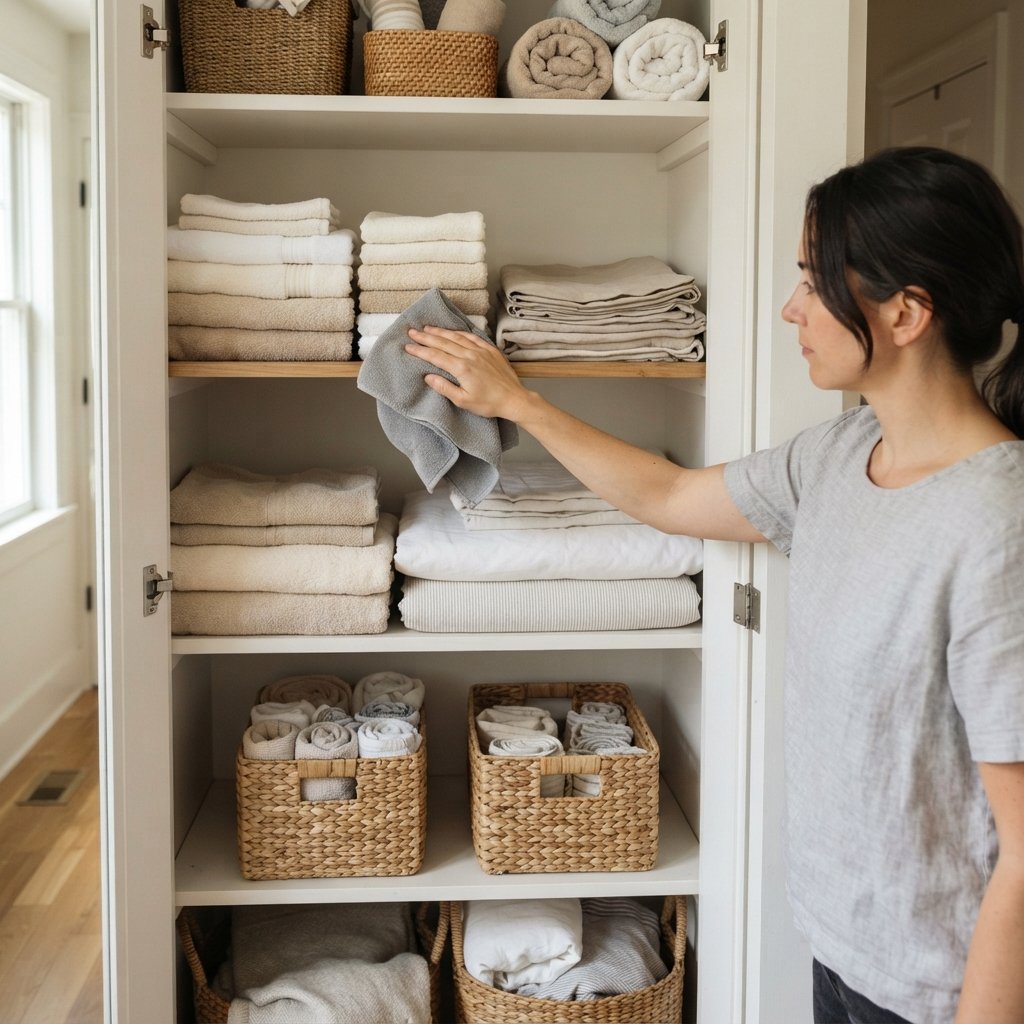
20. Empty One Closet Completely
You don’t need to reorganize every closet in the house at once.
Pick one.
Remove enough contents to see what you’re working with, then sort by category.
For a linen closet, that might be:
- Sheets
- Towels
- Blankets
- Guest supplies
For a coat closet:
- Jackets
- Shoes
- Bags
- Seasonal accessories
Clean the shelves before returning items.
21. Finish Each Room by Cleaning the Floor
The floor should usually be one of the final steps.
By then, you’ve already removed dust from:
- High surfaces
- Furniture
- Baseboards
- Window areas
Vacuum or sweep thoroughly, then use the appropriate cleaning method for your floor.
When you walk out of the room, it’s actually finished.
Clever Spring Cleaning Hacks for the Kitchen
The kitchen deserves its own strategy because grease, food residue, and everyday clutter can make cleaning more complicated.
Start With the Countertops
Remove unnecessary items rather than simply cleaning around them.
Clean Cabinet Fronts
Pay special attention to frequently touched areas around pulls and handles.
Use a cleaner appropriate for the cabinet finish.
Check the Top of the Refrigerator
If it can be reached safely, this often-forgotten surface may collect dust and residue.
Clean Small Appliances According to Their Instructions
Unplug appliances when their instructions require it before cleaning.
Never immerse electrical components unless the manufacturer specifically says they are designed for it.
Clean Inside the Refrigerator
Work one shelf or section at a time.
Discard expired or spoiled food as appropriate, then clean shelves and drawers according to the refrigerator manufacturer’s instructions.
Clean the Oven Safely
Use the cleaning method recommended for your particular oven.
Avoid assuming internet cleaning mixtures or oven-liner tricks are safe for every appliance.
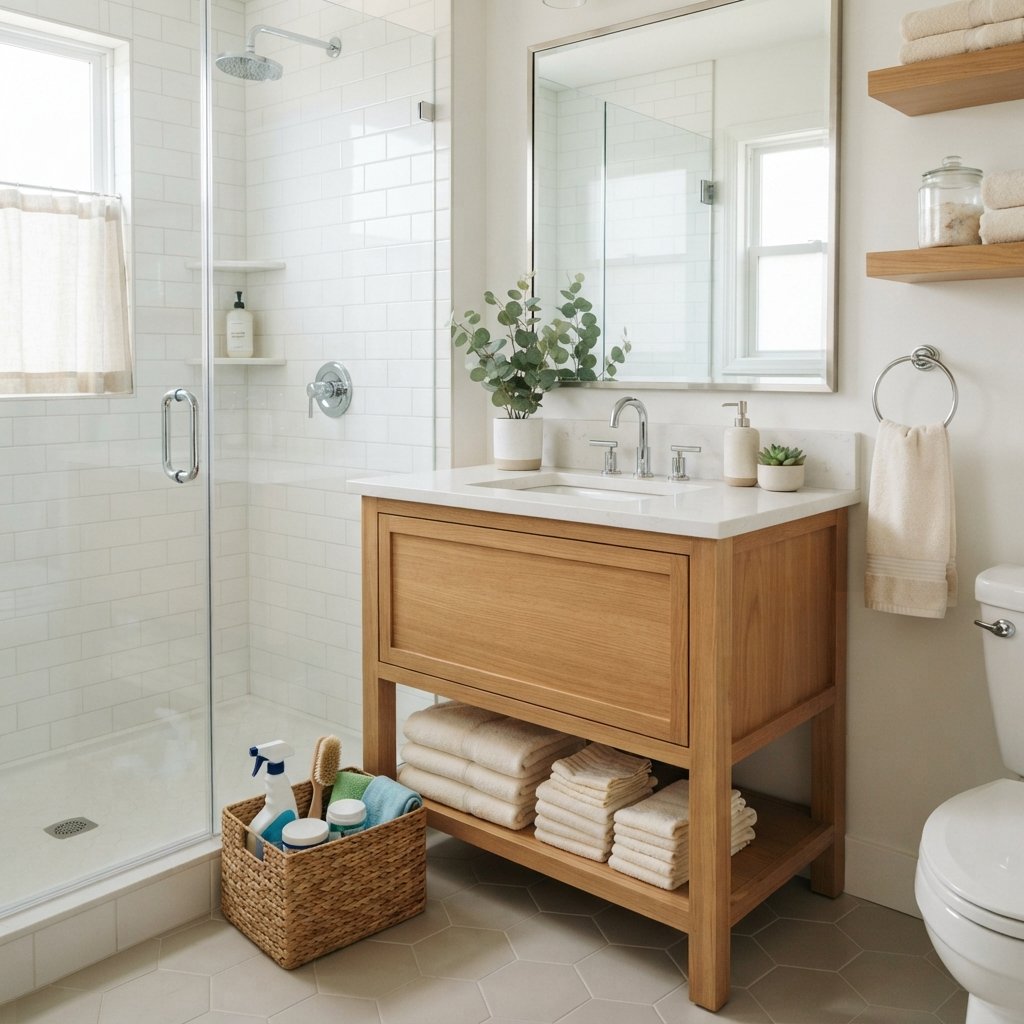
Clever Spring Cleaning Hacks for the Bathroom
Start by removing:
- Empty bottles
- Expired products where applicable
- Items that belong elsewhere
Then work from cleaner areas toward dirtier areas and use separate cleaning tools as appropriate.
Pay attention to:
- Vanity
- Mirror
- Faucet
- Shower or tub
- Toilet exterior and surrounding floor
- Baseboards
Always use cleaning products according to their labels.
Never mix cleaning chemicals. In particular, bleach should not be mixed with ammonia, acids, vinegar, or other cleaners unless the product instructions specifically state compatibility.
Spring Cleaning Hacks for the Living Room
The living room can usually be refreshed quickly once clutter is removed.
Try this order:
- Put away misplaced items.
- Dust high surfaces.
- Dust shelves and decor.
- Clean appropriate electronics carefully.
- Vacuum upholstered furniture if suitable.
- Clean under movable furniture.
- Wipe baseboards if needed.
- Vacuum or clean the floor.
While you’re cleaning, remove unnecessary decor.
Spring is a great time to give the room a little more breathing space.
Spring Cleaning Hacks for Bedrooms
Strip the bed first so laundry can run while you clean.
Then:
- Declutter nightstands.
- Dust high surfaces.
- Clean furniture.
- Organize one drawer or closet section.
- Clean under the bed.
- Vacuum appropriate mattress surfaces if desired.
- Remake the bed.
- Clean the floor.
Fresh bedding can make the entire room feel cleaner even before you’ve finished everything else.
A Simple Spring Cleaning Schedule
You don’t have to do everything in one day.
Try spreading the work across a week.
Day 1
Kitchen
Day 2
Bathrooms
Day 3
Bedrooms
Day 4
Living room and family room
Day 5
Closets and storage
Day 6
Windows, trim, and overlooked areas
Day 7
Floors and finishing touches
Or work even more slowly.
One room each weekend is still progress.
The 15-Minute Spring Cleaning Method
When motivation is low, set a short timer and choose one contained task.
For example:
- One drawer
- One shelf
- One nightstand
- One bathroom vanity
- One section of kitchen cabinets
Work only on that area.
A small completed project is often more motivating than three half-cleaned rooms.

Spring Cleaning Supplies You Actually Need
You don’t necessarily need a separate product for every surface.
Your supplies will depend on your home’s materials, but a practical cleaning kit might include:
- Microfiber cloths
- Vacuum and suitable attachments
- Mop appropriate for flooring
- Bucket
- Small cleaning brush
- Gloves
- Surface-specific cleaning products
- Glass-cleaning product where appropriate
- Trash and recycling bags
Use the products recommended for your specific surfaces and appliances.
Natural stone, wood, specialty finishes, electronics, and certain fabrics can require specific care.
Spring Cleaning Hacks for Staying Organized
Deep cleaning is much easier when you’re not constantly moving clutter.
As you clean, ask:
Does this item have a home?
If the answer is no, decide where it should live.
Use containers only after you’ve identified a real storage category.
A basket labeled:
Cleaning Cloths
is useful.
A basket filled with unrelated objects because you didn’t know where else to put them isn’t really organization.
How to Make Spring Cleaning Go Faster
Gather Supplies First
Don’t interrupt the job every five minutes.
Start With Decluttering
Fewer objects mean fewer things to clean around.
Work Top to Bottom
Let gravity work in your favor.
Stay in One Room
Avoid bouncing around the house.
Let Products Work as Directed
Scrubbing harder isn’t always the answer.
Use the Right Tool
Vacuum attachments, microfiber cloths, and appropriate brushes can make certain jobs much easier.
Don’t Chase Perfection
The goal is a cleaner, more functional home—not an inspection-ready house.
Cleaning Hacks to Avoid
Some viral cleaning tricks create more problems than they solve.
Be cautious about:
Mixing Cleaning Products
Never create your own chemical combinations unless the manufacturers explicitly say the products can be combined.
Using Vinegar Everywhere
Acidic cleaners aren’t appropriate for every material. Certain stone, finishes, grout situations, appliances, and other surfaces may require different care.
Using Abrasives Without Checking
Scrubbing powders, abrasive sponges, and similar products can scratch some surfaces.
Adding Products to Appliances Without Checking
Don’t put cleaning products, fragrance products, or homemade mixtures into dishwashers, washing machines, ovens, steam cleaners, or other appliances unless their manufacturers allow it.
Over-Wetting Floors
Some flooring materials can be damaged by excess moisture.
Using Magic Cleaning Tricks on Delicate Finishes
Always test cleaning methods where appropriate and follow the surface manufacturer’s care instructions.
Spring Cleaning Safety Tips
Spring cleaning often involves chemicals, electricity, ladders, heavy furniture, and slippery surfaces, so don’t let speed replace safety.
- Read and follow cleaning-product labels.
- Never mix cleaning chemicals unless specifically directed by their manufacturers.
- Ventilate areas as instructed when using cleaning products.
- Wear appropriate protective equipment such as gloves when required.
- Keep cleaning chemicals in their original labeled containers unless directed otherwise.
- Keep products away from children and pets.
- Don’t spray liquid directly into outlets, switches, electronics, or electrical equipment.
- Unplug appliances when their cleaning instructions require it.
- Use a stable step stool or appropriate ladder rather than furniture.
- Don’t move heavy furniture alone.
- Clean spills promptly to reduce slipping hazards.
- Follow manufacturer instructions for floors, appliances, furniture, fabrics, and specialty surfaces.
- Dispose of chemicals, batteries, medications, and other regulated materials according to applicable local requirements.
Common Spring Cleaning Mistakes
Trying to Clean the Entire House at Once
Break the work into rooms or zones.
Cleaning Before Decluttering
Clear the space first.
Starting With the Floor
Clean higher surfaces before floors.
Using the Same Cloth Everywhere
Separate cleaning tools by task or area when appropriate.
Using Too Much Product
More cleaner doesn’t necessarily mean cleaner.
Follow the label.
Forgetting Hidden Areas
Door frames, baseboards, window tracks, and spaces under furniture deserve attention occasionally.
Buying Too Many Organizers
Declutter first. Organize second.
Using Random Internet Cleaning Mixtures
A cleaning hack isn’t useful if it damages your countertop, floor, appliance, or finish.
FAQ About Clever Spring Cleaning Hacks
What is the easiest way to start spring cleaning?
Choose one room, declutter visible surfaces, gather your supplies, and clean from top to bottom. Finishing one room can feel much more manageable than working on the entire house simultaneously.
How can I make spring cleaning faster?
Carry supplies in a caddy, use a relocation basket, clean one room at a time, work from top to bottom, and let cleaning products work for the amount of time specified on their labels.
What should I spring clean that I normally forget?
Commonly overlooked areas include door frames, tops of doors, baseboards, window tracks, under furniture, closet shelves, frequently touched handles, and the areas beneath beds.
What room should I spring clean first?
Start with whichever room will give you the biggest improvement. For many households that’s the kitchen, bathroom, or main living space.
Should I declutter or clean first?
Usually declutter first. Removing unnecessary items makes surfaces easier to reach and reduces how much you have to move while cleaning.
Do I need special spring cleaning products?
Not necessarily. The right products depend on the materials in your home. A vacuum, microfiber cloths, appropriate mop, brushes, and a few surface-compatible cleaners can handle many jobs.
Is vinegar safe for cleaning everything?
No. Cleaning methods should be matched to the surface. Check the manufacturer’s care recommendations before using acidic, alkaline, abrasive, or other cleaning products.
Can I mix different cleaning products to make them stronger?
No. Don’t mix household cleaning products unless the manufacturers specifically state that doing so is safe. Some combinations can release dangerous gases or cause other hazardous reactions.
Final Thoughts
The most useful clever spring cleaning hacks you need to try aren’t complicated tricks.
They’re strategies that make the work easier.
Declutter before cleaning.
Carry your supplies with you.
Work one room at a time.
Clean from top to bottom.
Vacuum loose dirt before adding moisture.
Give appropriate cleaning products the contact time stated on their labels.
And pay attention to the areas your normal weekly routine tends to miss.
You don’t have to spring clean your entire house in one exhausting weekend, either.
Choose one room.
Or one closet.
Or even one drawer.
Finish it completely and move on when you have time.
A fresher home is the result of many small tasks done well—not one giant cleaning marathon.