

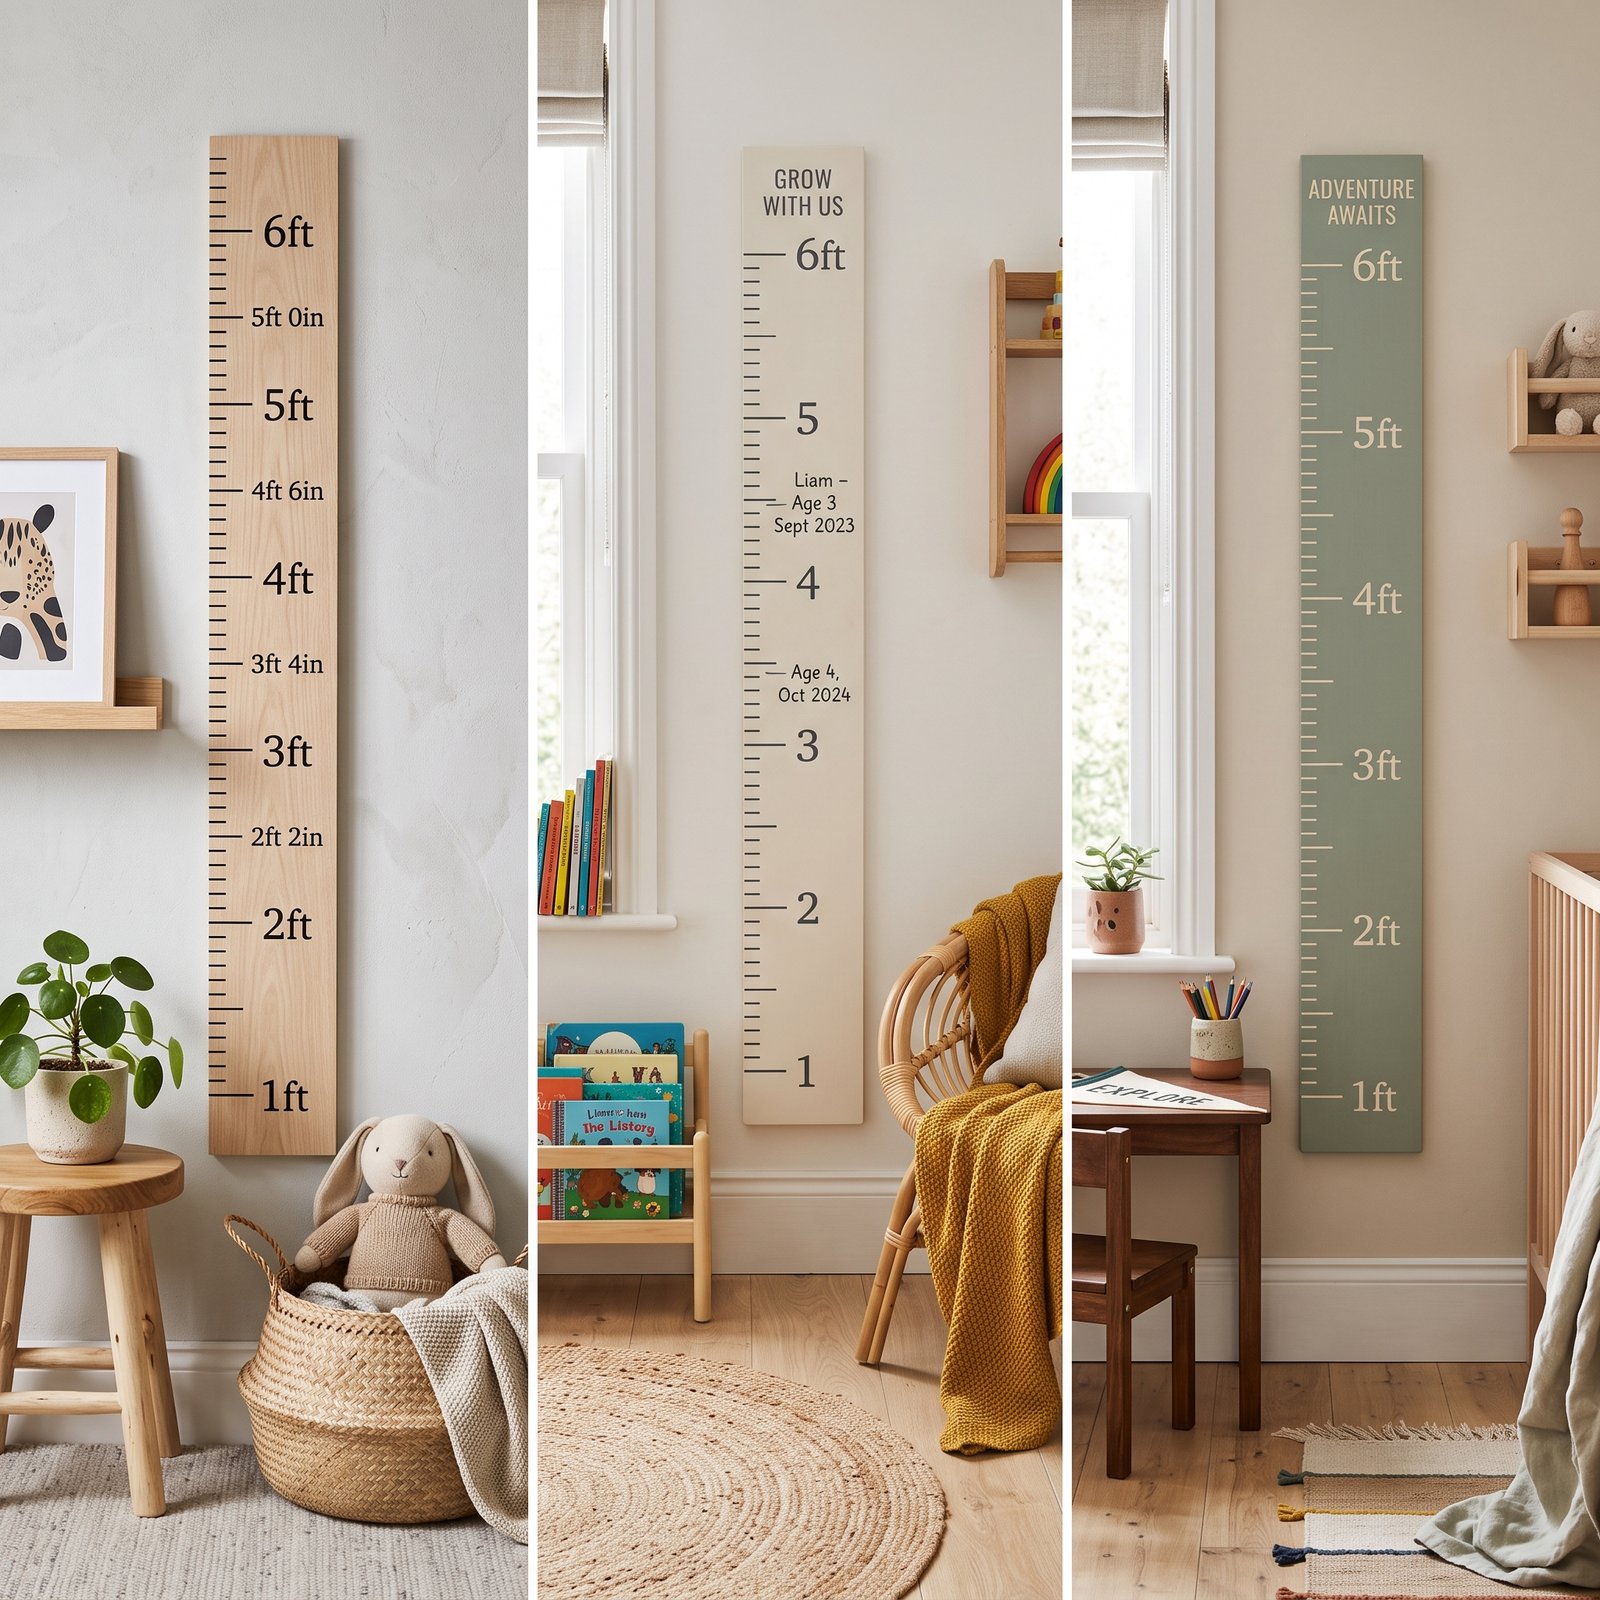
A life size growth chart ruler is a simple DIY project that turns your child’s height measurements into something you can keep for years.
Instead of marking heights directly on a doorway or wall, a wooden growth chart gives you a portable place to record birthdays, milestones, and changing heights. If you repaint, rearrange rooms, or eventually move to another home, the measurements can come with you.
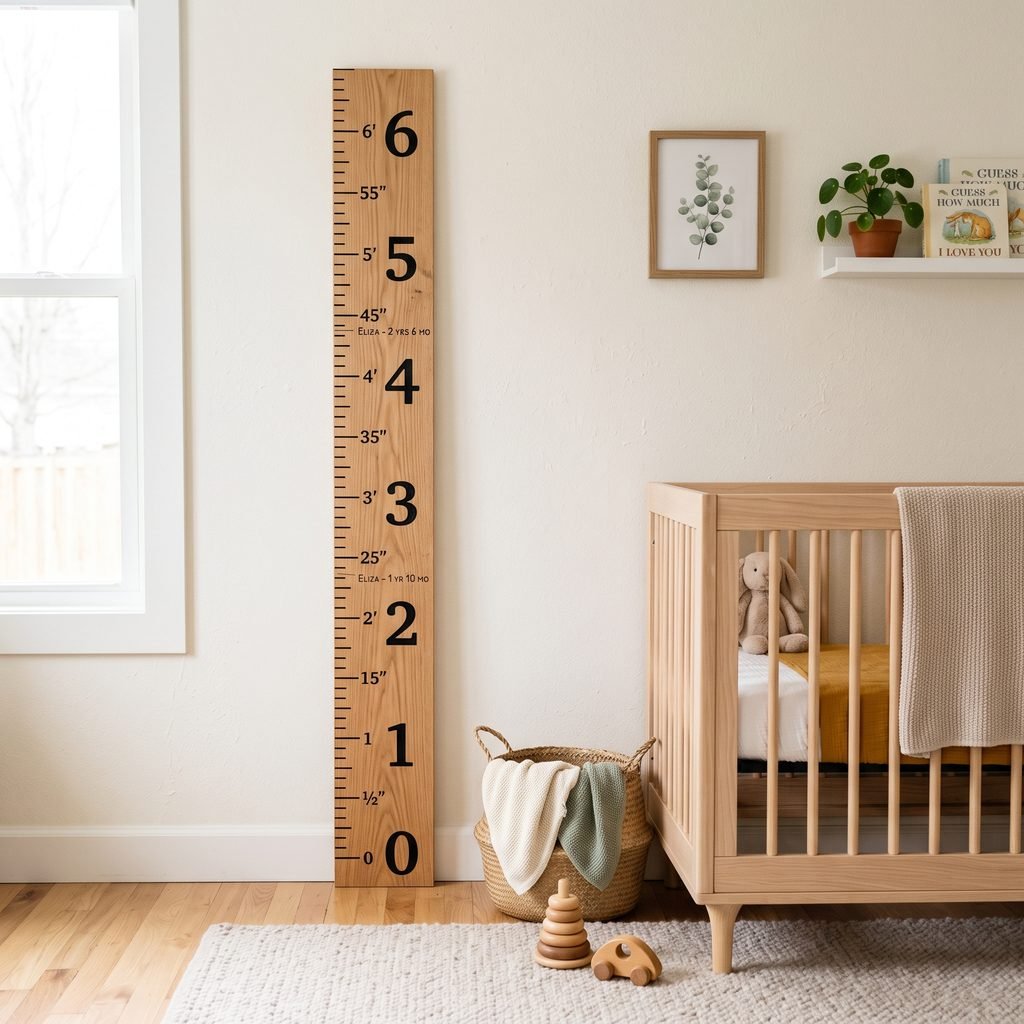
The oversized-ruler design also works as wall decor. It can look right at home in a nursery, playroom, hallway, bedroom, or family space without feeling overly themed.
Best of all, you can customize the finish to match your home. Keep the wood natural, stain it for a warm farmhouse look, paint it for a more modern style, or add simple numbers and measurement marks for the classic ruler effect.
This beginner-friendly guide walks through how to make a wooden life size growth chart ruler, including measuring, marking, finishing, mounting, and creating a chart that stays useful even if you move it later.
Why Make a Wooden Growth Chart Instead of Marking the Wall?
Writing heights on a door frame has plenty of sentimental charm, but it comes with one major problem: the measurements stay with the house.
A removable wooden growth chart offers several advantages.
You can:
- Move it to another room
- Take it with you if you move
- Add multiple children’s measurements
- Record names and dates
- Customize it to your decor
- Preserve it as a keepsake
Because the board itself becomes the measuring surface, it can also be much easier to repaint the surrounding room without losing years of family memories.
What Size Board Should You Use?
The exact dimensions are flexible.
Choose a board that is:
- Tall enough for the height range you want to record
- Wide enough for visible ruler markings and numbers
- Straight rather than noticeably warped
- Smooth enough to finish comfortably
- Manageable to mount securely
A simple rectangular wood board works well.
Before cutting anything, decide where the ruler will hang.
Measure the available wall height, check for baseboards or other trim, and determine how far above the floor the bottom of your board will sit.
That last measurement is especially important.
Your ruler markings need to represent the actual height above the floor—not simply the distance from the bottom of the board.
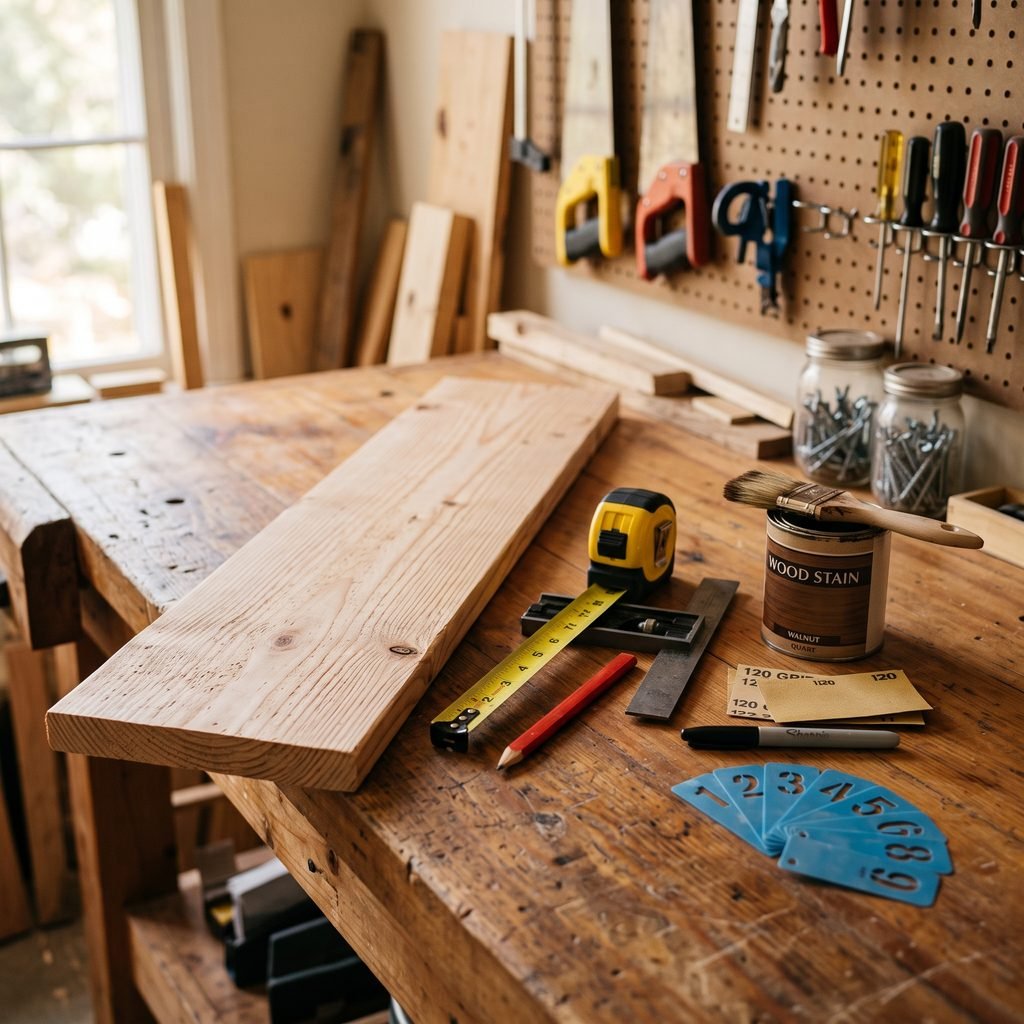
Materials for a DIY Growth Chart Ruler
You can keep this project fairly simple.
Typical supplies include:
- Straight wood board
- Measuring tape
- Pencil
- Long straightedge or square
- Sandpaper
- Wood stain or paint, if desired
- Paintbrush or clean staining cloth
- Permanent paint marker or suitable detail paint
- Number stencils, optional
- Painter’s tape, optional
- Protective gloves
- Drop cloth
- Appropriate hanging hardware
- Drill and basic mounting tools as needed
If you need to cut the board, you will also need an appropriate saw and eye and hearing protection.
Select stains, paints, markers, and topcoats that are compatible with each other, and follow the manufacturers’ application, ventilation, drying, and curing instructions.
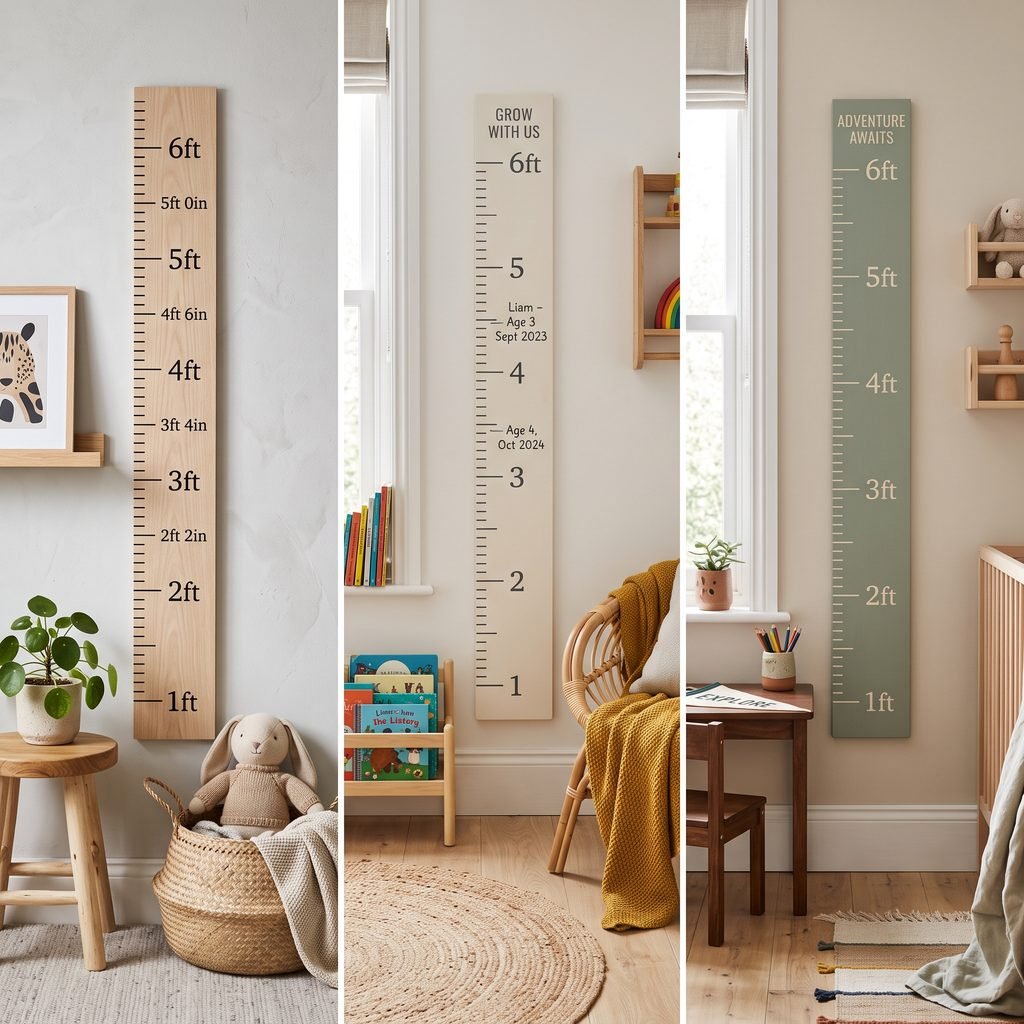
Step 1: Choose the Location Before Making the Ruler
It is tempting to decorate the board first, but choose its location before creating your measurements.
Look for a flat vertical wall with enough clearance for someone to stand against the ruler.
Good possibilities include:
- Hallway
- Playroom
- Child’s bedroom
- Nursery
- Family room
- Mudroom
Avoid locations where furniture prevents someone from standing straight beside the chart.
Also consider baseboards.
If the bottom of the ruler sits above the floor because of a baseboard, you need to account for that distance when numbering the chart.
Step 2: Decide Where the First Measurement Will Begin
This is the detail that makes a portable growth chart work correctly.
Suppose you decide the bottom edge of your board will hang 6 inches above the floor.
The bottom of the board therefore represents 6 inches of actual height—not zero.
Your ruler markings need to continue from that starting point.
This also means you can remove the chart and reinstall it later as long as you preserve the same mounting height.
Before marking the board, write down the exact planned distance between the floor and the board’s bottom edge.
Do not rely on memory.
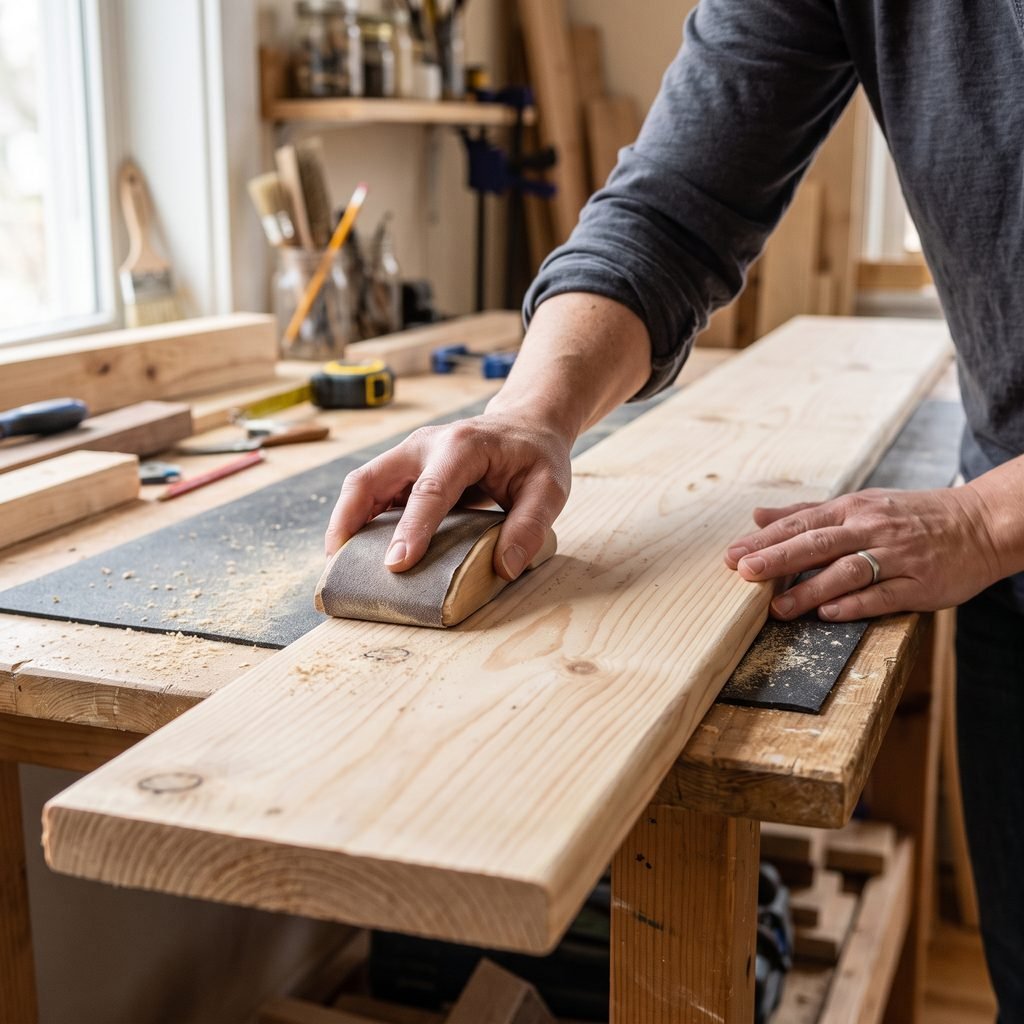
Step 3: Sand the Wood
Sand the front, sides, and exposed edges until the board feels smooth.
Pay particular attention to:
- Rough corners
- Splinters
- Saw marks
- Uneven edges
Sand in the direction of the wood grain where practical.
Remove sanding dust before applying the finish.
Wear appropriate eye and respiratory protection when sanding, particularly if using power equipment.
If you are repurposing older painted or finished wood, use extra caution. Unknown older coatings may contain hazardous materials, so avoid sanding them until you know how they should be handled.
Step 4: Stain, Paint, or Leave the Wood Natural
Now choose the overall look.
Natural Wood
A clear or minimally finished board works beautifully in Scandinavian, modern, rustic, and neutral interiors.
Stained Wood
A warm stain creates the familiar oversized vintage ruler look.
Consider tones such as:
- Light oak
- Warm medium brown
- Weathered brown
- Rich walnut-inspired brown
Painted Wood
Paint gives you more flexibility.
A white, cream, black, muted green, soft blue, or greige growth chart can blend nicely into a child’s room.
Whatever finish you choose, test it on scrap wood or the back of the board first.
Wood species, grain, sanding, and previous treatments can all affect the final appearance.
Step 5: Let the Base Finish Dry Properly
Do not rush from staining or painting directly into adding ruler markings.
Allow the base finish to dry according to the product instructions.
Some finishes also require additional curing time before they should be handled extensively or coated with another product.
Working on a fully dry surface helps prevent:
- Smudged lines
- Poor marker adhesion
- Scratched stain
- Paint transfer
Keep the board on a clean, protected work surface while it dries.
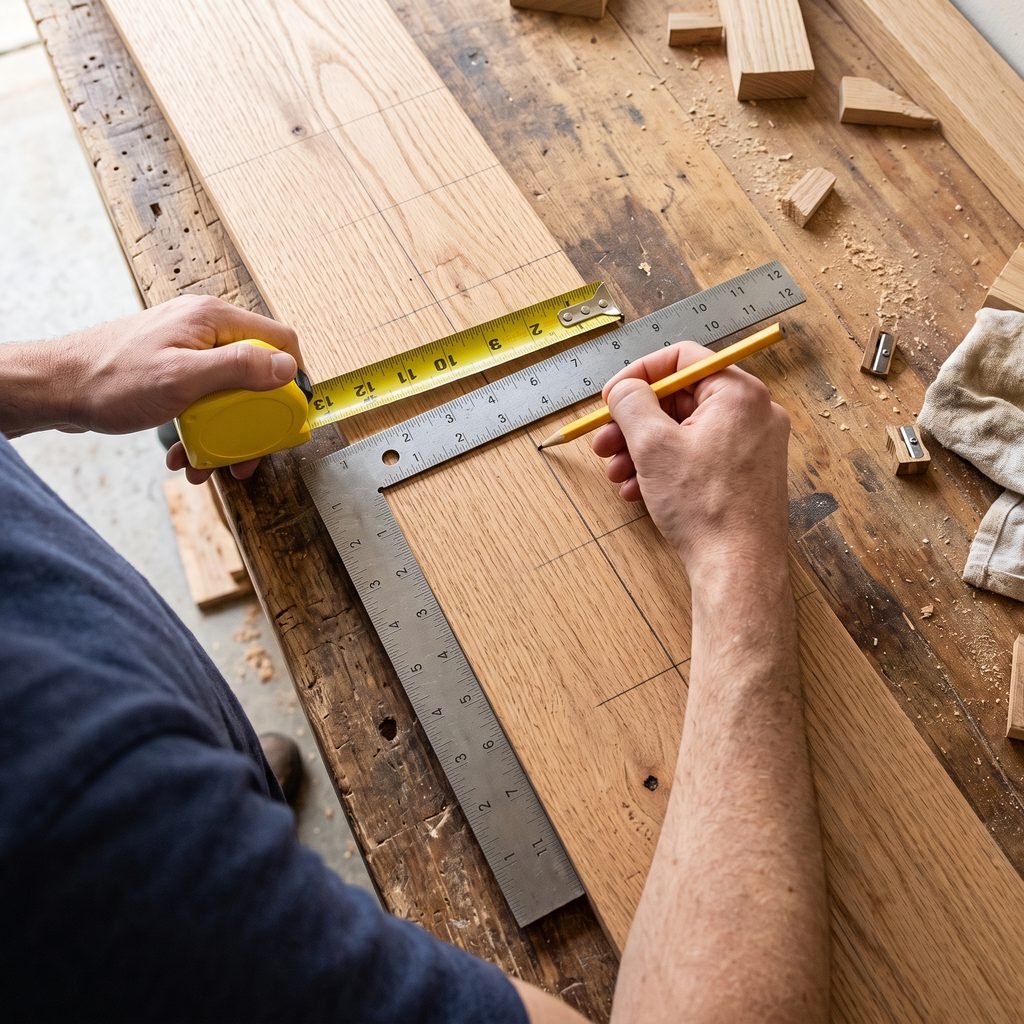
Step 6: Mark the Measurement Intervals
Once the finish is ready, lay the board flat.
Use a reliable measuring tape and straightedge to make small pencil marks for the measurement intervals.
A classic ruler design usually uses different line lengths for different measurements.
For example, you can make the major marks longest and use progressively shorter lines for smaller divisions.
You do not have to reproduce every tiny mark found on a traditional ruler.
A simplified design is often easier to read and looks cleaner on the wall.
The important part is accuracy.
Measure each mark rather than estimating the spacing visually.
Step 7: Account for the Height Above the Floor
Before adding numbers, check your math again.
If the board starts above floor level, the markings need to reflect that offset.
For example, if the bottom is mounted above the floor, a mark a certain distance up the board represents that distance plus the board’s floor offset.
This is one reason it helps to plan the location first.
Add a discreet note to the back of the finished ruler recording the required installation height.
For example, you might note:
“Install bottom edge ___ inches above finished floor.”
That makes reinstalling the growth chart much easier later.
Step 8: Draw the Ruler Lines
Once your pencil layout is confirmed, add the permanent lines.
You can use:
- Paint marker
- Fine artist brush and suitable paint
- Stencil system
A straightedge will help keep the lines crisp.
If using paint or a marker alongside a stained or painted finish, test compatibility first.
Work slowly.
The slightly imperfect handmade quality can add character, but significantly crooked measurements will affect the usefulness of the chart.
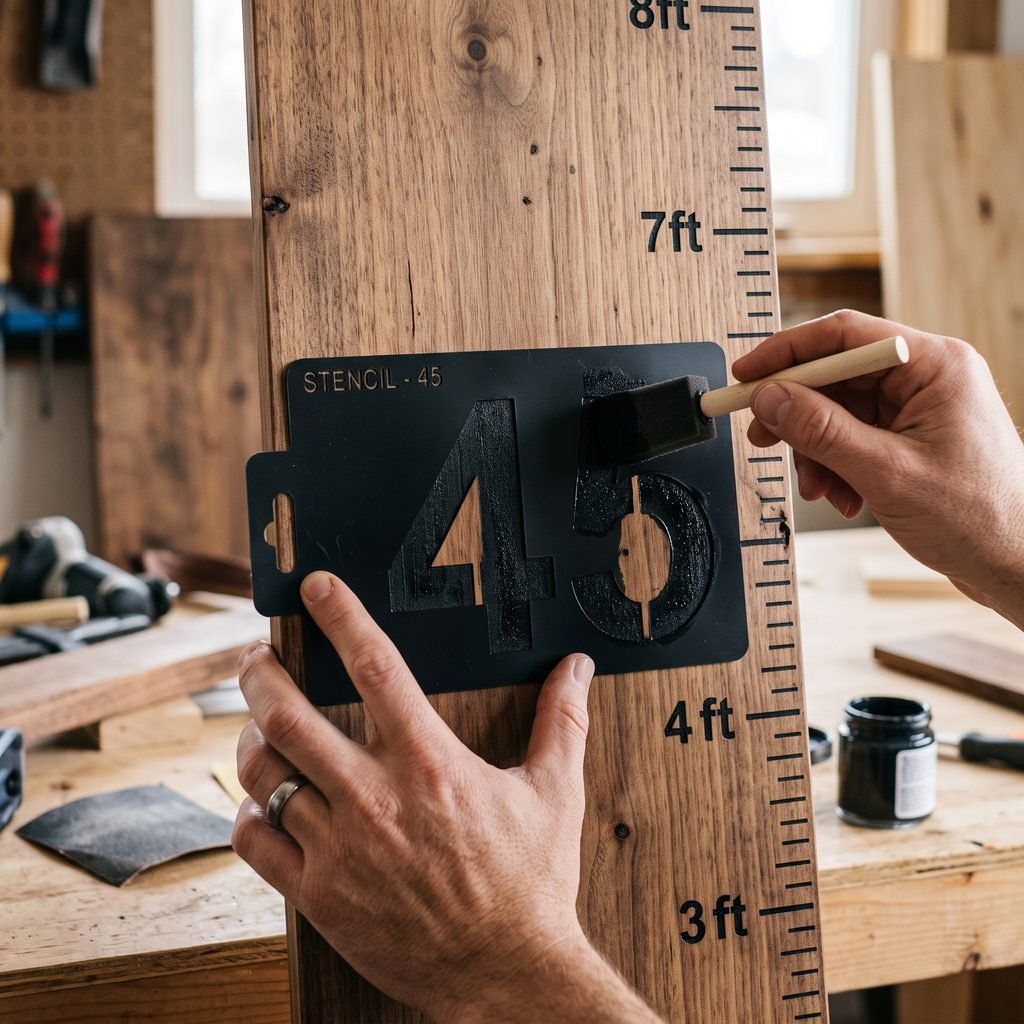
Step 9: Add Large Numbers
The oversized numbers are what make the project immediately look like a giant ruler.
You can add them with:
- Number stencils
- Hand-painted numbers
- Vinyl used as a template
- Carefully transferred printed templates
Keep the number style relatively simple so the finished board remains easy to read.
Black numbers against natural wood create a classic look.
Other combinations can work too:
- White numbers on dark wood
- Charcoal on pale wood
- Black on white
- Warm gray on cream
Position every number consistently relative to its corresponding measurement mark.
Step 10: Add Optional Personal Details
You can leave the ruler simple or personalize it.
Possible additions include:
- Family name
- Child’s name
- Birth date
- Small decorative symbol
- Short title such as “Watch Us Grow”
Keep personalization subtle if you want the chart to remain useful for several children.
Another option is to leave the front completely ruler-like and add sentimental information only as heights are recorded.
Step 11: Add a Protective Finish If Appropriate
A compatible protective coating may help the board withstand handling and cleaning.
However, it is optional depending on the finish system you chose.
If you plan to write directly on the chart later, test your intended pen or marker over the final coating first.
Some surfaces are easier to write on than others.
Always check compatibility among stain, paint, marker, and topcoat.
Applying an incompatible finish can cause bleeding, lifting, discoloration, or adhesion problems.
Step 12: Mount the Growth Chart Securely
A tall wooden board should be securely attached to the wall.
Do not simply lean it against the wall in a child’s room.
Choose mounting hardware appropriate for:
- Board weight
- Wall type
- Available framing
- Hardware manufacturer instructions
Whenever practical, fastening securely into suitable framing can provide a strong attachment.
If studs are not available at the required locations, choose anchors specifically rated for your wall construction and the load.
Make sure hardware does not create accessible sharp points or projections.
If you are unsure about the wall structure or mounting method, get appropriate professional help.
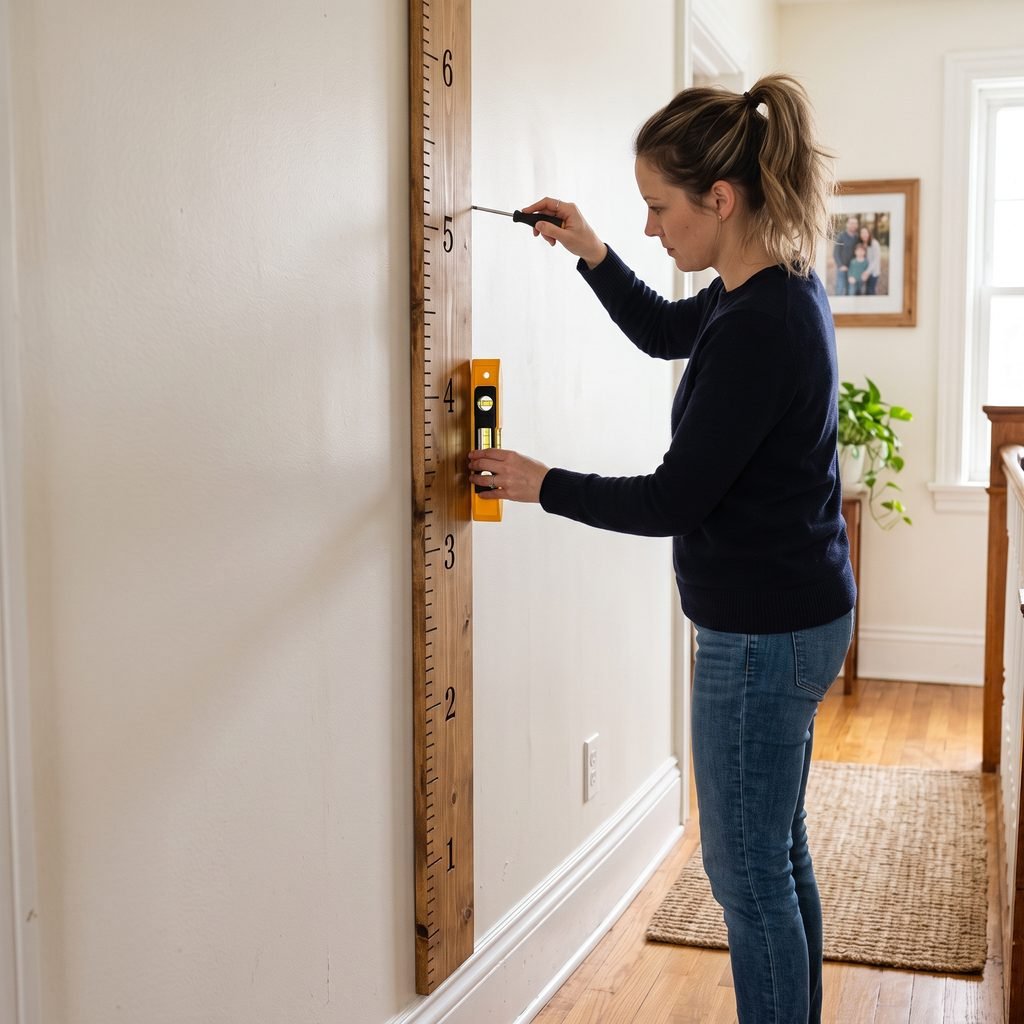
Step 13: Measure the Mounting Height Carefully
This is the final accuracy check.
Measure from the finished floor—not from the top of a rug—to the planned bottom edge of the ruler.
Install the board at precisely the height used when laying out the measurements.
Use a level to make sure it is vertical.
Check the height again after installation.
A chart mounted an inch too high or low will make every recorded measurement incorrect by the same amount.
Step 14: Record Your First Height
Once the growth chart is mounted, you can begin recording heights.
Have the person stand upright on the finished floor according to your chosen measuring method.
For consistent measurements:
- Remove bulky footwear
- Stand straight
- Keep posture consistent
- Use a flat object to identify the top of the head
- Keep that object level
Then add a small mark to the ruler.
You can write beside it:
- Name
- Date
- Age
For multiple children, use different symbols or another easy identification system if you prefer.
How to Make a Growth Chart Look Vintage
The classic giant ruler style works especially well with a slightly aged finish.
Start with natural wood rather than trying to fake every detail.
A warm medium stain can bring out:
- Grain
- Knots
- Color variation
Keep the ruler marks dark and relatively simple.
Avoid excessive artificial distressing.
A little natural wood variation usually looks more authentic than aggressively sanding every edge.
Modern Life Size Growth Chart Ruler Ideas
The project does not have to look farmhouse or rustic.
For a modern version, try:
Pale Wood + Black Marks
Simple and Scandinavian-inspired.
Matte Black + White Marks
Graphic and contemporary.
Warm White + Charcoal Marks
Soft enough for a nursery.
Muted Green + Cream Marks
Works beautifully with earthy children’s rooms.
Natural Oak Look + Minimal Numbers
A timeless option that can move between rooms as children grow.
Where to Hang a Growth Chart Ruler
Choose a location you are likely to keep accessible.
Hallway
A hallway allows the chart to work as family decor rather than belonging to one child’s room.
Playroom
A natural fit for a kid-focused space.
Nursery
It becomes meaningful as the child begins growing into the room.
Bedroom
Useful if you want each child to have an individual chart.
Family Room
A subtle natural-wood ruler can blend surprisingly well with normal home decor.
Whichever location you choose, avoid areas where doors, furniture, heaters, plumbing, or other features interfere with safe mounting and accurate measuring.
How to Make a Growth Chart Removable
Portability is one of the biggest advantages of using wood.
Use a mounting approach that allows the board to be taken down without changing its position relative to the floor when reinstalled.
Keep three pieces of information with the chart:
- Which end is the bottom.
- Required distance from the floor.
- Which measurement system you used.
Writing the mounting measurement discreetly on the back can prevent future confusion.
If you move to a house with different baseboards, use the floor measurement rather than trying to line the board up with trim.
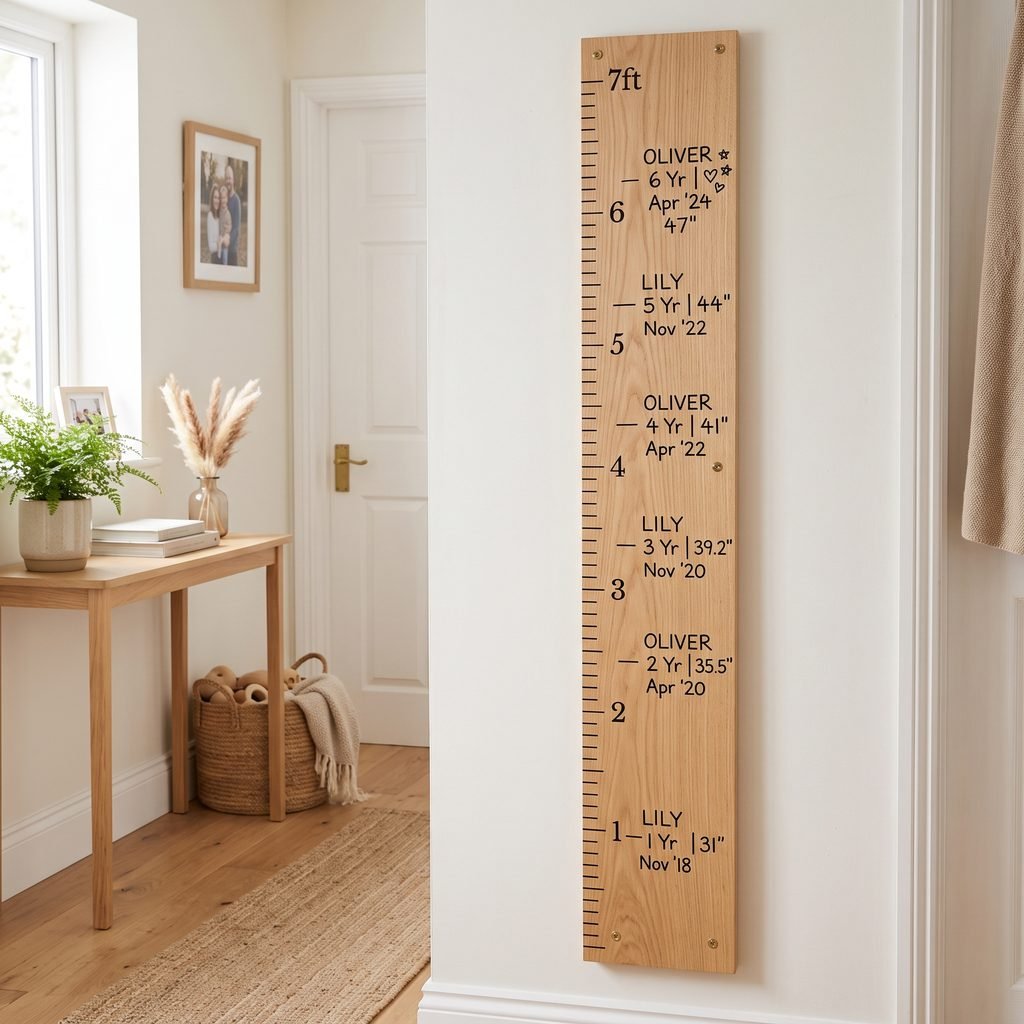
How to Mark Children’s Heights
Think about how you want the growth chart to look after several years of use.
You might use:
- Fine permanent marker
- Small painted line
- Archival-style pen compatible with the finish
Write names and dates small enough to leave room for future measurements.
For siblings, you can use initials.
You might record:
“E — age 4 — 6/2026”
instead of writing a long note each time.
Test the writing tool somewhere inconspicuous first to make sure it does not feather, smear, or wipe away.
Growth Chart Ideas for Multiple Kids
A single family ruler can become especially meaningful when several children’s measurements overlap.
Keep identification simple.
Options include:
- Initials
- Small symbols
- Different marker styles
You could also place names on opposite sides of the board.
Try not to make the original ruler design too busy because years of handwritten measurements will eventually become part of the decor.
Common DIY Growth Chart Ruler Mistakes
Starting the Ruler at Zero
If the board hangs above the floor, its bottom does not represent zero height.
Always account for the mounting offset.
Estimating the Measurement Marks
Use an actual measuring tape and check the layout before painting.
Forgetting the Baseboard
Baseboard depth may affect how the board sits against the wall.
Plan the installation before creating the scale.
Mounting the Board at the Wrong Height
Even a small error affects every measurement.
Using Warped Wood
A noticeably twisted board can be difficult to mount flat and measure against.
Applying Lettering Before the Stain Is Dry
This can create smears or poor adhesion.
Choosing an Incompatible Topcoat
Test the complete finishing system before coating the front.
Leaning the Board Against the Wall
Tall decorative boards can tip. Secure the ruler appropriately, particularly around children.
DIY Growth Chart Safety Tips
Although this is a straightforward woodworking project, use basic DIY precautions.
- Wear eye protection when cutting, drilling, or sanding.
- Follow tool manufacturer instructions.
- Clamp wood securely when cutting where appropriate.
- Use respiratory protection suitable for sanding dust.
- Work in adequate ventilation when using stains, paints, or finishes.
- Follow product drying and curing instructions.
- Keep finishing products and tools away from children.
- Do not sand unknown older coatings without assessing potential hazards.
- Smooth sharp corners and splinters.
- Mount the finished ruler securely.
- Use hardware appropriate for the wall type and weight.
- Check for hidden electrical wiring, plumbing, or other utilities before drilling.
- Do not place heavy decorative accessories on top of the growth chart.
FAQ About a Life Size Growth Chart Ruler
How do you make a life size growth chart ruler?
Use a long straight wood board, sand and finish it, measure accurate ruler increments, add lines and numbers, and mount it at the exact floor height used when calculating the scale.
How tall should a growth chart ruler be?
There is no required size. Choose a board tall enough for the height range you want to record while fitting comfortably on your wall.
Does a growth chart need to start at the floor?
No. In fact, many wooden charts start above the floor so they clear the baseboard. You simply need to account for that offset when creating the measurements.
Can I move a wooden growth chart to another house?
Yes. Record the required mounting height on the back and reinstall it at the same distance above the finished floor.
Should I stain or paint a wooden growth chart?
Either works. Stain emphasizes the wood grain and creates a traditional ruler appearance, while paint allows the chart to coordinate with your room’s colors.
How do you put numbers on a growth chart?
You can use stencils, hand painting, transferred templates, or another precise marking method. Test materials first to make sure they are compatible with the base finish.
How should I attach a growth chart ruler to the wall?
Use secure hardware appropriate for the weight of the board and your wall construction. Follow hardware instructions and attach to suitable framing when appropriate.
Can multiple children use one growth chart?
Absolutely. Add initials, names, dates, or simple identifying symbols beside each measurement.
Final Thoughts
A life size growth chart ruler is a small DIY project that can become one of the most sentimental pieces in your home.
The woodworking itself is straightforward: choose a good board, smooth it, add your preferred finish, mark an accurate ruler scale, and mount it securely.
The most important detail is planning the height correctly.
Because the bottom of the board will often sit above the floor, account for that distance when creating your measurements and write the mounting height on the back so the chart can be relocated later.
After that, let the ruler evolve naturally.
Birthday marks, names, dates, and little handwritten notes will eventually become part of its character.
Instead of leaving those memories on a door frame that stays behind when you move, you will have a portable family keepsake that can follow your children—and your home—for years.

