

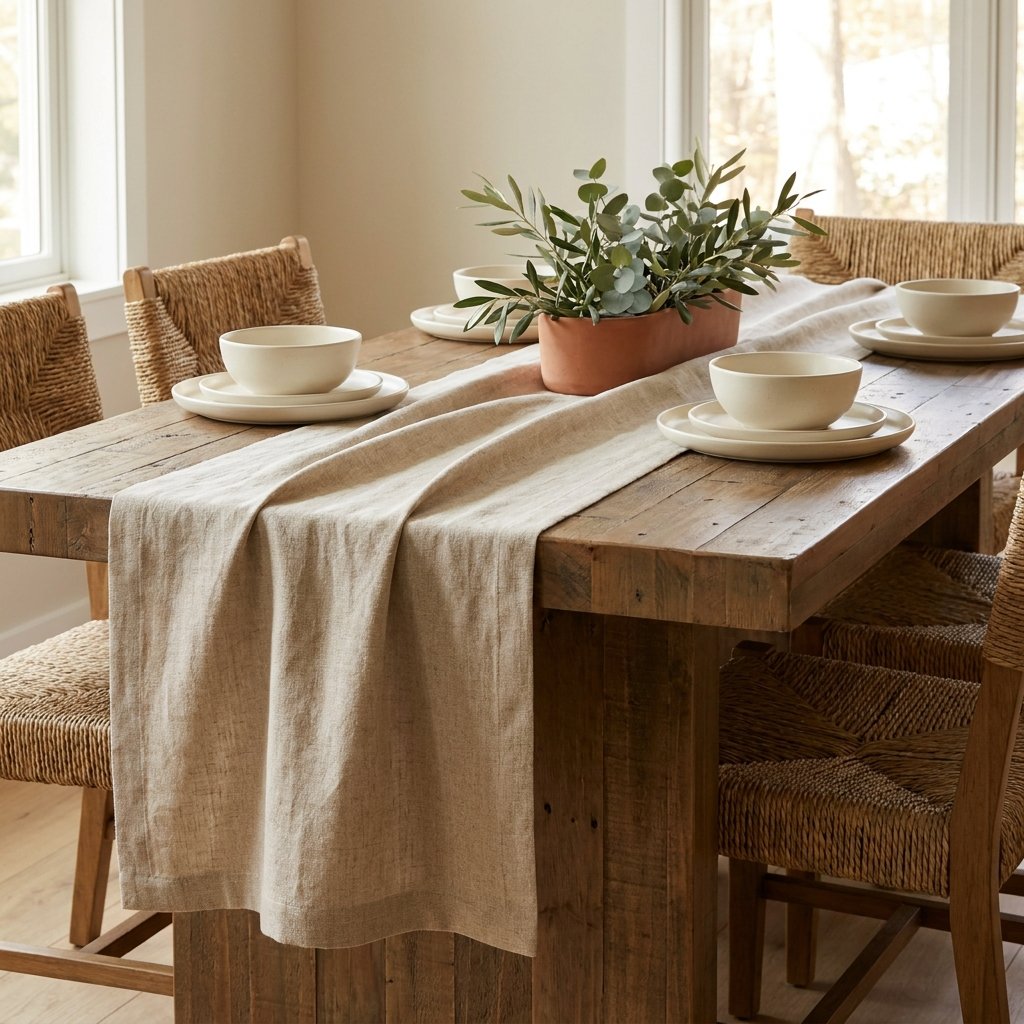
A no sew DIY table runner is one of the easiest ways to refresh a dining table without pulling out a sewing machine.
This simple project works well for everyday decorating, seasonal tables, holidays, parties, and special occasions. You can choose a fabric that fits your home, customize the length, and create a finished-looking runner with basic supplies such as fabric, scissors, measuring tape, and fabric adhesive or fusible bonding tape.
The biggest advantage is flexibility.
You can make a neutral linen-look runner for everyday use, a floral version for spring, a striped runner for summer, or a deeper plaid or velvet-look version for fall and winter.
The key is accurate measuring, clean cutting, and neat finished edges.
Here is how to make a no sew table runner step by step, plus styling ideas, fabric suggestions, troubleshooting tips, and simple ways to make the finished project look polished.
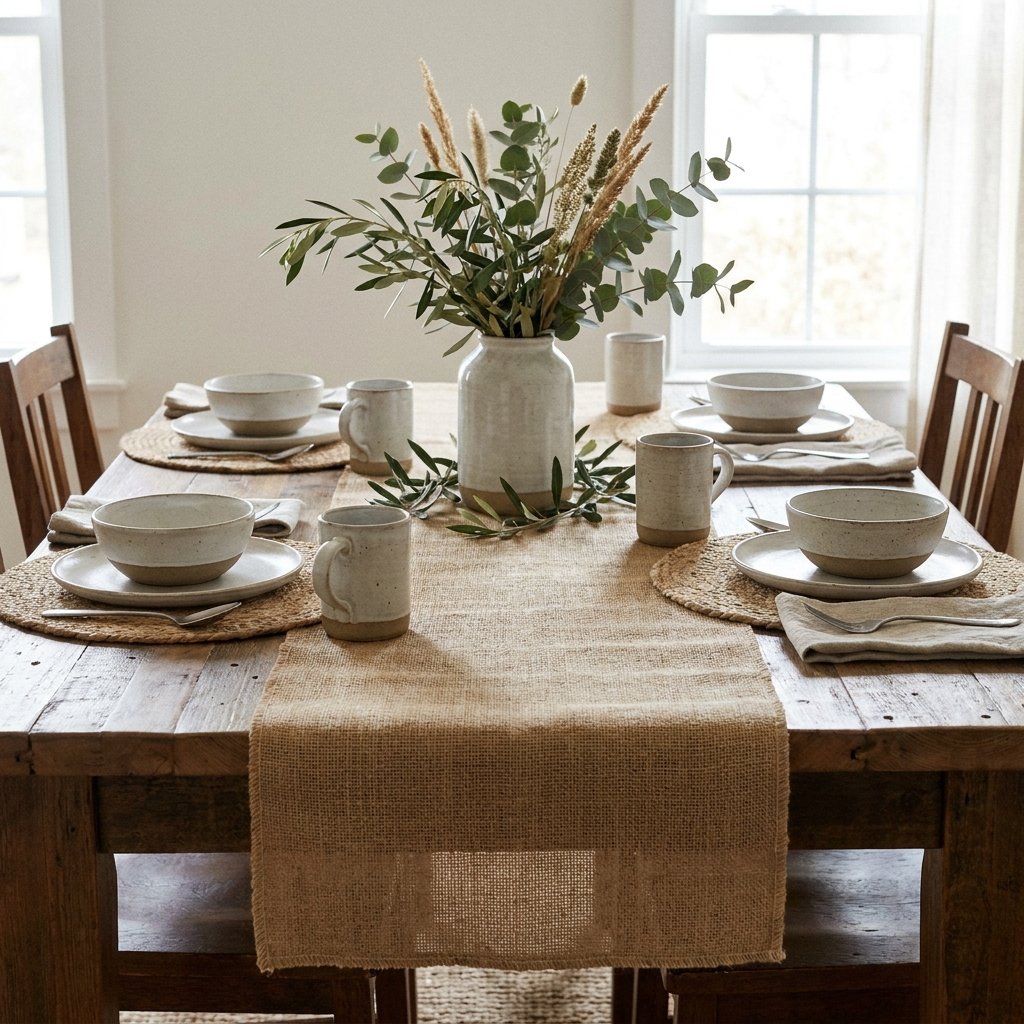
Why Make a No Sew Table Runner?
A table runner adds color and texture without covering the entire table.
It can help:
- Define the center of the table
- Add seasonal color
- Protect part of the tabletop
- Anchor a centerpiece
- Make everyday dishes feel more styled
- Change the look of a dining room inexpensively
And because this project does not require sewing, it is approachable even if you are new to DIY.
What Fabric Works Best?
The right fabric makes the project much easier.
Good options include:
- Cotton
- Linen-look fabric
- Cotton-linen blend
- Lightweight canvas
- Chambray
- Simple upholstery-weight fabric
- Seasonal printed fabric
Choose something that lies relatively flat and is not too stretchy.
Very slippery, stretchy, or heavily textured fabrics can be harder to cut and bond neatly.
If the fabric is washable, prewashing may be useful if you expect to launder the finished runner. Follow the fabric care instructions, because some materials can shrink.
Materials for a No Sew DIY Table Runner
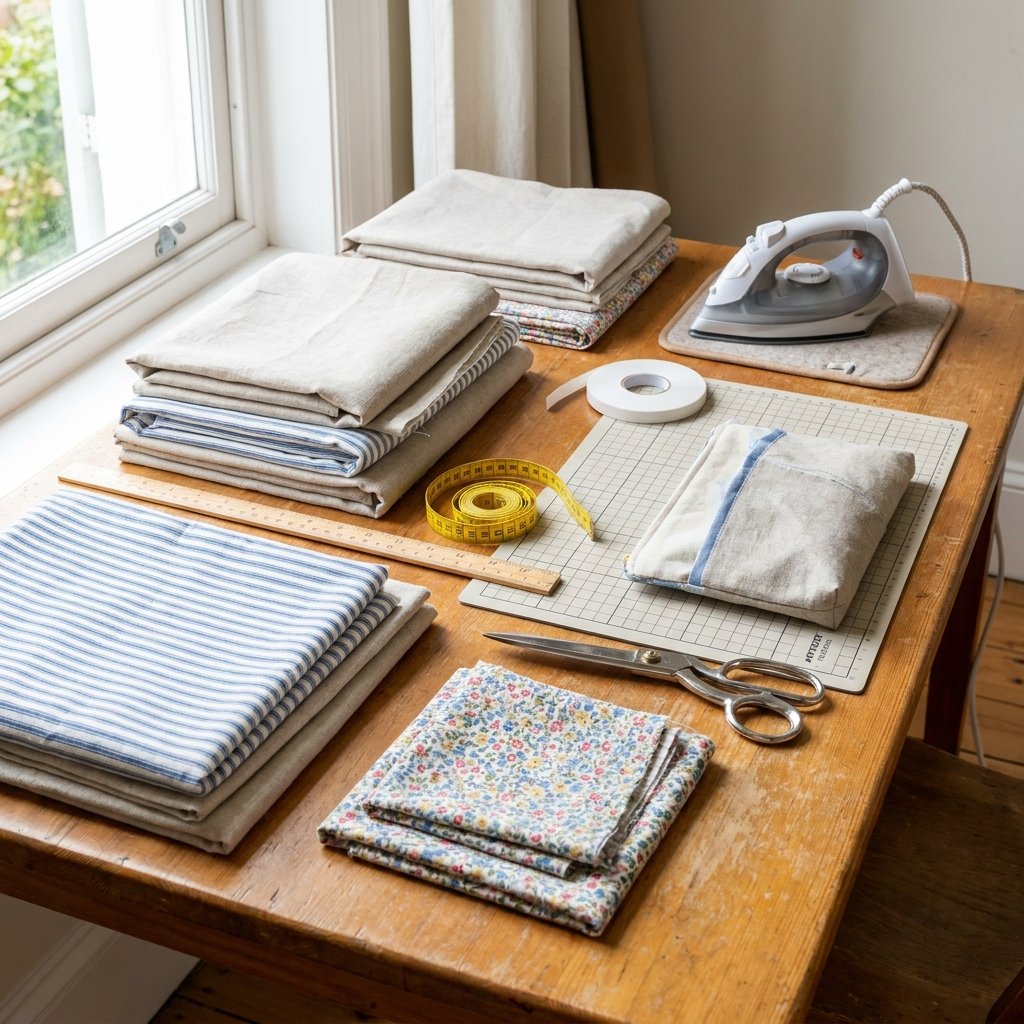
You will need:
- Fabric
- Measuring tape
- Fabric scissors
- Straightedge or ruler
- Fabric marker or chalk
- Iron, if using fusible bonding tape
- Ironing board or heat-safe surface
- Fusible hem tape or fabric adhesive
- Pins or clips, optional
- Press cloth, if recommended
Always follow the instructions for the adhesive or fusible product you choose.
Some products require heat. Others are designed to air-dry or cure.
Step 1: Measure Your Table
Measure the length of your table first.
Then decide how you want the runner to sit.
A runner can:
- Stop near the ends of the table
- Hang slightly over each end
- Hang more dramatically for a formal look
There is no single correct length.
For a casual everyday runner, a modest overhang often looks balanced.
For a more formal table, you may prefer a longer drop.
Make sure the finished runner does not hang so low that it gets caught on chairs or becomes inconvenient.
Choosing the Width
A narrow runner creates a simple, modern look.
A wider runner gives more visual impact.
Before cutting, fold the fabric roughly to the width you are considering and place it on the table.
This lets you see the proportions before committing.
Step 2: Add Extra Fabric for the Hem
If you are creating folded edges, add enough extra fabric on all sides to form the hem.
The amount depends on how wide you want the folded edge and the bonding product you are using.
Do not cut to the exact finished size and then discover you have no material left to fold under.
Mark your cutting lines clearly before trimming.
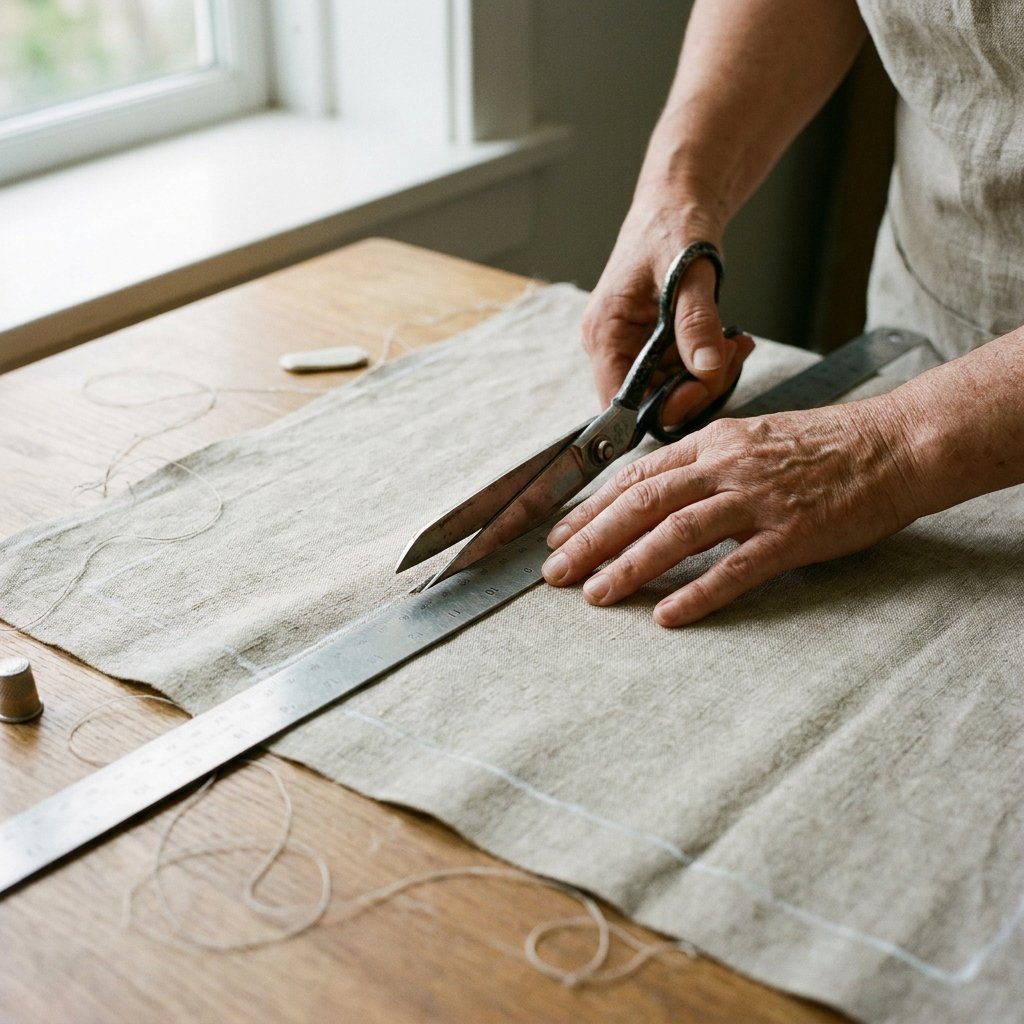
Step 3: Cut the Fabric Straight
Lay the fabric on a flat surface.
Use a ruler or long straightedge to mark the cut.
Cut slowly with sharp fabric scissors.
A crooked cut can become much more noticeable once the runner is placed on a long table.
If your fabric has a visible stripe, check, or woven line, use that pattern as a guide when possible.
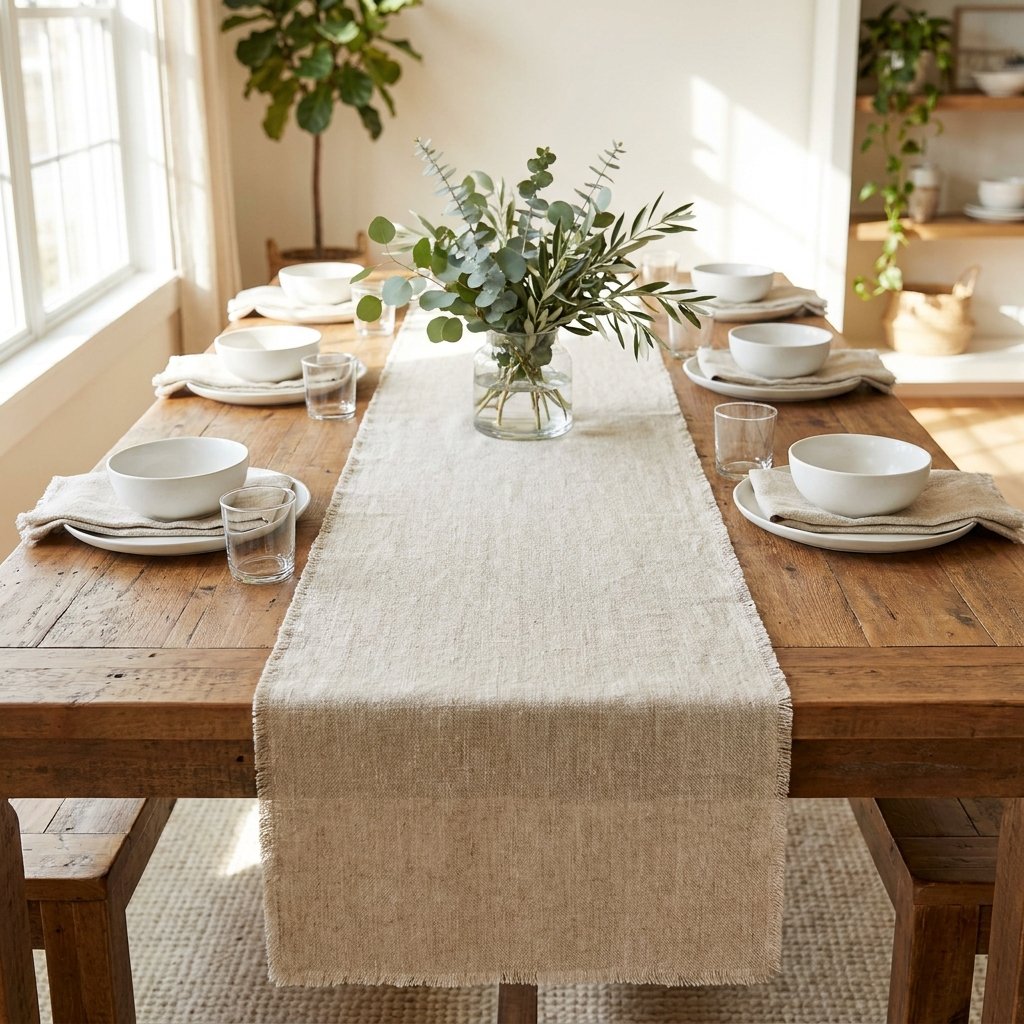
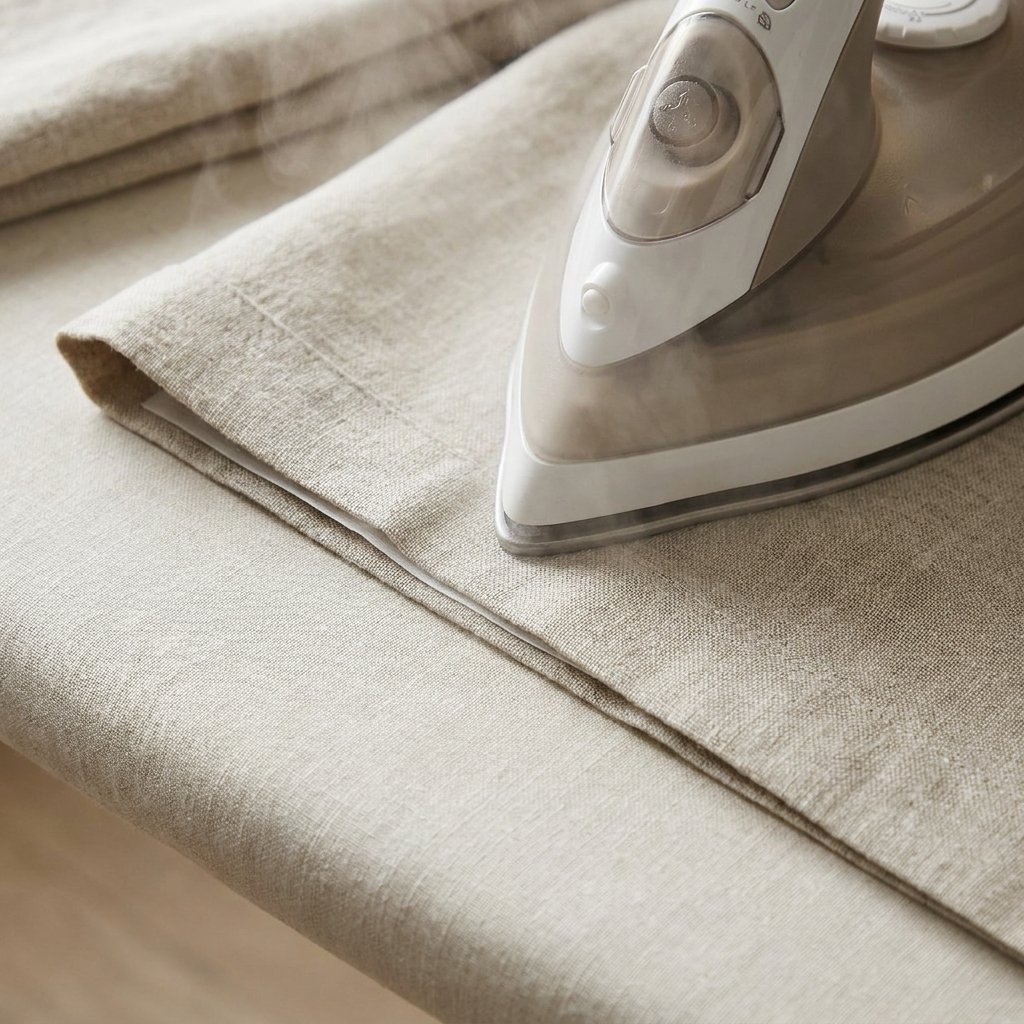
Step 4: Press the Fabric
Before creating the hem, press the fabric if the care label allows it.
This removes wrinkles and gives you a cleaner surface to work with.
Check the appropriate heat setting for your fabric.
Some synthetic fabrics can be damaged by excessive heat.
If you are unsure, test a hidden scrap first.
Step 5: Fold the Long Edges
Fold one long edge inward.
Press it if appropriate for the fabric.
Repeat on the opposite side.
Try to keep the fold consistent from one end to the other.
Using a ruler every few inches can help.
If you want a more finished look, you can fold the raw edge under twice before bonding, provided the fabric is not too bulky.
Step 6: Bond the Long Hems
Place fusible bonding tape or fabric adhesive inside the folded edge.
If using fusible tape, follow the manufacturer’s directions for:
- Heat level
- Pressing time
- Steam or no steam
- Press cloth use
- Cooling time
Do not drag the iron back and forth unless the product directs you to do so.
Pressing in sections usually creates a neater bond.
If using liquid fabric adhesive, apply it sparingly so it does not bleed through the fabric.
Step 7: Finish the Short Ends
Once the long sides are complete, fold and bond the short ends.
Pay extra attention to the corners.
If the folded layers become bulky, trim excess fabric carefully before bonding.
Do not cut too close to the final fold.
A little patience here makes the finished runner look much more polished.
Step 8: Let the Runner Cool or Cure
Do not place the runner on the table immediately if the adhesive product requires cooling or curing.
Let it sit flat for the amount of time recommended by the manufacturer.
This helps prevent the hem from separating.
Once fully set, inspect every edge.
If you notice a loose section, rebond it before using the runner.
How to Make a No Sew Table Runner With Fabric Glue
If you do not want to use an iron, fabric glue may work.
Choose an adhesive intended for fabric.
The basic process is:
- Cut the fabric.
- Fold the edges.
- Apply a thin line of adhesive.
- Press the fold in place.
- Use clips or pins if appropriate.
- Let it cure fully.
Avoid using too much glue.
Excess adhesive can soak through and leave stiff or discolored areas.
Always test it on a scrap first.
How to Make a No Sew Table Runner With Fusible Tape
Fusible tape is one of the cleanest options for a crisp hem.
Place the tape between the folded layers and apply heat according to the product instructions.
It works best when:
- The fabric can tolerate ironing
- The edges are pressed evenly
- The tape stays fully inside the fold
Trim any tape that extends beyond the fabric before pressing.
Otherwise it can melt onto the iron or ironing surface.
No Sew Burlap Table Runner
Burlap can create a rustic farmhouse look.
Because burlap frays easily, you have a few options.
You can:
- Embrace a controlled fringe
- Use fabric adhesive along the edge
- Fold and bond a hem if the burlap is flexible enough
Shake out loose fibers before bringing the finished piece to the table.
Burlap can be rough, so avoid using it directly against delicate furniture finishes without testing.
No Sew Linen-Look Table Runner
A linen-look fabric is one of the easiest options for a timeless result.
Choose a soft neutral such as:
- Warm white
- Flax
- Oatmeal
- Taupe
- Soft gray
A neutral runner works year-round and can be restyled with different centerpieces.
For spring, add greenery.
For summer, add simple flowers.
For fall, use warm-toned branches.
For winter, add candles and evergreen-inspired decor safely.
No Sew Table Runner With Fringe
If your fabric has a stable weave, you can create decorative fringe at the ends.
Carefully pull a few horizontal threads from the edge.
Continue until you reach the desired fringe depth.
Then stop.
If needed, add a narrow line of fabric adhesive just above the fringe area to help prevent excessive unraveling.
Test first because adhesive may darken some fabrics.
No Sew Table Runner With Tassels
Tassels can add detail without sewing.
Use fabric-safe adhesive to attach lightweight tassels to the short ends.
Keep them evenly spaced.
Choose tassels that match the style of the fabric.
For example:
- Cream tassels with neutral linen
- Navy tassels with blue stripe
- Jute tassels with rustic fabric
Avoid oversized tassels if the table runner already has a busy pattern.
No Sew Table Runner for Spring
Spring runners look beautiful in lighter fabrics.
Try:
- Soft floral print
- Pale blue stripe
- Sage green
- Natural linen
- Small botanical pattern
Style the runner with a simple vase of branches, white dishes, and light wood.
This keeps the table fresh rather than overly themed.
No Sew Table Runner for Summer
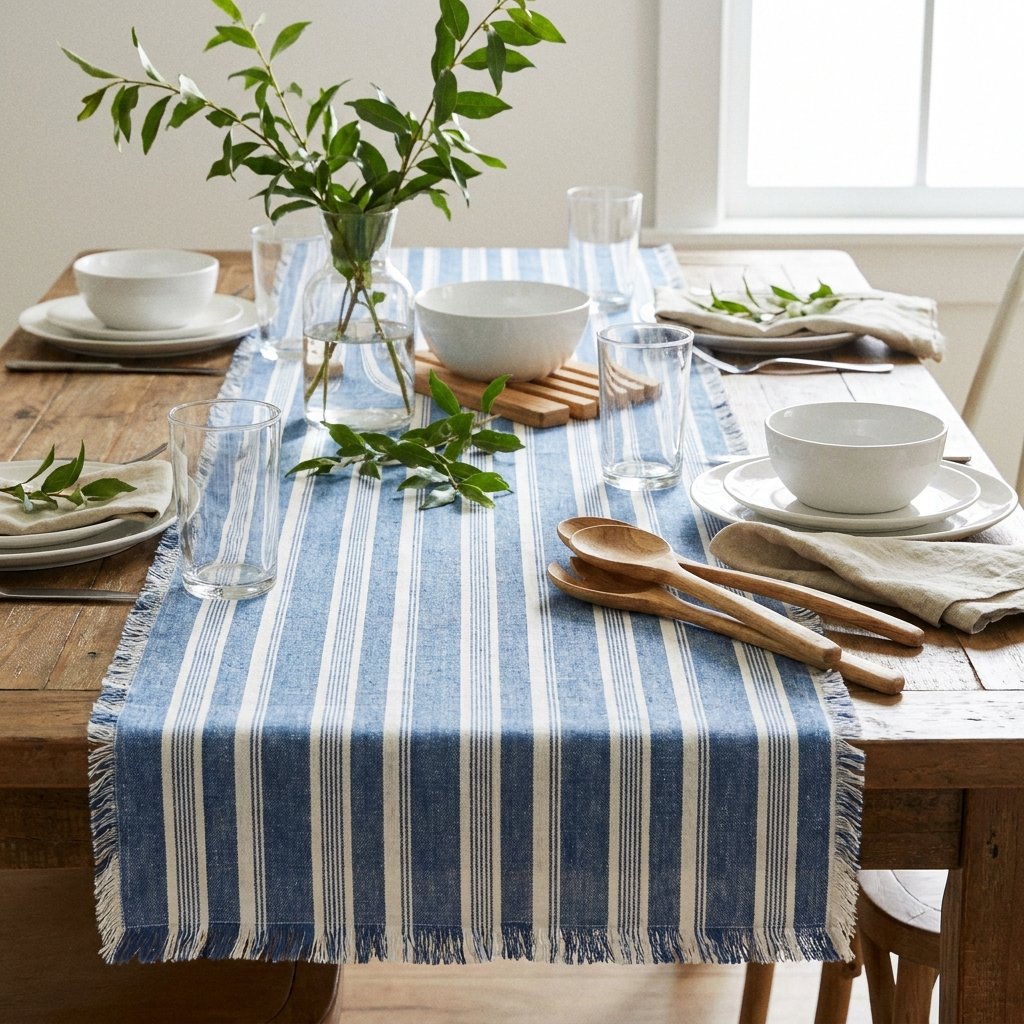
For summer, use relaxed patterns and colors.
Good options include:
- Blue and white stripe
- Gingham
- Chambray
- Soft green
- Natural beige
Pair it with simple glassware and casual greenery.
A runner can make an outdoor or indoor table feel more intentional with very little effort.
No Sew Table Runner for Fall
Fall fabrics can be warmer and slightly heavier.
Try:
- Rust
- Olive
- Plaid
- Warm brown
- Muted mustard
Avoid combining too many strong seasonal colors at once.
One warm runner with a simple centerpiece can be enough.
No Sew Table Runner for Christmas
For holiday tables, a runner can create a festive base without a full tablecloth.
Try:
- Deep green
- Burgundy
- Plaid
- Natural linen
- Cream with subtle metallic detail
Style it with evergreen-inspired greenery, ornaments, or candlelight.
Keep fabric and decorative greenery safely away from open flames.
How to Style a Table Runner
A runner works best when it supports the centerpiece instead of competing with it.
Try one of these simple approaches.
Everyday Table
Runner + bowl + greenery.
Spring Table
Runner + vase + branches.
Summer Table
Runner + pitcher + flowers.
Fall Table
Runner + low bowl + seasonal foliage.
Holiday Table
Runner + greenery + flameless candles.
Leave enough empty table space for plates and serving dishes.
How Long Should a Table Runner Be?
The length depends on your table and the look you want.
A runner can end before the table edge or extend beyond it.
For an everyday table, a shorter runner often looks casual and clean.
For formal settings, a longer runner can feel more elegant.
Whatever you choose, make sure the overhang is practical and does not interfere with seating.
How Wide Should a Table Runner Be?
Width is also flexible.
A narrow runner works well on a small table.
A wider one works nicely if you want it to act almost like a mini tablecloth.
The easiest method is to test the proportions with folded fabric before cutting.
That helps you avoid making a runner that looks too narrow or too bulky for the table.
How to Make a No Sew Table Runner Look Expensive
A few details make a big difference.
Choose Fabric With Good Texture
Even inexpensive fabric can look elevated if it has a linen-like weave or subtle pattern.
Press Every Fold
Crisp edges look much more finished.
Keep the Hem Even
Measure instead of eyeballing.
Coordinate With the Room
Choose a fabric color that works with your dining chairs, rug, or wall color.
Keep the Styling Simple
One good centerpiece is usually enough.
Avoid Overly Shiny Fabric
Matte and textured materials often look more natural and versatile.
Budget Tips for Making a Table Runner
A no sew runner can be very affordable.
Look for:
- Fabric remnants
- Clearance fabric
- Drop cloth material suitable for crafting
- Old curtain panels
- Unused tablecloths
- Large fabric napkins
Repurposing fabric can reduce cost significantly.
Just make sure the material is clean, stable, and suitable for bonding.
Common No Sew Table Runner Mistakes
Cutting Before Measuring Twice
Always confirm your finished dimensions first.
Forgetting Hem Allowance
Leave enough material for folded edges.
Using Too Much Adhesive
This can cause bleed-through.
Skipping the Pressing Step
Wrinkled fabric is harder to hem neatly.
Using the Wrong Heat Setting
Too much heat can scorch or melt fabric.
Not Letting Adhesive Cure
The hem may separate.
Ignoring Fabric Direction
Stripes and checks can make crooked cuts obvious.
Making the Runner Too Long
Excessive overhang can interfere with chairs or become a tripping or snagging issue.
No Sew Table Runner Safety Tips
This project is beginner-friendly, but use basic precautions.
- Use sharp scissors carefully.
- Work on a stable surface.
- Follow iron and fusible-product instructions.
- Keep hot irons away from children and pets.
- Do not leave a hot iron unattended.
- Use ventilation if required for fabric adhesive.
- Keep adhesives away from eyes and skin as directed.
- Test heat and adhesive on scrap fabric first.
- Keep fabric runners away from open flames, hot serving dishes, and other heat sources.
- Use trivets or heat-safe protection under hot cookware.
FAQ About No Sew DIY Table Runners
Can you make a table runner without sewing?
Yes. You can finish the edges with fusible hem tape or fabric adhesive instead of stitching.
What is the easiest fabric for a no sew table runner?
Cotton and linen-look fabrics are usually easy to cut, press, and bond.
Can I make a runner without an iron?
Yes. Use a fabric adhesive designed for the material and let it cure fully.
Can I wash a no sew table runner?
It depends on the fabric and bonding product. Follow the care instructions for both. Some adhesives are washable while others are not.
Can I use a curtain panel to make a table runner?
Yes, if the fabric works for your project. Repurposed curtains can be an affordable source of fabric.
How do I stop the edges from fraying?
Fold and bond the edges, use a suitable fabric adhesive, or create intentional fringe if the fabric allows it.
Can I make a reversible no sew runner?
Yes, but it is more involved. You can bond two coordinating fabrics together with suitable fusible material, making sure the edges are finished neatly.
Final Thoughts
A no sew DIY table runner is an easy way to customize your dining table without needing advanced crafting skills or a sewing machine.
Start with a fabric you love, measure carefully, cut straight, and use a suitable fusible tape or fabric adhesive to finish the edges.
From there, you can keep the runner simple or add details such as fringe or tassels.
The finished piece can work throughout the year depending on the fabric you choose.
A neutral linen-look runner can move from spring to summer to fall with nothing more than a centerpiece change, while patterned versions can be made specifically for holidays or seasonal gatherings.
For the most polished result, take your time with the measuring and pressing.
Those simple details are what make an inexpensive DIY runner look neat, intentional, and ready for the table.

