

A worn deck can make an entire backyard feel tired, but a full replacement is not always necessary.
If the structure is still sound, a deck restore project can bring back color, smooth rough surfaces, improve the appearance of weathered boards, and help protect the wood from future exposure.
The process usually involves more than simply rolling on a fresh coat of stain.
A good deck restoration starts with inspection. You need to look for loose boards, damaged fasteners, rot, unstable railings, peeling coatings, mildew, and other problems before cleaning or refinishing anything.
From there, the deck may need washing, stripping, sanding, minor repairs, and enough drying time before a new finish is applied.
The exact process depends on the deck material, its current condition, the coating already on it, and the product you plan to use.
This guide walks through the major steps so you can decide what your deck needs, avoid common mistakes, and create a refreshed outdoor space that looks cleaner and more cared for.
Should You Restore or Replace Your Deck?
Before buying stain or renting a pressure washer, determine whether the deck is a good candidate for restoration.
Cosmetic wear is very different from structural deterioration.
A deck may be suitable for restoration if the main problems are:
- Faded stain
- Graying wood
- Surface dirt
- Minor splintering
- Light mildew staining
- Worn finish
- A few damaged boards
More serious problems may require repair or replacement first.
Watch for:
- Soft or rotten wood
- Major structural movement
- Loose or unstable railings
- Severely damaged joists or posts
- Significant insect damage
- Failing connections
- Boards that no longer feel secure
If you are unsure about the structure, especially on an elevated deck, have it evaluated before beginning a cosmetic restoration.
A fresh finish should never be used to hide structural problems.
Step 1: Clear the Deck Completely
Remove everything from the deck.
That includes:
- Furniture
- Rugs
- Planters
- Grills
- Storage boxes
- Umbrellas
- Decorative objects
This gives you access to the entire surface and helps you see problems that may have been hidden.
Move heavy planters carefully because trapped moisture underneath them can sometimes contribute to staining or deterioration.
Sweep the deck thoroughly once it is empty.
Step 2: Inspect the Deck Closely
Walk slowly around the deck and look at every major component.
Check:
- Deck boards
- Railings
- Stairs
- Posts
- Visible framing
- Fasteners
- Ledger area where visible
- Connections
- Areas near planters or downspouts
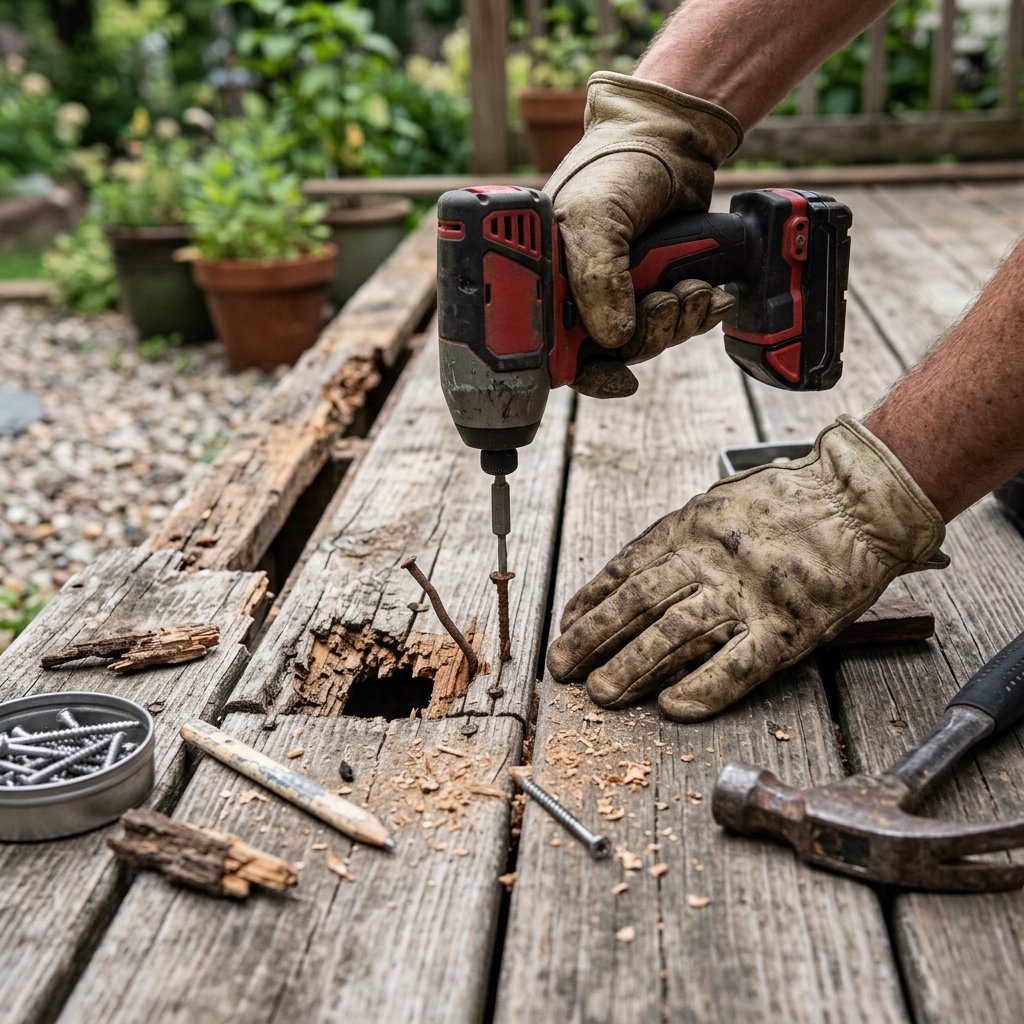
Look for raised nails, loose screws, cracked boards, splinters, soft wood, or areas that move when stepped on.
Pay particular attention to stair treads and railings because failures there can create serious safety risks.
Do not continue with cosmetic work if the deck feels unstable.
Step 3: Replace or Repair Damaged Boards
Minor surface wear can often be refinished, but badly damaged boards should be replaced.
A board may need replacement if it is:
- Rotten
- Soft
- Severely cracked
- Structurally weak
- Badly cupped
- No longer holding fasteners securely
Use replacement material appropriate for the existing deck and installation.
Keep in mind that new boards may absorb stain differently than older weathered wood.
They may not match perfectly at first.
If damage extends into the framing, the project becomes more than a simple surface restoration.
Step 4: Fix Loose Fasteners
Check for fasteners that have backed out or become loose.
Correct them using hardware appropriate for the deck material and outdoor conditions.
Do not simply hammer everything down without understanding what type of fastener is present.
Replace badly corroded or damaged hardware where appropriate.
Avoid driving fasteners so deeply that they crush or damage the wood surface.
Step 5: Decide Whether the Old Finish Needs to Be Removed
Not every deck needs stripping.
If the existing finish is simply faded but still compatible with the new coating, cleaning and surface preparation may be enough.
Stripping may be necessary when:
- Old stain is peeling
- Finish is patchy
- Previous coating is failing
- You want to change finish type
- New stain cannot penetrate evenly
Follow the new coating manufacturer’s instructions.
Some stains are designed to penetrate bare or properly prepared wood, while others may work over specific existing finishes.
Do not assume one product can simply be applied over another.
Step 6: Protect the Surrounding Area
Before using cleaners or strippers, protect nearby surfaces.
Consider:
- Plants
- Siding
- Doors
- Outdoor furniture
- Concrete
- Metal hardware
- Glass
Follow the product label for plant protection and rinsing instructions.
Do not mix cleaning chemicals.
Wear appropriate gloves and eye protection, and use ventilation precautions where applicable.
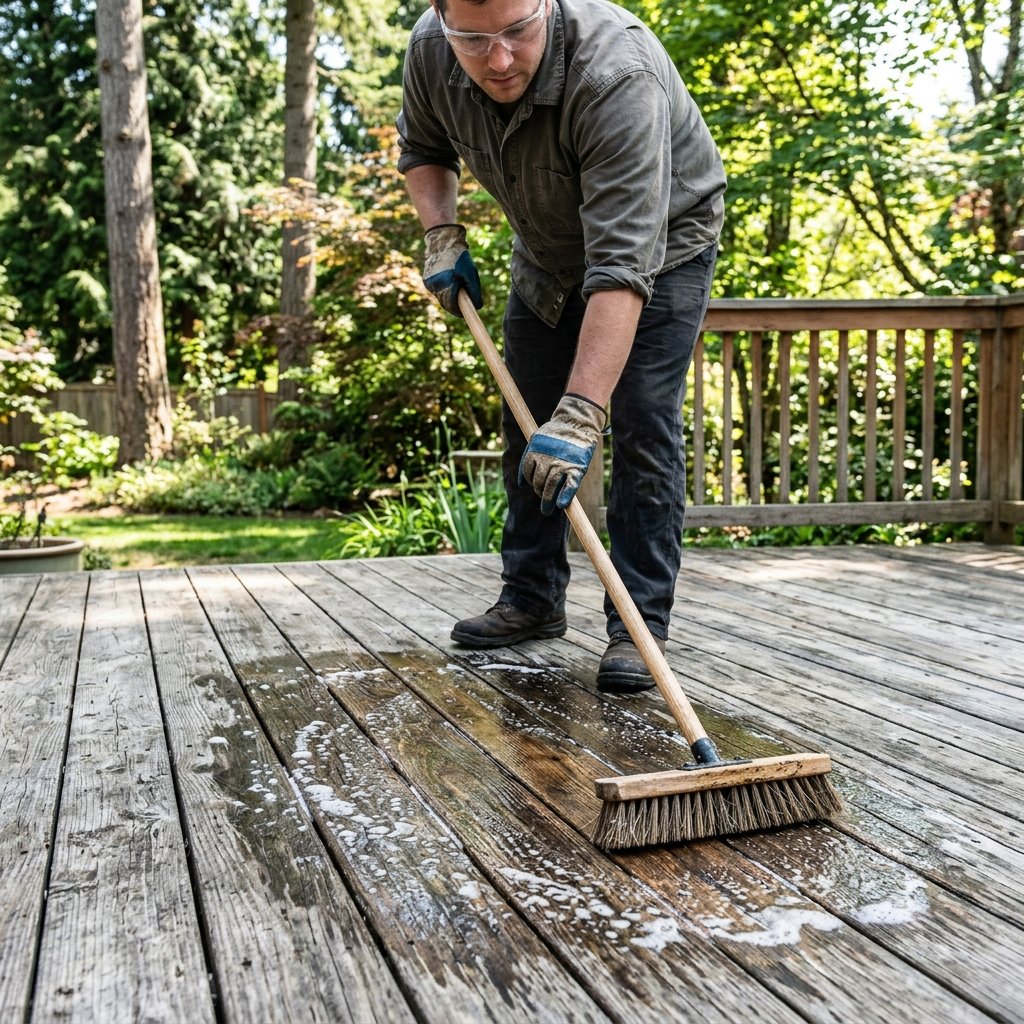
Step 7: Clean the Deck
Cleaning removes dirt, organic buildup, and surface contamination.
Use a deck cleaner appropriate for the wood and current coating.
Work in manageable sections.
Follow the manufacturer’s directions for:
- Dilution
- Application
- Dwell time
- Scrubbing
- Rinsing
Avoid letting cleaning products dry on the surface unless specifically instructed.
A stiff synthetic-bristle deck brush can help loosen embedded dirt.
Step 8: Pressure Wash Carefully
A pressure washer can speed up cleaning, but it can also damage wood.
Too much pressure or holding the nozzle too close can:
- Gouge boards
- Raise wood fibers
- Create streaks
- Damage edges
- Force water into unwanted areas
If using a pressure washer, use settings and techniques appropriate for your deck material.
Start conservatively.
Keep the nozzle moving and maintain a consistent distance.
Do not use pressure washing as a substitute for proper cleaning chemistry when the deck needs mildew or coating removal.
Step 9: Let the Deck Dry Thoroughly
This step is easy to rush.
Do not apply stain or sealer to wood that is still too wet for the coating system.
Drying time depends on:
- Weather
- Humidity
- Shade
- Wood type
- Deck construction
- Cleaning method
Follow the stain or finish manufacturer’s moisture and drying requirements.
If the product specifies a moisture threshold, use an appropriate moisture meter rather than guessing.
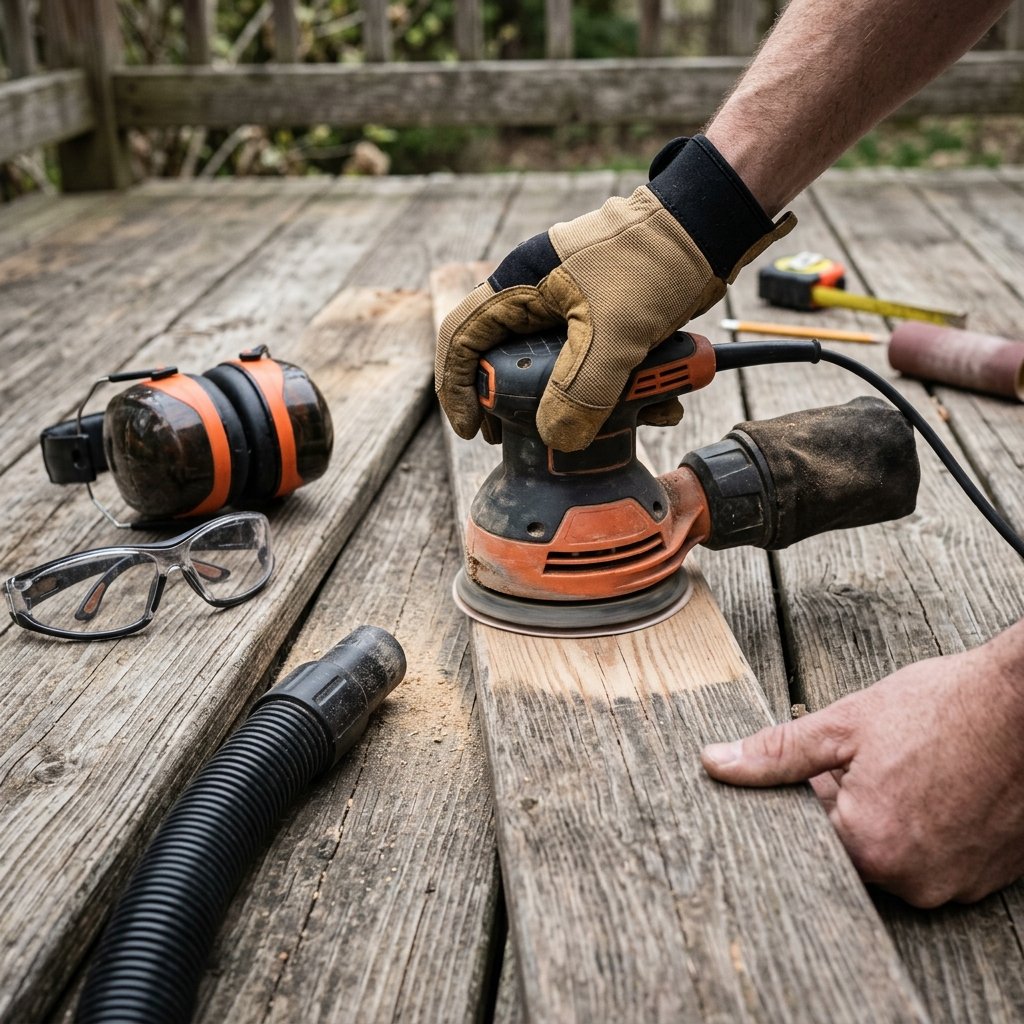
Step 10: Sand Rough Areas
After cleaning and drying, the wood may feel rough.
Light sanding can smooth:
- Raised grain
- Splinters
- Rough edges
- Minor surface imperfections
Use appropriate sanding equipment and dust protection.
Do not over-sand the boards.
The goal is usually to create a sound, even surface, not remove unnecessary amounts of wood.
Vacuum or sweep sanding dust thoroughly before finishing.
Step 11: Pay Extra Attention to Railings and Stairs
Railings and stairs often need different preparation than the main deck surface.
Inspect them carefully for:
- Loose connections
- Splinters
- Cracks
- Worn handrails
- Deteriorated stair treads
Handrails should feel smooth and secure.
If you are refinishing railings, smaller brushes and sanding tools may make the work easier.
Do not let cosmetic work distract from structural issues.
Step 12: Choose the Right Deck Finish
Deck finishes generally fall into several broad categories.
Clear or Nearly Clear Finish
Shows the most natural wood but usually provides the least color change.
Transparent or Semi-Transparent Stain
Adds color while allowing the grain to remain visible.
More Opaque Stain
Provides stronger color and hides more variation.
Solid-Color Finish
Covers much of the wood grain and creates a more painted appearance.
The right choice depends on your deck, previous coating, desired appearance, and maintenance expectations.
Use a product designed specifically for exterior deck surfaces and compatible with the deck material.
Step 13: Test the Color First
Never choose a deck stain based only on a tiny printed sample.
Test it on an inconspicuous section or spare board when possible.
The final color can change based on:
- Wood species
- Existing stain
- Surface preparation
- Weathering
- Number of coats
- Lighting
Allow the sample to dry fully before deciding.
A stain that looks perfect wet may look very different after curing.
Step 14: Apply the Finish in Good Weather
Weather matters.
Avoid applying finish when conditions fall outside the product’s recommended range.
Consider:
- Temperature
- Direct sun
- Rain
- Humidity
- Wind
Hot direct sun can cause some products to dry too quickly.
Rain too soon after application can damage the finish.
Follow the specific product instructions rather than relying on a generic weather rule.
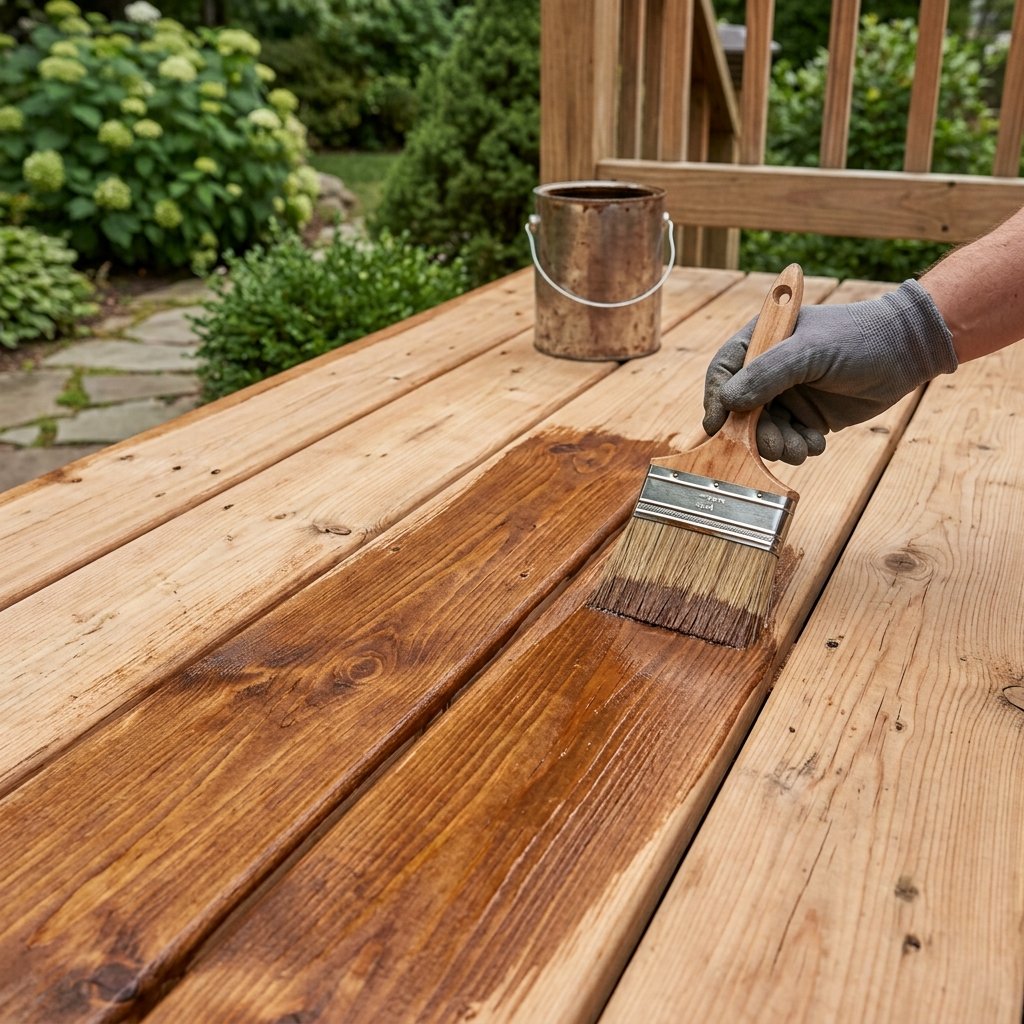
Step 15: Work With the Grain
Apply the product evenly and work in manageable sections.
Follow the board direction.
Depending on the product, you might use:
- Brush
- Roller
- Pad applicator
- Combination of tools
Avoid heavy puddles.
Penetrating finishes especially need to be applied according to the manufacturer’s recommended coverage and coat instructions.
More product is not always better.
Step 16: Avoid Lap Marks
Lap marks happen when one section begins drying before the next section overlaps it.
To reduce them:
- Work board by board where practical
- Maintain a wet edge
- Avoid stopping in the middle of obvious areas
- Work in manageable sections
Plan your exit route before starting.
You do not want to finish staining the entire deck and discover that you have trapped yourself on the wrong side.
Step 17: Let the Finish Cure Before Using the Deck
Do not put furniture back immediately.
Dry-to-touch and ready-for-use are not necessarily the same thing.
Wait for the amount of time specified by the finish manufacturer before allowing:
- Foot traffic
- Furniture
- Rugs
- Planters
- Pets
Curing can be affected by weather.
If conditions are cool or humid, the finish may need more time.
How to Restore a Weathered Gray Deck
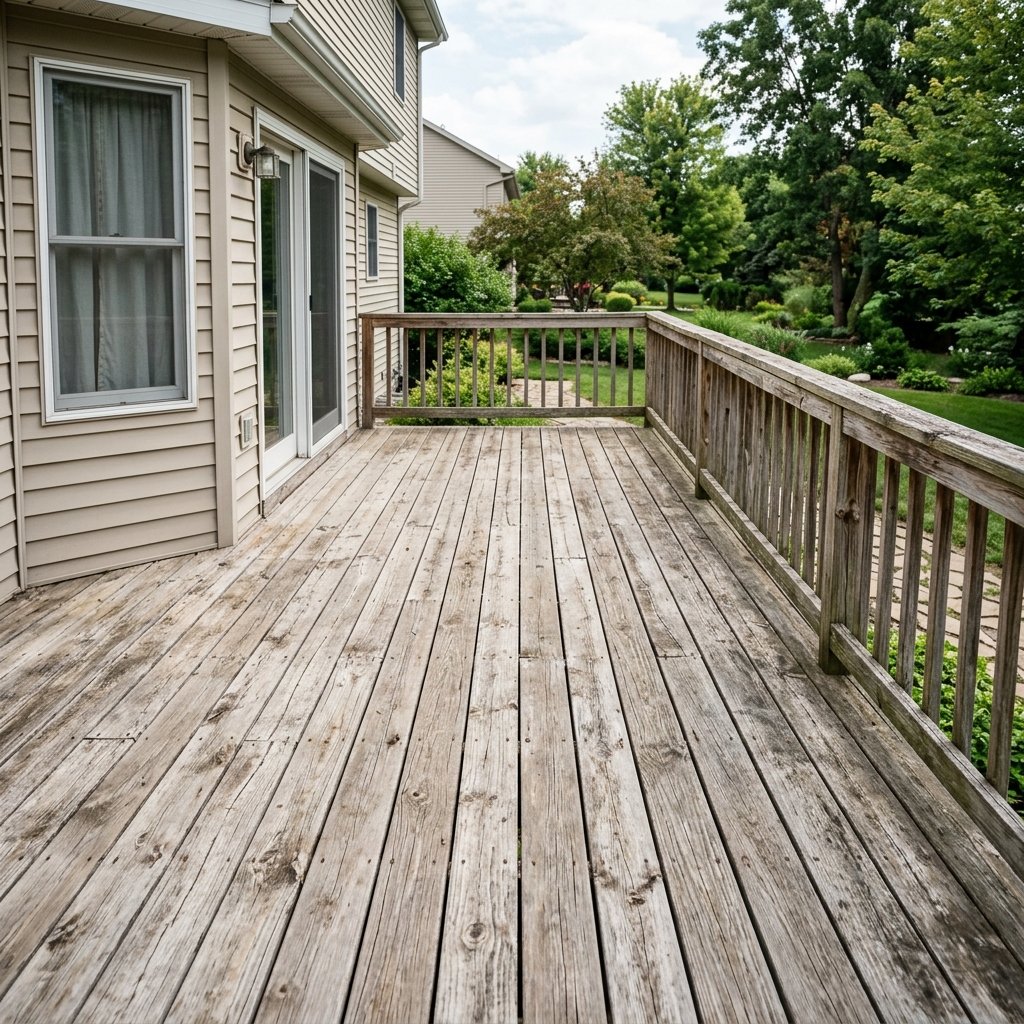
Gray wood is not automatically ruined.
Exterior wood often turns gray from sun and weather exposure.
If the boards are still structurally sound, cleaning and preparation may reveal much more natural color.
Depending on the condition, you may need:
- Cleaner
- Appropriate brightener or prep product
- Drying
- Sanding
- New finish
Use only products intended for your deck material and follow the system’s instructions.
Do not assume bleach or harsh household chemicals are the right solution.
How to Restore a Deck Without Replacing It
If most boards are sound, focus on selective repairs.
Replace only damaged pieces, secure loose fasteners, clean thoroughly, sand rough areas, and apply a compatible finish.
This can create a dramatic visual improvement without rebuilding the entire deck.
However, if the framing is deteriorated or connections are failing, cosmetic restoration is not enough.
How to Restore an Old Deck on a Budget
The most budget-friendly approach is to spend money where it matters.
Prioritize:
- Safety repairs
- Cleaning
- Surface preparation
- Quality exterior finish
You may be able to save by:
- Reusing existing furniture
- Cleaning instead of replacing boards that are still sound
- Refinishing railing instead of rebuilding it
- Staining rather than adding new decorative features
Avoid skipping preparation to save money.
Poor prep can shorten the life of the new finish and force you to redo the project sooner.
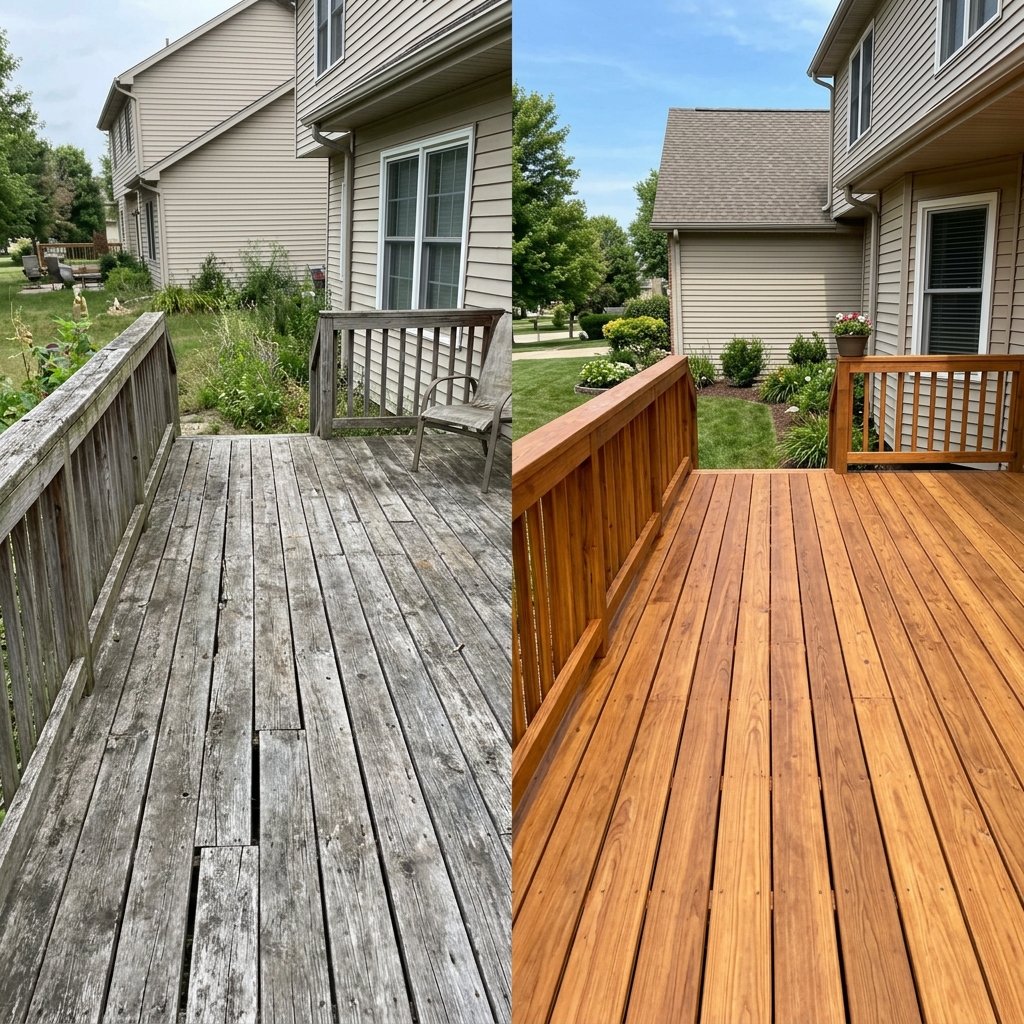
Deck Restore Before and After: What Makes the Biggest Difference?
The most dramatic visual improvements usually come from:
Removing Dirt
Even healthy wood can look old when covered with grime.
Repairing Damage
Broken boards and raised fasteners make the entire deck look neglected.
Evening Out the Surface
Light sanding can reduce splinters and roughness.
Applying a Cohesive Finish
A consistent stain can unify boards with different levels of weathering.
Cleaning the Railings
Railings occupy a large visual area and strongly affect the finished look.
How to Choose a Deck Stain Color
Think about the house exterior as a whole.
Consider:
- Siding
- Trim
- Brick
- Stone
- Roofing
- Outdoor furniture
Popular directions include:
Natural Warm Brown
Classic and versatile.
Medium Walnut
Adds richness without looking too dark.
Soft Brown-Gray
Works well with many modern exteriors.
Dark Brown
Creates stronger contrast but may show dust and heat differently depending on conditions.
Nearly Natural
Keeps the wood appearance as visible as possible.
Test the color on your actual deck whenever possible.
How to Restore Deck Railings
Railings often fade faster because they are exposed on multiple sides.
Clean them thoroughly.
Sand any rough hand-contact areas.
Repair loose components before coating.
Use smaller brushes for:
- Posts
- Balusters
- Corners
- Detailed areas
Watch for drips on vertical surfaces.
How to Restore a Deck With Peeling Stain
Peeling usually means the existing coating is no longer properly bonded.
Do not simply coat over loose finish.
Remove failing material according to the requirements of the new coating system.
That may involve:
- Stripping
- Scraping
- Sanding
- Cleaning
The new finish needs a sound surface to bond or penetrate properly.
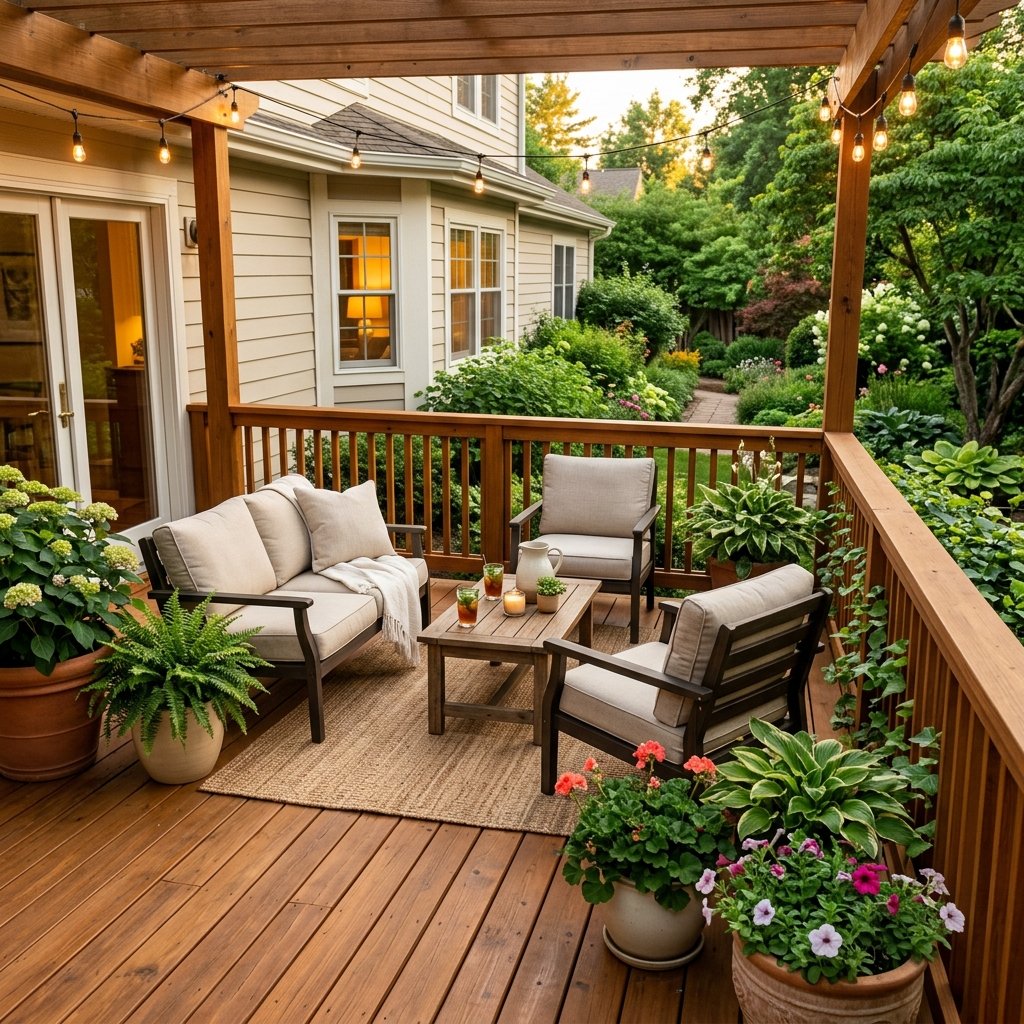
How to Make an Old Deck Look More Modern
Once the restoration is complete, you can update the overall appearance with simple decor changes.
Try:
- Black planters
- Neutral outdoor cushions
- Modern outdoor rug
- Simple furniture
- Large-scale greenery
- Warm string lights
Keep the deck itself relatively neutral.
This makes it easier to change outdoor decor over time.
Common Deck Restoration Mistakes
Staining Dirty Wood
Dirt and buildup can interfere with the finish.
Skipping Structural Inspection
A pretty surface does not fix an unsafe deck.
Using Too Much Pressure
Aggressive pressure washing can damage wood.
Staining Before the Deck Is Dry
Moisture can affect coating performance.
Ignoring Old Finish Compatibility
New stain may not work properly over the existing coating.
Choosing Color Without Testing
Deck stain often looks different on real boards.
Applying Too Much Product
Heavy application can lead to poor appearance or performance depending on the product.
Putting Furniture Back Too Soon
This can mark or damage uncured finish.
Covering the Deck With Rugs Immediately
Wait until the coating system allows rugs and choose outdoor rugs that do not trap persistent moisture.
Deck Restoration Safety Tips
Deck restoration involves tools, chemicals, elevated surfaces, and potentially structural issues.
Keep these precautions in mind:
- Inspect stairs, railings, posts, and framing before cosmetic work.
- Do not use an unstable deck.
- Wear eye protection, gloves, hearing protection, and suitable dust protection.
- Follow cleaner, stripper, stain, and sealer labels.
- Never mix cleaning chemicals unless specifically directed by the manufacturer.
- Protect plants and surrounding surfaces according to product instructions.
- Use power washers cautiously.
- Keep electrical equipment and cords appropriate for outdoor conditions.
- Follow ladder safety practices.
- Check for hidden fasteners before cutting reclaimed or old boards.
- Keep children and pets away from the work area.
- Allow coatings to dry and cure fully before use.
- Seek professional evaluation for major rot, structural movement, failing connections, or unstable railings.
FAQ About Deck Restore Projects
Can an old deck be restored?
Yes, if the structure is still sound. Weathered boards, faded stain, surface dirt, and minor damage can often be repaired and refinished.
Do I need to sand my deck before staining?
It depends on the surface condition and coating system. Sanding is often helpful for splinters, raised grain, or failing finish, but follow the stain manufacturer’s preparation instructions.
Can I stain over old deck stain?
Sometimes, but only if the old finish is compatible, well bonded, and properly prepared. Peeling or incompatible coatings generally need additional removal.
Should I pressure wash before staining?
Pressure washing can be useful when done carefully, but it is not always required. Cleaning is necessary; the exact method depends on the deck material and condition.
How long should a deck dry before staining?
There is no universal time. Weather, wood, shade, and cleaning method affect drying. Follow the coating manufacturer’s moisture and drying requirements.
What is the best color for restoring an old deck?
There is no single best color. Medium natural browns are versatile, while more opaque finishes can help visually unify boards with greater color variation.
Can I restore a deck myself?
Many homeowners can handle cleaning, light repairs, sanding, and refinishing. Structural repairs, major rot, elevated deck concerns, electrical issues, or complicated framing may require qualified professional help.
Final Thoughts
A successful deck restore project begins long before the stain goes on.
Start by making sure the deck is structurally sound.
Repair damaged boards, tighten or replace failing fasteners, clean the surface thoroughly, remove incompatible or peeling coatings, and allow the wood to dry properly.
Then sand rough areas and test your chosen finish before applying it across the entire deck.
Good preparation takes time, but it is what gives the final result a cleaner, more consistent appearance.
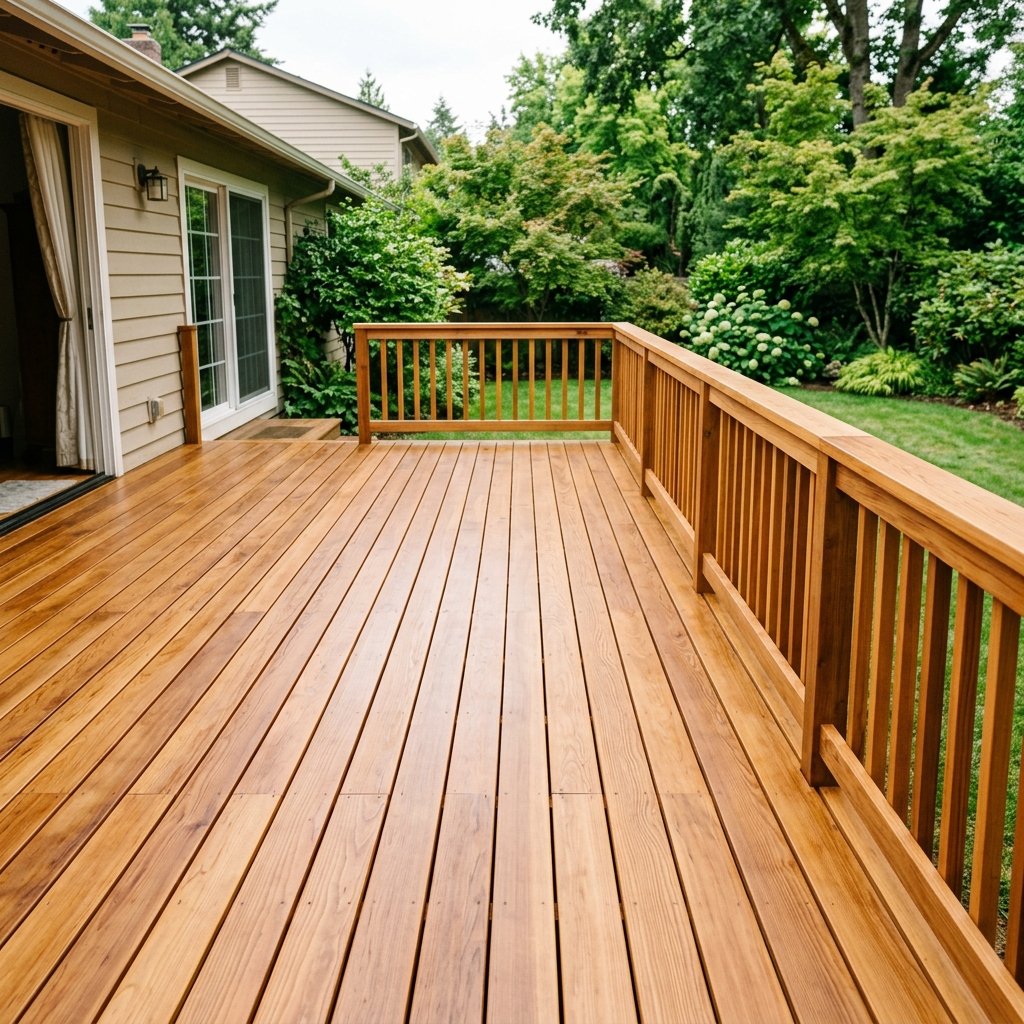
Once the new finish has fully cured, add your furniture and outdoor decor back gradually.
With repaired boards, a refreshed finish, clean railings, and a few simple outdoor accessories, an aging deck can once again feel like an inviting part of the backyard rather than a project you have been avoiding.

