

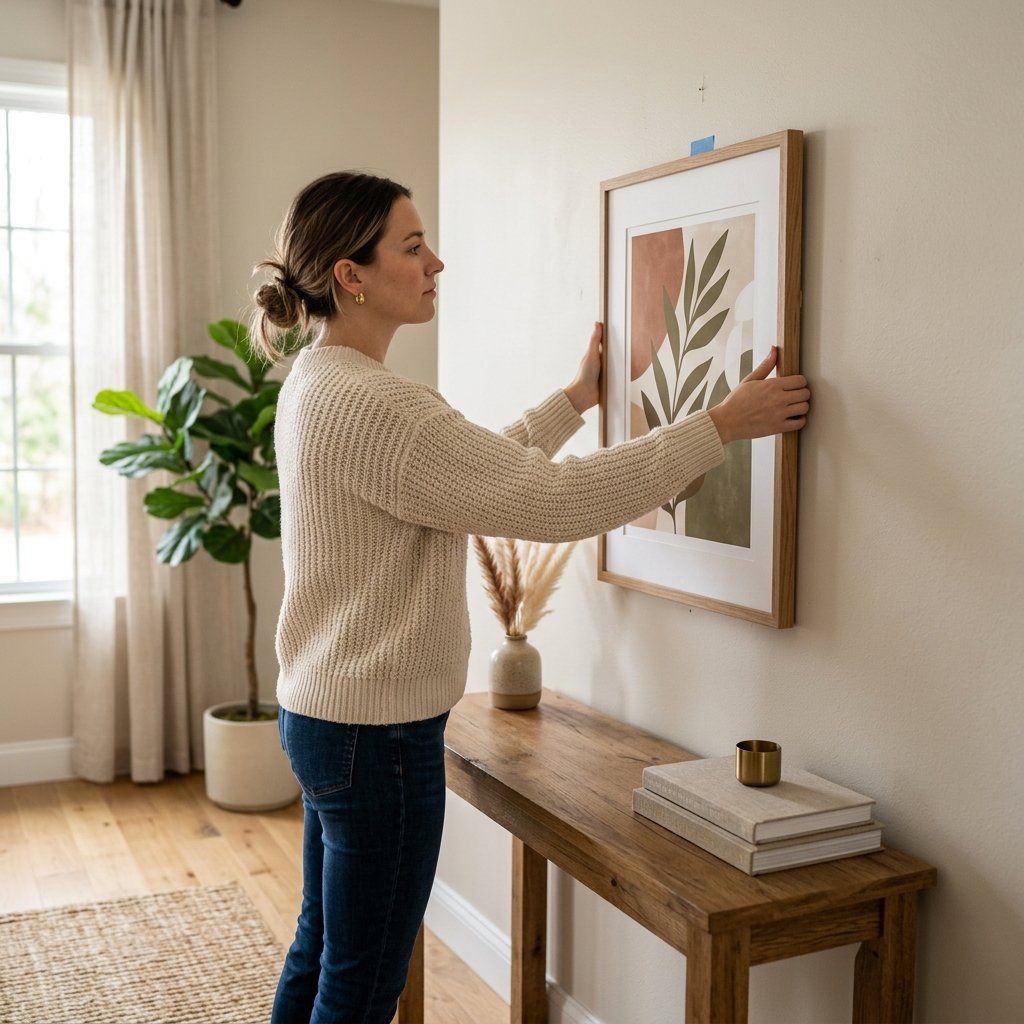
Knowing how to hang a picture properly can make a room look more finished in just a few minutes.
The challenge is not usually the artwork itself. It is choosing the right height, finding the best placement, selecting suitable hardware, and making sure the frame is secure once it is on the wall.
A picture hung too high can feel disconnected from the furniture below it. A frame that is too small for the wall can look lost. And the wrong hook or fastener can damage the wall or fail under the weight of the artwork.
The good news is that hanging a picture is a beginner-friendly home project when you take a few basic precautions.
This guide covers how to measure, choose hardware, hang a single frame, arrange art above furniture, create a gallery wall, work with different wall types, and avoid the most common picture-hanging mistakes.
What You Need to Hang a Picture
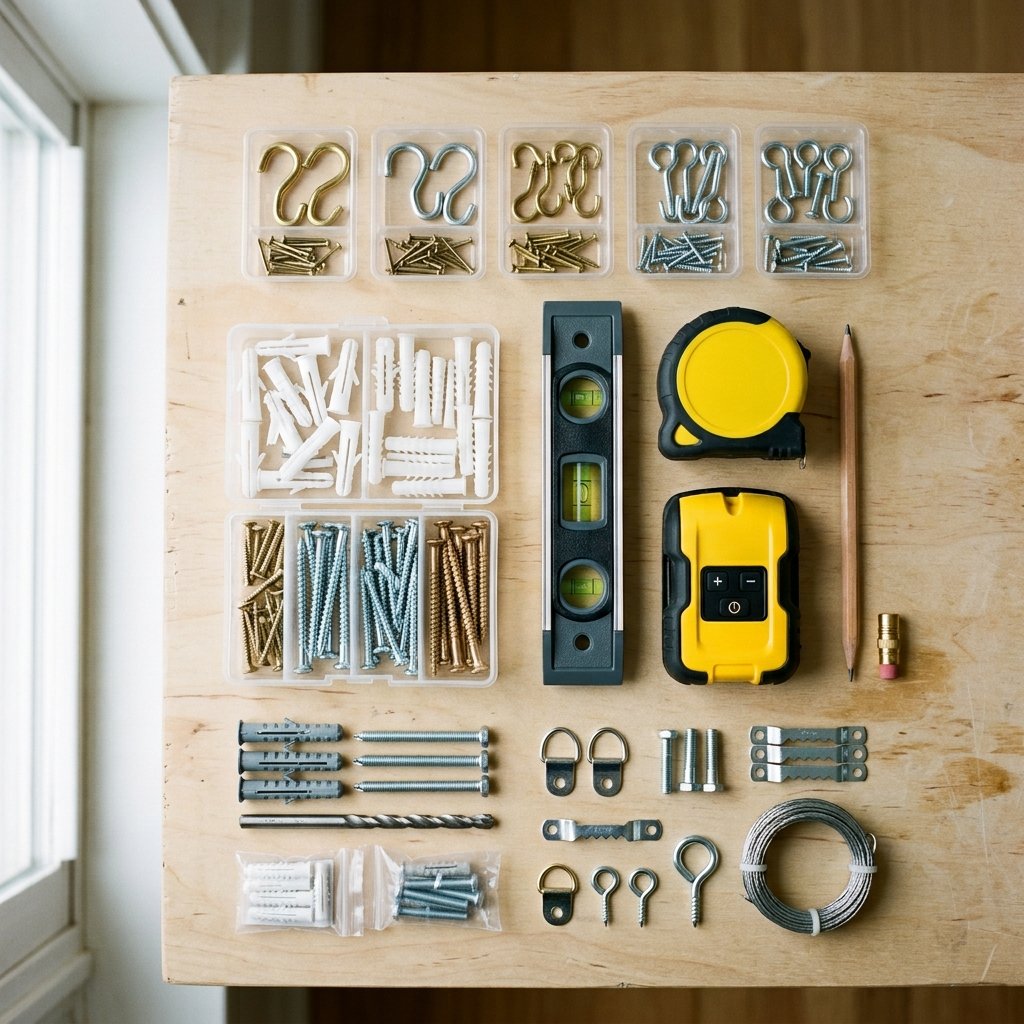
The exact supplies depend on the frame and wall, but you may need:
- Tape measure
- Pencil
- Level
- Painter’s tape
- Picture hook
- Nail
- Screw
- Wall anchor
- Stud finder
- Hammer
- Drill
- Appropriate drill bit
- Screwdriver
- Hanging wire or frame hardware
- Paper template, optional
Always check the weight of the picture and use hanging hardware designed to support it.
If the frame came with manufacturer instructions, follow those first.
Step 1: Decide Where the Picture Should Go
Before making a hole in the wall, step back and look at the room.
Consider:
- Furniture placement
- Wall width
- Ceiling height
- Nearby windows
- Other artwork
- Lighting
- Visual balance
The picture should feel connected to the room rather than randomly placed.
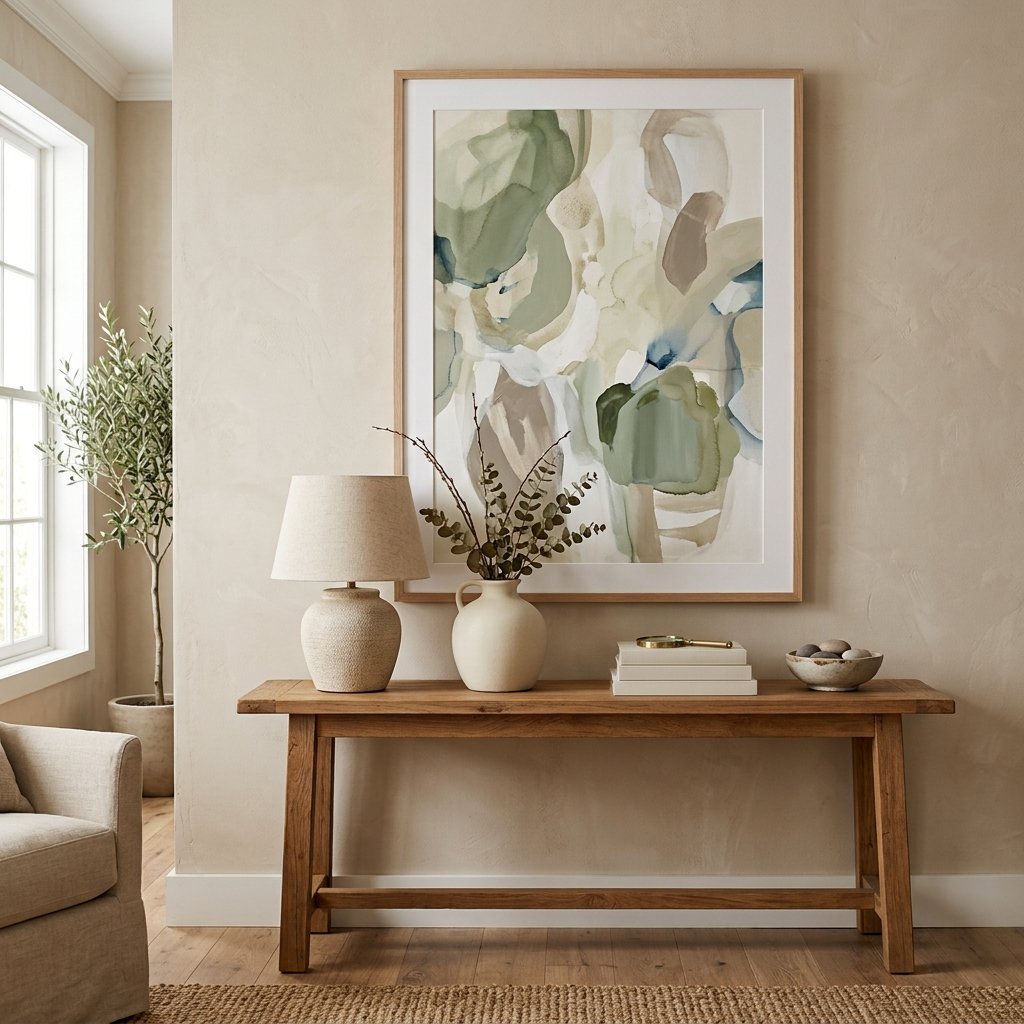
If you are hanging artwork above furniture, center it visually over the furniture rather than automatically centering it on the entire wall.
For example, a picture over a console table should usually relate to the console.
Step 2: Choose the Right Height
One of the most common picture-hanging mistakes is placing artwork too high.
For a single piece on an open wall, a useful starting point is to place the center of the artwork around typical eye level.
That is only a starting point.
You may need to adjust based on:
- Ceiling height
- Furniture below
- Artwork size
- Whether people are usually seated or standing in the room
The goal is for the artwork to feel visually connected to the space.
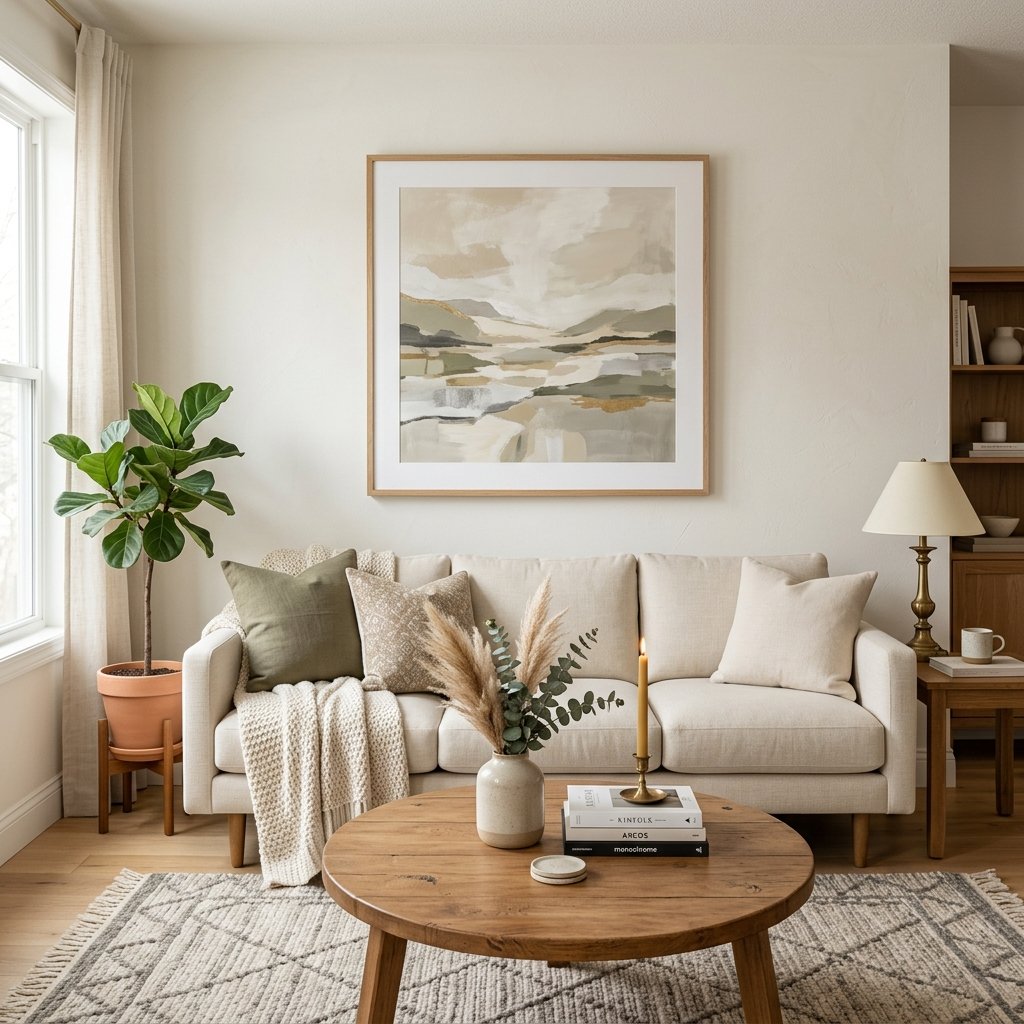
How High Should a Picture Be Above a Sofa?
When hanging artwork above a sofa, avoid leaving a large empty gap.
The picture should feel grouped with the furniture below it.
A relatively modest space between the sofa back and the bottom of the frame usually looks more intentional than hanging the artwork near the ceiling.
Large artwork may sit a little higher than smaller pieces, but it should still feel connected to the sofa.
Step 3: Check the Picture Hardware
Turn the frame over and see how it is designed to hang.
Common options include:
- Sawtooth hanger
- D-rings
- Picture wire
- Keyhole slots
- French cleat
- Built-in mounting bracket
Make sure the hardware is firmly attached to the frame.
Do not hang a heavy frame from small decorative hardware that was not designed for the load.
If the frame has two D-rings, it may be designed to hang from two hooks rather than from a wire.
Using two attachment points can also help keep larger artwork level.
Step 4: Weigh or Estimate the Picture Carefully
Weight matters because it determines what type of wall fastener you need.
A lightweight frame may be suitable for a simple picture hook.
A heavier mirror or artwork may require:
- Larger rated hooks
- Wall anchors
- Screws
- Stud attachment
- Specialty mounting hardware
Do not guess when the item is heavy.
Use the weight rating provided by the hanging hardware manufacturer and choose a system appropriate for your wall type.
Step 5: Check the Wall Type
Before choosing a fastener, identify the wall.
Common wall types include:
- Drywall
- Plaster
- Wood paneling
- Brick
- Concrete
Each one may require different hardware and installation methods.
Drywall anchors are not automatically suitable for every wall.
Brick and concrete may require masonry-rated fasteners and drill bits.
Older plaster walls can be more fragile and may need a different approach than modern drywall.
Step 6: Find Studs if Needed
If the artwork is heavy, locating a wall stud can provide a strong attachment point.
Use a stud finder appropriate for the wall.
Mark the location lightly with a pencil.
Remember that walls can contain electrical wiring, plumbing, and other utilities.
Do not drill or drive long fasteners blindly, especially near:
- Outlets
- Switches
- Plumbing fixtures
- Kitchens
- Bathrooms
- Utility walls
If you are unsure what is inside the wall, investigate before drilling.
Step 7: Measure From the Frame to the Hanging Point
This step helps you place the nail or screw correctly.
If the frame has a picture wire:
- Pull the wire upward as it will sit when hung.
- Measure from the top of the frame to the highest point of the wire.
- Use that measurement to determine where the wall hook needs to go.
If the frame has D-rings or keyhole slots, measure their exact location from the top and sides of the frame.
This is much more accurate than guessing.
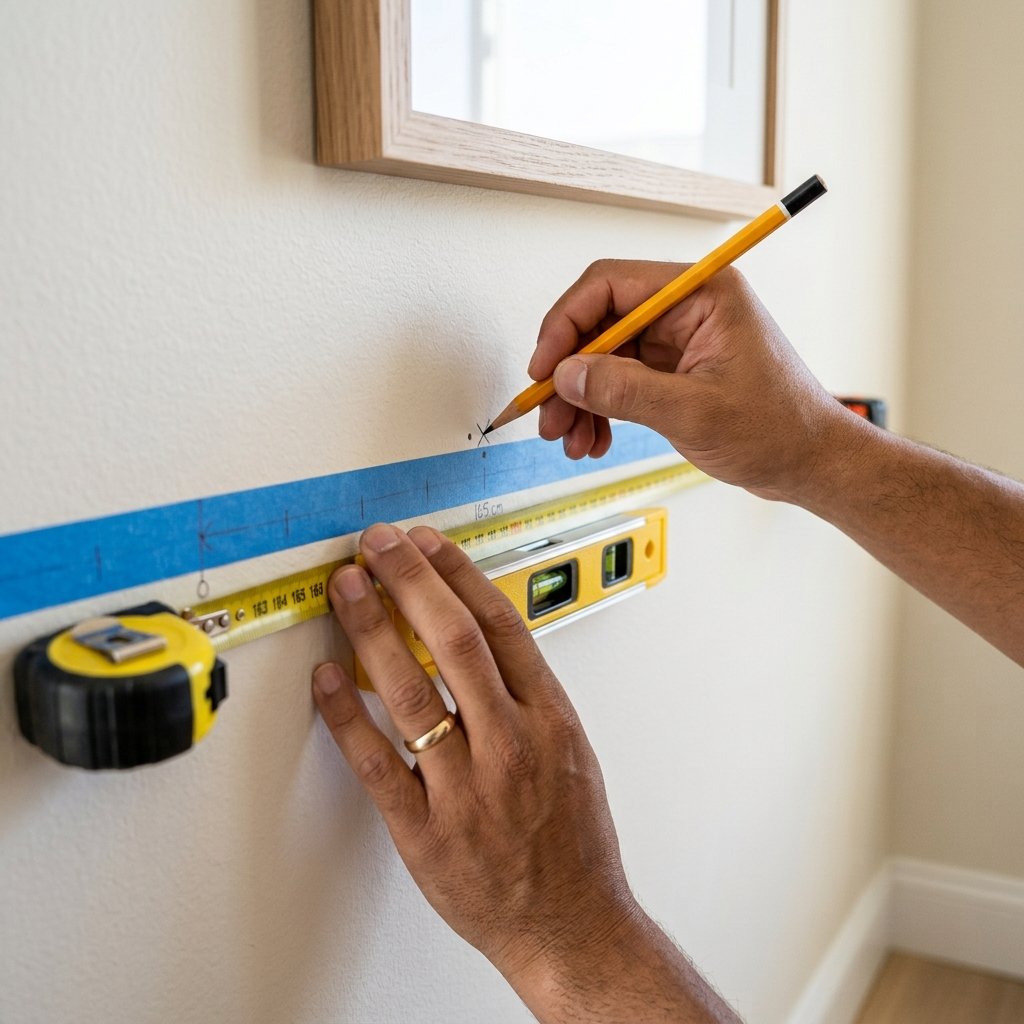
Step 8: Mark the Wall
Once you know the desired picture position and hanging point, mark the wall lightly.
Painter’s tape can be useful if you do not want to draw directly on the wall.
Use a level if you are installing:
- Two hooks
- Two screws
- A cleat
- Multiple frames
Double-check the measurements before drilling or hammering.
Step 9: Install the Correct Hanging Hardware
Install the hook, nail, anchor, screw, or mounting system according to its instructions.
For a simple picture hook, angle and placement may be part of the design.
For wall anchors, make sure:
- The anchor is suitable for the wall
- The fastener matches the anchor
- The weight rating is appropriate
- Installation follows manufacturer directions
Do not substitute random screws or anchors just because they fit the hole.
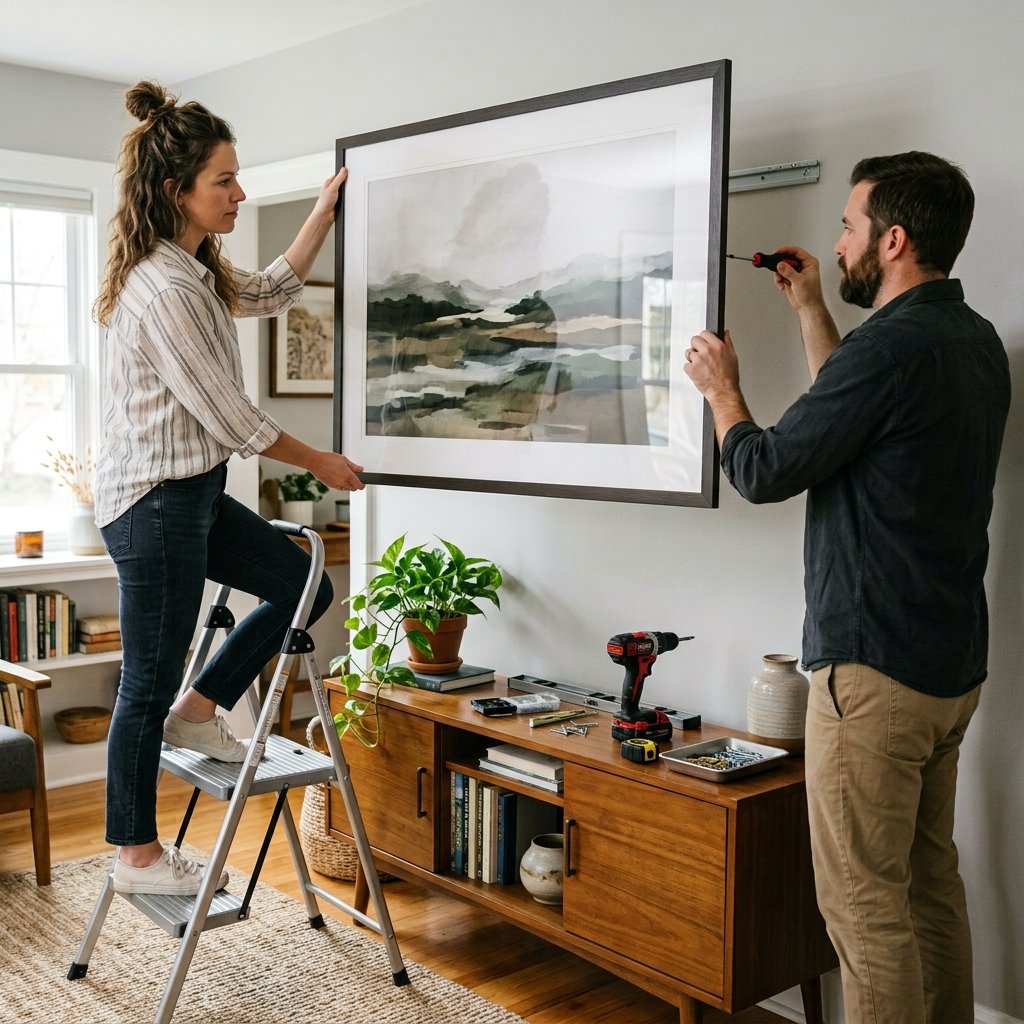
Step 10: Hang the Picture
Lift the frame carefully and place it onto the hardware.
For larger or heavier artwork, use a second person.
Do not stand on unstable furniture to reach the wall.
Use a stable step stool or ladder appropriate for the task.
Once the frame is hanging, keep one hand on it until you are sure the hardware has engaged properly.
Step 11: Level the Picture
Place a level on the top edge of the frame.
Adjust gently until straight.
If the picture shifts easily, small frame bumpers on the lower corners can help stabilize it and protect the wall.
Do not keep forcing a heavy frame into position if the hardware seems loose.
Take it down and correct the attachment instead.
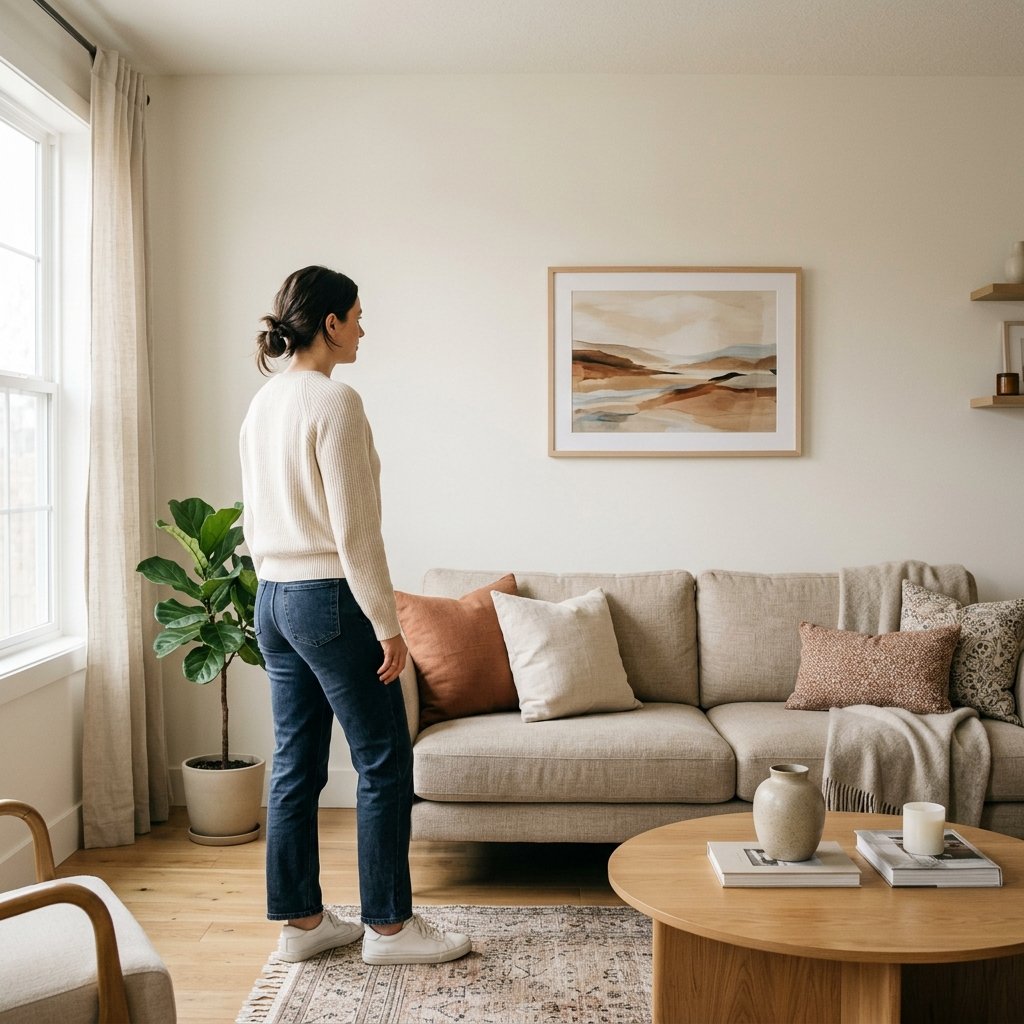
Step 12: Step Back and Check the Placement
Stand across the room and look at the picture.
Ask:
- Does it feel too high?
- Is it centered over the furniture?
- Does it feel too small?
- Is it balanced with nearby objects?
Sometimes a frame can be technically level but still look wrong because its placement is off.
Visual balance matters just as much as measurement.
How to Hang a Picture With Wire
Picture wire is common on medium-size frames.
Pull the wire upward before measuring so you know where it will actually rest.
Do not measure the loose wire while it is sagging.
The wire should be securely attached to the frame hardware and suitable for the weight.
For larger frames, two hooks can distribute the load and reduce shifting.
How to Hang a Picture With D-Rings
D-rings are often installed near the upper sides of the frame.
Some frames are intended to hang directly from two wall hooks.
Measure:
- Distance between the rings
- Distance from each ring to the top of the frame
Transfer those measurements carefully to the wall.
Use a level between the two marks.
How to Hang a Picture With a Sawtooth Hanger
Sawtooth hangers work well for many small, lightweight frames.
Center the wall hook or nail beneath the hanger.
Because the sawtooth provides several small adjustment points, it is easy to make minor leveling corrections after the frame is on the wall.
Use it only within the weight limits of the frame and hanging hardware.
How to Hang a Heavy Picture
Heavy artwork requires more planning.
You may need:
- Stud-mounted screws
- Heavy-duty wall anchors
- French cleat
- Multiple mounting points
The exact method depends on the wall and frame.
Do not rely on a small nail for a heavy frame.
If you are hanging a very large mirror or valuable piece and are unsure about the wall structure or hardware, professional installation may be worthwhile.
How to Hang a Picture Without Nails
If you are renting or want fewer holes in the wall, removable adhesive hanging products may be an option for some lightweight frames.
Before using them:
- Check the product weight rating
- Confirm wall surface compatibility
- Follow cleaning and curing instructions
- Avoid using on unsuitable finishes
- Follow removal instructions carefully
Adhesive products are not appropriate for every wall, frame, temperature, or humidity condition.
Do not use them for heavy or valuable artwork unless the manufacturer specifically allows it.
How to Hang Pictures on Drywall
For lightweight art, a suitable picture hook may be enough.
For heavier items, use:
- Stud attachment
- Appropriate drywall anchor
- Rated hanging system
Do not assume every hollow-wall anchor has the same load capacity.
The actual holding strength can depend on installation, drywall condition, wall thickness, and hardware type.
How to Hang Pictures on Plaster Walls
Plaster can crack if handled aggressively.
Use hardware and drilling techniques appropriate for plaster construction.
Older homes may also have lath behind the plaster.
Be cautious with brittle surfaces and avoid hammering repeatedly in the same area.
If the plaster is already loose or damaged, repair it before hanging heavy artwork.
How to Hang a Picture on Brick
Brick requires masonry-compatible hardware.
Depending on the project, you may need:
- Masonry drill bit
- Masonry anchor
- Appropriate screw
- Specialty brick hook
Follow the hardware instructions carefully.
If drilling, determine whether the fastener should go into the brick or mortar based on the specific mounting system and installation requirements.
How to Hang a Picture on Concrete
Concrete generally requires rated masonry hardware and appropriate drilling equipment.
Use eye protection and follow tool instructions.
For larger or heavier artwork, make sure the fastener and anchor are designed for the expected load.
How to Hang a Picture Above a Console Table
Artwork should visually relate to the console.
A useful approach is to choose artwork that is substantial enough to hold the wall without extending far beyond the furniture.
Center it over the console unless the entire arrangement is intentionally asymmetrical.
Then style the console with a few objects that do not compete with the artwork.
For example:
- Lamp
- Small vase
- Stack of books
- Decorative bowl
How to Hang Pictures in a Gallery Wall
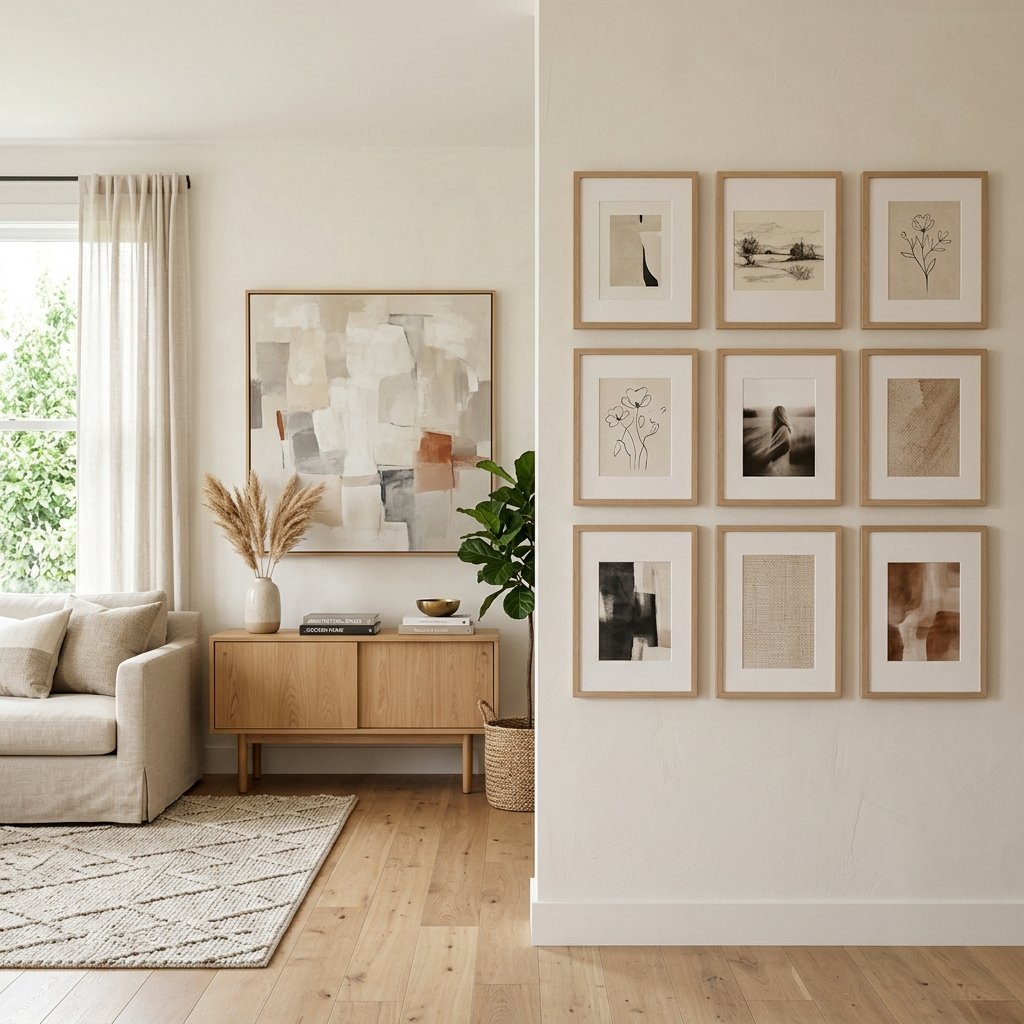
Gallery walls require more planning than a single frame.
Lay the arrangement out on the floor first.
Then trace the frames onto paper if helpful.
Tape the paper templates to the wall.
Adjust until the spacing feels right.
Keep gaps reasonably consistent so the collection reads as one composition.
You can organize gallery walls around:
- Center line
- Large anchor frame
- Grid
- Organic arrangement
The frames do not have to match, but repeating one or two colors or materials can create cohesion.
How to Hang Two Pictures Side by Side
Treat two frames as one larger composition.
Measure the combined width, including the gap between them.
Center that full arrangement over the furniture or wall area.
Keep the space between the frames visually consistent.
Use a level to make sure the tops or centers align according to your intended layout.
How to Hang Three Pictures
Three pictures can be arranged:
- In a straight row
- Vertically
- As a loose group
Equal spacing usually creates the cleanest look.
For matching frames, consistent alignment is especially important.
How to Hang Pictures Above a Bed
The artwork should feel connected to the bed rather than floating high above it.
Choose a piece or grouping that has enough visual width to relate to the headboard.
Keep heavy frames securely mounted.
In areas where artwork could fall onto someone sleeping, use especially secure attachment methods and avoid questionable hardware.
How to Hang Pictures on a Staircase
Staircase galleries can follow the rise of the stairs.
Instead of creating a perfectly horizontal arrangement, use the slope as a visual guide.
Plan the full layout with paper templates before making holes.
Keep frames securely attached because stairways are high-traffic spaces where artwork may be bumped.
How to Make Picture Placement Look More Professional
A few details make a big difference.
Hang Art in Relation to Furniture
Do not treat the wall and furniture as separate designs.
Choose the Right Scale
Tiny artwork on a huge wall often looks unfinished.
Keep Spacing Consistent
Especially in grouped arrangements.
Use a Level
Do not rely entirely on your eyes.
Repeat Frame Finishes
A small amount of repetition creates cohesion.
Leave Some Empty Wall Space
Not every wall needs artwork.
Common Picture-Hanging Mistakes
Hanging Art Too High
This makes the picture feel disconnected from the furniture.
Using Hardware That Is Too Weak
Always match the hardware to the frame and wall.
Guessing Instead of Measuring
Even small measurement errors can become obvious.
Ignoring Wall Type
Drywall, plaster, wood, brick, and concrete need different approaches.
Using One Small Picture on a Huge Wall
Scale matters.
Hanging Heavy Artwork From Decorative Trim
Do not assume molding or wall panels can support a heavy frame unless designed for it.
Drilling Without Checking the Wall
Utilities may be hidden behind the surface.
Hanging Valuable Art With Questionable Adhesive
Use a secure mounting system appropriate for the piece.
Picture-Hanging Safety Tips
Hanging artwork is simple, but a falling frame can cause damage or injury.
Keep these precautions in mind:
- Use hardware rated for the picture’s weight.
- Choose fasteners appropriate for the wall type.
- Attach heavy items to framing or use a suitable rated system where needed.
- Do not drill blindly where wiring or plumbing may be present.
- Use a stud finder where appropriate.
- Use a stable ladder or step stool.
- Ask for help lifting large or heavy frames.
- Keep heavy artwork especially secure above beds, sofas, cribs, or other frequently occupied areas.
- Follow removable adhesive product instructions exactly.
- Replace damaged hanging wire or loose frame hardware before installation.
- Stop if the wall feels weak, damaged, or unsuitable for the load.
FAQ About How to Hang a Picture
What is the easiest way to hang a picture straight?
Measure the hanging point carefully, mark the wall, install the hardware, and use a level after the frame is in place.
How high should pictures be hung?
Eye level is a useful starting point on an open wall, but artwork should also relate to nearby furniture and the proportions of the room.
How do I hang a heavy picture?
Use hardware rated for the weight and appropriate for the wall type. Stud attachment, heavy-duty anchors, or a cleat system may be appropriate depending on the frame.
Can I hang a picture without making holes?
For some lightweight frames, removable adhesive hanging products may work if they are compatible with the wall and used according to the manufacturer’s instructions.
How do I know if I need a wall anchor?
It depends on the picture weight, wall material, fastener location, and hardware system. If you are not fastening into suitable framing, a rated anchor may be required.
Should artwork be centered on the wall or furniture?
When artwork hangs above furniture, centering it in relation to the furniture often creates better visual balance than centering it on the entire wall.
How do I stop a picture from moving crooked?
Two attachment points or small frame bumpers can help stabilize the frame.
Final Thoughts
Learning how to hang a picture is less about hammering in a nail and more about getting the placement, proportion, and hardware right.
Start by deciding where the artwork should sit in relation to the room and the furniture below it.
Then identify the frame hardware, check the wall type, choose a fastener that can safely support the weight, and measure the hanging point carefully before making a hole.
Once the frame is installed, use a level and step back to check the overall balance.
For most everyday artwork, those simple steps are enough to create a cleaner, more professional result.
For large, heavy, valuable, or unusually mounted pieces, take extra time with the hardware and wall structure.
A securely hung picture should not only look good—it should stay safely in place.

