

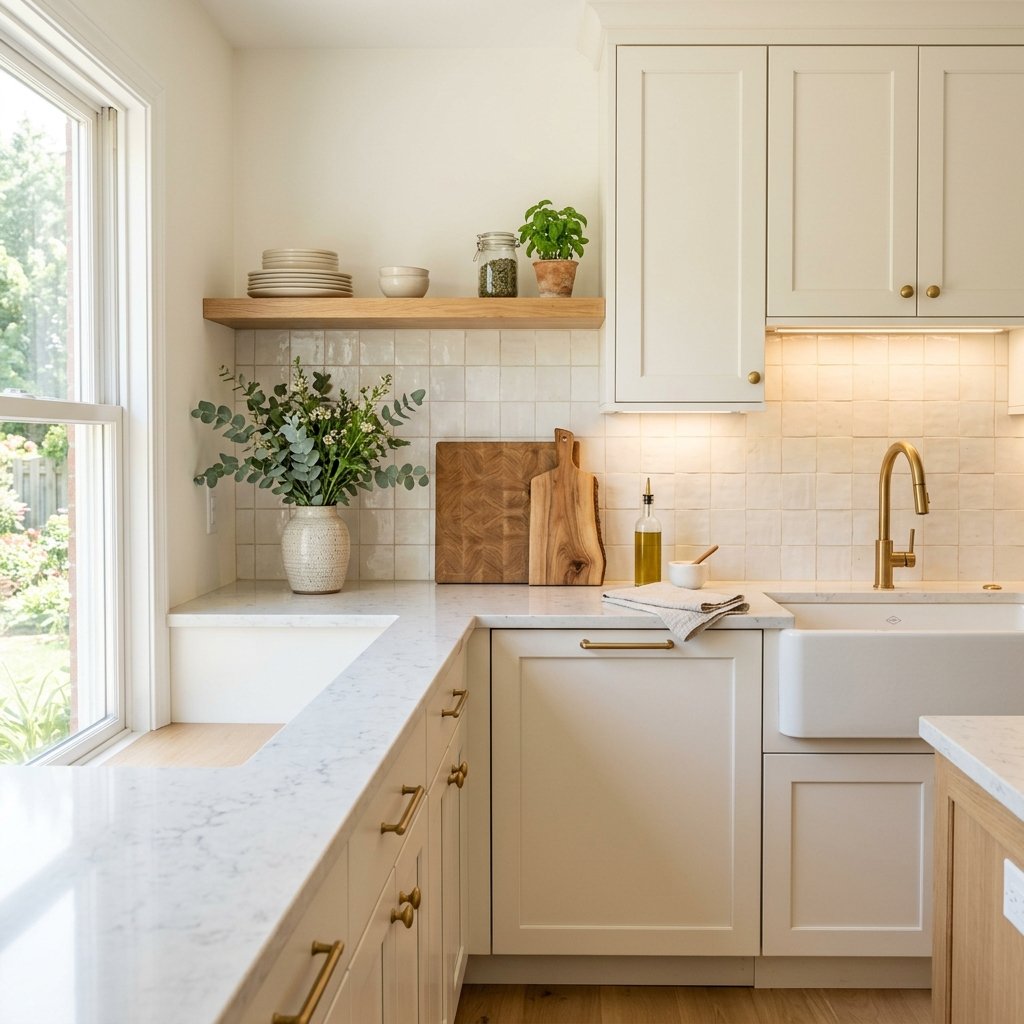
A kitchen makeover doesn’t have to mean tearing out cabinets, replacing countertops, or spending thousands on a complete renovation.
With the right projects, you can give your kitchen a completely different feel while working with the layout and features you already have. A DIY kitchen makeover is all about making strategic changes that improve the appearance, functionality, and personality of your space.
Whether your kitchen feels outdated, boring, dark, or simply doesn’t reflect your style anymore, there are plenty of ways to refresh it without starting from scratch.
From painting cabinets and changing hardware to improving lighting and organizing your countertops, even relatively simple projects can make a dramatic difference.
The key is to focus your time and budget on the areas that have the biggest visual impact.
Here are 15 DIY kitchen makeover ideas to help you transform your kitchen into a space you’ll actually love spending time in.
1. Start With a Deep Clean and Declutter
Before buying paint, hardware, or decor, start with a clean slate.
Remove everything from your countertops and temporarily take items out of your cabinets and drawers.
Clean:
- Cabinet doors
- Countertops
- Backsplash
- Appliances
- Baseboards
- Light fixtures
- Cabinet interiors
Then decide what actually belongs in the kitchen.
Get rid of expired food, broken utensils, duplicate items, and anything you never use.
A clutter-free kitchen can look dramatically different without spending a single dollar.
It also gives you a better idea of what actually needs to be changed.
2. Paint the Kitchen Cabinets
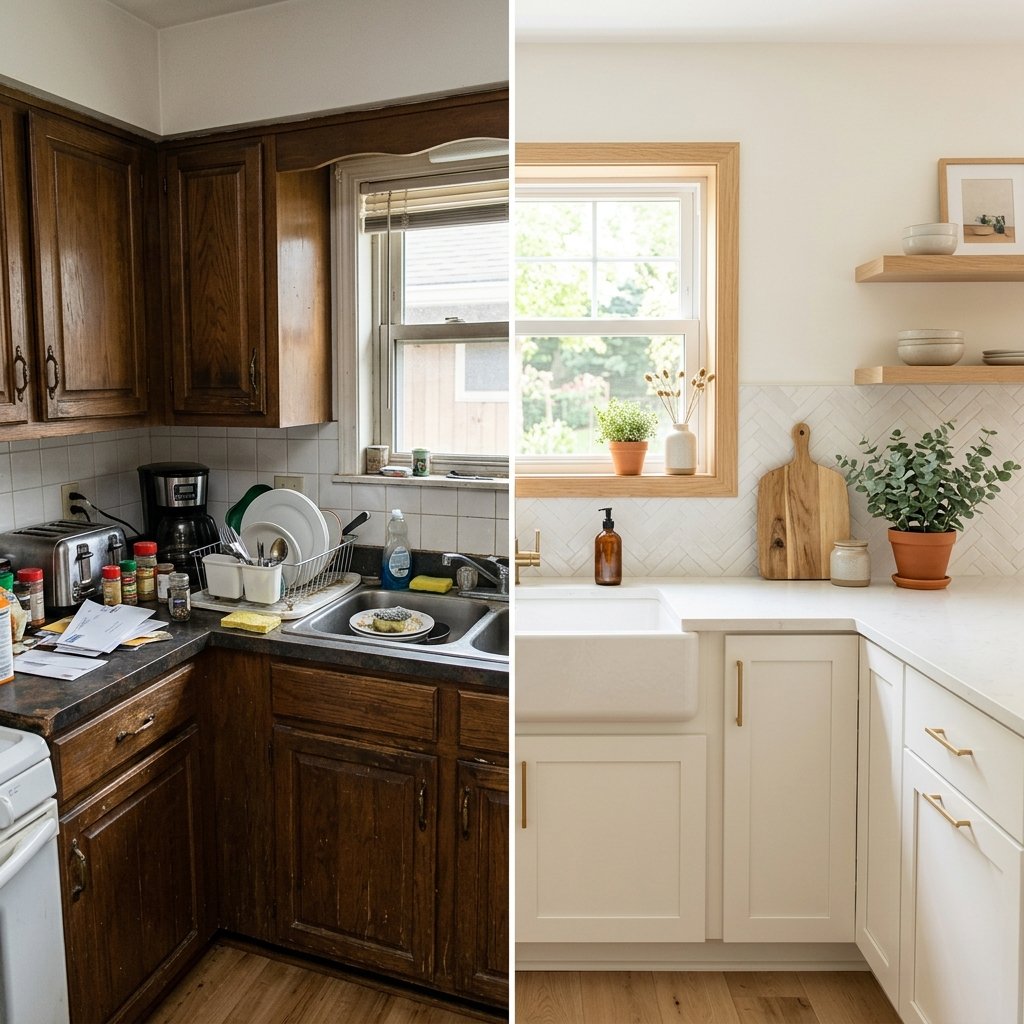
If your cabinets are structurally sound but look outdated, painting them can be one of the most transformative projects in a DIY kitchen makeover.
You can completely change the character of the room with a new cabinet color.
Popular choices include:
- Warm white
- Cream
- Soft gray
- Sage green
- Navy blue
- Charcoal
- Greige
For a classic look, try white or cream.
For something more dramatic, consider a deep green, blue, or charcoal.
However, don’t rush the painting process.
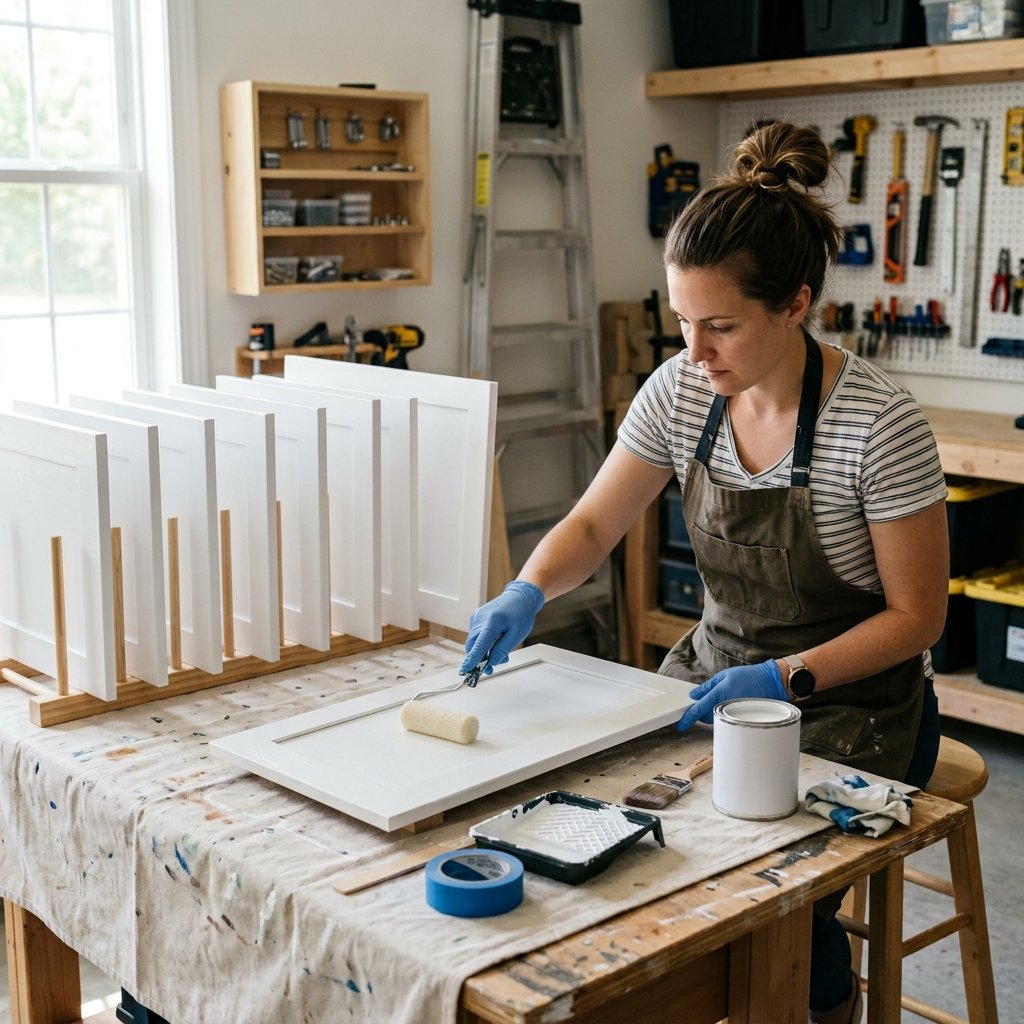
Proper cleaning, sanding, priming, and using an appropriate cabinet coating are essential for a durable finish.
Remove hardware and, when practical, remove cabinet doors before painting so you can achieve a cleaner result.
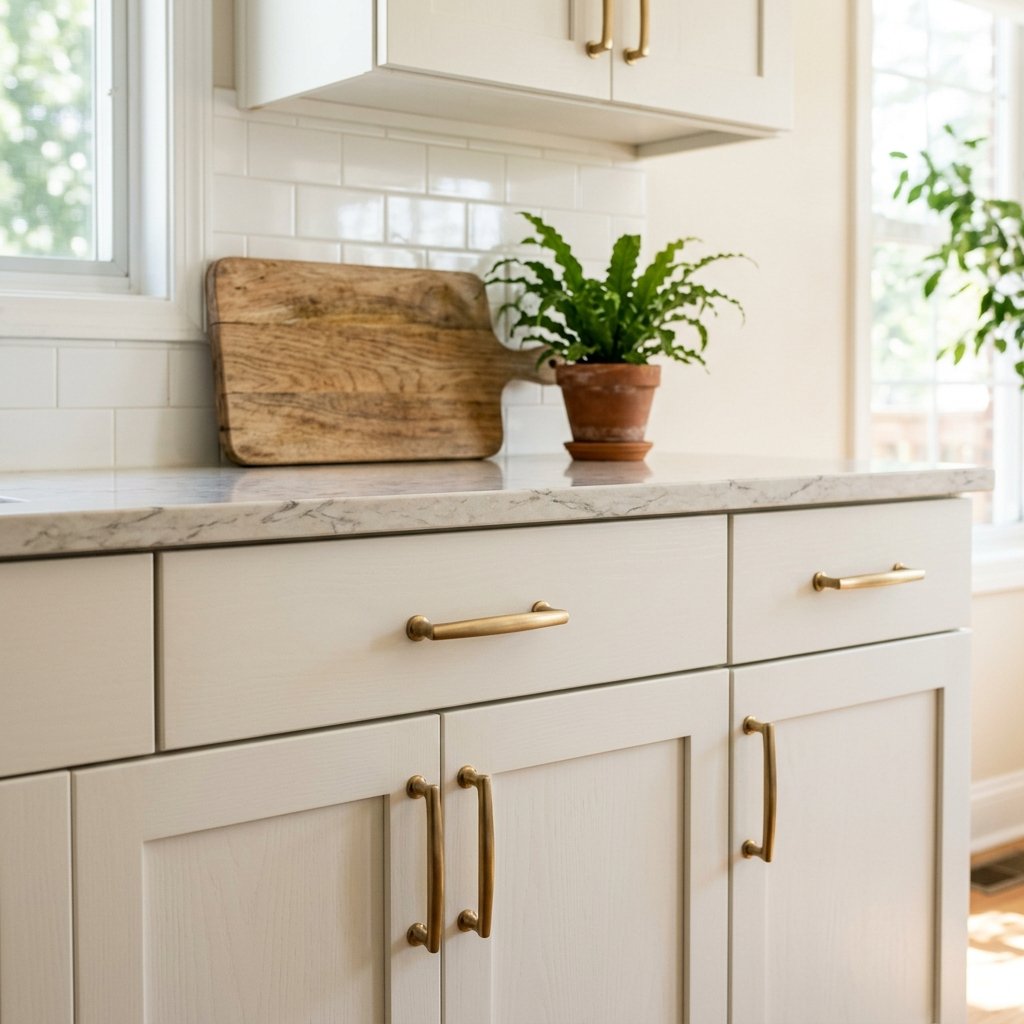
3. Replace Cabinet Hardware
If painting your cabinets feels like too much work, changing the hardware is an easier alternative.
New knobs and pulls can make existing cabinets feel surprisingly modern.
Consider:
Matte black
Great for modern, industrial, and farmhouse kitchens.
Brushed brass
Adds warmth and a sophisticated touch.
Brushed nickel
A versatile option that works with many kitchen styles.
Chrome
Good for crisp contemporary spaces.
Choose hardware that coordinates with your faucet and other visible metal finishes.
Before ordering, measure the existing screw-hole spacing if you’re replacing handles.
4. Upgrade the Kitchen Lighting
Lighting can completely change how your kitchen looks.
If your kitchen feels dark or dated, consider updating the light fixtures.
A new pendant light over an island can become a focal point.
A modern ceiling fixture can make the entire room feel more contemporary.
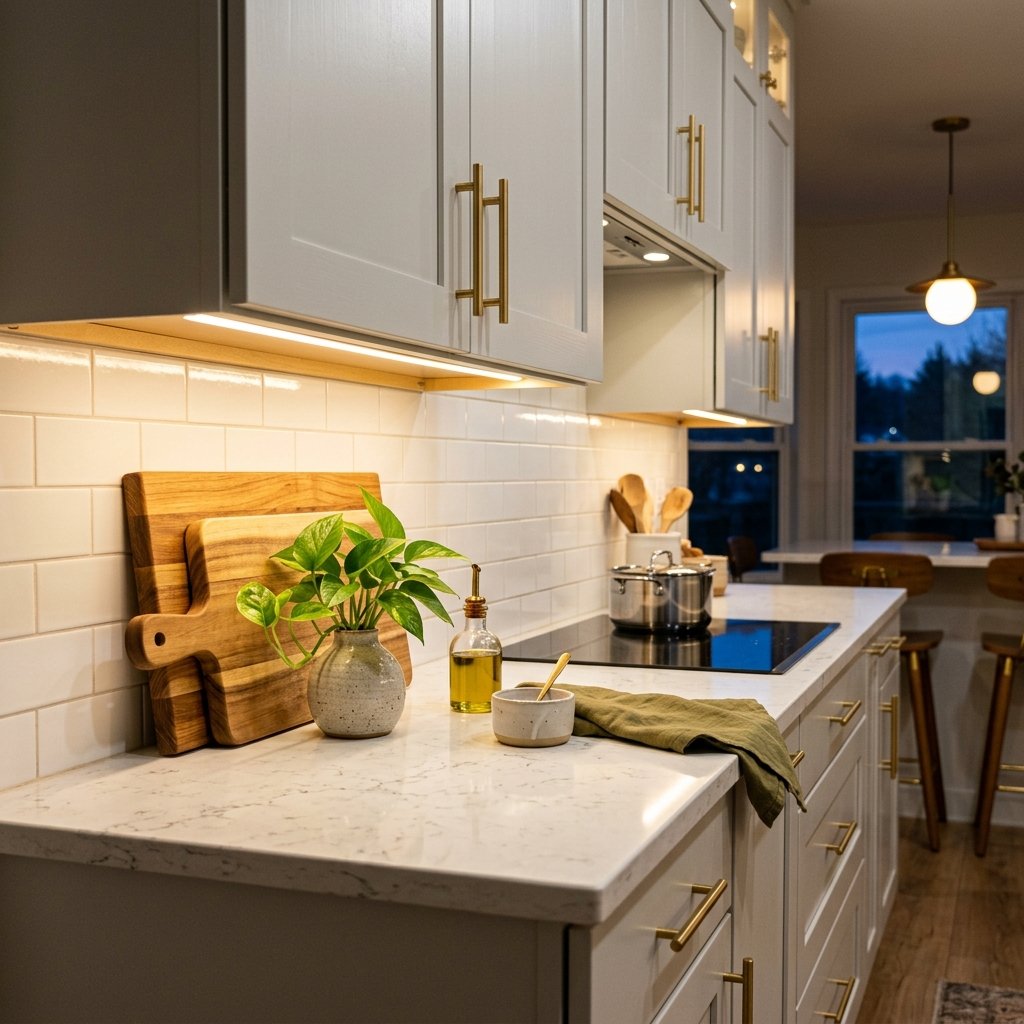
You can also add under-cabinet lighting to brighten your work surfaces.
When choosing fixtures, consider the size of your kitchen and the amount of existing light.
A beautiful fixture isn’t helpful if it overwhelms a small room.
5. Add Under-Cabinet Lighting
Under-cabinet lighting is a relatively small change that can have a big effect.
It can:
- Brighten countertops
- Make food preparation easier
- Create a warmer atmosphere
- Highlight your backsplash
- Make the kitchen feel more expensive
LED options can provide an easy way to introduce additional lighting without major electrical work, depending on the product and installation.
Choose lighting that complements the color temperature of your existing fixtures.
6. Give the Walls a Fresh Coat of Paint
One of the simplest ways to create a new look is to repaint the walls.
A fresh wall color can make your cabinets and countertops look completely different.
If the kitchen is small, light colors can help create an open feeling.
Try:
- Warm white
- Soft beige
- Light greige
- Pale blue
- Muted sage
If the rest of the kitchen is neutral, you can use the wall color to introduce a little more personality.
Before painting, clean the walls and repair holes or imperfections.
Good preparation will make the finished result much more professional.
7. Create a Simple Backsplash Upgrade
A backsplash can become a major focal point in a kitchen.
If your existing backsplash is outdated, you may be able to refresh its appearance without completely renovating the kitchen.
Depending on your existing surface, options can include painting suitable tile with a product specifically designed for that application or using removable backsplash products intended for kitchens.
Always check that the product is appropriate for the surface and location, particularly around areas exposed to heat and moisture.
If your backsplash is already attractive, you may not need to change it at all.
Sometimes better lighting and updated cabinet colors are enough to make it look completely different.
8. Replace the Kitchen Faucet
The faucet is another small feature with a surprisingly large visual impact.
If yours looks old or doesn’t coordinate with your new hardware, consider replacing it.
Popular finishes include:
- Matte black
- Brushed brass
- Stainless steel
- Chrome
For a cohesive look, coordinate the faucet with your cabinet hardware.
Before purchasing, check the number and spacing of holes in your existing sink or countertop.
A replacement that fits the existing configuration can simplify installation.
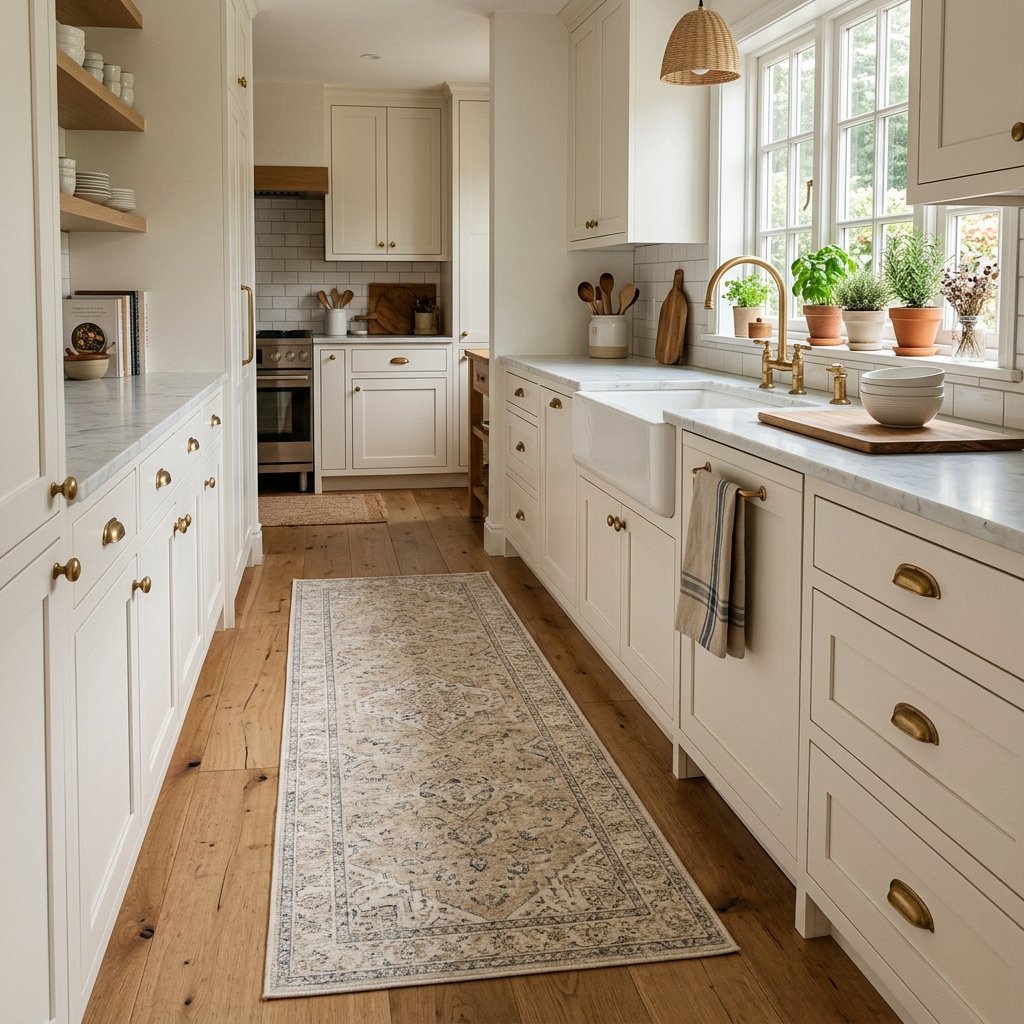
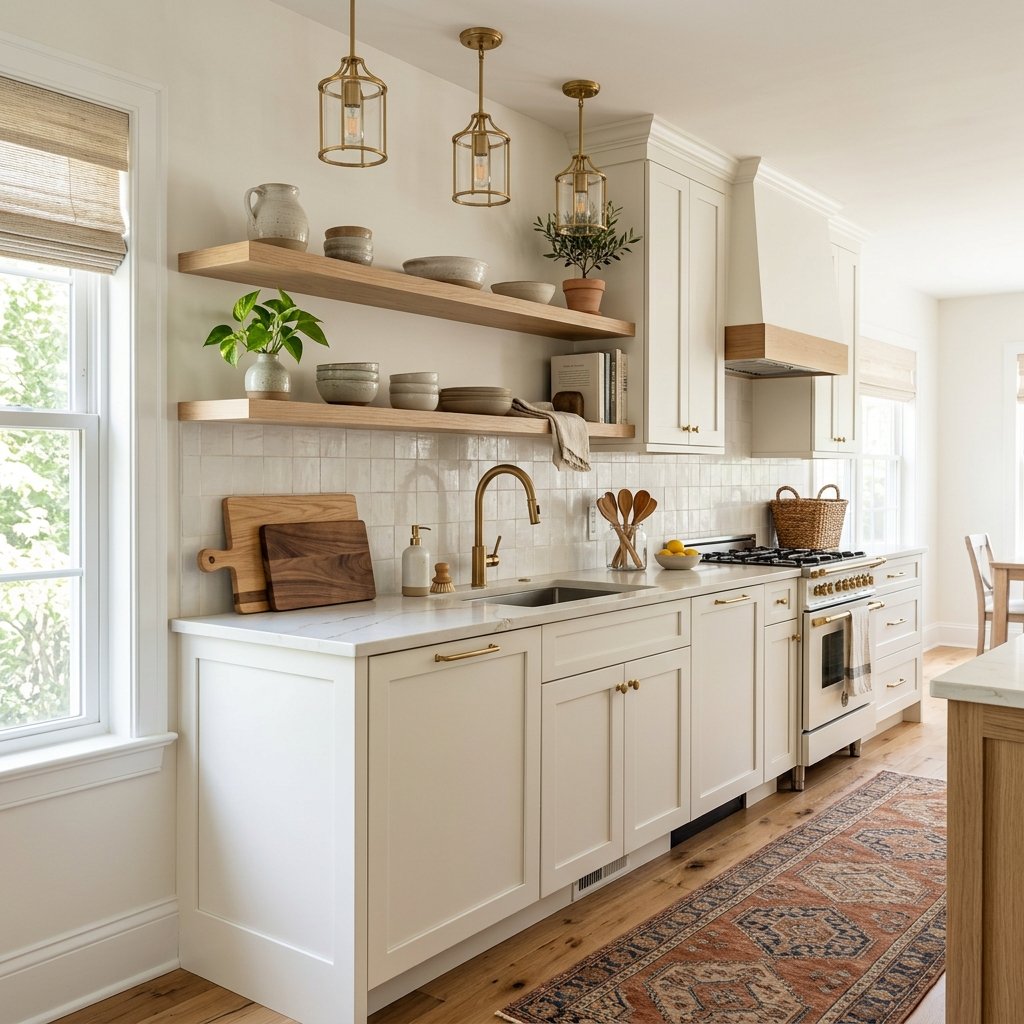
9. Add a Kitchen Runner
A runner is an easy way to introduce color, pattern, and texture.
Place one in front of your sink or along the main kitchen walkway.
If your kitchen is mostly white and neutral, a patterned runner can add personality.
If your cabinets and backsplash already have strong patterns, a simple neutral rug may work better.
For a busy kitchen, choose a rug that’s easy to clean and appropriate for high-traffic areas.
10. Add Open Shelves
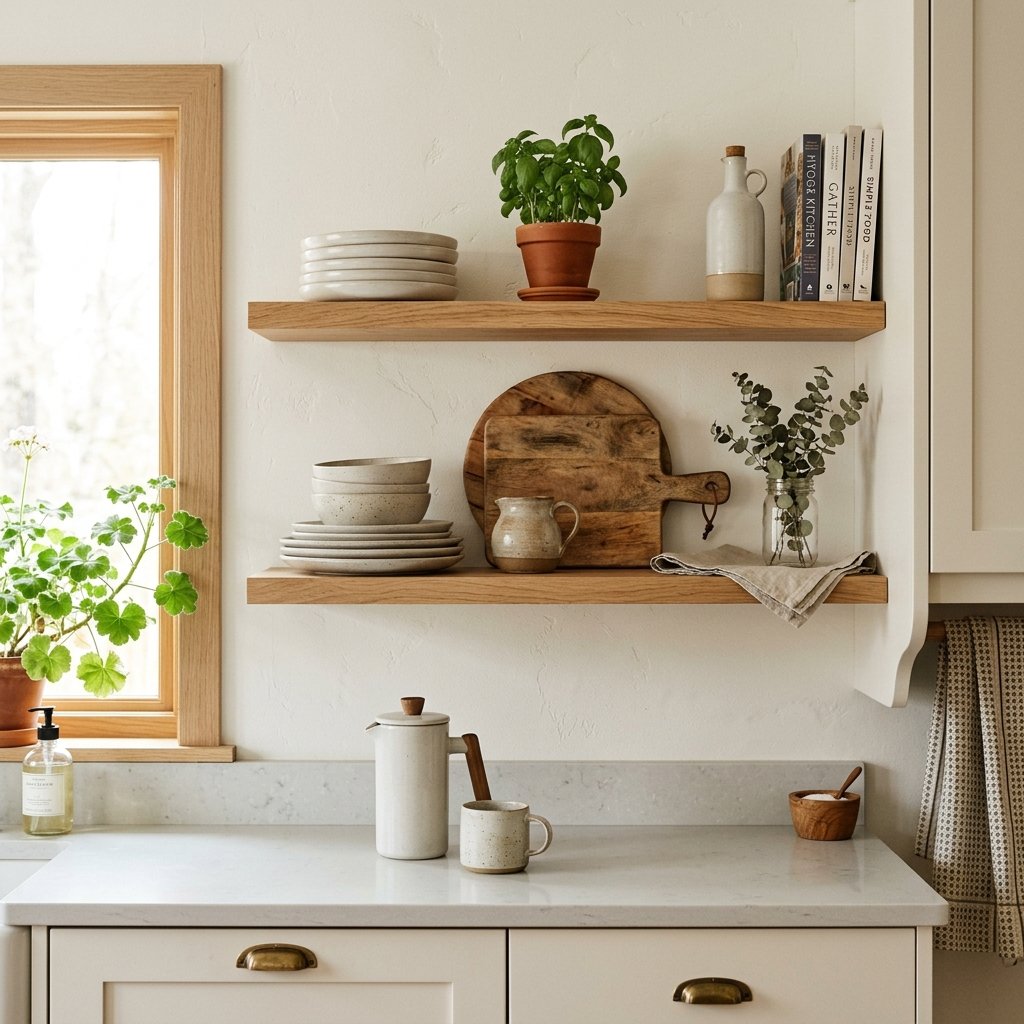
Open shelves can make a kitchen feel lighter and give you an opportunity to display your favorite items.
You don’t have to remove existing cabinets.
Instead, look for a small empty section of wall where one or two shelves could fit.
Style them with a combination of:
- Cookbooks
- Ceramic dishes
- Small plants
- Wooden cutting boards
- Decorative bowls
- Glassware
Avoid filling every inch.
Leaving some empty space will make the shelves look more intentional.
11. Upgrade Your Countertop Styling
You don’t necessarily need new countertops to make them look better.
Start by removing unnecessary appliances and clutter.
Then introduce a few intentional pieces.
Try grouping items on a tray.
For example:
- Coffee maker
- Small jar
- Mug
- Plant
Or create a cooking area with:
- Wooden cutting boards
- Olive oil bottle
- Ceramic utensil holder
- Small bowl
The goal is to make the countertop feel styled rather than crowded.
12. Add Natural Wood Accents
Natural wood is an easy way to add warmth to a kitchen.
You can introduce it through:
- Cutting boards
- Serving trays
- Shelves
- Bar stools
- Utensils
- Small decorative objects
Wood works especially well with white, cream, gray, green, and black kitchens.
A few carefully chosen pieces can make a newly painted kitchen feel warmer and less sterile.
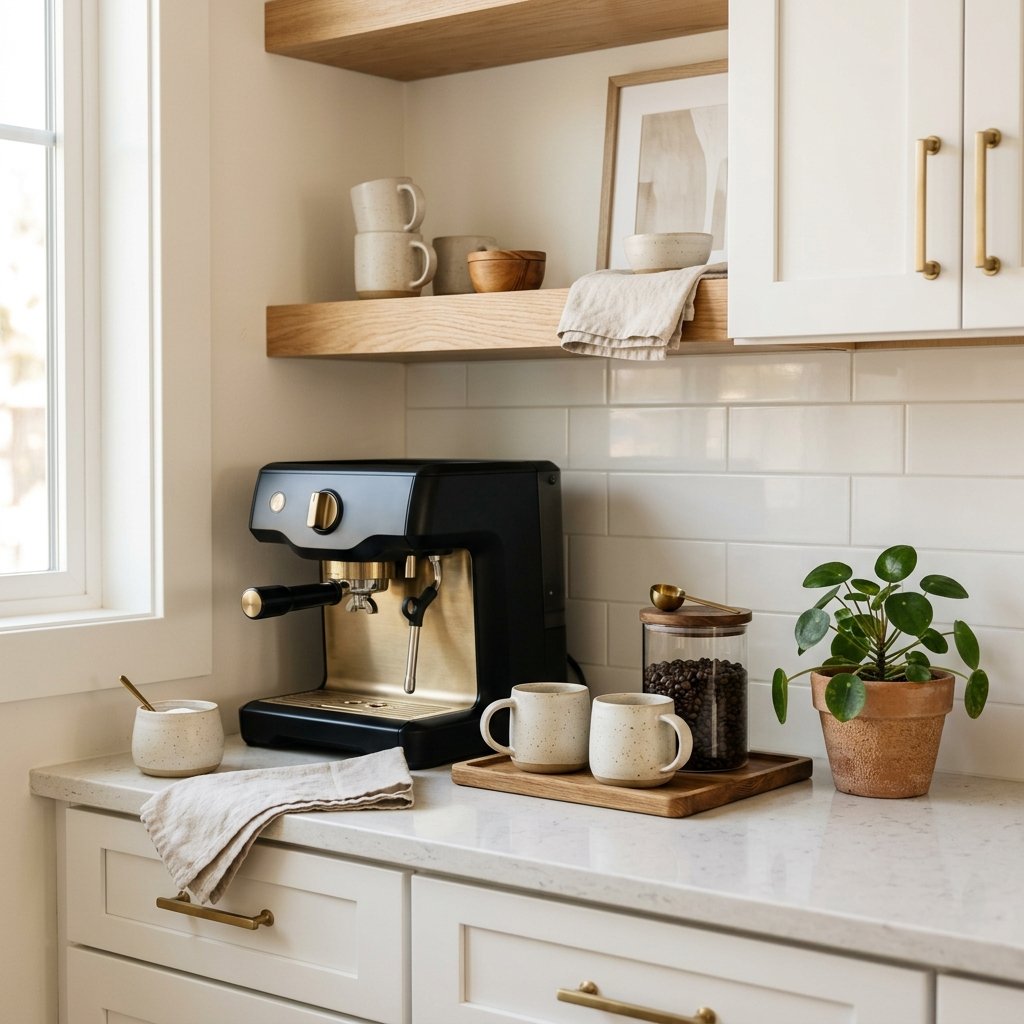
13. Create a Small Coffee or Beverage Station
If you have an unused section of counter, turn it into a dedicated beverage area.
Place your coffee maker, kettle, or favorite drink accessories on a tray.
Add a few mugs and a small storage container.
You can also hang a simple shelf above the station for additional storage.
This gives the kitchen a functional feature while making the countertop look intentional.
14. Organize the Pantry and Cabinets
A makeover isn’t only about how your kitchen looks.
It should also improve how the space functions.
Use baskets, shelf risers, clear containers, drawer dividers, or labels to organize your storage.
Group similar items together.
For example:
- Baking supplies
- Snacks
- Pasta and grains
- Spices
- Breakfast items
- Cleaning supplies
When everything has a place, the kitchen becomes easier to maintain.
An organized kitchen can also make your existing storage feel much larger.
15. Finish With Decor and Greenery
Once the bigger projects are complete, finish the makeover with a few decorative details.
Add:
- A small plant
- Framed artwork
- Decorative pottery
- Fresh flowers
- A wooden tray
- A bowl of fruit
- A few favorite cookbooks
Don’t add everything at once.
Choose pieces that complement the colors and materials already in your kitchen.
The goal is to create a kitchen that feels personal without becoming cluttered.
How to Plan Your DIY Kitchen Makeover
Before starting, make a simple list of everything you’d like to change.
Then divide your ideas into three categories:
Must change
These are things that genuinely bother you or affect functionality.
Nice to have
These upgrades would improve the appearance but aren’t essential.
Decorative
These are finishing touches you can add later.
This prevents you from spending your entire budget on small decorative items before addressing the changes that matter most.
DIY Kitchen Makeover on a Small Budget
You don’t need a huge budget to make noticeable improvements.
If money is tight, prioritize:
- Decluttering
- Deep cleaning
- Painting walls
- Changing cabinet hardware
- Adding a runner
- Improving countertop styling
- Adding plants
- Organizing cabinets
- Updating small decor
If you have more room in your budget, consider adding cabinet painting, new lighting, floating shelves, or a faucet replacement.
The secret is to make several small improvements that work together.
How to Make an Old Kitchen Look More Expensive
If you want your DIY makeover to have a more high-end appearance, focus on consistency.
Choose a limited color palette.
For example:
Warm white + natural wood + brass
or
Cream + black + wood
or
Sage green + brass + warm white
Then repeat those colors throughout the kitchen.
Use matching or complementary hardware, lighting, decor, and textiles.
This creates a cohesive appearance without requiring expensive materials.
Final Thoughts
A successful DIY kitchen makeover doesn’t have to involve demolition or a massive renovation budget.
Sometimes the most impressive transformations come from relatively simple changes: painting cabinets, replacing hardware, improving lighting, adding a beautiful runner, organizing storage, and introducing a few carefully chosen decorative elements.
Start with the areas that bother you most.
Don’t feel like you need to complete every project at once. Work through the makeover gradually and let each improvement build on the previous one.
With some planning, creativity, and a little DIY effort, you can turn an outdated kitchen into a space that feels fresh, functional, and completely your own—without the expense and disruption of a full remodel.

