

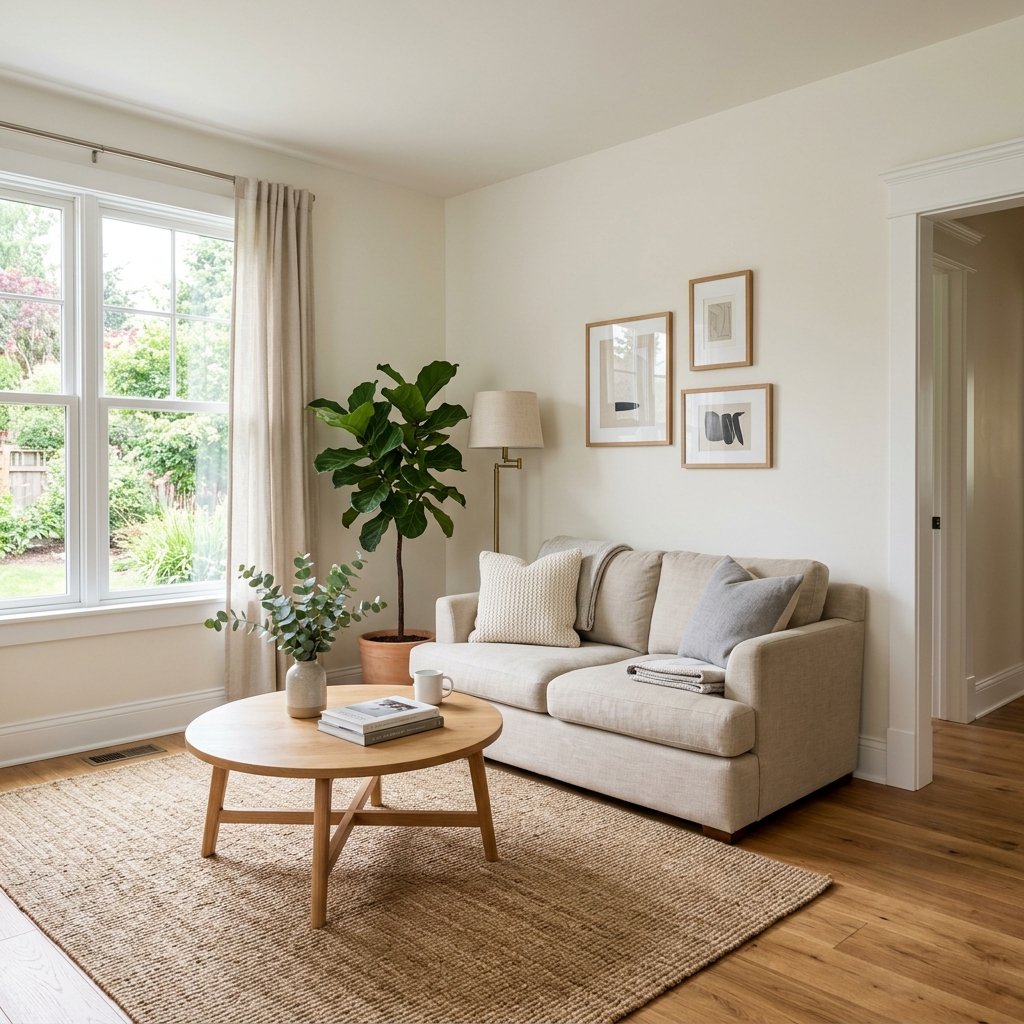
Learning how to paint walls and trim can completely change a room without requiring a major renovation.
Fresh paint makes walls look cleaner, brightens tired trim, and can give an entire space a more polished appearance. But the difference between a frustrating paint job and a professional-looking finish usually comes down to preparation, the order you work in, and taking your time around edges.
You do not need advanced DIY skills to paint a room successfully.
You do need clean surfaces, appropriate paint and primer, decent tools, careful preparation, and enough drying time between steps.
This guide walks through the entire process, including whether to paint walls or trim first, how to prepare the room, how to cut in, how to roll walls, and how to get cleaner lines where the wall meets the trim.
What You Need to Paint Walls and Trim
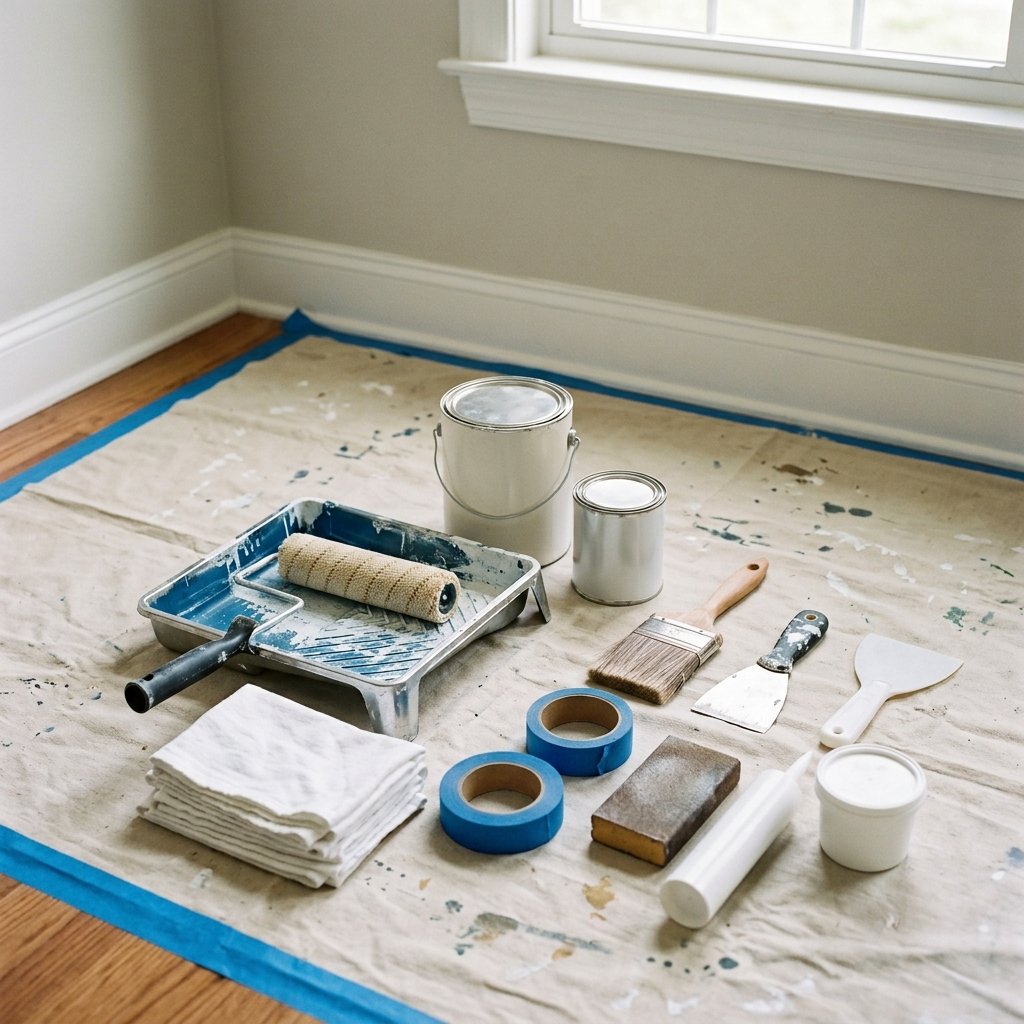
The exact supplies depend on your surfaces and paint system, but a typical room may require:
- Wall paint
- Trim paint
- Compatible primer if needed
- Quality angled paintbrush
- Paint roller
- Appropriate roller covers
- Roller tray or bucket
- Extension pole
- Painter’s tape
- Drop cloths
- Putty knife
- Appropriate patching compound
- Sanding sponge or sandpaper
- Caulk suitable for paintable interior joints
- Clean rags
- Mild cleaning supplies
- Vacuum
- Screwdriver
- Ladder or stable step stool
- Eye protection
- Gloves where appropriate
Check the paint manufacturer’s recommendations for compatible primers, application tools, surface preparation, temperature, ventilation, drying, and recoating.
Should You Paint Walls or Trim First?
There is more than one workable approach, but many DIY painters find it easier to paint the trim first, allow it to dry sufficiently, then paint the walls.
Why?
Trim generally requires more detailed brushwork. Once it has dried enough for the tape or technique you plan to use, you can create the wall edge without worrying as much about perfectly cutting the trim paint against a finished wall.
Another approach is:
- Ceiling
- Walls
- Trim
Professional painters may choose different sequences depending on the room, coatings, spraying versus brushing, and their preferred technique.
For a beginner using brushes and rollers, either sequence can work.
What matters most is allowing each surface to dry sufficiently before masking or painting against it.
For this guide, we will use:
Ceiling if needed → trim → walls → touch-ups
How to Paint Walls and Trim Step by Step
Step 1: Choose Your Paint Colors
Before preparing the room, decide on the wall and trim combination.
Classic options include:
- Warm white walls + crisp white trim
- Greige walls + warm white trim
- Beige walls + creamy trim
- Blue-gray walls + white trim
- Green walls + warm neutral trim
You can also use contrast trim.
Try:
- White walls + taupe trim
- Cream walls + mushroom trim
- Light walls + charcoal trim
- Neutral walls + muted green trim
Do not choose colors based only on a small digital image.
Test samples in the actual room and observe them in natural and artificial light.
Step 2: Decide on the Paint Sheen
Walls and trim do not necessarily need the same sheen.
Walls often use finishes designed to balance appearance with washability, while trim commonly uses a somewhat more durable or reflective finish.
The right choice depends on:
- Room
- Surface condition
- Desired appearance
- Cleaning needs
- Paint product
Higher-sheen finishes can highlight imperfections more readily.
Follow the manufacturer’s recommendations for your intended surface and use.
Step 3: Clear the Room
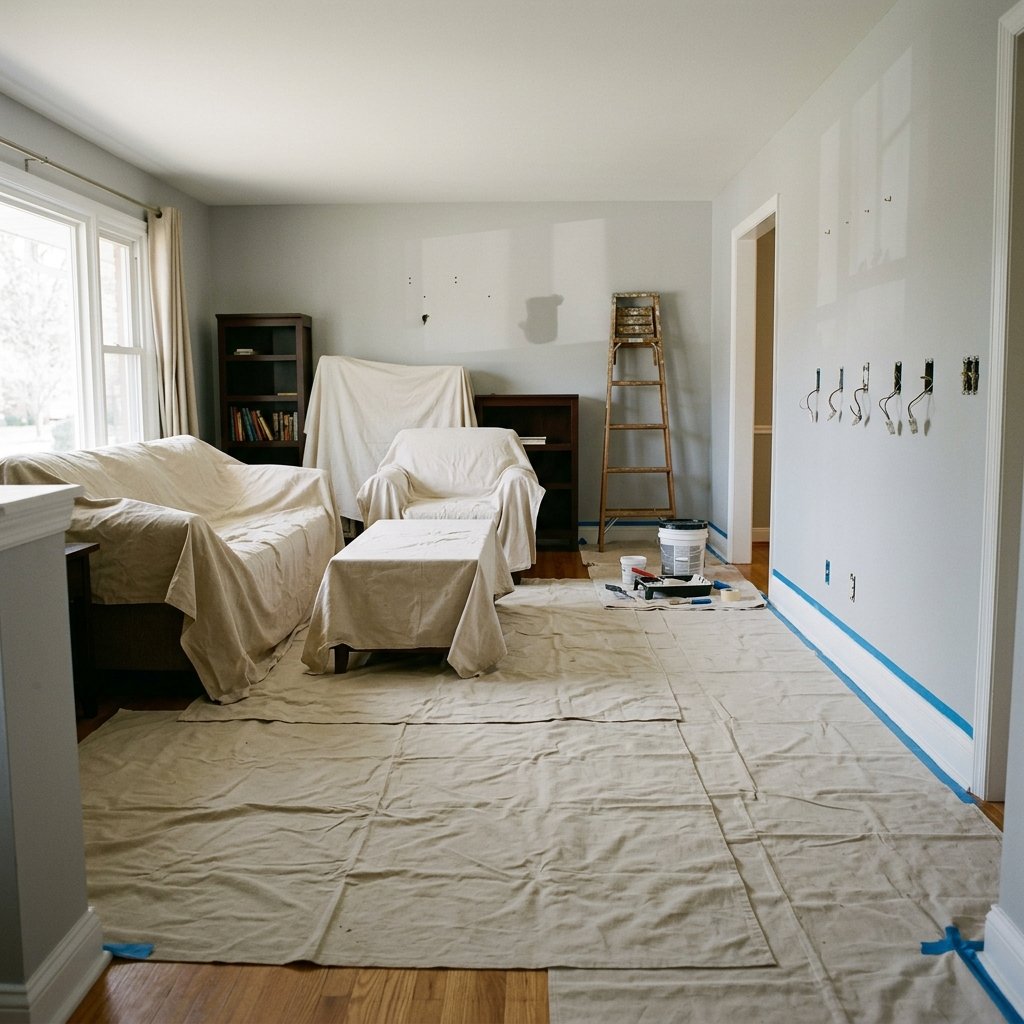
Move as much furniture out of the room as practical.
Move remaining furniture toward the center and protect it.
Remove:
- Artwork
- Curtains where practical
- Small furniture
- Decorative accessories
- Outlet and switch covers, where safe and appropriate
Keep screws and small hardware together in labeled containers.
Do not work on electrical components beyond your comfort and competence. If electrical work is needed rather than simply removing a cover plate safely, use an appropriately qualified professional.
Step 4: Protect the Floors
Cover the floor before opening paint.
Canvas or other appropriate drop cloths work well in many situations.
Protect:
- Flooring
- Built-ins
- Fireplace surfaces
- Hardware
- Furniture that cannot be removed
Tape protective materials securely where necessary without creating a trip hazard.
Step 5: Clean the Walls and Trim
Paint sticks better to a clean surface.
Remove:
- Dust
- Cobwebs
- Grease
- Fingerprints
- Dirt
- Residue
Trim often needs extra attention because baseboards and door casings collect dust.
Kitchen walls may need more thorough degreasing than bedroom walls.
Use cleaning methods compatible with the existing surface and new coating, then allow everything to dry appropriately.
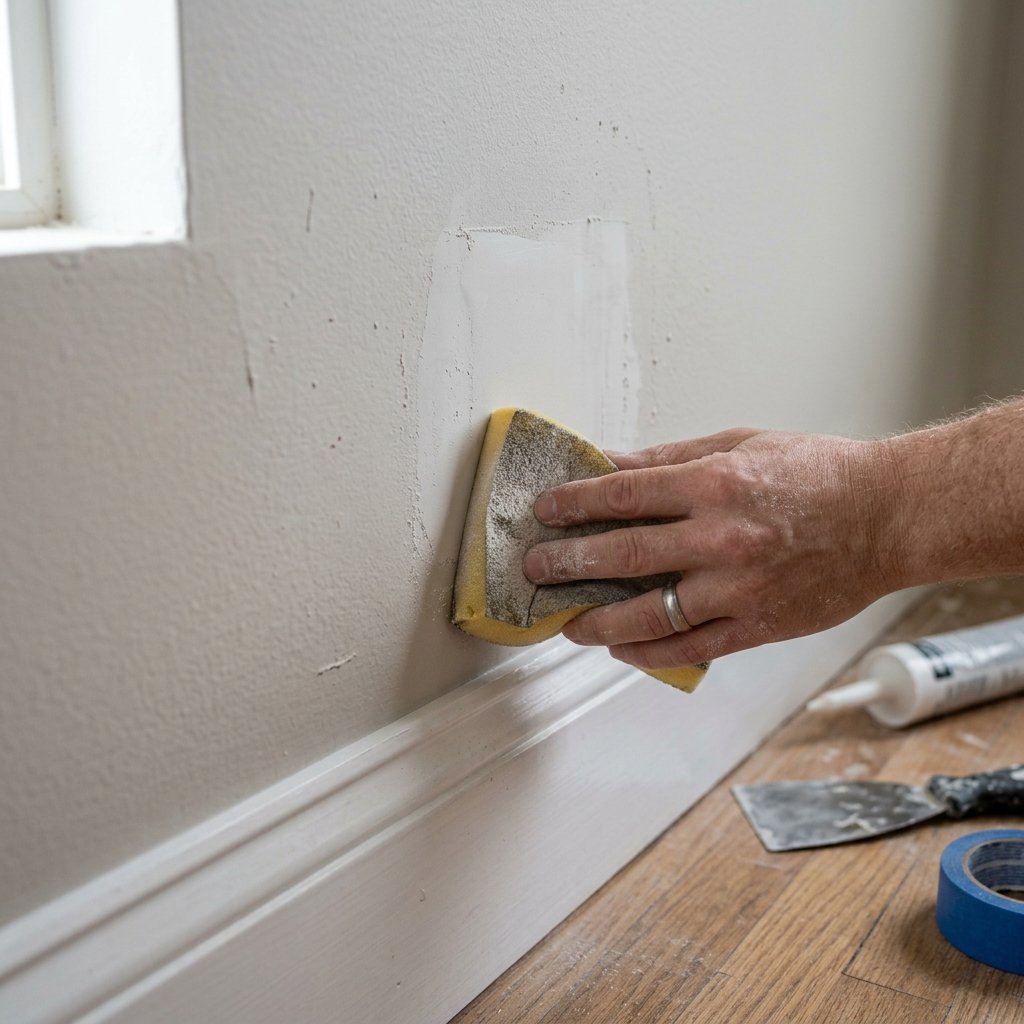
Step 6: Repair Wall Damage
Look closely for:
- Nail holes
- Dents
- Small cracks
- Damaged drywall paper
- Loose material
Use an appropriate patching product.
Allow repairs to dry or cure according to the product instructions, then sand as needed.
Do not paint directly over loose or damaged material.
Larger cracks, recurring cracks, water damage, or unusual wall movement may require investigation before cosmetic repair.
Step 7: Repair and Caulk the Trim
Inspect the baseboards, window trim, and door casings.
You may find gaps where trim meets the wall or where pieces join.
Use a paintable caulk suitable for the specific joint where appropriate.
Do not use caulk as a substitute for repairing loose trim.
Fill nail holes or surface imperfections with a suitable filler.
Allow fillers and caulk to dry or cure as directed before painting.
Step 8: Sand Where Needed
Sanding can smooth repairs and help prepare glossy or uneven surfaces.
You may need to sand:
- Filled nail holes
- Wall patches
- Rough trim
- Peeling edges
- Very glossy existing finishes when required by the coating system
Remove sanding dust thoroughly afterward.
If you are working in an older home and existing paint may contain hazardous materials, avoid disturbing unknown coatings until you understand the risks and applicable precautions.
Step 9: Decide Whether You Need Primer
Not every repaint requires full-room primer.
Primer may be useful or required when dealing with:
- Bare drywall
- New repairs
- Bare wood
- Significant color changes
- Stains
- Glossy surfaces
- Certain existing coatings
- Surfaces specified by the paint manufacturer
Spot priming may be enough for small repairs in some situations.
Use a primer compatible with both the substrate and finish paint.
Step 10: Paint the Ceiling First if Needed
If the ceiling is part of the project, complete it before the walls.
This way, small drips or roller splatter can be covered later.
Cut in around the perimeter, then roll the main ceiling area using an appropriate technique and product.
Once the ceiling is finished, proceed to the trim.
How to Paint Trim
Step 11: Prepare the Trim Paint
Stir the paint thoroughly according to its instructions.
Pour a manageable amount into a paint pail or tray rather than carrying a full container around the room.
An angled brush can provide good control along:
- Baseboards
- Door casings
- Window trim
- Crown molding
Choose a brush size appropriate for the trim.
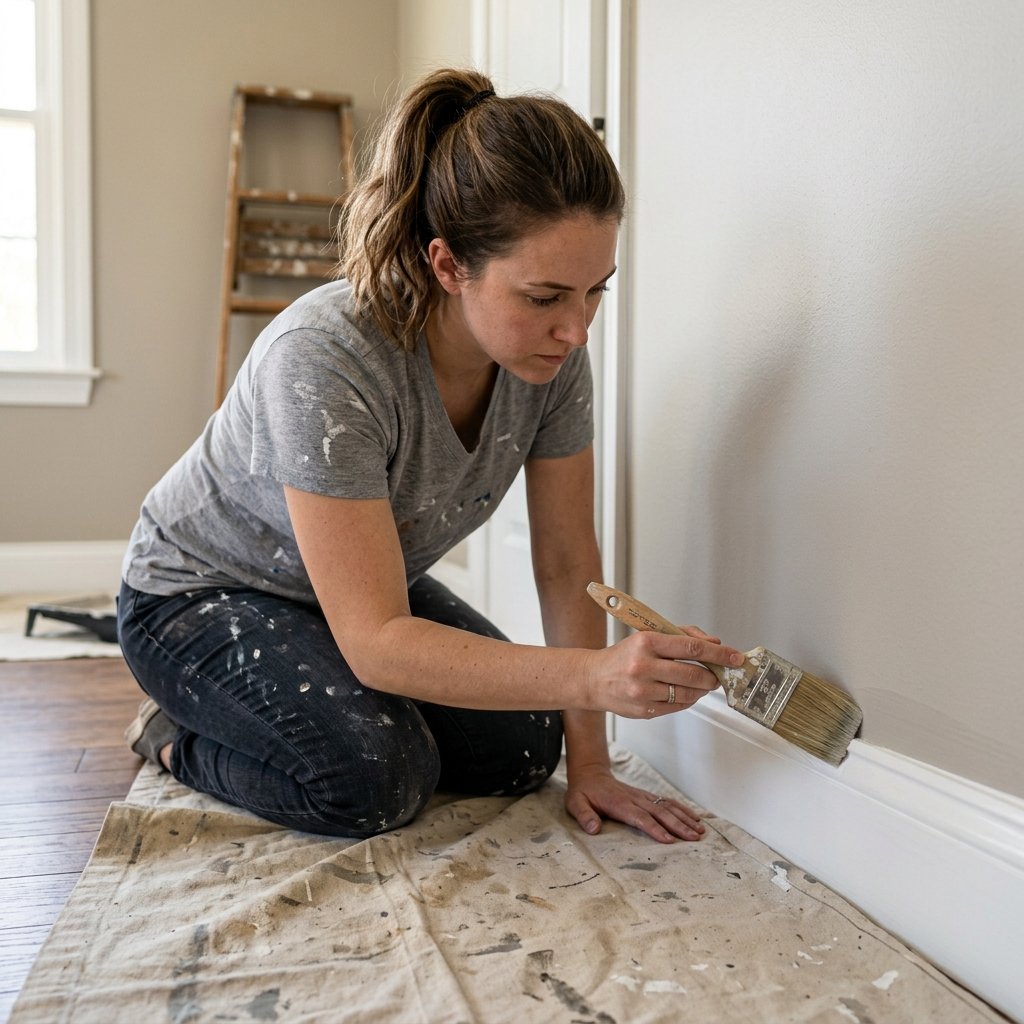
Step 12: Paint the Trim in Manageable Sections
Apply smooth coats rather than trying to cover everything with one heavy application.
Work along the grain or length of the trim where appropriate.
Watch for:
- Runs
- Drips
- Heavy brush marks
- Paint collecting in corners
Check your work while the paint is still workable.
Follow the manufacturer’s guidance for application thickness and recoating.
Step 13: Let the Trim Dry Before Masking
This step is important.
Do not apply painter’s tape to freshly painted trim just because the surface feels dry.
Paint can feel dry to the touch before it has developed enough durability for masking.
Follow the paint and tape manufacturers’ instructions regarding drying, curing, and application over freshly painted surfaces.
Rushing this step can cause the tape to pull away your new finish.
How to Paint Walls
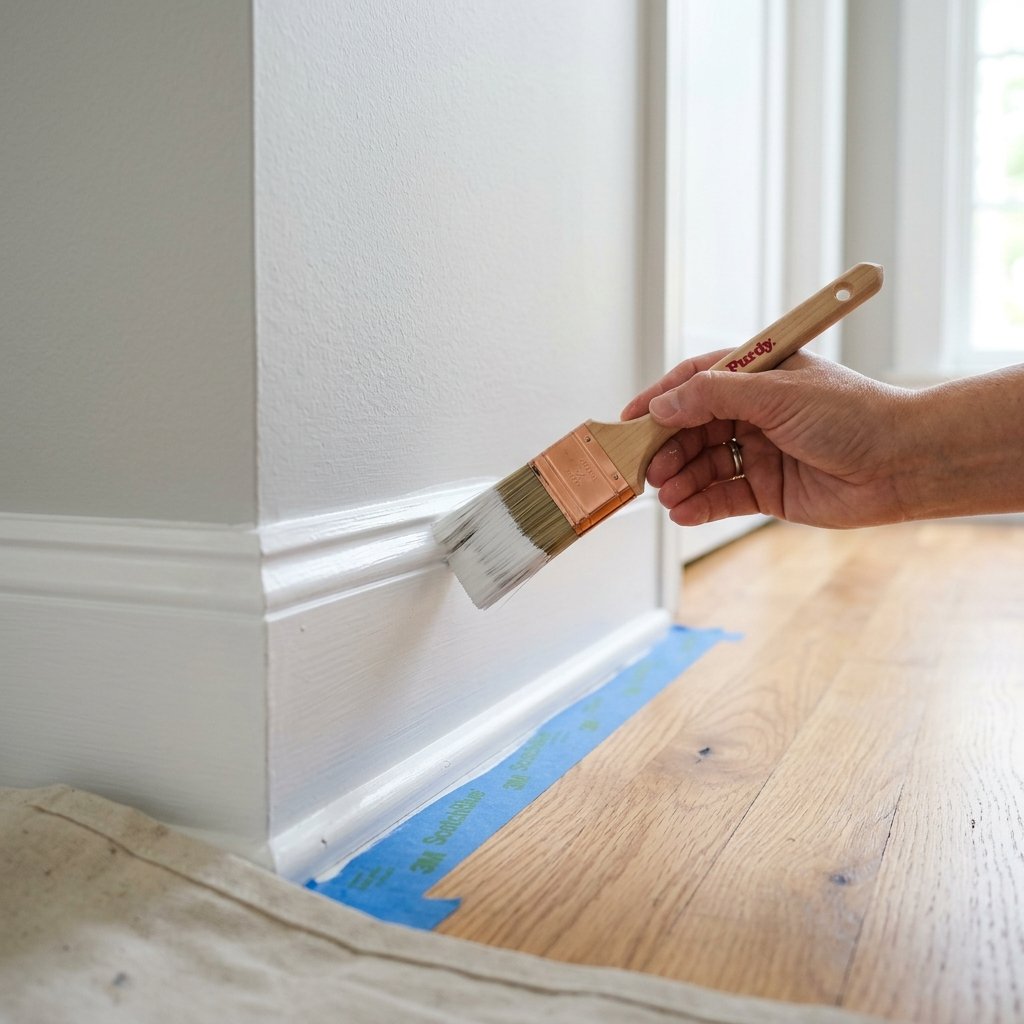
Step 14: Mask the Trim if You Use Painter’s Tape
Once the trim is ready for masking, apply suitable painter’s tape along the edge.
Press it down carefully.
Tape is helpful, but it is not magic.
Uneven surfaces can still allow paint to seep underneath.
Use controlled amounts of paint near the tape rather than flooding the edge.
Experienced painters may prefer cutting in freehand instead.
Step 15: Cut In Around the Room
“Cutting in” means painting areas the roller cannot reach easily.
Use a brush around:
- Ceiling line
- Corners
- Door trim
- Window trim
- Baseboards
- Built-ins
Work in manageable sections so the brushed and rolled areas blend appropriately for the product and technique.
Avoid creating excessively thick bands of paint around the room.
Step 16: Load the Roller Properly
Pour paint into a tray or appropriate bucket system.
Load the roller evenly.
It should contain enough paint to cover the wall without dripping excessively.
Avoid squeezing nearly all the paint out of the roller before it touches the wall.
A properly loaded roller makes it easier to maintain consistent coverage.
Step 17: Roll the Walls in Sections
Work in manageable sections and maintain a wet edge as appropriate for the paint.
Spread the paint evenly rather than pressing hard on the roller.
Excessive pressure can create uneven texture and make the job more tiring.
Overlap passes enough to avoid obvious gaps.
Continue across the wall systematically.
Step 18: Avoid Overworking the Paint
Once paint begins setting up, repeatedly rolling over it can create texture differences or marks.
Apply the coating evenly and move on.
If an area needs additional coverage, address it with another coat after the proper recoat interval rather than continually working partially dried paint.
Step 19: Allow the First Coat to Dry
Drying and recoat times vary.
They depend on:
- Paint
- Temperature
- Humidity
- Ventilation
- Application thickness
- Surface
Follow the product’s instructions.
Do not assume that because the wall feels dry, it is ready for another coat.
Step 20: Apply Another Coat if Needed
A second coat often improves:
- Color consistency
- Coverage
- Finish
- Depth
Some situations may require a different number of coats.
Follow the coating manufacturer’s recommendations rather than assuming every project requires exactly two.
How to Get Clean Paint Lines Between Walls and Trim
Clean edges can make the entire room look more polished.
Here are a few ways to improve them.
Use a Quality Angled Brush
A brush that holds its shape gives you better control.
Do Not Overload the Brush
Too much paint can run beneath tape or onto adjacent surfaces.
Apply Tape Carefully
Make sure the edge is firmly adhered to a clean, suitable surface.
Remove Tape According to Instructions
Different tapes and coatings have different recommendations.
Do not automatically leave painter’s tape in place for several days.
Touch Up With a Small Brush
Tiny imperfections are normal.
A small artist-style or trim brush can help with careful touch-ups.
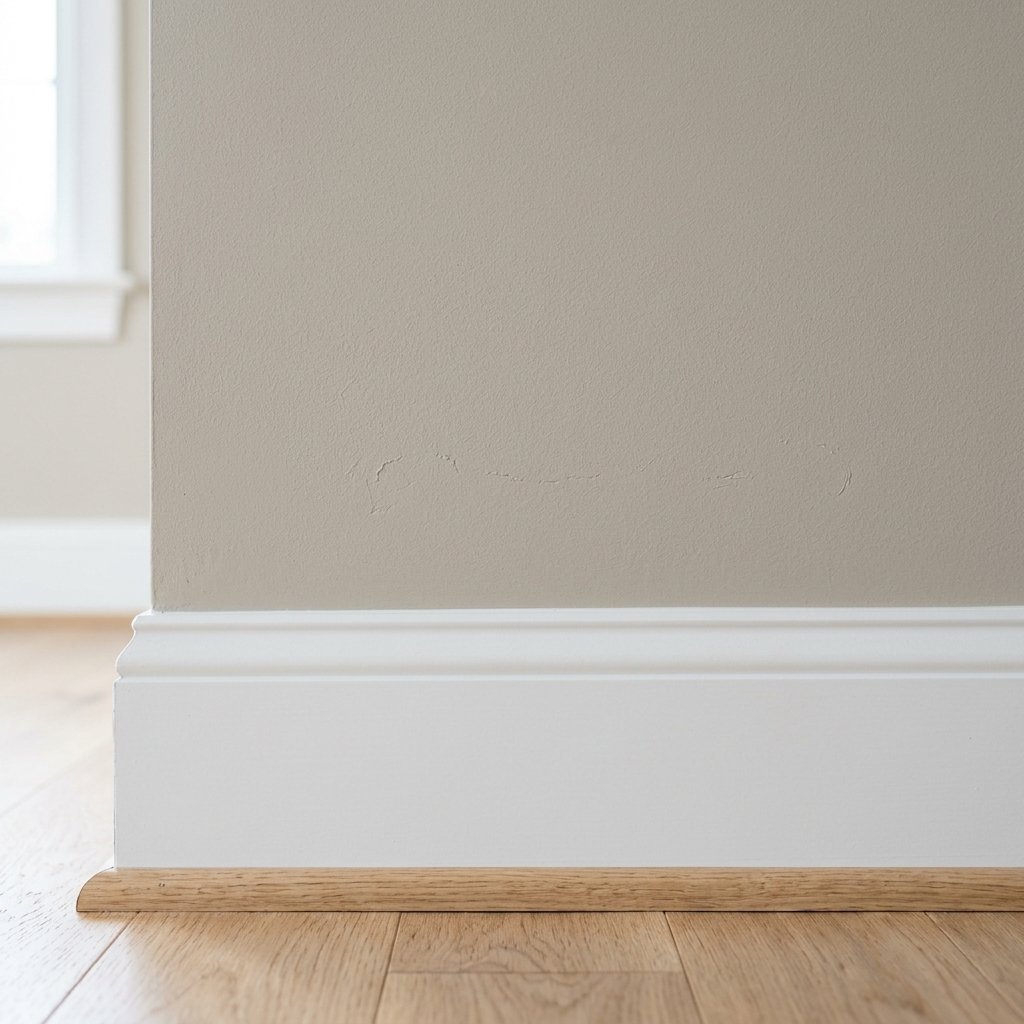
How to Paint Baseboards Without Getting Paint on the Floor
Protect the flooring before you begin.
Depending on the floor and trim configuration, you can use:
- Painter’s tape
- Drop cloth
- Masking material
- Paint shield where appropriate
Apply paint carefully rather than heavily loading the bottom edge of the brush.
If the flooring has a delicate finish, confirm that the tape is suitable before applying it.
How to Paint Trim Without Brush Marks
Perfectly eliminating brush texture is not always realistic, but you can improve the finish.
Try these tips:
- Use a quality brush.
- Apply the recommended amount of paint.
- Avoid repeatedly brushing paint as it begins to dry.
- Sand rough previous finishes when appropriate.
- Keep the surface clean.
- Follow product recommendations for application conditions.
Some trim paints level more readily than others, so technique and product both matter.
How to Paint Walls Without Roller Marks
Roller marks can result from uneven paint loading, poor technique, or working paint after it has begun to set.
For a more consistent finish:
- Use the appropriate roller cover.
- Load the roller evenly.
- Maintain a wet edge.
- Work systematically.
- Avoid excessive pressure.
- Do not keep rolling partially dried areas.
- Apply additional coats according to instructions.
Good lighting helps you spot missed areas while the paint is still workable.
How to Paint Dark Walls With Light Trim
Strong contrast makes imperfect lines easier to notice.
Prepare the edges carefully.
If the wall is changing dramatically in color, the coating system may require or benefit from an appropriate primer.
Paint the trim carefully and allow it to dry sufficiently before masking.
Then take extra time while cutting in the darker wall color.
A crisp boundary makes the contrast look intentional.
How to Paint Walls and Trim the Same Color
Painting walls and trim the same color can create a beautiful, cohesive look.
You can use:
- Same color and same sheen
- Same color with different sheens
Using different sheens can subtly distinguish the architectural details while maintaining a monochromatic palette.
This approach works especially well in:
- Bedrooms
- Small rooms
- Offices
- Moody living rooms
- Hallways
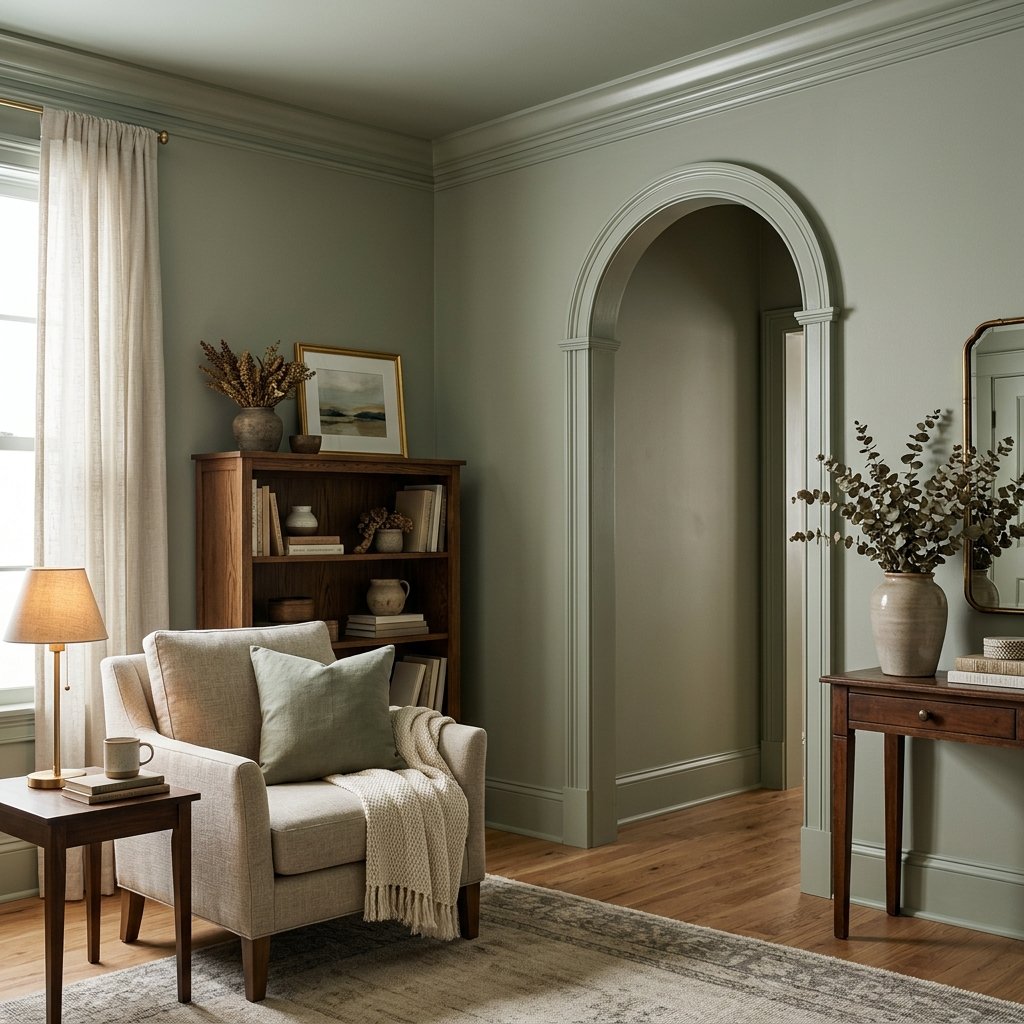
How to Choose a Wall and Trim Color Combination
White Walls + White Trim
Clean, simple, and versatile.
You can create subtle contrast by changing the sheen or choosing slightly different whites.
Greige Walls + White Trim
A classic combination that works with many decorating styles.
Beige Walls + Cream Trim
Creates a warm, soft look.
Blue Walls + White Trim
Fresh and crisp.
Green Walls + Warm White Trim
Natural and inviting.
White Walls + Taupe Trim
A subtle way to add architectural interest.
Cream Walls + Mushroom Trim
Warm and sophisticated.
Light Walls + Dark Trim
Creates stronger contrast and emphasizes doors, windows, and molding.
Always test the colors together.
Undertones become much more obvious when two colors meet directly.
Painting Walls and Trim in a Small Room
Small rooms do not always need light paint.
Light colors can create an airy feeling, while darker or monochromatic schemes can make a small room feel cozy and intentional.
If you want less visual interruption, painting walls and trim the same or similar colors can simplify the room.
If you want architectural definition, use contrasting trim.
The right choice depends more on the effect you want than on the room’s square footage.
How to Make a DIY Paint Job Look More Professional
Spend More Time on Prep
Patch, sand, clean, and caulk before opening the paint.
Use Good Tools
A quality brush and appropriate roller cover can make application easier.
Keep Paint Off Hardware
Remove or carefully protect hardware instead of painting around it messily.
Use Consistent Roller Technique
Uneven pressure can create visible texture differences.
Watch for Drips
Check corners and trim as you work.
Keep Your Lines Clean
The wall-to-trim transition is one of the most noticeable parts of the finished room.
Let Paint Dry Properly
Rushing between coats can compromise the finish.
Common Wall and Trim Painting Mistakes
Skipping Surface Preparation
Paint cannot hide every dent, crack, or rough patch.
Painting Over Dust
Dirty baseboards can cause adhesion problems.
Using the Wrong Primer
Primer should be compatible with both the surface and topcoat.
Taping Fresh Paint Too Soon
This can pull off the new coating.
Applying Paint Too Thickly
Heavy coats are more likely to run or dry unevenly.
Overworking Partially Dry Paint
This can leave roller or brush marks.
Forgetting to Test Colors
Paint can look dramatically different as the light changes.
Using Damaged Tools
A worn roller or poor brush can make the job unnecessarily difficult.
Rushing the Project
Allow enough time for preparation and drying.
Wall and Trim Painting Safety Tips
Painting is a manageable DIY project, but basic safety still matters.
Keep these considerations in mind:
- Ventilate the room according to product instructions.
- Wear eye protection while sanding and performing overhead work.
- Use appropriate respiratory protection for sanding dust or when specified by a product.
- Follow all coating, primer, caulk, filler, and cleaner safety instructions.
- Never mix cleaning chemicals unless their manufacturers explicitly say it is safe.
- Use stable ladders or step stools.
- Keep floors clear of cords, tools, and loose drop cloths.
- Keep children and pets away from wet paint and supplies.
- Do not aggressively sand or scrape unknown older coatings without considering hazardous-material risks.
- Be cautious around electrical outlets, switches, and fixtures.
- Dispose of painting materials according to product instructions and local requirements.
FAQ About How to Paint Walls and Trim
Should I paint the walls or trim first?
Either sequence can work. Many DIYers find painting trim first convenient, while others prefer walls first. The important part is allowing finished surfaces to dry sufficiently before masking or painting against them.
Should I paint the ceiling before the walls?
If the ceiling is being painted, completing it before the walls generally makes cleanup and edge work easier.
Do I need primer before painting walls?
Not always. Primer may be needed for bare surfaces, repairs, stains, significant color changes, glossy surfaces, or when required by the paint system.
Do I need to sand trim before painting?
It depends on the existing finish and condition. Rough repairs, damaged paint, or very glossy surfaces may require sanding or another preparation method specified by the coating manufacturer.
Can I paint walls and trim the same color?
Yes. Using the same color can create a cohesive, modern look. Different sheens can provide subtle definition.
How do I prevent paint from bleeding under painter’s tape?
Apply tape carefully to a clean, suitable surface, press the edge securely, and avoid flooding it with excessive paint.
How long should paint dry between coats?
There is no universal time. Follow the manufacturer’s recoat instructions because drying varies with the paint, temperature, humidity, ventilation, and application.
How do I avoid brush marks on trim?
Use an appropriate quality brush, prepare the surface carefully, apply paint at the recommended thickness, and avoid repeatedly brushing it as it begins to set.
Final Thoughts
Learning how to paint walls and trim is mostly about learning not to rush.
The actual painting is only part of the project.
A cleaner result begins with preparation: remove dust, repair damage, fill holes, caulk appropriate gaps, sand rough areas, and prime wherever the coating system requires it.
Then work in a logical order.
If the ceiling needs paint, start there. Complete the trim and allow it to dry sufficiently before masking, then cut in and roll the walls. Finish by inspecting everything in good light and making careful touch-ups.
You do not need perfectly flawless brushwork to transform a room.
Clean surfaces, quality tools, controlled application, crisp edges, and enough drying time can make a DIY wall-and-trim paint job look dramatically more polished.

