


Luxury vinyl plank flooring is a popular choice for homeowners who want the look of hardwood without the maintenance and cost that can come with traditional wood flooring. It’s durable, versatile, and available in countless colors and wood-look styles.
If you’re considering updating a bedroom, living room, hallway, or other space, learning how to install luxury vinyl plank flooring can help you decide whether this is a DIY project you can tackle yourself.
Many luxury vinyl plank systems are designed for relatively straightforward installation, especially click-lock floating floors. However, the exact installation method varies by product, so always read the manufacturer’s instructions before getting started.
The most important part of a successful installation isn’t rushing through the first plank. It’s preparing the room, making sure the subfloor is suitable, planning the layout, and giving yourself enough time to make careful cuts.
In this guide, we’ll walk through the process from preparing the room to installing the final plank.
What Is Luxury Vinyl Plank Flooring?
Luxury vinyl plank, often called LVP, is a flooring material designed to replicate the appearance of natural wood.
Unlike traditional hardwood, LVP is generally made from multiple synthetic layers that provide the appearance, durability, and performance characteristics of the product.
Many products feature:
- Wood-look decorative layers
- Protective wear layers
- Rigid or flexible vinyl construction
- Click-lock edges
- Water-resistant or waterproof characteristics, depending on the product
Some LVP products are installed as floating floors, meaning the planks aren’t permanently attached to the subfloor.
Others may require adhesive.
This guide focuses primarily on click-lock floating LVP. Always follow the instructions supplied with your specific flooring.
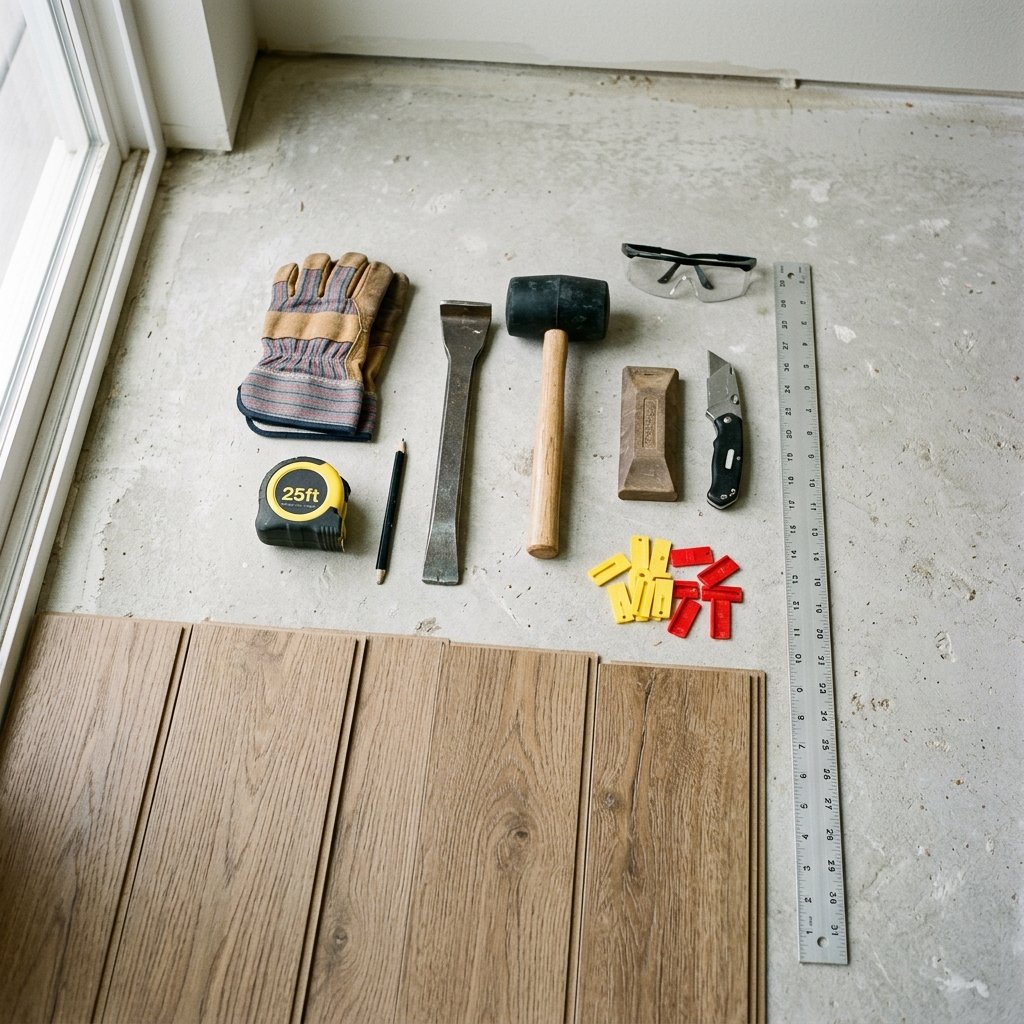
Tools and Materials You’ll Need
Before starting, gather everything you need.
Flooring materials
- Luxury vinyl plank flooring
- Manufacturer-approved underlayment, if required
- Spacers
- Transition pieces
- Baseboards or trim
Tools
- Tape measure
- Pencil
- Utility knife
- Straightedge
- Level
- Rubber mallet
- Pull bar
- Tapping block, if recommended
- Spacers
- Safety glasses
- Knee pads
Depending on your installation and the type of plank, you may also need a saw designed for making the required cuts.
Always use appropriate safety equipment when cutting flooring.
Step 1: Measure the Room
Start by measuring the length and width of the room.
Multiply the measurements to estimate the total square footage.
Then add extra material for cuts and waste.
The amount of extra flooring you’ll need depends on the room’s shape and the manufacturer’s recommendations.
For a simple rectangular room, you may need less extra material than for a room with multiple corners, doorways, closets, or unusual angles.
It’s generally better to have some extra planks left over than to discover you’re short near the end of the project.
Keep a few spare planks after installation for potential future repairs.
Step 2: Remove the Existing Flooring
Before installing LVP, you’ll need to determine whether your existing flooring should be removed.
The appropriate preparation depends on what’s currently installed and what the LVP manufacturer allows.
Remove baseboards or shoe molding carefully if you plan to reinstall them.
If you’re removing old flooring, take the opportunity to inspect what is underneath.
You want to start with a clean, stable, suitable surface.
Important: Older flooring materials, adhesives, or other building materials may contain hazardous substances. If you suspect asbestos or another hazardous material, don’t disturb it yourself—have it evaluated by an appropriately qualified professional.
Step 3: Prepare the Subfloor
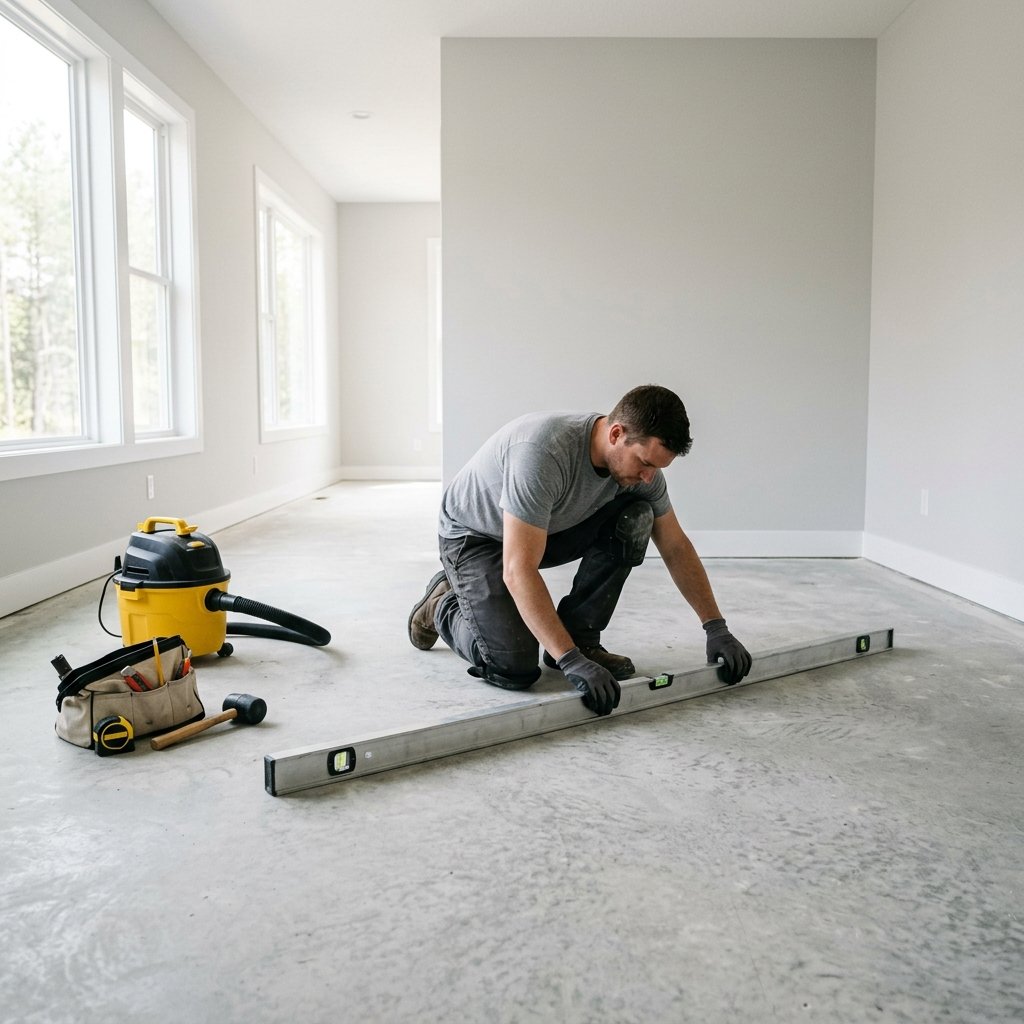
Subfloor preparation is one of the most important parts of installing LVP.
Your subfloor should be:
- Clean
- Dry
- Stable
- Smooth enough for the flooring system
- Free from loose debris
- Within the manufacturer’s specified flatness requirements
Vacuum and sweep thoroughly.
Remove nails, staples, adhesive residue, and other debris that could interfere with the flooring.
Inspect for uneven areas.
Some LVP products can tolerate minor imperfections, but significant unevenness can affect the finished floor and may cause movement or problems with the locking system.
Step 4: Check the Moisture Conditions
Before installing flooring, make sure the subfloor and room conditions are appropriate for your specific LVP product.
Moisture requirements vary depending on the product and subfloor.
This is especially important when installing over concrete.
Follow the manufacturer’s instructions regarding:
- Moisture testing
- Temperature
- Humidity
- Subfloor requirements
Don’t assume that because a flooring product is water-resistant or waterproof, the subfloor underneath can have unlimited moisture.
A flooring product can resist water on its surface while an underlying moisture problem remains.
Step 5: Allow the Flooring to Acclimate if Required
Not every LVP product has the same acclimation requirements.
Some manufacturers specify that the flooring should be allowed to reach room conditions before installation.
Others may have different requirements.
Check the manufacturer’s instructions for your specific product and follow them carefully.
Don’t rely on a generic acclimation rule when the flooring manufacturer provides specific instructions.
Step 6: Plan Your Layout
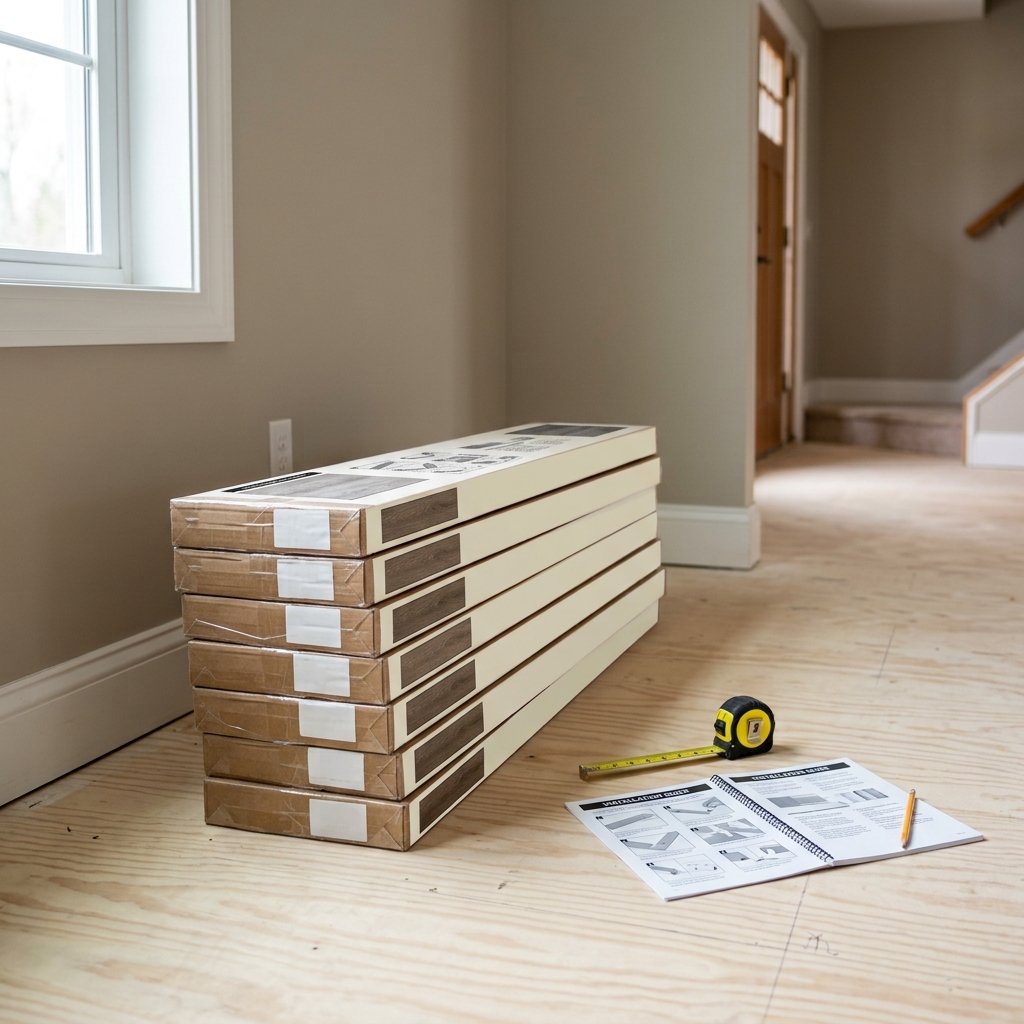
Before clicking the first plank into place, plan your layout.
This is where many DIY flooring projects can go wrong.
You don’t want to reach the opposite wall and discover that the final row will be extremely narrow.
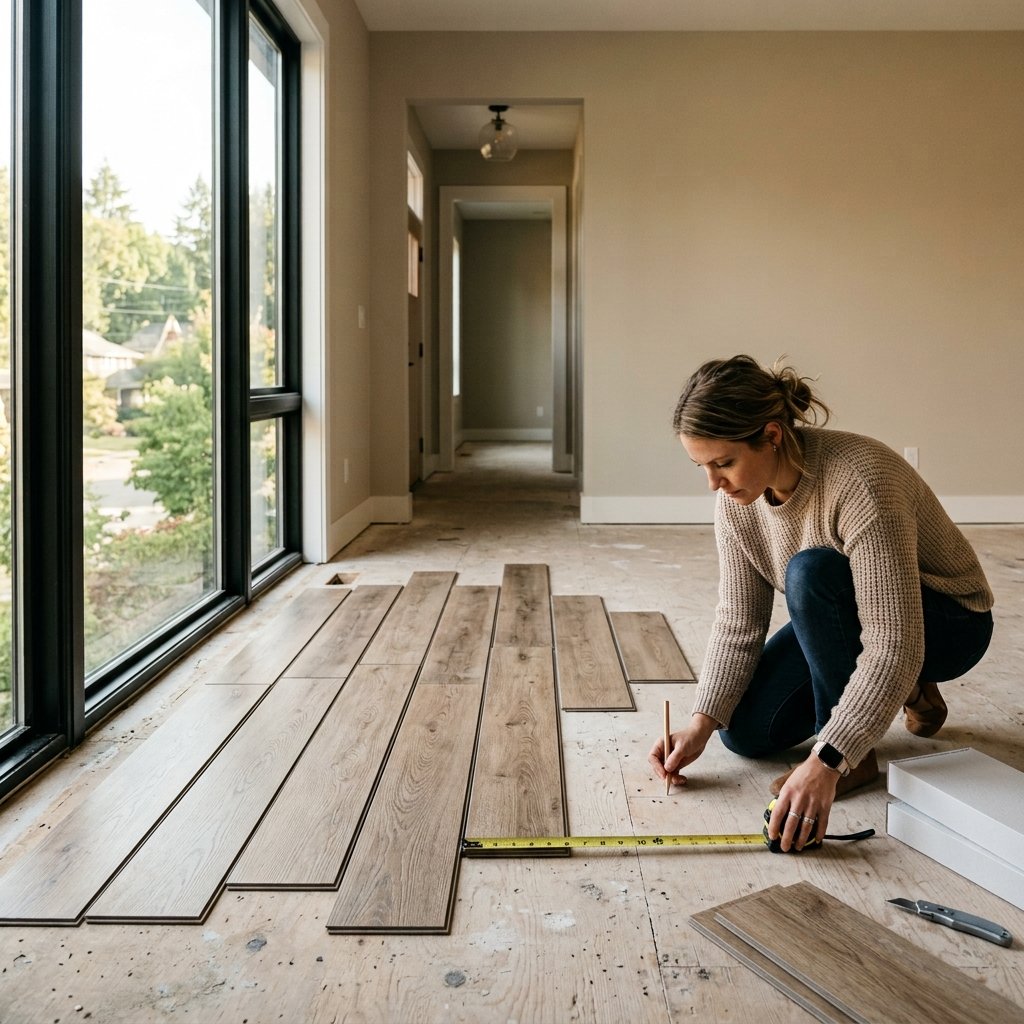
Measure the room and consider how the first and last rows will look.
If necessary, adjust the starting row so the flooring layout feels balanced.
Also think about where seams will fall.
Avoid creating a predictable staircase or repeating seam pattern unless the manufacturer’s instructions specify otherwise.
A more natural stagger generally creates a better-looking installation.
Step 7: Determine the Direction of the Planks
Most people install planks parallel to the longest wall, although the best direction can depend on the room.
Installing planks along the length of a room can sometimes make the space feel longer.
You may also want to consider the direction of natural light.
Running planks toward a major window can create a visually continuous appearance.
Ultimately, the best direction depends on your room layout and personal preference.
If you’re continuing flooring from one room into another, consider how the transition will look before starting.
Step 8: Establish Your Expansion Gap
Floating flooring typically requires a small perimeter gap to allow for movement.
The exact gap varies by product.
Place the manufacturer’s recommended spacers along the walls.
These help maintain consistent spacing while you install the floor.
Don’t skip this step simply because the gap will eventually be hidden by baseboards or trim.
The manufacturer’s installation instructions should specify the required perimeter clearance.
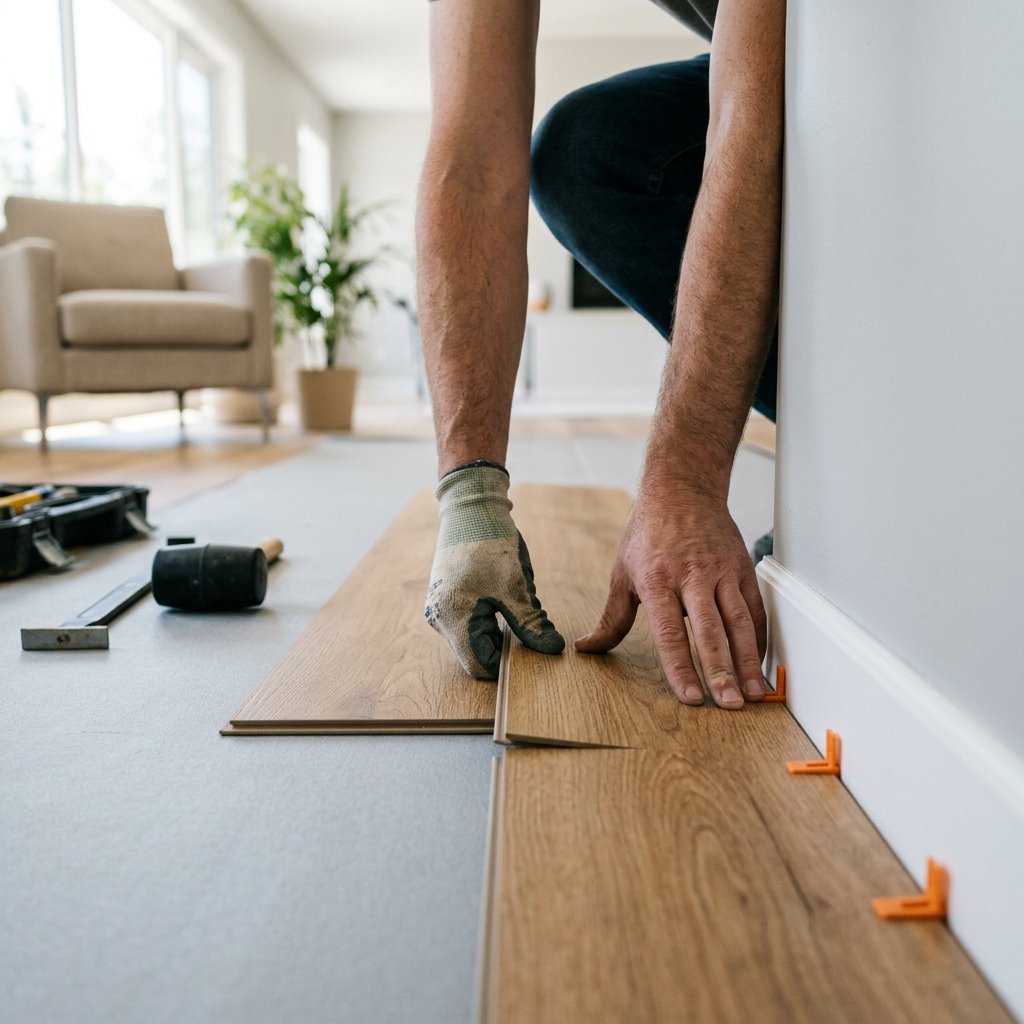
Step 9: Install the First Row
The first row is extremely important because it establishes the alignment for everything that follows.
Place the first plank according to your planned starting point.
Use spacers to maintain the required distance from the wall.
Connect the next plank using the manufacturer’s locking method.
Keep checking your alignment as you go.
If the first row isn’t straight, the problem can become increasingly noticeable as additional rows are installed.
Take your time.
A few extra minutes spent getting the first row right can save you a lot of frustration later.
Step 10: Stagger the Seams
As you move into the next rows, stagger the end joints.
The exact minimum stagger distance should come from the flooring manufacturer.
Avoid creating seams that line up directly across multiple rows.
A random-looking stagger generally gives the finished floor a more natural hardwood appearance.
You may need to cut the first plank of each row to create the desired stagger.
Keep usable offcuts when appropriate.
Some pieces can become the starting plank for another row, helping reduce waste.
Step 11: Continue Across the Room
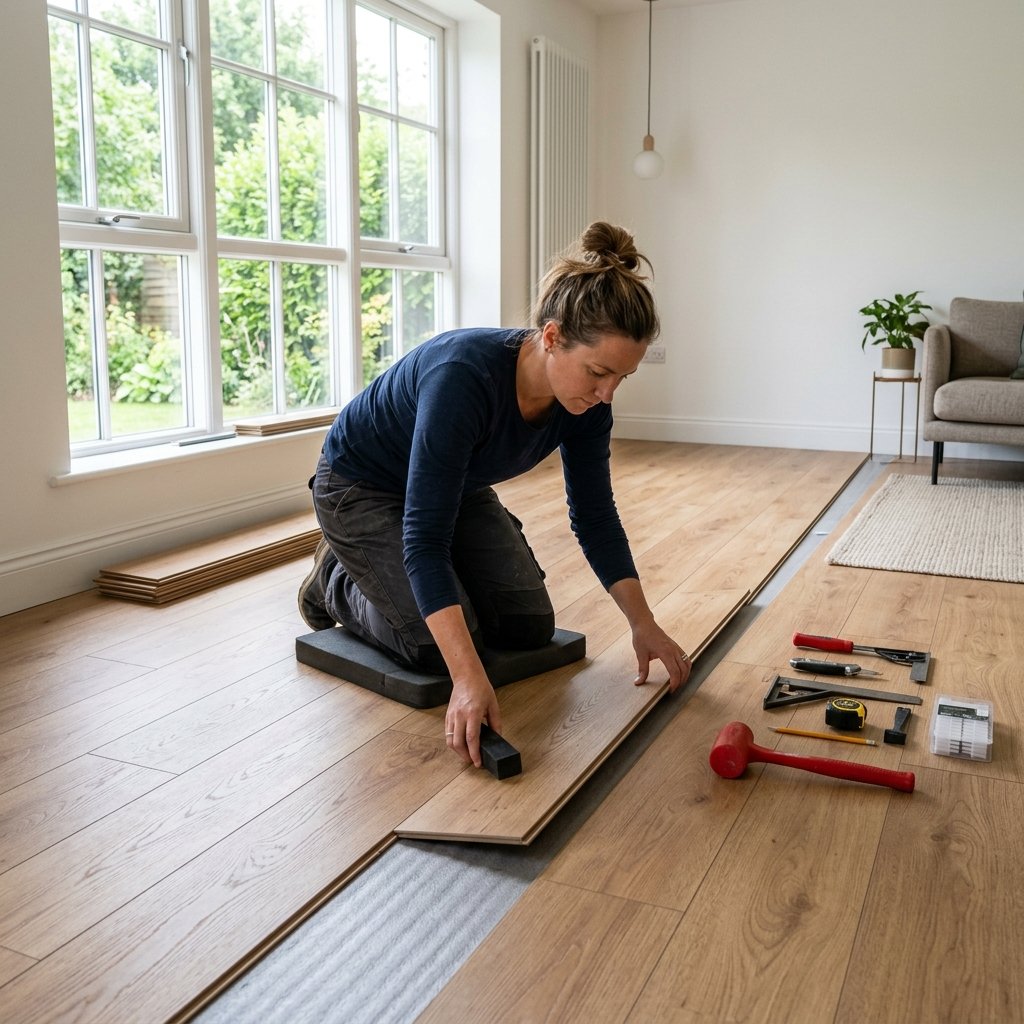
Once the first few rows are established, continue working across the room.
Click each plank into place according to the manufacturer’s instructions.
Keep checking:
- Alignment
- Seam spacing
- Expansion gaps
- Locking connections
- Surface cleanliness
Don’t force a plank if it doesn’t fit properly.
Remove it and check whether debris, misalignment, or damage is preventing the connection.
Forcing the locking system can damage the plank.
Step 12: Measure and Cut Around Doorways
Doorways require careful measurements.
You may need to cut planks around:
- Door frames
- Trim
- Corners
- Cabinets
- Vents
- Other fixed objects
One useful approach is to use a scrap piece of flooring to determine how the finished plank will fit around an obstacle.
Measure twice before making a cut.
Remember to account for the required expansion gap.
For door casings, some installers choose to undercut the trim so the flooring can slide underneath, creating a cleaner finished appearance.
Only do this where appropriate and use the proper tools and safety precautions.
Step 13: Handle Floor Vents Carefully
If your room has floor vents, measure their location carefully before cutting.
Don’t make the opening unnecessarily large.
The finished cut should allow the vent cover to sit properly while maintaining the required flooring clearance.
Keep the plank supported as you make the cut so you don’t accidentally crack or damage it.
Step 14: Install the Final Row
The last row often requires more measuring and cutting than the earlier rows.
Measure the distance between the existing floor and the wall.
Remember to account for the required expansion gap.
Then transfer the measurement to your plank.
Cut carefully and test the piece before locking it into position.
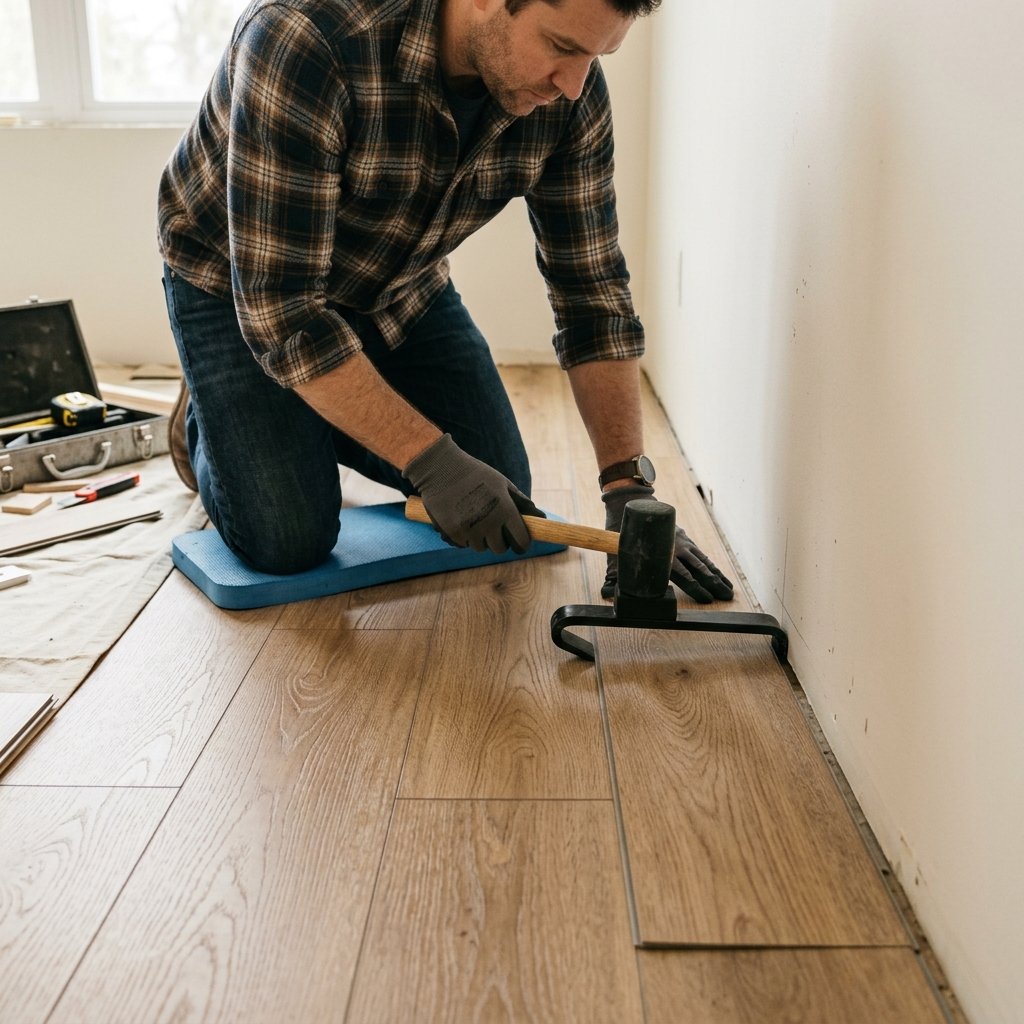
A pull bar can be useful for connecting the final pieces, depending on the flooring system.
Don’t hammer directly on the edge of the flooring unless the manufacturer specifically provides a method for doing so.
Step 15: Reinstall Trim and Transitions
Once the flooring is complete, remove the spacers.
Reinstall your baseboards or shoe molding, or install new trim if you’re updating the room.
Remember that trim should generally cover the required perimeter gap without pinning the floating floor down.
You’ll also need appropriate transition pieces where the LVP meets other flooring surfaces.
Depending on the situation, this could include transitions at:
- Doorways
- Tile floors
- Carpet
- Hardwood
- Different elevations
Follow the flooring manufacturer’s recommendations.
Step 16: Clean the New Floor
Before bringing furniture back into the room, remove any installation debris.
Sweep or vacuum the floor using equipment appropriate for your flooring.
Then clean it according to the manufacturer’s care instructions.
Avoid flooding the floor with water.
Even if your LVP is marketed as waterproof, excessive water can still reach areas where it shouldn’t, particularly around seams, edges, or underlying construction.
Common Luxury Vinyl Plank Installation Mistakes
Even relatively beginner-friendly flooring projects can become frustrating when preparation is rushed.
Here are some common mistakes to avoid.
Skipping subfloor preparation
A beautiful floor can’t compensate for an unsuitable or uneven surface underneath.
Ignoring manufacturer instructions
Different LVP products have different requirements for installation, expansion gaps, underlayment, acclimation, and cleaning.
Starting without planning the layout
Always consider the width of the first and last rows before installation.
Forgetting expansion gaps
Floating flooring generally needs room around the perimeter to accommodate movement.
Creating repetitive seams
Stagger planks according to the manufacturer’s requirements for a more natural appearance.
Forcing damaged locking edges
If a plank doesn’t connect properly, stop and investigate rather than forcing it.
Using the wrong underlayment
Some LVP products have attached underlayment, while others require or prohibit additional underlayment.
Never assume you should add one.
How Long Does It Take to Install LVP Flooring?
The installation time depends on:
- Room size
- Room shape
- Amount of preparation required
- Number of doorways
- Cutting complexity
- Installer experience
- Flooring system
A small, simple room may be manageable as a weekend project for an experienced DIYer.
A larger or more complicated installation can take significantly longer.
Don’t rush simply to finish in one day.
Careful measuring and cutting will generally produce a better result than speed.
How Much Extra LVP Should You Buy?
The exact amount depends on the manufacturer’s recommendation and the complexity of your room.
Simple rectangular rooms typically produce less waste.
Rooms with many corners, closets, doorways, or unusual angles require more cutting.
Keep leftover planks after installation.
A spare plank can be extremely useful if a section of flooring becomes damaged years later and you need a matching replacement.
Final Thoughts
Learning how to install luxury vinyl plank flooring can be a rewarding DIY project, especially when you’re looking for a relatively affordable way to transform a room.
The key isn’t simply knowing how to click the planks together.
The real secret to a professional-looking result is preparation.
Make sure the subfloor is suitable, plan your layout carefully, follow the manufacturer’s requirements, maintain the correct expansion gaps, stagger your seams, and take your time around doorways and other difficult areas.
And remember that every LVP product is slightly different.
Before beginning your project, read the manufacturer’s installation instructions and make sure the product is appropriate for your specific room and subfloor.
With careful preparation and patience, you can transform a tired-looking floor into a clean, modern surface that completely changes the feel of your space.

