

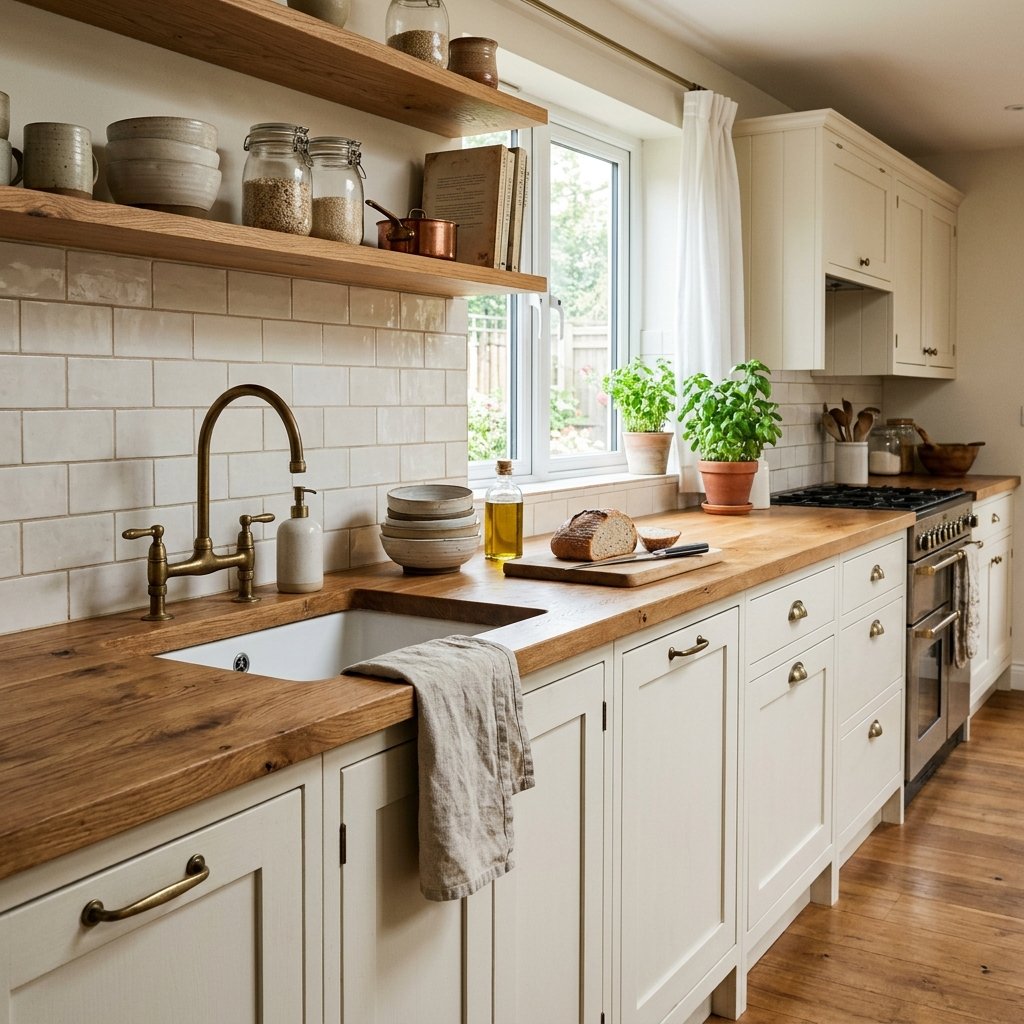
A DIY wood countertop can add instant warmth to a kitchen, laundry room, pantry, bathroom, craft room, or built-in workspace. It’s a particularly good option when you want something that feels custom without the price tag of many stone countertops.
Wood also brings something that’s difficult to recreate with manufactured materials: natural variation.
The grain, knots, color changes, and subtle imperfections can make even a simple countertop feel like an intentional design feature.
But building a wood countertop isn’t just a matter of attaching a few boards together and setting them on cabinets.
Wood moves as humidity changes. Water can cause staining, swelling, or deterioration if vulnerable areas aren’t protected. Sink openings need careful attention. And the appropriate construction and finish depend heavily on where the countertop will be installed and how it will be used.
A laundry-room folding counter has very different demands from a kitchen counter surrounding a sink.
If you’re considering making your own, here’s what to think about before starting, along with a practical overview of how to build, finish, and install a DIY wood countertop.
Why Choose a Wood Countertop?
Wood countertops work with an enormous range of decorating styles.
Depending on the wood, edge profile, and finish, they can feel:
- Traditional
- Cottage
- Farmhouse
- Transitional
- Rustic
- Scandinavian
- Organic modern
- Contemporary
Wood also helps balance rooms filled with hard materials.
A kitchen may already contain painted cabinetry, metal appliances, tile, glass, and stone-look flooring. Introducing a warm wood counter can soften all those surfaces.
Wood is also workable with common woodworking tools, which makes some types of wood countertops approachable for experienced DIYers.
Where Do DIY Wood Countertops Work Best?
Before choosing lumber, think about the room.
Laundry Room
One of the easiest places to use a DIY wood countertop.
A laundry counter may primarily be used for folding clothes and holding baskets, so it usually faces less wear than a kitchen prep surface.
Pantry
A wood counter can bring warmth to painted pantry cabinetry and provide a useful work surface.
Kitchen
Wood can work beautifully, but moisture, food preparation, heat, and cleaning require more careful material and finish choices.
Bathroom
Possible, but water exposure around the sink needs particular attention.
Home Office or Craft Room
A great application for a large wood work surface.
Built-In Cabinets
A wood top can make basic painted cabinetry look much more custom.
Two Ways to Make a DIY Wood Countertop
There are several variations, but most DIY wood countertop projects fall into two broad categories.
Build the Countertop From Boards
Individual boards are joined together to create a larger panel.
This gives you control over:
- Wood species
- Board width
- Overall size
- Grain arrangement
- Edge appearance
However, achieving a flat, strong panel requires careful material selection, joinery, clamping, and finishing.
Use a Prefabricated Wood Countertop Slab
Another option is buying a ready-made wood countertop or butcher-block-style slab and cutting it to fit.
This can save significant time.
You still need to handle:
- Accurate cutting
- Sink or cooktop openings if applicable
- Edge finishing
- Sealing or finishing
- Installation
For many DIYers, a prefabricated slab is the easier route.
Choosing Wood for a Countertop
Not every piece of lumber is ideal countertop material.
Consider:
- Stability
- Hardness
- Appearance
- Availability
- Cost
- Intended finish
- Moisture exposure
Common wood species used for interior counters can include maple, oak, walnut, birch, beech, and others depending on local availability and the countertop system.
Rather than choosing solely by color, think about durability and movement as well.
If you’re building from dimensional boards, look for straight, dry lumber with minimal twisting, cupping, or bowing.
Allow wood to acclimate as appropriate for the material and environment before fabrication and installation.
What About Construction Lumber?
Inexpensive construction lumber can be tempting for budget projects.
It may work for some decorative or utility applications, but it often contains more knots and may be less stable or less consistently dried than lumber selected for furniture or countertop work.
If you use it, expect to spend more time:
- Selecting boards
- Flattening
- Sanding
- Filling imperfections
For a high-use kitchen counter, a purpose-made countertop slab or appropriate hardwood may provide more predictable results.
DIY Wood Countertop Supplies
The exact materials depend on your construction method, but you may need:
Materials
- Appropriate wood boards or countertop slab
- Wood glue suitable for the project
- Sandpaper in appropriate grits
- Selected finish or countertop coating
- Fasteners or mounting hardware
- Compatible sealant where required
Tools
- Tape measure
- Pencil
- Straightedge or square
- Circular saw, track saw, or other suitable saw
- Sander
- Drill/driver
- Clamps if joining boards
- Router if needed for edge work
- Jigsaw or suitable cutting tool for openings
Safety Equipment
- Eye protection
- Hearing protection
- Appropriate dust protection
- Work gloves when handling rough material
Always follow tool and finishing-product safety instructions.
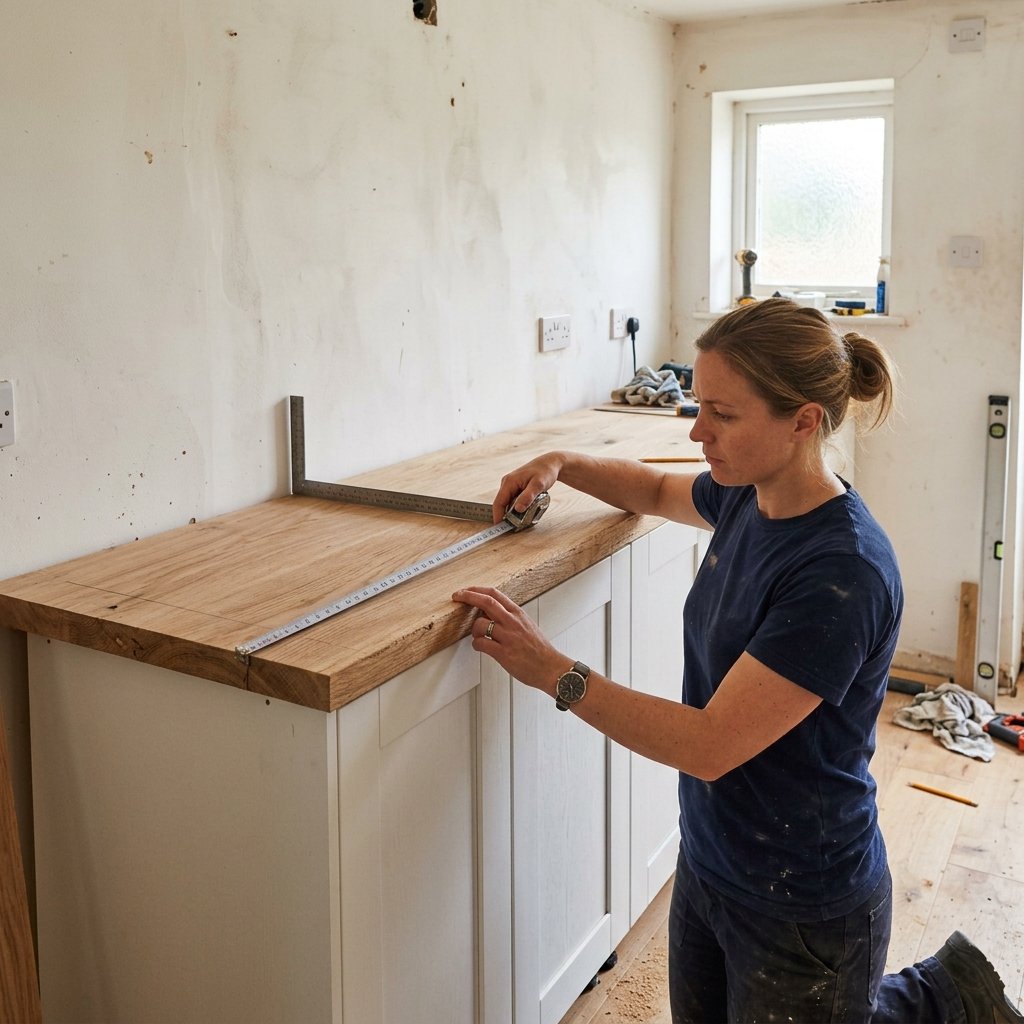
Step 1: Measure the Countertop Area
Accurate measurements matter.
Measure:
- Overall length
- Overall depth
- Wall irregularities
- Cabinet dimensions
- Desired overhang
- Appliance locations
- Sink location
- Faucet location
Don’t assume walls are perfectly straight or square.
They often aren’t.
If you’re fitting a counter between walls, a template can be helpful.
Also check the manufacturer’s requirements for any sink, cooktop, faucet, or appliance interacting with the countertop.
Step 2: Decide on the Countertop Thickness
The finished thickness affects the overall look.
A thicker top generally feels more substantial.
But don’t choose thickness based on appearance alone.
Consider:
- Span between supports
- Wood construction
- Weight
- Cabinet support
- Appliance clearances
- Edge treatment
Long unsupported spans may need additional support.
If you’re unsure whether your cabinetry or countertop design can safely support the intended span and load, consult a qualified professional.
Step 3: Select and Arrange the Boards
If you’re building the countertop from individual boards, lay them out before gluing.
Look at:
- Grain
- Color
- Knots
- Board straightness
Move boards around until the combination looks balanced.
Don’t put all the darkest boards on one side unless that’s intentional.
Also inspect the mating edges.
For a good glue joint, the edges need to fit together appropriately for your construction method.
Step 4: Prepare the Board Edges
Depending on the lumber and tools available, board edges may need to be jointed or otherwise prepared so they mate properly.
A slight gap between boards can become very obvious after finishing.
Don’t expect clamps to correct badly warped or poorly prepared material.
Excessive clamping pressure can introduce problems rather than solve them.
If you don’t have the equipment or experience to create flat, straight mating surfaces, a prefabricated countertop slab may be a better DIY option.
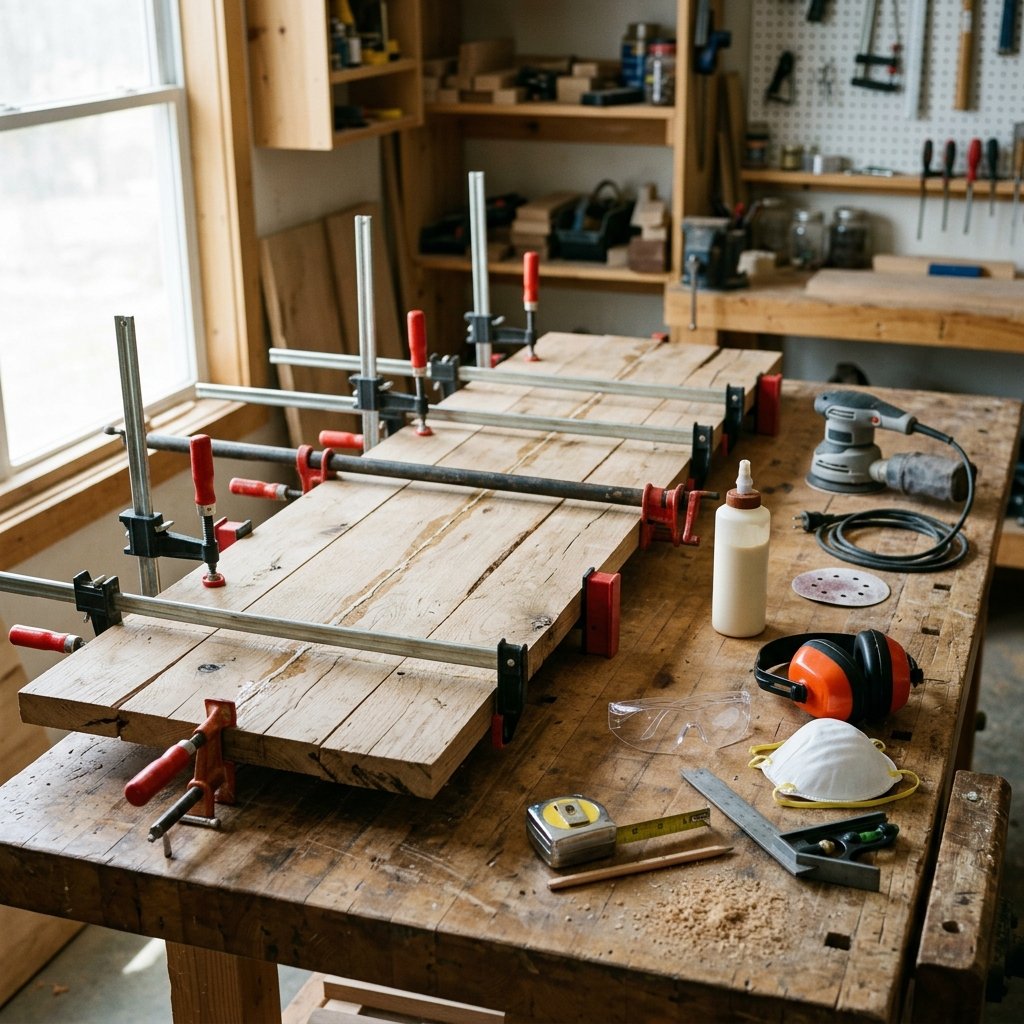
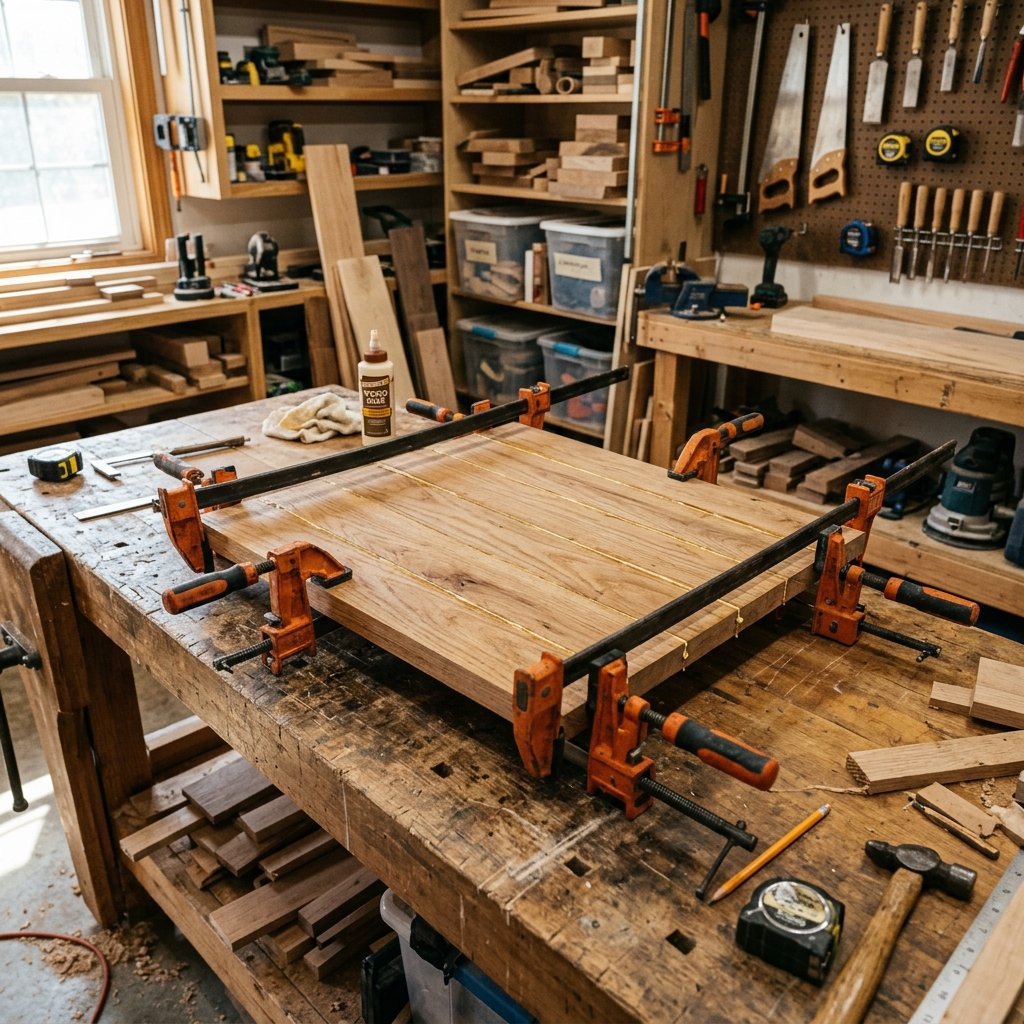
Step 5: Glue the Boards Together
For a board-built countertop, apply an appropriate wood glue according to its instructions.
Join the boards and clamp the panel.
Use enough clamps to apply reasonably even pressure across the assembly.
Check the top as you work.
Boards that slide vertically during clamping can create ridges that require substantial flattening later.
Follow the adhesive manufacturer’s requirements for:
- Application
- Open time
- Clamp time
- Temperature
- Full cure
Don’t remove the clamps simply because the glue looks dry around the edges.
Do You Need Biscuits, Dowels, or Pocket Holes?
Not necessarily.
In many properly prepared edge-glued panels, the glue joint itself provides substantial strength.
Biscuits or dowels may help with alignment depending on the technique, but they aren’t a substitute for properly prepared edges.
Pocket screws may be useful in some woodworking applications, but don’t assume they’re required for every countertop.
Choose a joinery method based on the design, material, tools, and your woodworking experience.
Step 6: Flatten the Countertop
Once the glue has fully cured according to its instructions, remove the clamps.
Inspect the panel.
Depending on how accurately it was assembled, you may need to flatten small ridges between boards.
Methods vary based on the amount of correction needed and available tools.
A random-orbit sander is useful for final smoothing but isn’t the ideal tool for correcting severe warping.
If the panel is significantly twisted or uneven, fix the underlying flatness problem rather than simply sanding one area aggressively.
Step 7: Cut the Countertop to Final Size
Once the panel is stable and flat, trim it to its finished dimensions.
Use:
- Accurate measurements
- Straight guide
- Sharp appropriate blade
- Secure support
Support the entire countertop during cutting.
Large panels are heavy and awkward. A cut-off section can break away near the end of a cut if it isn’t properly supported.
Wear eye and hearing protection and follow the saw manufacturer’s safety instructions.
Step 8: Test Fit the Countertop
Before doing detailed finishing work, test the countertop on the cabinets.
Check:
- Wall fit
- Overhang
- Corners
- Cabinet alignment
- Appliance clearance
If a wall is uneven, you may need to scribe the back edge for a closer fit.
Don’t force a countertop into a space that’s too tight.
Wood needs to be installed in a way that accommodates its natural movement.
Step 9: Make the Sink Cutout
If your wood countertop includes a sink, this is one of the steps where accuracy matters most.
Use the sink manufacturer’s template and installation instructions.
Don’t measure the sink bowl and guess at the cutout.
The required opening depends on the sink and mounting method.
Typical process:
- Confirm the sink location.
- Check cabinet clearance underneath.
- Position the manufacturer’s template.
- Mark the opening.
- Verify the measurements again.
- Drill starter holes if required by the cutting method.
- Cut carefully with an appropriate tool.
- Support the cutout so it doesn’t break away.
Before cutting, confirm that the sink, faucet, disposal if used, and plumbing will fit inside the cabinet.
Step 10: Sand the Countertop
Sanding creates the foundation for your finish.
Work through an appropriate grit progression for the wood and finishing product.
Avoid jumping from very coarse sandpaper directly to extremely fine sandpaper.
Sand consistently and remove dust between stages.
Be careful around edges.
It’s easy to unintentionally round an edge with a power sander.
Follow the finish manufacturer’s recommendations for final sanding grit because sanding too finely can affect how some products penetrate or bond.
Step 11: Ease Sharp Edges
A tiny eased or rounded edge can make a wood countertop more comfortable and less vulnerable to splintering.
You can create an edge with:
- Sandpaper
- Router
- Appropriate edge-profile bit
A subtle edge often looks more timeless than a complicated decorative profile.
Practice router techniques on scrap wood first.
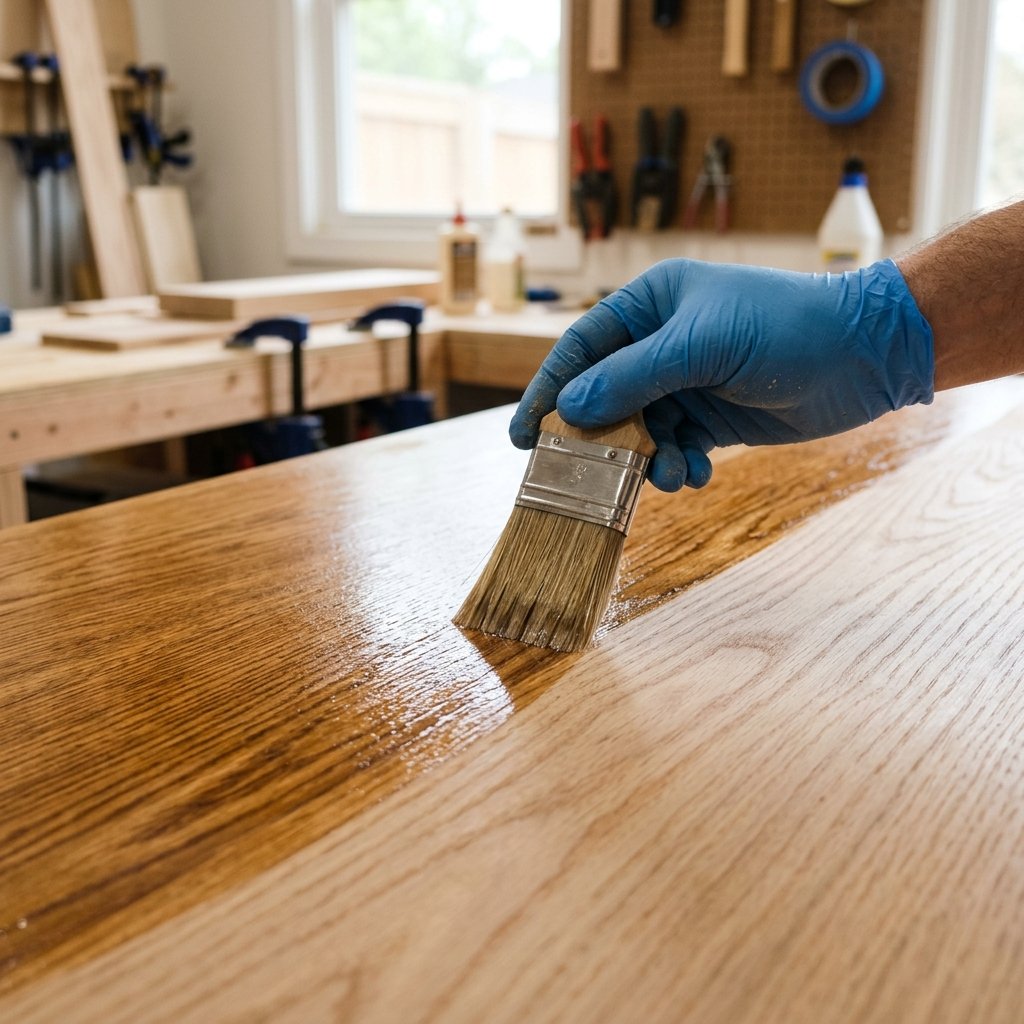
Step 12: Remove All Dust
Before applying finish, thoroughly remove sanding dust.
Vacuum the surface and surrounding work area.
Then use the cleaning method recommended by the finish manufacturer.
Avoid introducing incompatible cleaners or residues immediately before finishing.
Even tiny particles can become permanently trapped in a clear finish.
Choosing a Finish for a DIY Wood Countertop
This is one of the most important decisions in the entire project.
The correct finish depends on:
- Location
- Water exposure
- Food contact
- Desired appearance
- Maintenance expectations
- Wood species
Possible systems include penetrating oils, hardwax-style finishes, film-forming finishes, or other products specifically intended for wood countertop applications.
Don’t choose a finish based solely on a vague claim that it’s “food safe.”
Check the actual manufacturer’s instructions regarding:
- Intended application
- Food-contact suitability after curing
- Water resistance
- Number of coats
- Dry time
- Full cure
- Maintenance
- Reapplication
Oil Finish vs. Film-Forming Finish
There isn’t one universally correct choice.
Penetrating or Oil-Type Finish
Can preserve a more natural wood feel.
Depending on the product, it may be relatively easy to refresh locally.
However, maintenance may be more frequent.
Film-Forming Finish
Creates more of a protective layer over the wood.
Depending on the specific product, this may provide stronger resistance to certain spills and moisture.
But damaged areas can sometimes be more noticeable or harder to repair invisibly.
Choose based on how the countertop will actually be used.
Step 13: Finish Every Appropriate Surface
Don’t focus only on the top.
Depending on your countertop construction and finish system, vulnerable surfaces may include:
- Top
- Front edge
- Back edge
- Ends
- Underside
- Sink cutout
Follow the product and countertop manufacturer’s recommendations.
Moisture can enter wood through unfinished areas, especially around sinks and cut edges.
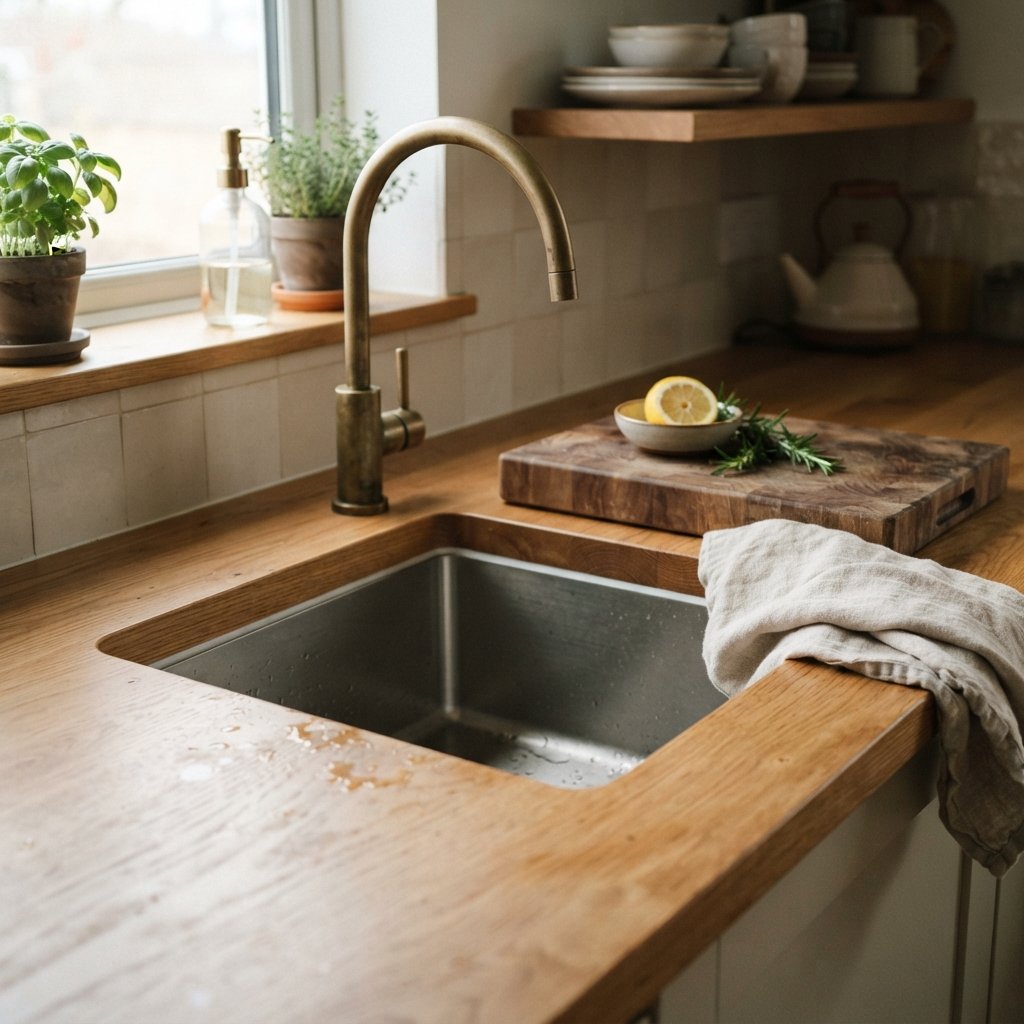
Step 14: Pay Extra Attention Around the Sink
The sink is one of the highest-risk areas for a wood countertop.
Water can collect around:
- Rim
- Faucet
- Soap dispenser
- Cutout edge
- Caulk joint
Follow the sink and finish manufacturers’ requirements carefully.
Make sure cut edges receive the necessary protection.
Use compatible sealant where required.
And wipe standing water rather than allowing it to sit on the wood.
Step 15: Allow the Finish to Cure
Dry and cured are not the same thing.
A countertop may feel dry to the touch while the finish is still developing its intended performance.
Follow the manufacturer’s stated cure time before:
- Installing certain fixtures if prohibited
- Exposing the counter to water
- Placing heavy appliances
- Cleaning aggressively
- Preparing food directly on the surface
Rushing this stage can undo a lot of careful work.
Step 16: Install the Countertop
Wood needs to be attached securely while still allowing for expected seasonal movement.
The exact mounting method depends on:
- Countertop construction
- Cabinet design
- Wood species
- Grain orientation
- Manufacturer recommendations
Avoid simply driving rigid fasteners everywhere without considering movement.
Some installations use elongated holes, clips, or other methods designed to allow the top to move across the grain.
If you’re using a prefabricated countertop, follow its installation instructions.
Step 17: Caulk Where Appropriate
Where the counter meets a backsplash or wall, an appropriate flexible sealant may be required.
Use a product compatible with:
- Wood finish
- Backsplash material
- Wet-area requirements
Don’t use caulk as a substitute for properly fitting or finishing the countertop.
It should seal a suitable joint—not hide major gaps.
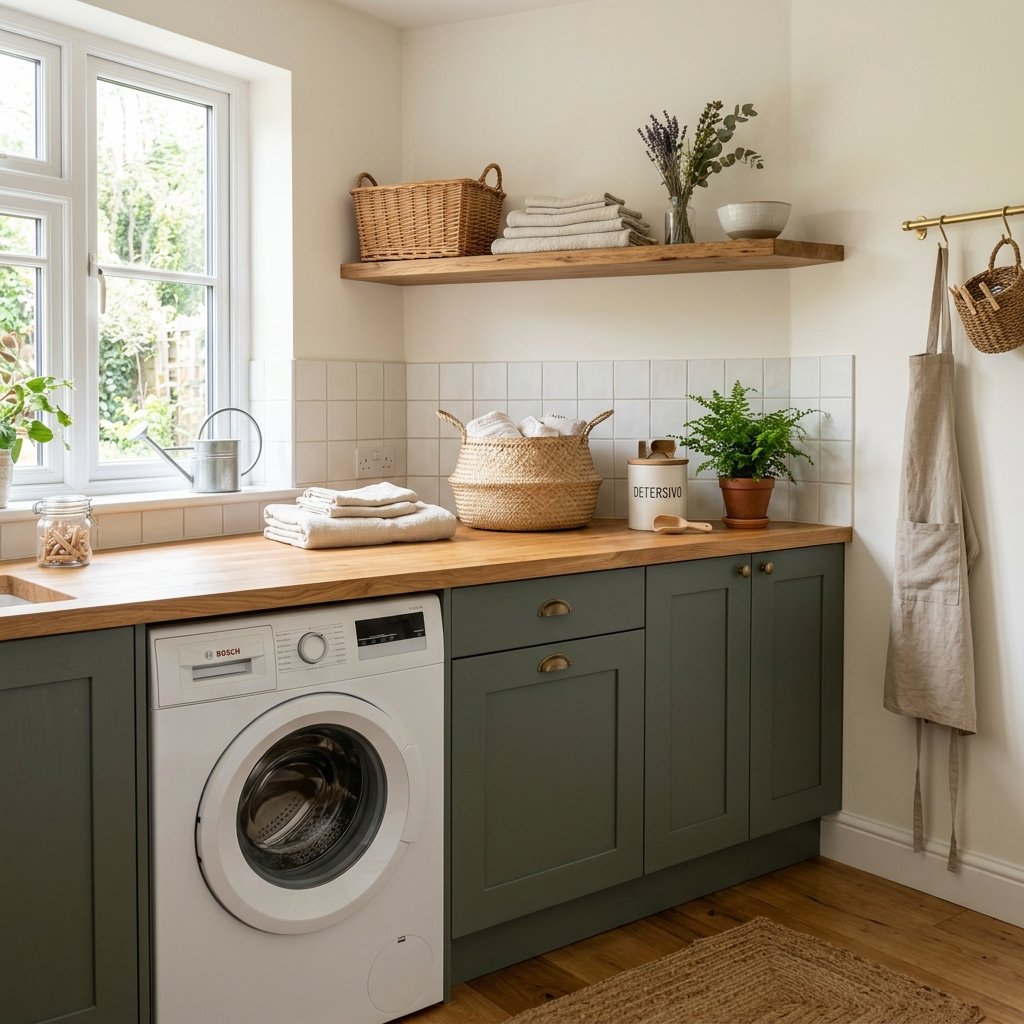
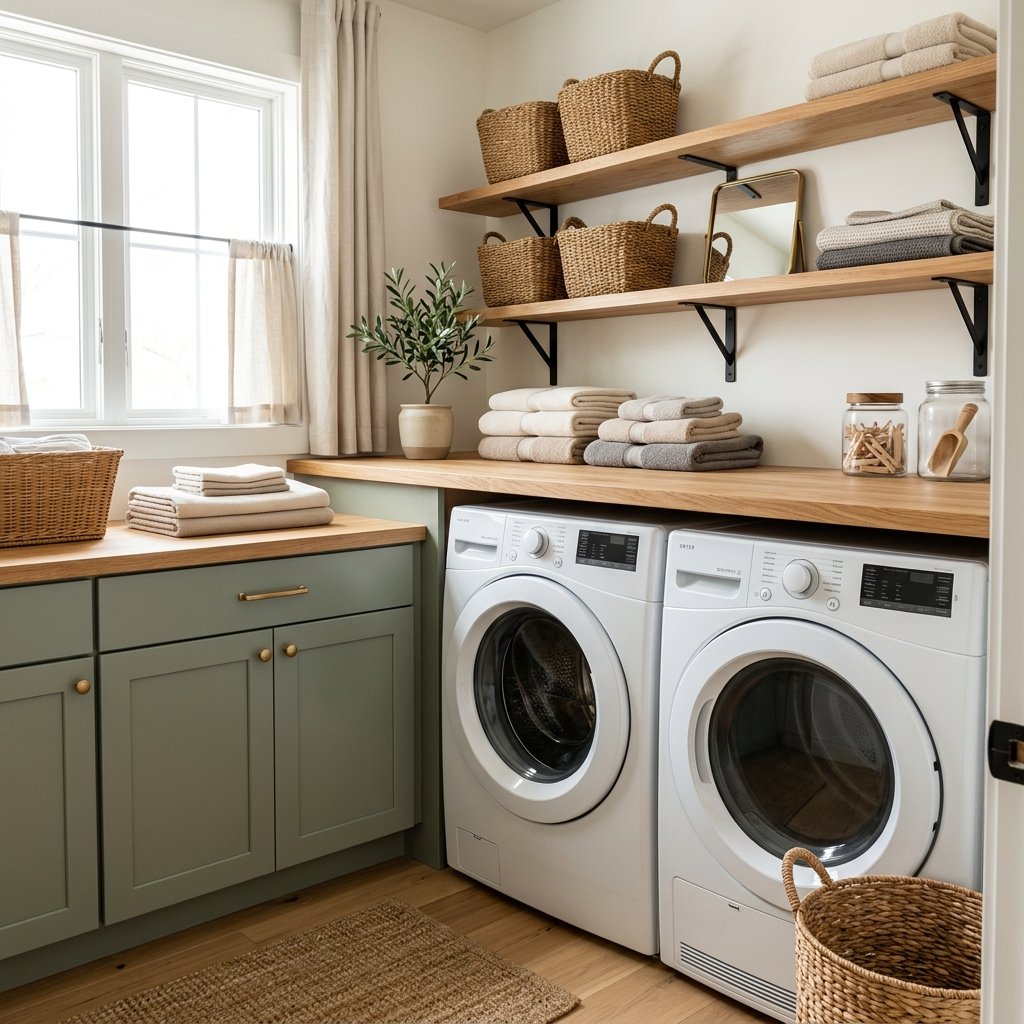
DIY Wood Countertop for a Laundry Room
Laundry rooms are one of the most approachable locations for this project.
A simple wood counter can sit over base cabinets or, with proper planning, above front-loading laundry appliances.
If installing above appliances, check the manufacturers’ requirements for:
- Ventilation
- Clearance
- Vibration
- Service access
- Connections
The countertop should not prevent the machines from being pulled out for repairs.
A warm wood surface paired with white, green, blue, or gray cabinetry can make a utility room feel much more finished.
DIY Wood Countertop in a Kitchen
A kitchen counter requires more careful planning.
Consider:
- Water
- Food
- Heat
- Cleaning
- Staining
- Knife damage
- Small appliances
Use cutting boards rather than cutting directly on the wood unless the countertop and finish are specifically designed and maintained for that use.
Use trivets beneath hot cookware.
Wipe spills promptly.
And don’t let water sit around the sink.
DIY Wood Countertop for a Bathroom Vanity
Wood can soften a bathroom filled with tile and hard surfaces.
But a bathroom vanity counter is frequently exposed to:
- Water
- Toothpaste
- Soap
- Cosmetics
- Cleaning products
Choose a finish intended for the environment.
Pay particular attention around faucet penetrations and the sink opening.
If water repeatedly gets beneath a vessel sink or faucet base, even a beautiful finish can eventually struggle.
DIY Wood Countertop Over Cabinets
Before installing any countertop, make sure the cabinets are:
- Secure
- Level
- Properly supported
A countertop won’t fix badly installed cabinetry.
Check across the cabinet run with an appropriate level or straightedge.
Correct cabinet issues before fitting the top.
How to Make a DIY Wood Countertop Look More Expensive
The difference often comes down to details.
Choose Boards Carefully
Avoid a random patchwork of dramatically different tones unless that’s the look you want.
Keep Joints Tight
Visible gaps immediately draw attention.
Sand Consistently
Uneven sanding can become obvious once finish is applied.
Use a Simple Edge
A clean, understated profile often looks polished.
Don’t Make It Too Glossy
A finish that complements the wood can let the grain remain the focus.
Plan Seams
If the counter requires multiple pieces, think carefully about where they meet.
Coordinate With Other Wood
The countertop doesn’t need to match the floor or furniture exactly, but the undertones should work together.
Should a Wood Countertop Match Wood Floors?
No.
In fact, matching every wood finish can make a room feel flat.
Instead, look at the undertones.
A warm oak floor might work with:
- Medium walnut counter
- Natural oak counter
- Slightly darker warm brown wood
Create enough contrast that the materials don’t look like an unsuccessful attempt at an exact match.
Wood Countertops With White Cabinets
This is a classic combination.
White cabinetry provides contrast while the wood introduces warmth.
For a softer look, use:
- Warm white cabinets
- Medium natural wood
- Brass or bronze hardware
For stronger contrast, try:
- Crisp white cabinetry
- Dark walnut-style counter
- Black hardware
Wood Countertops With Green Cabinets
Wood and green work particularly well together because both feel connected to natural colors.
Try:
- Sage + light oak
- Olive + medium wood
- Deep forest green + warm walnut
Keep the backsplash relatively quiet if both the cabinets and countertop have strong visual character.
Wood Countertops With Blue Cabinets
Warm wood can balance cooler blue cabinetry.
Muted navy, dusty blue, or blue-gray can all work with natural wood.
Repeat the wood tone somewhere else with a shelf, stool, or small accessory so the countertop feels integrated into the room.
How to Care for a Wood Countertop
Maintenance depends on the finish, but some general habits help.
- Wipe spills promptly.
- Don’t allow standing water.
- Use trivets under hot cookware.
- Use cutting boards.
- Avoid cleaners that aren’t compatible with the finish.
- Inspect around sinks periodically.
- Refresh the finish according to its manufacturer’s recommendations.
- Repair damaged areas before moisture gets into bare wood.
Wood countertops naturally develop character over time.
The goal isn’t necessarily to keep them looking untouched forever.
It’s to prevent neglect from turning normal wear into damage.
Common DIY Wood Countertop Mistakes
Using Wet or Unstable Lumber
Wood needs to be appropriate and sufficiently dry for the project.
Skipping Acclimation
Give materials appropriate time to adjust to the environment when required.
Ignoring Wood Movement
Wood expands and contracts.
Choosing Boards Only by Price
Poorly shaped lumber can create much more work.
Guessing the Sink Cutout
Use the manufacturer’s template.
Leaving Sink Cut Edges Vulnerable
These areas need careful protection.
Using the Wrong Finish
Choose for the actual countertop application.
Finishing Only the Visible Top
Follow the finishing system’s recommendations for all relevant surfaces.
Installing Before the Finish Cures
Patience matters.
Letting Water Sit on the Counter
Especially around sinks.
Cutting Directly on the Surface
Use a cutting board.
Putting Hot Pans Directly on Wood
Use a trivet.
DIY Wood Countertop Safety
Woodworking involves cutting tools, heavy material, dust, adhesives, and finishing products.
Work carefully.
- Wear eye protection when cutting, drilling, routing, or sanding.
- Wear hearing protection around loud power tools.
- Use effective dust collection and appropriate respiratory protection when sanding or cutting.
- Secure workpieces before cutting.
- Keep hands away from blades and bits.
- Support long or heavy panels.
- Don’t lift large countertops alone if they are too heavy or awkward.
- Follow all tool manufacturer instructions.
- Provide appropriate ventilation when using glue, finishes, or sealants.
- Keep combustible finishing materials away from ignition sources.
- Handle oil- or finish-soaked rags according to the manufacturer’s fire-safety directions; some finishing products can create a spontaneous-combustion hazard in improperly stored rags.
- Follow all stated drying and curing times.
If the countertop involves structural changes, complicated plumbing, electrical work, or a sink installation beyond your experience, consider hiring a professional for that portion.
FAQ About DIY Wood Countertops
Can you make your own wood countertop?
Yes. A wood countertop can be built from suitable boards or created from a prefabricated wood countertop slab. The right method depends on your tools, woodworking experience, and intended use.
What wood is best for a DIY countertop?
There isn’t one best species for every project. Maple, oak, walnut, birch, beech, and other woods may be suitable depending on availability, construction, desired appearance, and use.
Is it cheaper to make your own wood countertop?
It can be, particularly for utility spaces or when you already own the necessary tools. Compare the total cost of lumber, glue, finishing products, hardware, tools, and waste against a prefabricated countertop.
Can you use regular lumber for a countertop?
Some dimensional lumber can be used for certain projects, but stability, dryness, defects, and intended use matter. Purpose-made countertop material or suitable hardwood may produce more predictable results.
How do you waterproof a wood countertop?
Wood countertop finishes can improve water resistance, but describing a wood counter as completely waterproof can be misleading. Choose a finish designed for the intended environment, protect all vulnerable areas as directed, and wipe standing water promptly.
What should I seal a wood countertop with?
Use a finishing system suitable for the specific wood, location, food-contact requirements if applicable, and desired maintenance level. Follow the manufacturer’s directions.
Can you put a sink in a wood countertop?
Yes. Use the sink manufacturer’s cutout and installation instructions and protect exposed wood around the opening appropriately. Water management around the sink is especially important.
Can you use wood countertops in bathrooms?
Yes, provided the material, construction, finish, sink detailing, and maintenance are appropriate for frequent moisture exposure.
How thick should a DIY wood countertop be?
Thickness depends on the material, construction, span, support, and desired appearance. Follow the countertop material’s recommendations and ensure cabinetry provides adequate support.
Do you need to finish the underside of a wood countertop?
Follow the finish and countertop manufacturer’s recommendations. Depending on the construction and system, treating multiple surfaces may help manage moisture exposure and movement.
Final Thoughts
A DIY wood countertop is one of those projects that can make a relatively basic room feel much warmer and more custom.
It can transform white cabinets in a laundry room.
It can bring natural texture into a kitchen.
It can turn simple built-ins into something that looks intentionally designed.
And if you have the tools and woodworking experience, building the countertop yourself can give you control over the wood, size, edge profile, color, and finish.
The key is remembering that wood is a natural material.
It moves.
It reacts to moisture.
And it needs a finish and installation method appropriate for the way the countertop will actually be used.
Measure carefully, choose stable material, prepare tight joints, sand consistently, protect vulnerable edges, and don’t rush the finishing process.
Pay particular attention anywhere water is involved.
With good planning and careful construction, a simple wood surface can become one of the warmest and most character-filled features in the room.

