

Getting the keys to your first home is exciting—and it can also leave you staring at a very long list of things you’d like to change.
Maybe the walls aren’t your favorite color. The closets need better organization. Builder-grade hardware makes the kitchen feel dated. The entryway needs somewhere to put shoes, and several rooms still feel like they belong to the previous owner.
You don’t have to tackle a major renovation to start making the house your own.
Some of the most satisfying DIY projects for a first-time homeowner are relatively small updates that help you learn basic home-improvement skills while improving how your home looks and functions.
Painting a room, replacing cabinet hardware, installing shelves, updating caulk, organizing a closet, or creating a simple accent wall can make a noticeable difference without requiring you to tear apart your new house.
The key is knowing which projects are appropriate for beginners—and which ones are better left to qualified professionals.
Start small, learn how your home is constructed, build a basic tool collection, and take on more complicated projects only when you’re comfortable doing them safely.
Here are 21 beginner-friendly DIY projects worth considering for your first home.
Before You Start: Learn Your House
Before starting decorative DIY projects, spend some time learning how your home works.
Know where important systems are located, including:
- Electrical panel
- Main water shutoff
- Individual plumbing shutoffs where present
- Heating and cooling equipment
- Smoke and carbon monoxide alarms where applicable
- Attic or crawl-space access
- Exterior utility equipment
Keep manuals and important home information together.
You should also understand which projects may require permits, inspections, licensed trades, landlord/association approval where applicable, or professional expertise in your location.
Painting a bedroom wall and modifying electrical wiring are very different categories of DIY.
When you’re unsure, find out before you start.
1. Paint a Room
Painting is one of the most useful first DIY skills to learn.
It can completely change a room without altering its structure.
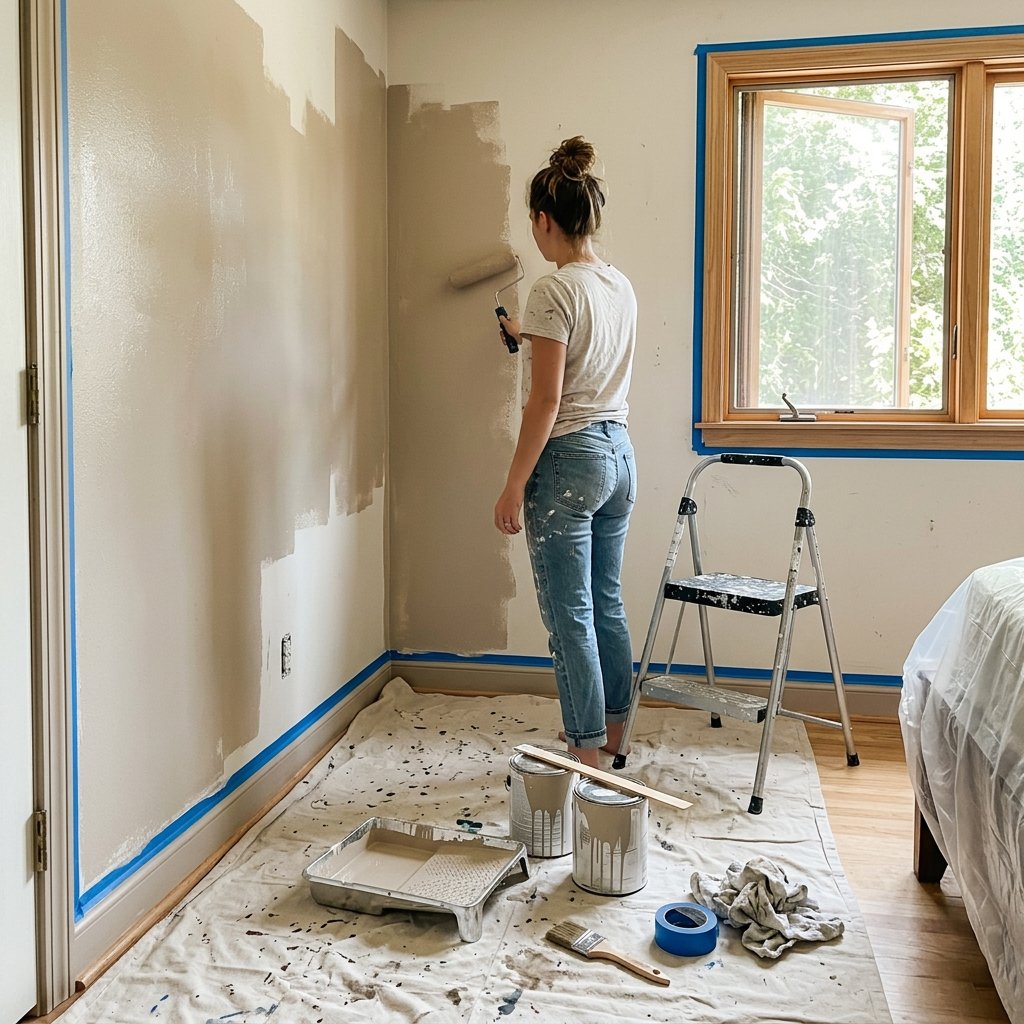
For a better result, don’t rush the preparation.
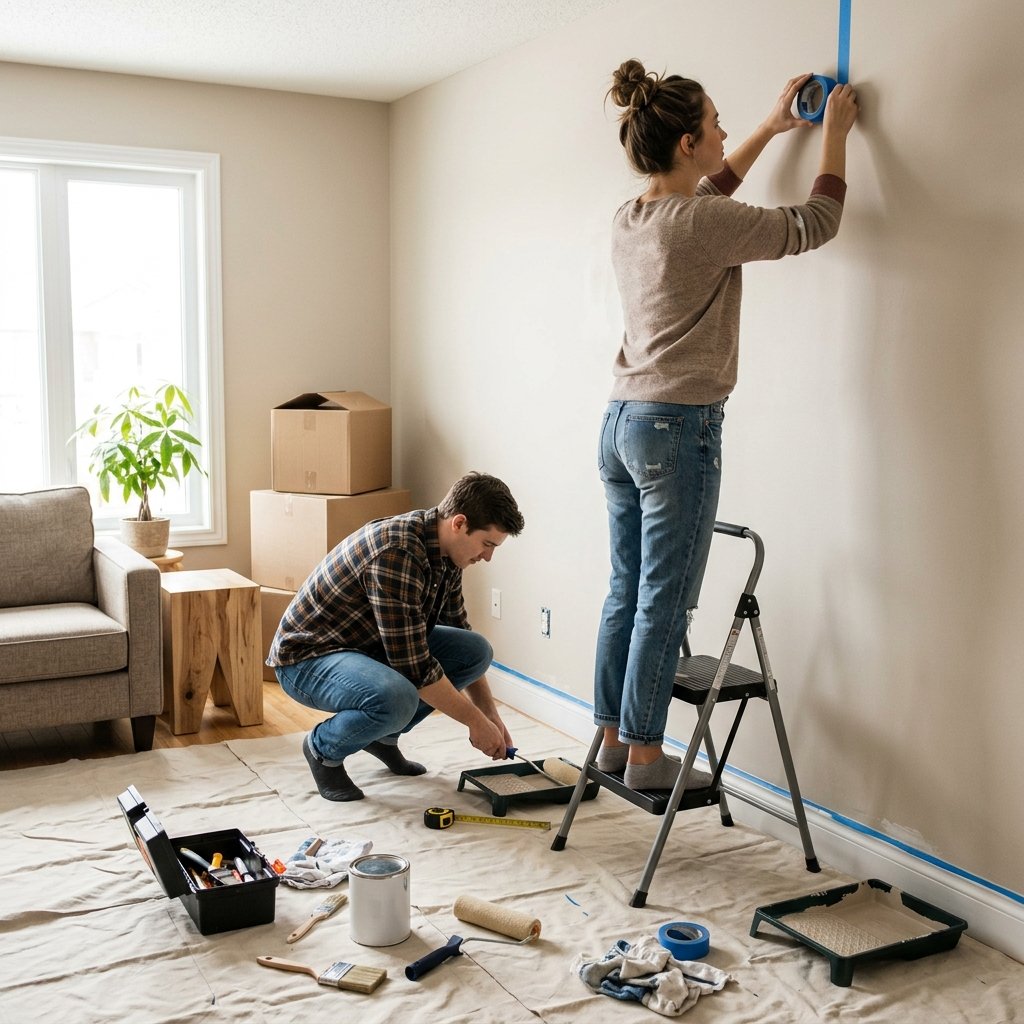
Start by:
- Removing or protecting furniture.
- Cleaning walls as appropriate.
- Repairing minor holes and imperfections.
- Protecting floors.
- Masking areas where needed.
- Priming when the surface or paint system requires it.
- Applying paint according to the manufacturer’s directions.
- Allowing appropriate drying and recoating time.
Use ventilation and protective equipment as directed by the paint manufacturer.
If you’re working in an older home where existing coatings could contain lead or other hazards, don’t sand or disturb questionable materials until you’ve determined the appropriate safe procedure for your home and location.
2. Paint Interior Trim
If the walls are in good condition but the room still feels tired, refreshing trim can make a surprising difference.
You might paint:
- Baseboards
- Window trim
- Door casings
- Interior doors
Preparation matters here too.
Clean the surface and determine whether sanding, repair, caulk, primer, or another preparation step is appropriate for the existing finish.
Choose a coating intended for the surface and follow its instructions.
3. Replace Cabinet Hardware
Changing cabinet knobs and pulls can give a kitchen or bathroom a quick update.
For the easiest project, choose new hardware that works with the existing holes.
If you’re changing from knobs to pulls—or changing the distance between existing holes—you’ll need additional measuring, drilling, and possibly filling and refinishing.
Create a simple template or use an appropriate hardware jig when drilling multiple matching holes.
Measure carefully before drilling.
4. Update Door Hardware
Interior door knobs or handles can have a big impact on the overall look of a house.
Replacing existing hardware with compatible new hardware can be a manageable DIY project when the door and latch preparation already match.
Before buying anything, check:
- Door thickness
- Existing bore configuration
- Backset
- Handle orientation where relevant
- Privacy/pass-through function
Follow the hardware manufacturer’s installation instructions.
Exterior entry locks deserve extra attention because they’re part of your home’s security.
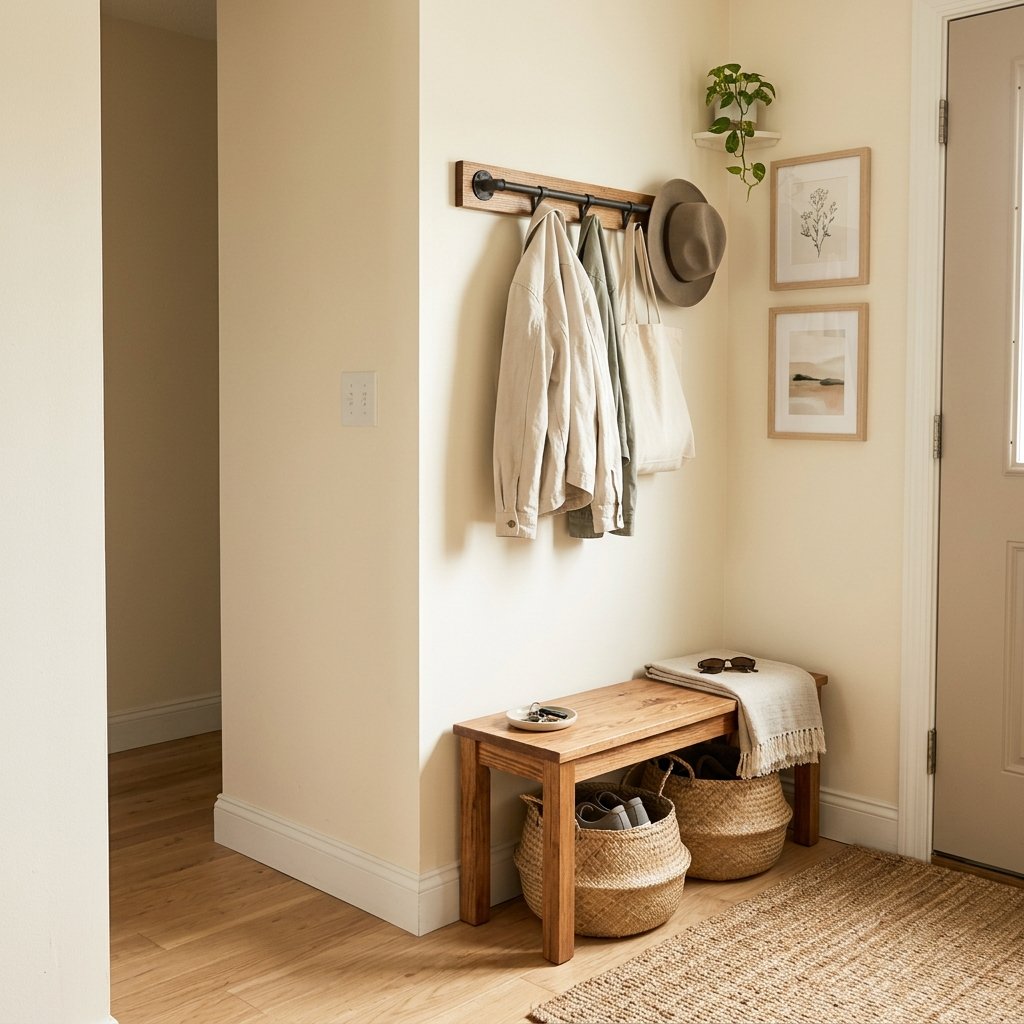
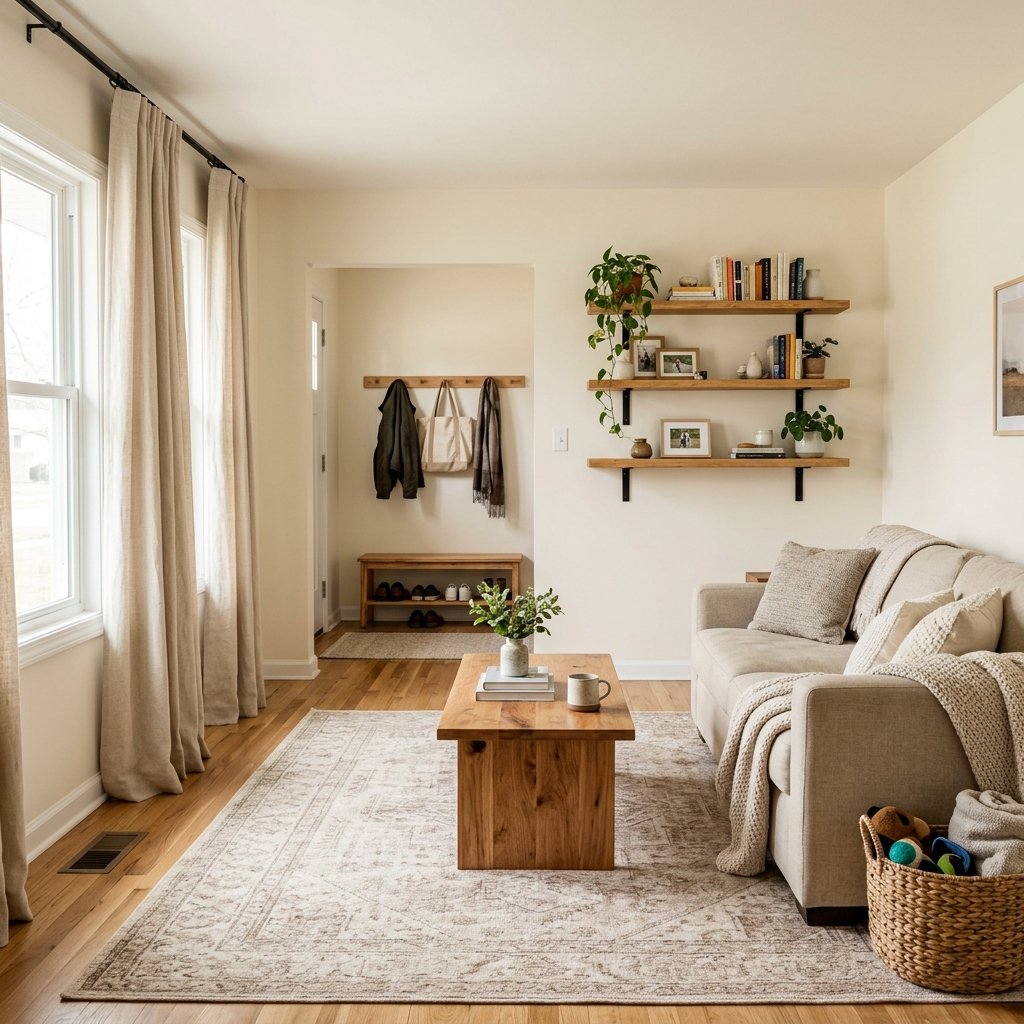
5. Create an Entryway Drop Zone
One of the first things you’ll notice after moving into a house is where clutter naturally collects.
Create a simple entryway system with:
- Wall hooks
- Shoe storage
- Small bench
- Basket
- Tray for keys
Use appropriate wall anchors or attach to framing where required for the expected load.
Don’t block doors, exits, stairs, or walking paths.
6. Install Simple Wall Shelves
Shelves can add storage without taking up much floor space.
Good locations include:
- Laundry room
- Bathroom
- Home office
- Kitchen
- Entryway
The installation method depends on the wall construction, shelf design, and expected load.
Use mounting hardware appropriate for both the wall and shelf.
Don’t guess how much weight a shelf can hold.
Follow the manufacturer’s installation and load guidance.
7. Organize a Closet
Not every DIY project requires power tools.
Improving a closet can make everyday life significantly easier.
Start by emptying the closet and sorting the contents.
Then decide whether you need:
- Additional shelf
- Baskets
- Hooks
- Shoe storage
- Drawer organizers
- Closet dividers
Measure before purchasing organizers.
Use vertical space where practical, but keep frequently used items easy to reach.
8. Install a Closet Shelf
Once you’re comfortable measuring and locating appropriate mounting points, adding a shelf can be a useful beginner project.
A shelf above an existing closet rod can provide storage for:
- Seasonal clothing
- Bags
- Bins
- Extra linens
The materials, supports, fasteners, and installation method need to suit the wall construction and intended load.
If you’re unsure what is behind a wall, don’t drill blindly—particularly near areas where electrical wiring or plumbing may run.
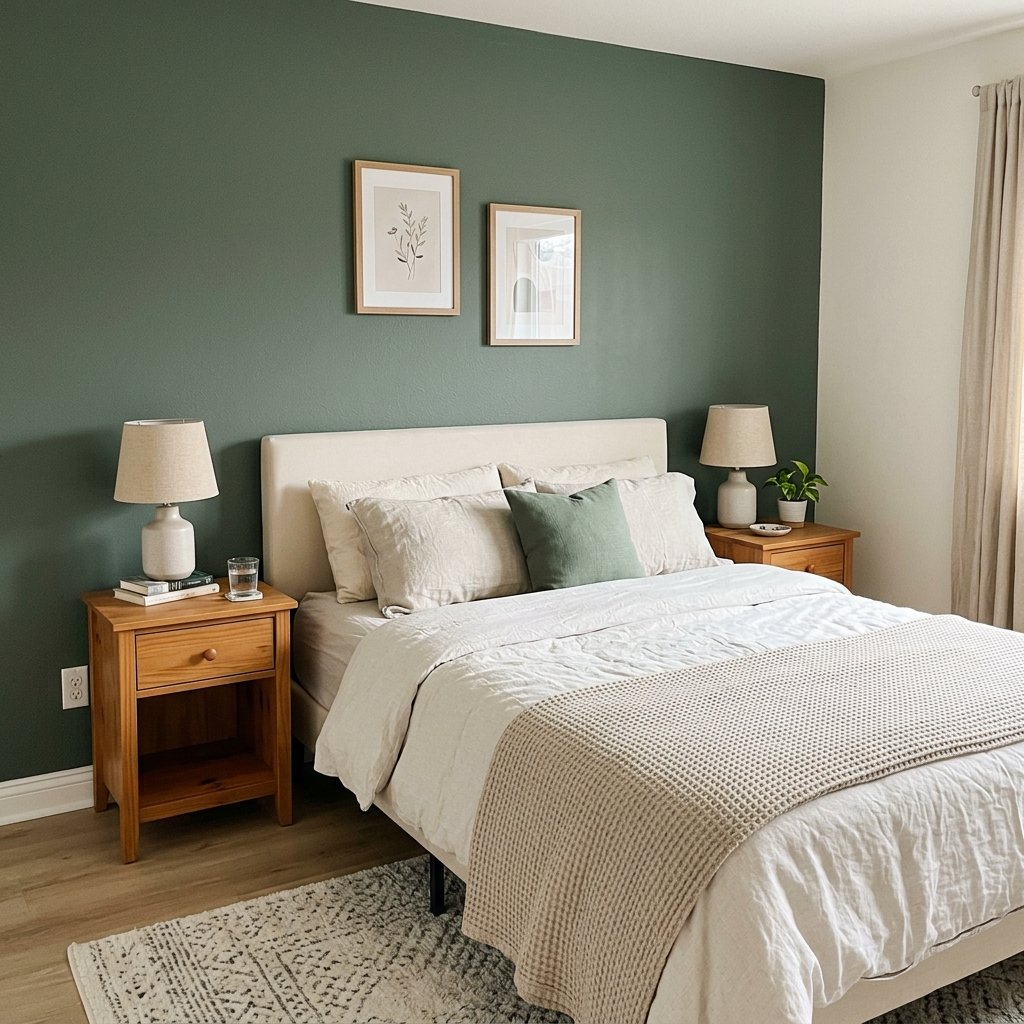
9. Add an Accent Wall With Paint
If painting an entire room feels intimidating, start with one wall.
A painted accent wall can add depth behind:
- Bed
- Sofa
- Dining table
- Desk
Try:
- Deep green
- Navy
- Charcoal
- Burgundy
- Warm brown
Choose a color that already relates to something in the room, such as artwork, textiles, or a rug.
10. Build a Simple Board and Batten Accent Wall
Once you’ve completed a few basic projects, a simple decorative wall treatment can be a great next step.
Board and batten can add architectural character to a plain room.
The general process may include:
- Plan the layout.
- Measure the wall.
- Locate studs and identify potential utilities.
- Cut trim pieces accurately.
- Attach materials using a method appropriate for the wall and product.
- Fill appropriate holes and seams.
- Caulk where appropriate.
- Prime if needed.
- Paint.
Actual installation depends on your wall construction and trim materials.
Electrical outlets and switches complicate wall treatments. Don’t modify electrical components beyond work you’re qualified and permitted to perform.
11. Refresh Caulk Around Appropriate Interior Trim
Small gaps around trim can make an otherwise freshly painted room look unfinished.
Where appropriate, paintable interior caulk can help create a cleaner transition around certain trim.
Remove failed material as needed, prepare the surface, and use a caulk suitable for the specific application.
Caulking around tubs, showers, sinks, windows, exterior openings, and other moisture-sensitive areas may require different products and techniques, so don’t assume one tube of caulk works everywhere.
12. Recaulk a Tub or Shower
This can be a useful maintenance project, but it requires more care than cosmetic trim caulking.
If existing sealant has failed:
- Determine why it failed.
- Remove it appropriately.
- Clean the joint.
- Address any moisture or damage concerns.
- Allow surfaces to dry as required.
- Apply a sealant specifically suitable for the wet-area application.
- Follow curing instructions before exposing it to water.
If you find significant water damage, persistent mold, loose tile, soft wall material, or evidence of a leak, address the underlying problem rather than covering it with new caulk.
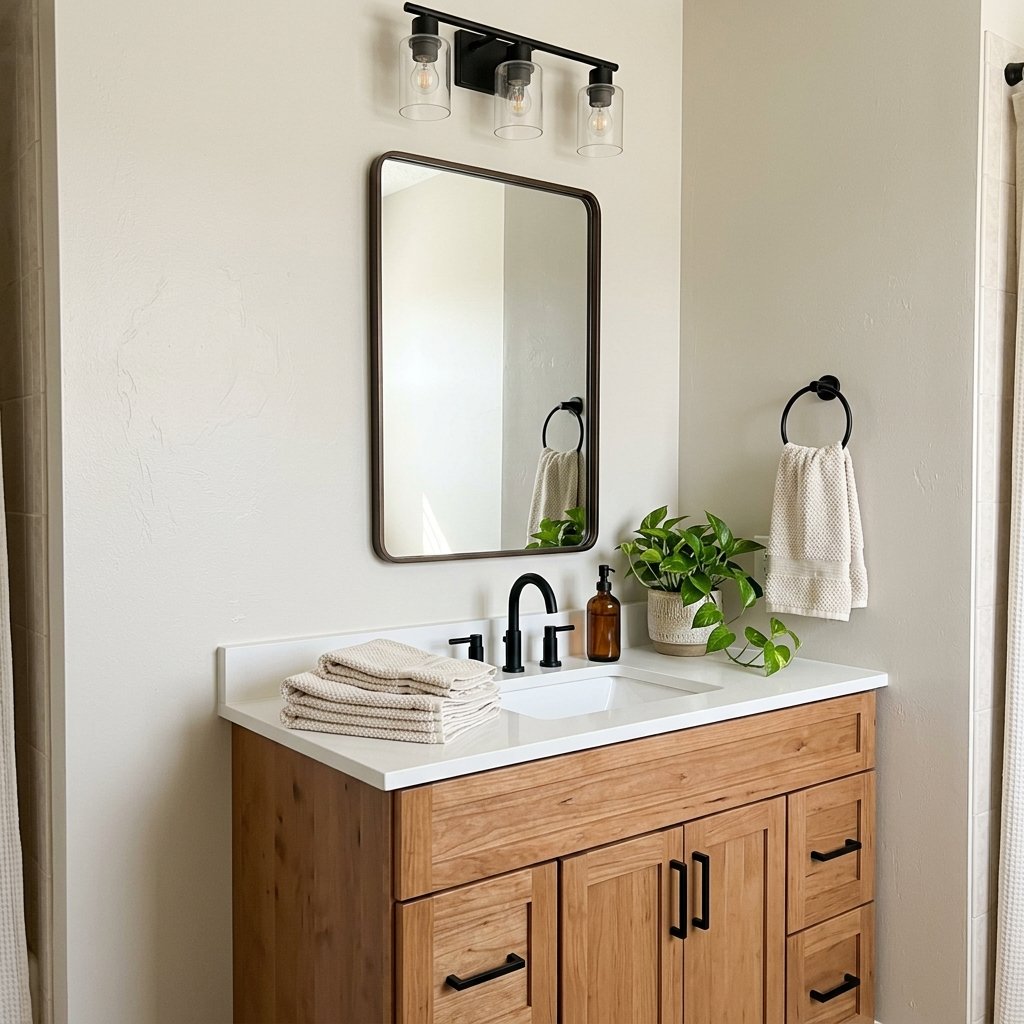
13. Upgrade a Bathroom Mirror Frame
A plain builder-grade bathroom mirror can often be given a more finished appearance with a decorative frame.
You might use appropriately selected:
- Wood trim
- Molding
- Purpose-made mirror framing materials
Plan around:
- Mirror clips
- Outlets
- Light fixtures
- Faucet clearance
Use adhesives or fasteners specifically suitable for the materials and location.
14. Create a Gallery Wall
A gallery wall is a low-risk way to personalize your first home.
Gather:
- Family photographs
- Art prints
- Children’s artwork
- Meaningful pieces
Arrange everything on the floor first.
Then create paper templates or carefully mark the layout before hanging.
Use wall hardware suitable for the wall type and item weight.
15. Hang Curtains
Curtains can make a room feel dramatically more finished.
Before ordering, measure:
- Window width
- Window height
- Desired rod position
- Desired curtain length
Where the room and window allow, mounting the rod somewhat above and wider than the window can make the opening feel more substantial and allow more glass to remain visible when curtains are open.
Use brackets and anchors suitable for the wall and total load.
Be aware of electrical wiring, plumbing, and other hidden utilities before drilling.
16. Paint an Old Piece of Furniture
Instead of buying new furniture immediately after moving, update something you already own.
Good candidates may include:
- Nightstand
- Side table
- Dresser
- Console
Preparation varies depending on the original finish and the coating you’re using.
Clean thoroughly and follow the paint or finishing system’s instructions for sanding, deglossing, priming, application, ventilation, drying, and curing.
For older painted furniture, consider the possibility of hazardous legacy coatings before sanding.
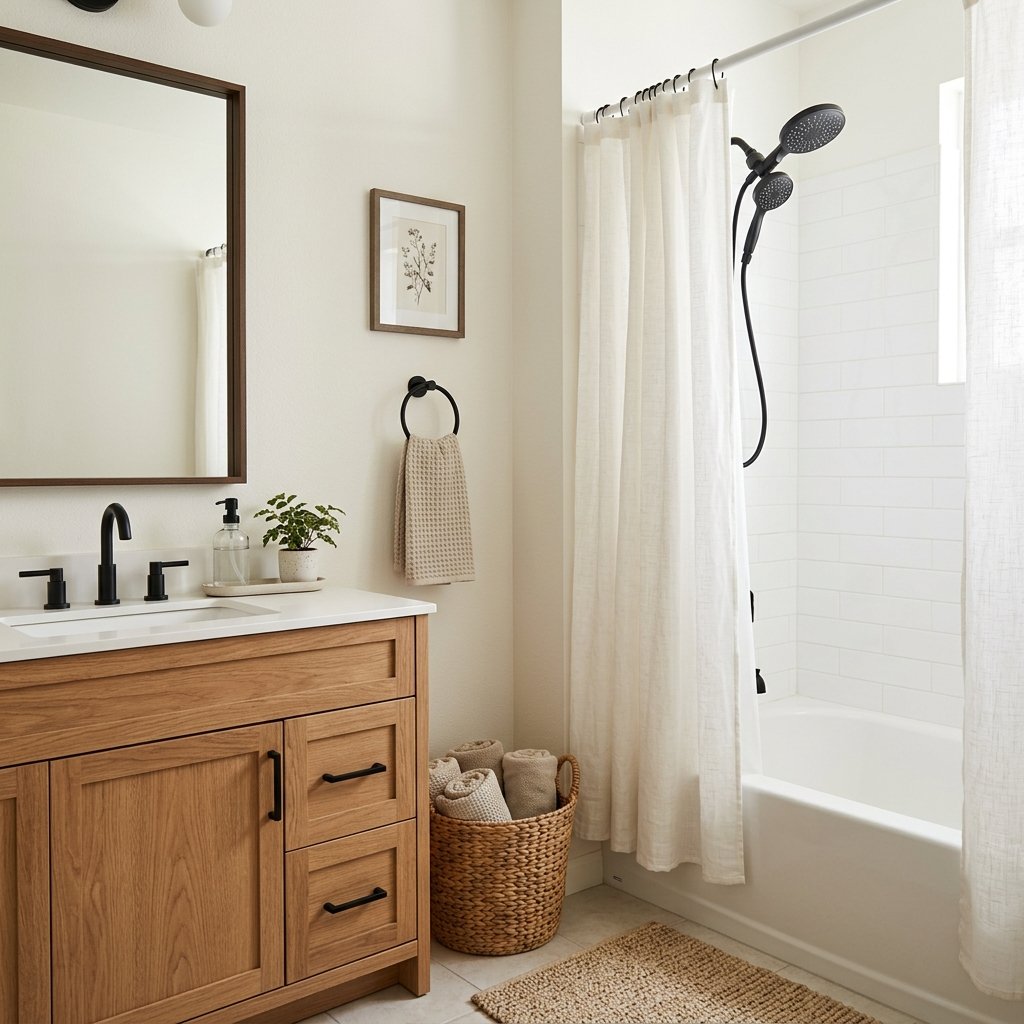
17. Replace a Showerhead
Replacing a compatible showerhead can be a relatively approachable plumbing-related project because you’re generally working with an existing connection rather than modifying supply piping.
Turn off the shower and follow the new fixture’s instructions.
Avoid overtightening connections.
After installation, test carefully for leaks.
If the fitting is damaged, leaking inside the wall, badly corroded, or otherwise problematic, stop and get appropriate help rather than forcing it.
18. Create a Laundry Room Storage Wall
Laundry rooms often have unused vertical space.
Add storage appropriate for your wall construction and needs.
Possibilities include:
- Shelving
- Hooks
- Baskets
- Wall-mounted organizer
Keep products securely stored, particularly around children and pets.
Don’t interfere with appliance ventilation, connections, shutoffs, electrical access, or manufacturer-required clearances.
19. Add Garage Wall Storage
A garage is a great place to practice practical organization projects.
Get items off the floor using properly installed:
- Hooks
- Shelves
- Pegboard
- Tool storage
Create zones for:
- Tools
- Yard equipment
- Sports gear
- Seasonal items
Use wall-mounting systems according to their installation instructions and load ratings.
Store hazardous materials appropriately and keep them away from ignition sources, children, pets, and incompatible products.
20. Update House Numbers
New house numbers are a small project that can make the exterior feel more personal.
Choose numbers that are:
- Easy to read
- Appropriately sized
- High contrast against the background
- Visible from the expected approach
Before drilling into exterior surfaces, understand the wall material and installation requirements.
Exterior penetrations need to be handled appropriately to avoid water intrusion.
Also check any applicable local, emergency-service, neighborhood, or association requirements.
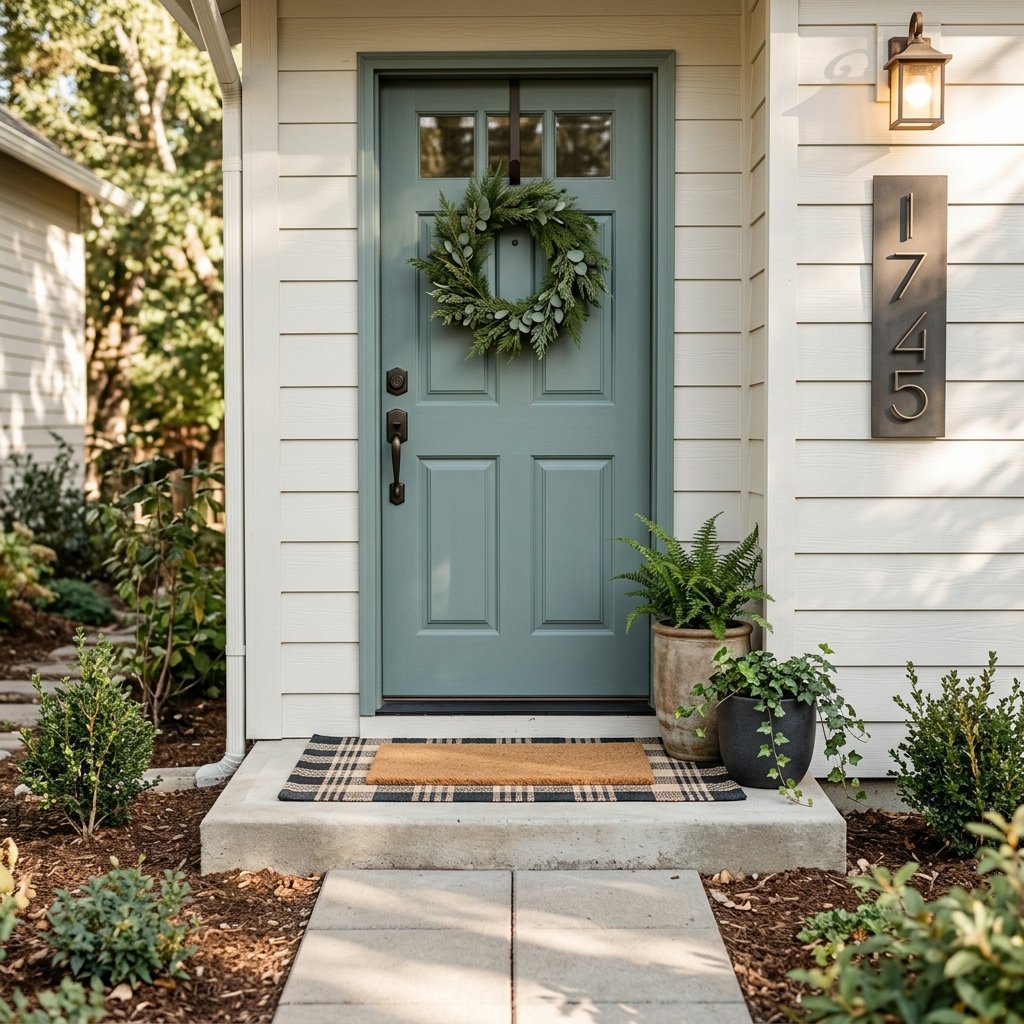
21. Refresh the Front Door Area
Finish with a project that gives you a result every time you come home.
You might:
- Clean the door
- Paint it where appropriate
- Update house numbers
- Add a doormat
- Add planters
- Hang a wreath
- Improve organization near the entrance
If painting the door, use a coating suitable for the door material and exposure conditions.
Make sure new decorations don’t interfere with the door, lock, walkway, steps, handrails, or exterior lighting.
The Best DIY Projects for a First-Time Homeowner to Start With
If you’ve never done DIY before, don’t make your first project a major renovation.
Start with projects that teach basic skills.
A good progression might look like this:
Project 1: Organize a Closet
Learn to measure and plan.
Project 2: Paint a Wall
Learn surface preparation and painting.
Project 3: Replace Cabinet Hardware
Learn precise measuring.
Project 4: Hang Curtains
Learn basic wall mounting.
Project 5: Install a Shelf
Learn about wall construction and appropriate fasteners.
Project 6: Build an Accent Wall
Combine measuring, cutting, installation, filling, caulking, and painting.
Each project builds confidence for the next one.
Basic DIY Tools for a First-Time Homeowner
You don’t need a garage full of expensive tools immediately.
A useful starter collection might include:
- Tape measure
- Screwdriver set
- Hammer
- Level
- Utility knife
- Pliers
- Adjustable wrench
- Appropriate drill/driver
- Drill and driver bits suitable for your projects
- Stud finder
- Pencil
- Flashlight
- Appropriate safety glasses
- Work gloves
- Step stool
Buy additional tools when a project actually requires them.
Don’t buy a specialized tool simply because a generic “new homeowner checklist” says you need it.
DIY Projects That Can Save Money
Some beginner DIY projects can reduce the cost of cosmetic updates because you’re providing the labor.
Examples may include:
- Painting
- Furniture refinishing
- Closet organization
- Cabinet hardware
- Shelving
- Simple landscaping
- Decorative wall treatments
But DIY doesn’t automatically save money.
Buying tools, correcting mistakes, damaging materials, or attempting work beyond your abilities can make a project more expensive.
Before starting, compare:
Materials + tools + time + risk
against the cost of appropriate professional help.
DIY Projects First-Time Homeowners Should Approach Carefully
Some jobs can have much larger consequences when something goes wrong.
Be cautious with projects involving:
- Electrical wiring
- Gas lines or appliances
- Structural walls
- Roofing
- Major plumbing
- Waterproofing
- HVAC systems
- Significant foundation issues
- Large trees
- Asbestos or suspected hazardous materials
- Lead-containing materials
- Mold or major water damage
Local regulations vary, and some work requires permits, inspections, or licensed professionals.
Knowing when not to DIY is an important home-improvement skill.
A Simple First-Year Home Project Plan
You don’t need to renovate the entire house immediately.
Try dividing projects into phases.
First Month: Function
Focus on:
- Locks and security
- Safety equipment
- Basic repairs
- Closet organization
- Entryway storage
- Necessary maintenance
Months 2–3: Paint
Choose one or two rooms.
Learn the process before painting the entire house.
Months 4–6: Small Upgrades
Try:
- Hardware
- Shelves
- Curtains
- Gallery walls
- Furniture updates
Months 7–12: Larger Beginner Projects
Once you understand the house better, consider:
- Board and batten
- Laundry storage
- Garage organization
- More involved room makeovers
Living in the house for a while often changes your priorities.
The project you thought you needed on move-in day may not matter six months later.
First-Time Homeowner DIY Mistakes to Avoid
Starting With the Hardest Project
Build skills gradually.
Buying Tools Before You Need Them
Start with basics.
Skipping Measurements
Measure twice—and verify the full installation area.
Ignoring Preparation
Painting and finishing projects are often won or lost during prep.
Drilling Into Walls Without Thinking
Walls can contain wiring, plumbing, ductwork, and other utilities.
Ignoring Manufacturer Instructions
Products have specific installation and use requirements for a reason.
Assuming Every Online DIY Tutorial Applies to Your House
Construction methods and regulations vary by home, material, age, and location.
Underestimating Drying and Curing Times
Paint, adhesives, caulk, grout, and finishes may need significant time before they’re ready for normal use.
Doing Too Many Projects at Once
Finish one project before creating three more construction zones.
How to Make Your First Home Feel Like Yours
Not every improvement needs to increase resale value.
You’re living there.
Add things you genuinely enjoy.
Paint the bedroom the color you love.
Hang family photos.
Display books.
Create an entryway that works for your routine.
Build storage where clutter actually accumulates.
Choose projects that solve real problems.
That’s how a house gradually begins to feel like home.
DIY Safety Tips for New Homeowners
DIY can be incredibly rewarding, but safety should always come before speed.
- Wear appropriate eye, hand, hearing, respiratory, and other protection for the task.
- Read tool and product instructions before use.
- Use tools only for their intended purpose.
- Make sure ladders and step stools are stable and appropriately positioned.
- Don’t work on live electrical systems.
- Don’t modify gas systems without appropriate professional expertise.
- Understand what may be behind a wall before drilling or cutting.
- Use fasteners appropriate for the wall material and expected load.
- Provide ventilation when required for paints, adhesives, finishes, and cleaning products.
- Keep work areas clear of children and pets.
- Follow drying and curing times.
- Don’t disturb suspected lead paint, asbestos-containing materials, or other hazardous building materials without appropriate assessment and procedures.
- Check applicable permit and professional requirements before structural, electrical, plumbing, gas, or other regulated work.
- Stop when a project reveals unexpected structural damage, significant water damage, unsafe wiring, leaks, or other problems beyond the original scope.
FAQ About DIY Projects for a First-Time Homeowner
What DIY projects should a first-time homeowner do first?
Start with low-risk projects such as painting, closet organization, changing compatible cabinet hardware, hanging curtains, or creating simple storage.
What basic tools should a new homeowner have?
A tape measure, screwdrivers, hammer, level, pliers, adjustable wrench, utility knife, flashlight, appropriate drill/driver, basic bits, stud finder, safety glasses, gloves, and stable step stool can cover many basic tasks.
What is the easiest home improvement project for beginners?
Painting a small room or accent wall is a good starting point because it teaches preparation, tool handling, patience, and finishing without changing the home’s structure.
Should first-time homeowners DIY electrical work?
Electrical work carries serious shock and fire risks and may be regulated. Work beyond simple manufacturer-approved user tasks should be handled according to applicable local requirements and by a qualified professional where appropriate.
What DIY projects make the biggest visual difference?
Painting walls, changing cabinet hardware, hanging curtains, improving lighting, organizing entryways, and adding simple wall treatments can dramatically change how a home feels.
How do I know whether a DIY project is too difficult?
Consider whether mistakes could cause injury, fire, flooding, structural damage, water intrusion, or expensive repairs. If so, make sure you have the required skills and permissions—or use an appropriate professional.
Should I renovate immediately after buying my first home?
Not necessarily. Unless something requires immediate repair, living in the home for several months can help you understand how you actually use the space before making expensive changes.
How can I improve my first home on a small budget?
Start with paint, organization, secondhand furniture, existing furniture makeovers, inexpensive hardware, and projects that improve storage and function.
Final Thoughts
The best DIY projects for a first-time homeowner aren’t necessarily the biggest transformations.
They’re projects that improve your home while teaching you useful skills.
Start with painting.
Organize a closet.
Replace cabinet hardware.
Hang curtains.
Install a simple shelf.
Refresh the entryway.
Then, once you’re comfortable measuring, drilling, painting, and working with basic tools, move on to more involved projects such as board and batten or garage storage.
You don’t have to transform your entire first home the month you move in.
Give yourself time to understand the house.
Learn where things are.
Figure out how your family actually uses each room.
Then make improvements one project at a time.
A year of thoughtful small DIY projects can completely change how a home looks and functions—and you’ll have built a useful set of home-improvement skills along the way.