

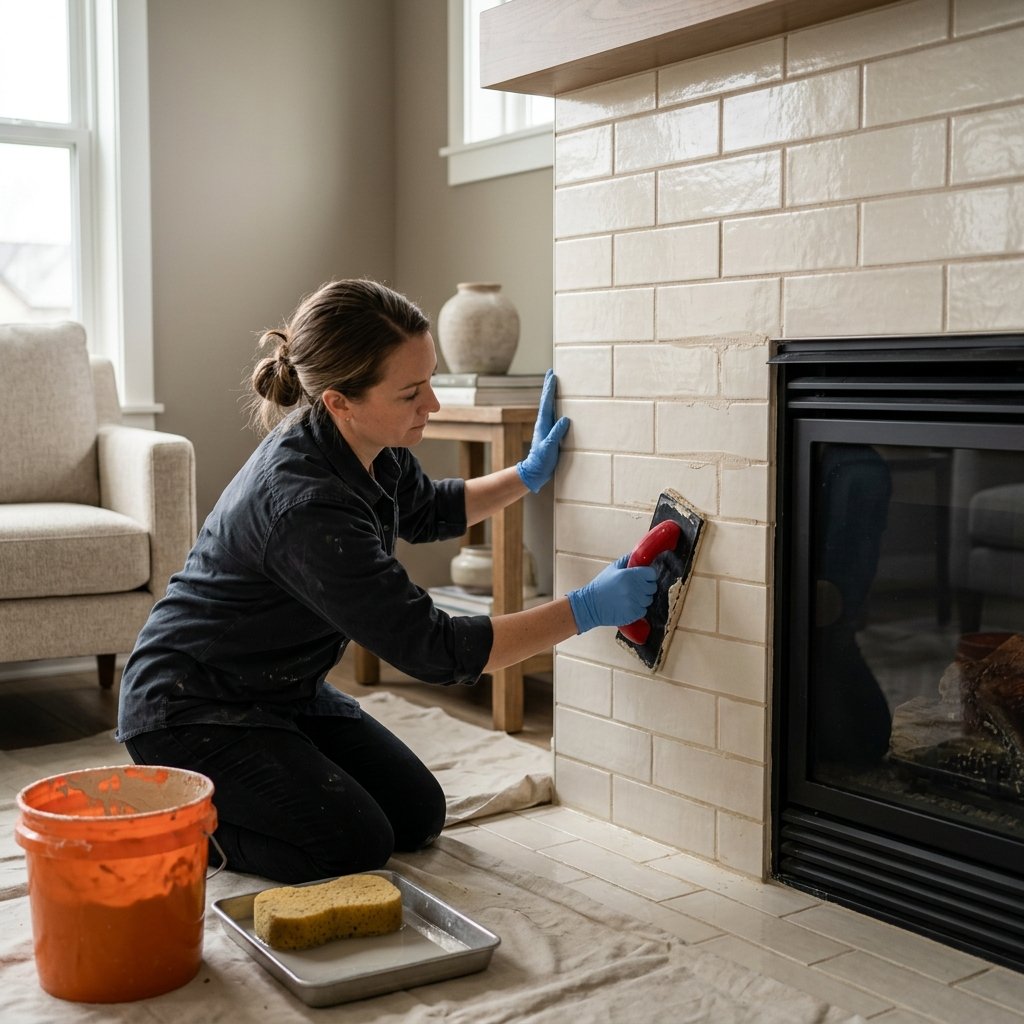
A brick fireplace can be a beautiful architectural feature, but if the brick looks dated, dark, or doesn’t match your home’s style, it can make the entire room feel older than it really is.
One of the most effective ways to transform it is to install tile over the existing brick.
Learning how to tile a brick fireplace can give you the opportunity to completely change the look of your living room without removing the fireplace itself. From classic white subway tile to handmade-look ceramic, stone, or modern porcelain, there are countless styles that can turn an outdated brick surround into a beautiful focal point.
However, tiling a fireplace is different from tiling an ordinary wall. You need to consider heat exposure, the condition of the brick, the appropriate setting materials, clearances around the firebox, and local building requirements.
This guide focuses primarily on tiling a suitable fireplace surround. Always check your fireplace manufacturer’s requirements and local codes before beginning. If you’re unsure whether your existing fireplace or surround is suitable for tile, have it inspected by a qualified professional.
Let’s walk through the process step by step.
Can You Tile Over a Brick Fireplace?
In many situations, tile can be installed over an existing brick fireplace surround, provided the brick and surrounding structure are suitable for the installation.
The existing brick needs to be:
- Structurally sound
- Clean
- Dry
- Free from loose pieces
- Free from excessive soot and grease
- Stable
- Suitable for the tile-setting system you’re using
The brick surface also needs to provide an appropriate substrate for your chosen installation method.
Don’t assume that every brick fireplace can simply be covered with thinset and tile.
If the bricks are loose, severely damaged, continually exposed to excessive heat, or otherwise unsuitable, additional preparation or a different installation approach may be necessary.
Materials You’ll Need
Before starting your project, gather your materials and tools.
Materials
- Fireplace-rated tile appropriate for the application
- Tile adhesive or mortar approved by the tile and fireplace manufacturers
- Grout appropriate for the tile and location
- Grout sealer if required
- Tile spacers
- Backer board or other approved substrate if required
- Primer or bonding material if specified
- Caulk or sealant suitable for the application
- Painter’s tape
- Drop cloths
Tools
- Tape measure
- Level
- Pencil
- Notched trowel
- Tile spacers
- Tile cutter or appropriate wet saw
- Rubber grout float
- Grout sponge
- Buckets
- Mixing paddle
- Safety glasses
- Gloves
- Dust mask or respirator appropriate for the material being handled
Always use the tools and installation materials recommended for your specific tile.
Step 1: Inspect the Fireplace
Before thinking about tile colors or patterns, inspect the fireplace carefully.
Look for:
- Cracked bricks
- Loose mortar
- Missing mortar
- Loose bricks
- Damaged areas
- Soot buildup
- Moisture
- Existing paint
- Previous coatings
- Gaps around the firebox
If the fireplace is currently used for burning wood or other fuel, don’t assume the visible brick surround tells you everything about the fireplace’s condition.
A fireplace and chimney inspection may be appropriate before making significant changes.
If you’re dealing with an active fireplace and have concerns about clearances, heat exposure, the firebox, chimney, or ventilation, consult a qualified fireplace professional.
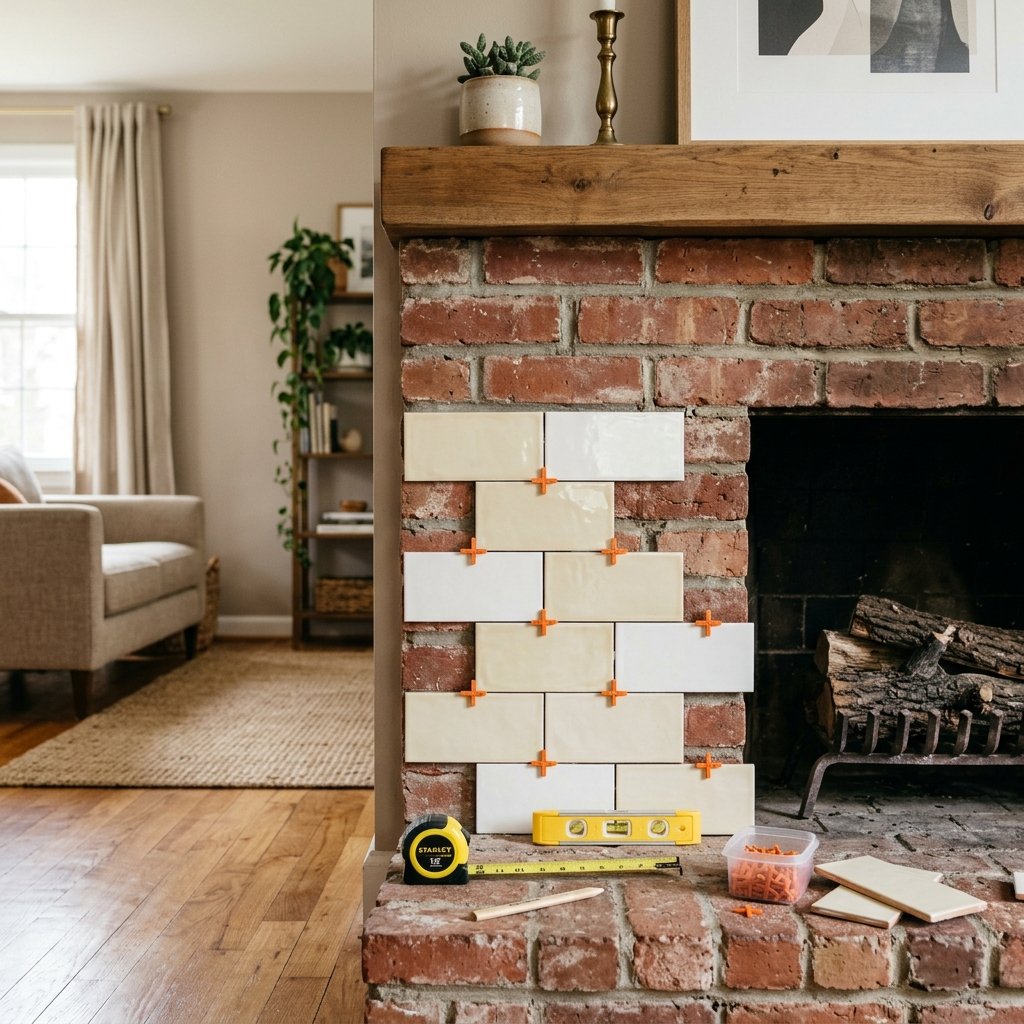
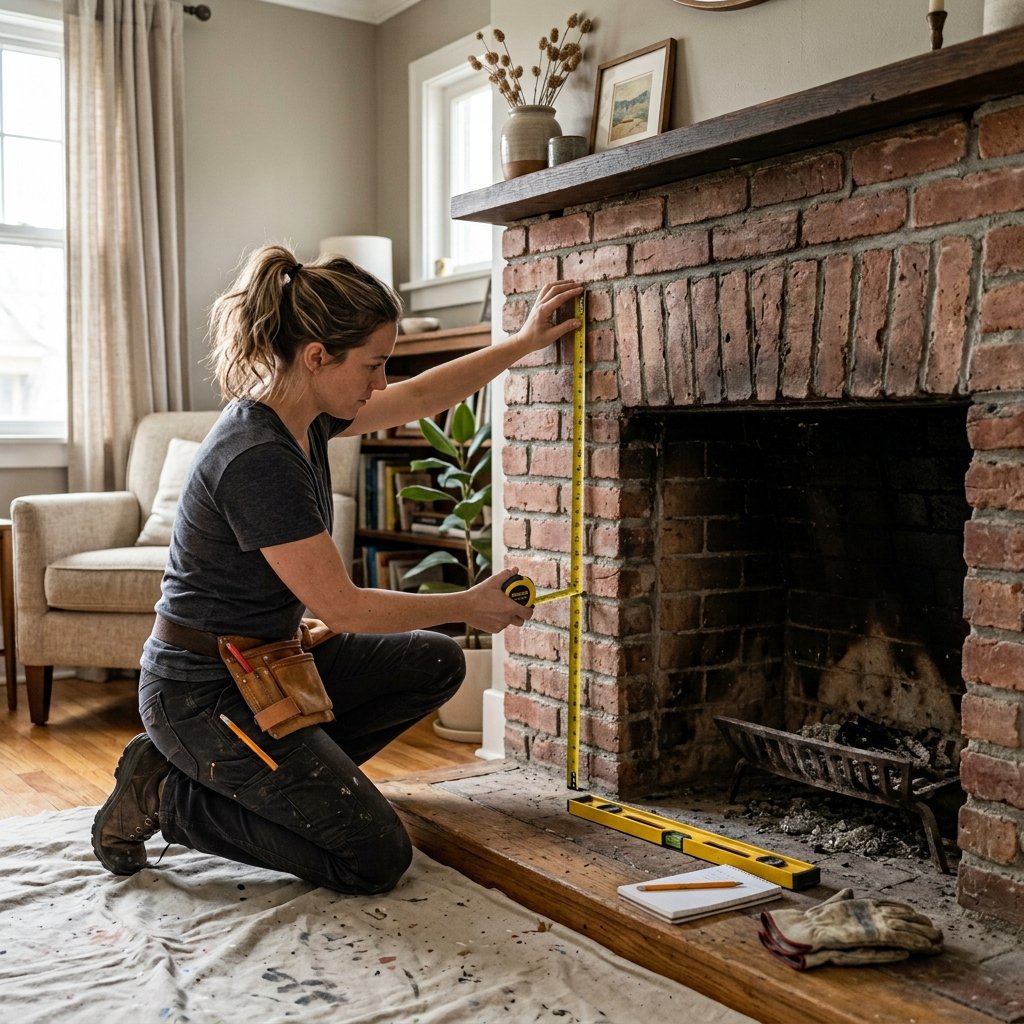
Step 2: Measure the Fireplace
Measure the entire area you plan to tile.
Record the:
- Width
- Height
- Depth where relevant
- Firebox opening
- Hearth dimensions
- Any surrounding sections
If you’re tiling a fireplace surround, measure each section separately rather than assuming everything is perfectly symmetrical.
This will help you determine how much tile you’ll need.
When purchasing tile, buy extra material for cuts, breakage, and future repairs.
The amount of extra tile required depends on the tile size, pattern, and complexity of the fireplace.
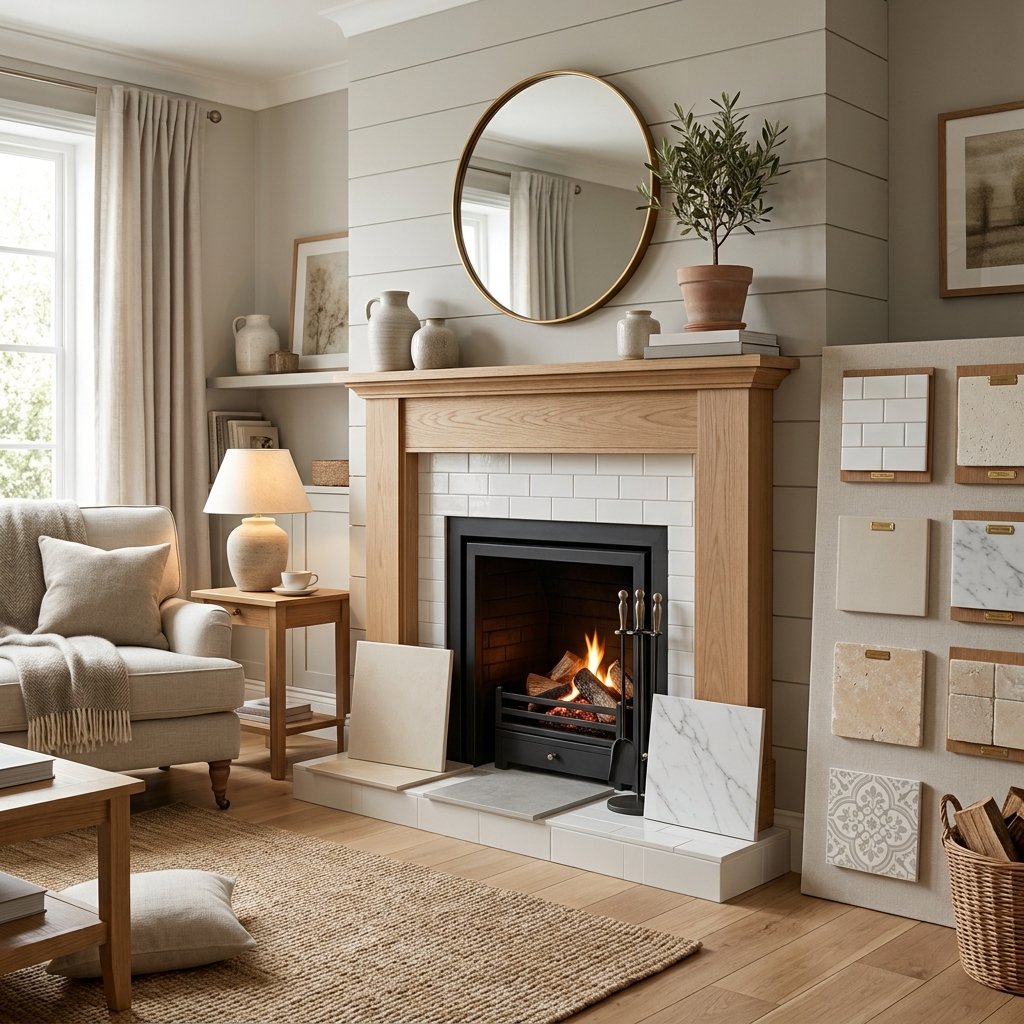
Step 3: Choose the Right Tile
The tile you choose needs to be appropriate for its location.
Not every decorative tile is suitable for a fireplace surround.
Consider materials such as:
- Ceramic tile
- Porcelain tile
- Natural stone
- Quarry tile
- Other products specifically approved for the intended fireplace application
Pay attention to the manufacturer’s instructions regarding heat exposure and installation.
If you’re tiling near the firebox, the requirements may be more demanding than those for a purely decorative wall.
Popular fireplace tile styles
White subway tile
Classic and versatile.
Large-format tile
Creates a clean, contemporary appearance with fewer grout lines.
Marble-look porcelain
Provides an elegant appearance without necessarily using natural marble.
Stone tile
Adds texture and a more rustic feel.
Patterned tile
Can turn the fireplace into a dramatic focal point.
Handmade-look tile
Works beautifully in cottage, farmhouse, and traditional interiors.
Step 4: Prepare the Brick
Preparation is one of the most important parts of the project.
The brick needs to be clean and free of anything that could interfere with adhesion.
Remove loose debris and thoroughly clean the surface.
If the brick has years of soot buildup, grease, dust, paint, or another coating, you’ll need to determine the appropriate way to remove it.
Allow the surface to dry completely before continuing.
Also repair loose or damaged areas before installing tile.
Don’t try to use the tile installation itself to hide structural problems.
Step 5: Decide Whether You Need a Substrate
Depending on the condition and shape of the brick and the installation system you’re using, you may need to install an appropriate substrate rather than applying tile directly to the brick.
This can be particularly useful when the brick surface is very uneven.
A suitable backer board or other approved substrate can provide a flatter surface for tile installation.
However, the substrate must be appropriate for the fireplace application and installed according to its manufacturer’s requirements.
Pay close attention to:
- Heat exposure
- Fastener requirements
- Expansion
- Firebox clearances
- Moisture
- Thickness
Don’t install ordinary drywall or another material that isn’t approved for the application.
If you’re uncertain about the correct substrate around an active fireplace, get professional advice before proceeding.
Step 6: Plan Your Tile Layout
Don’t start sticking tile to the fireplace immediately.
First, plan the layout.
This is especially important around the firebox.
Dry-lay several tiles or use a layout grid to visualize how everything will look.
Think about:
- Where the center of the fireplace is
- Where full tiles should go
- Where cuts will be necessary
- How the tile meets the floor
- How the tile meets the mantel
- Where grout lines will fall
- How the pattern will continue around corners
Try to avoid tiny slivers of tile along highly visible edges.
A symmetrical layout usually looks more professional.
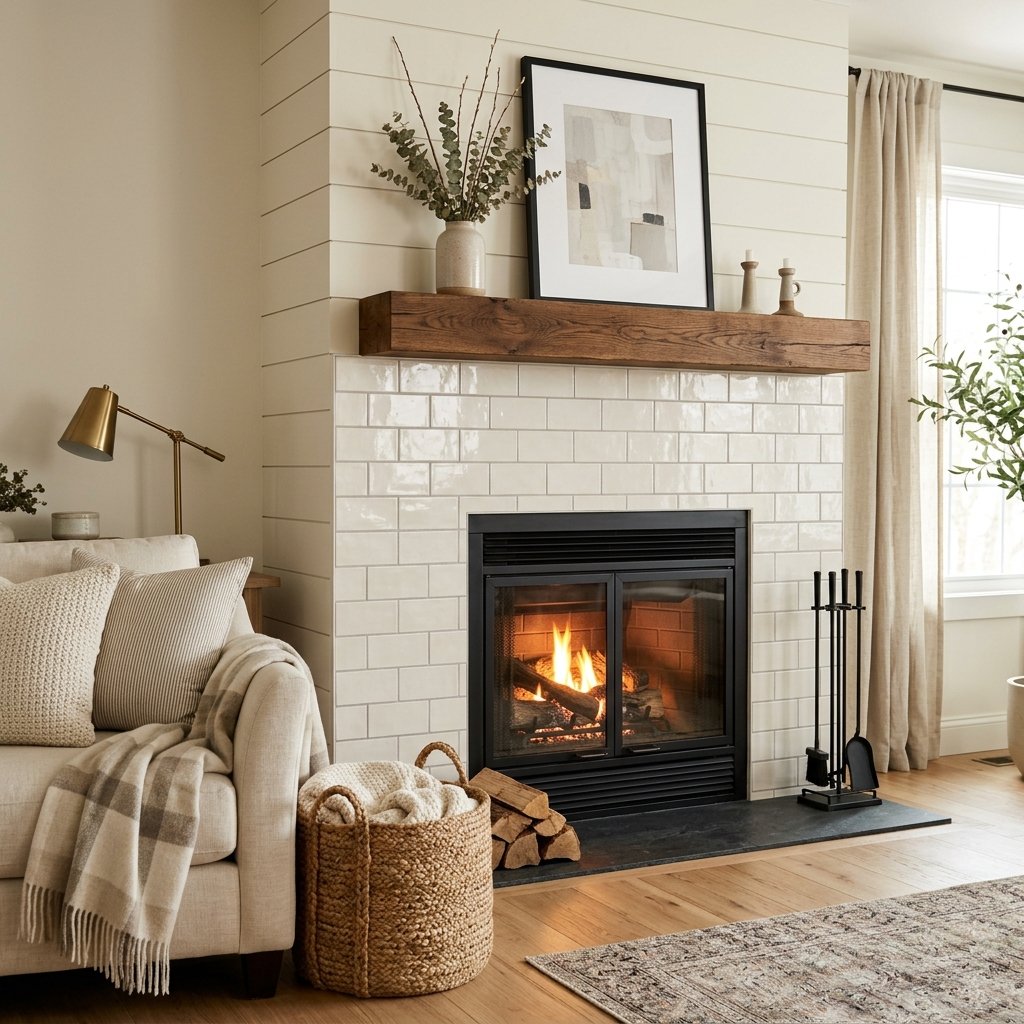
Step 7: Find the Center Point
For many fireplace designs, the center line is an important starting point.
Measure the width of the fireplace and mark the center.
Use a level to create a straight vertical reference line.
This helps you keep the tile pattern balanced as you work outward.
Depending on your chosen tile and layout, you may begin at the center or another location recommended by the tile manufacturer or installation plan.
The important thing is to establish a reliable reference before setting the first tile.
Step 8: Protect the Surrounding Area
Tiling can become messy.
Protect the floor with drop cloths and cover nearby furniture.
Use painter’s tape around areas where you want to protect finished surfaces.
Keep your tools organized so you aren’t constantly stepping away from the work area.
If you’re cutting tile, follow appropriate safety procedures and use eye protection.
Wet cutting can also create water and slurry, so plan your cutting area accordingly.
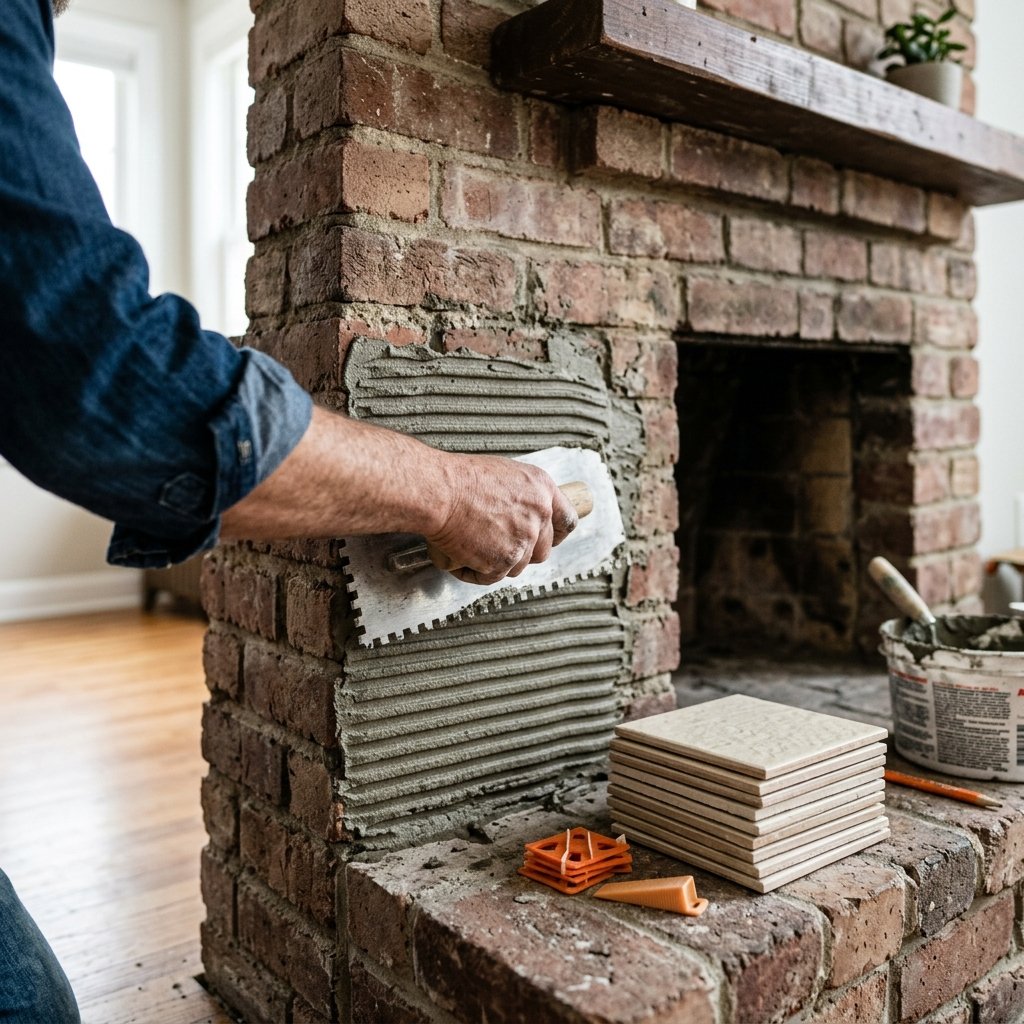
Step 9: Apply the Setting Material
Use the mortar or adhesive specified for your tile and fireplace application.
Mix it according to the manufacturer’s instructions.
Don’t add extra water simply because the mixture looks too thick.
Using the appropriate notched trowel, spread the setting material across a manageable section of the surface.
Comb the material in consistent lines.
Avoid covering a larger area than you can tile before the material begins to skin over.
The exact installation method depends on the tile and setting material you’re using.
Step 10: Begin Installing the Tile
Carefully press the first tile into the setting material.
Move it slightly as appropriate to create good contact.
Use your level frequently.
This first tile—or first group of tiles—sets the alignment for the rest of the project.
Place spacers between tiles to create consistent grout joints.
Continue working in manageable sections.
Don’t rush.
If a tile isn’t sitting correctly, remove it and inspect the setting material rather than simply pressing harder.
Step 11: Work Around the Firebox
The area immediately surrounding the firebox requires extra attention.
Maintain the clearances and materials specified for your particular fireplace.
Don’t cover or obstruct any required openings, vents, doors, controls, or other components.
If the fireplace manufacturer specifies particular materials or clearance dimensions, those instructions take priority over generic tiling advice.
This is also an area where professional help is worthwhile if you’re uncertain.
Step 12: Cut Tiles for the Edges
Eventually, you’ll need to cut tiles around corners, edges, and the fireplace opening.
Measure each piece individually.
Fireplace surfaces aren’t always perfectly square, so don’t assume one measurement will work for every tile.
Mark the back of the tile and use the appropriate cutting tool.
Depending on the material, you might use:
- Manual tile cutter
- Wet saw
- Tile nippers
- Other appropriate cutting equipment
Wear eye protection when cutting tile.
If you’re using a wet saw, follow the manufacturer’s safety instructions.
Test each cut before permanently setting the tile.
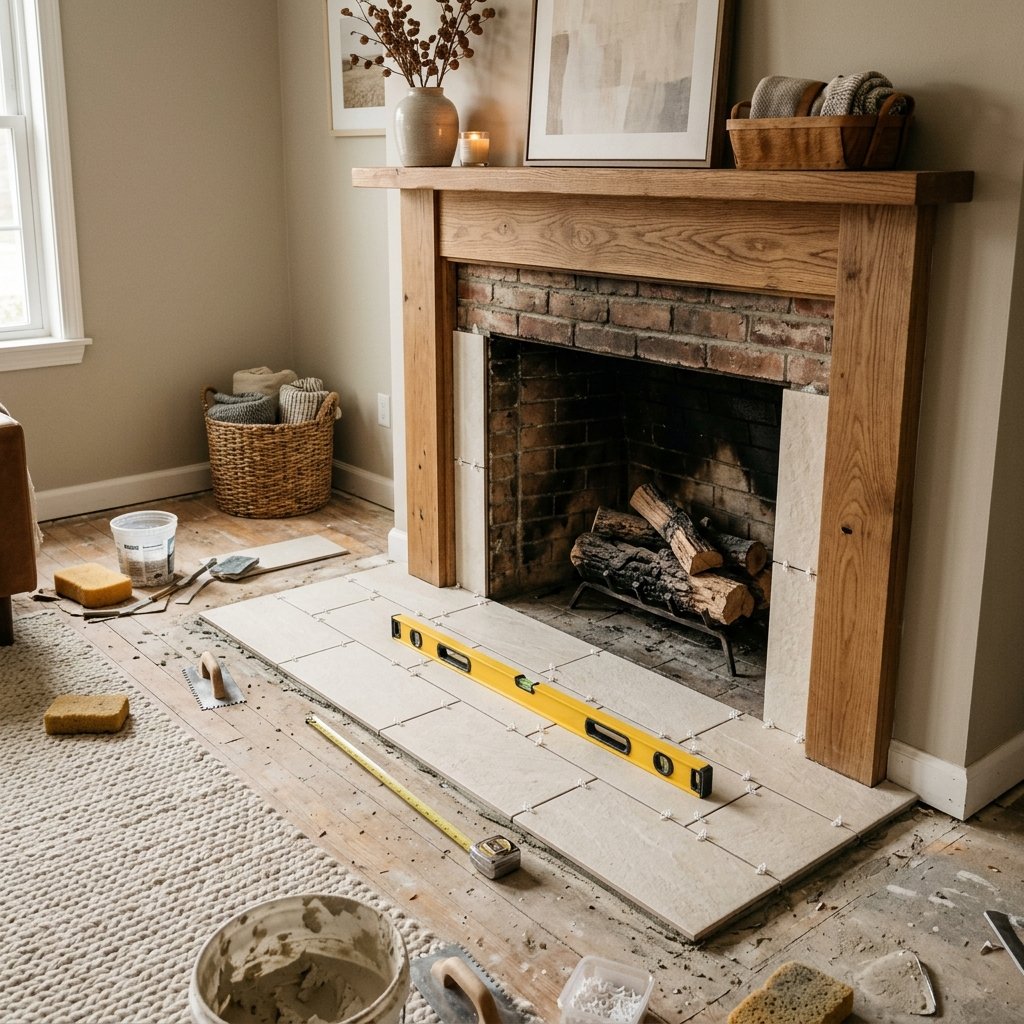
Step 13: Tile the Hearth
If your project includes the hearth, treat it as its own section.
Plan the layout before installation.
You want the hearth tiles to look balanced with the surrounding tile.
Pay attention to:
- Edge alignment
- Tile thickness
- Grout joints
- Floor transitions
- Clearance requirements
If the hearth is exposed to direct heat or supports fireplace equipment, verify that the tile and setting system are appropriate for that use.
Step 14: Allow the Tile to Set
Once all the tiles are installed, resist the temptation to immediately grout.
The setting material needs sufficient time to cure according to the manufacturer’s instructions.
The required time varies depending on the product, temperature, humidity, tile, and installation conditions.
Keep the area undisturbed during this period.
Don’t start grouting just because the tiles feel firm.
Follow the product instructions for the appropriate cure time.
Step 15: Apply the Grout
Once the tile has properly set, it’s time to grout.
Mix the grout according to the manufacturer’s directions.
Use a rubber grout float to work the grout into the joints.
Hold the float at an angle and work diagonally across the joints to help fill them effectively.
Remove excess grout from the tile surface before it hardens.
Don’t rush this stage.
Proper grout application makes a significant difference in the finished appearance.
Step 16: Clean the Tile
After applying the grout, use a damp sponge to remove excess grout from the tile surface.
Rinse the sponge frequently.
Avoid using excessive water.
As the grout begins to firm up, carefully wipe away the remaining haze according to the grout manufacturer’s instructions.
Once the grout has fully cured, follow the manufacturer’s recommendations regarding sealing.
Some grout products require sealing while others may not.
Step 17: Seal Where Appropriate
Not every tile or grout requires sealer.
Natural stone may require sealing, while certain porcelain, ceramic, and modern grout products have different requirements.
Check the manufacturer’s instructions for both the tile and grout.
Don’t automatically apply a generic sealer to everything.
If a sealant or caulk is needed around transitions or changes of plane, use a product appropriate for the location and follow its instructions.
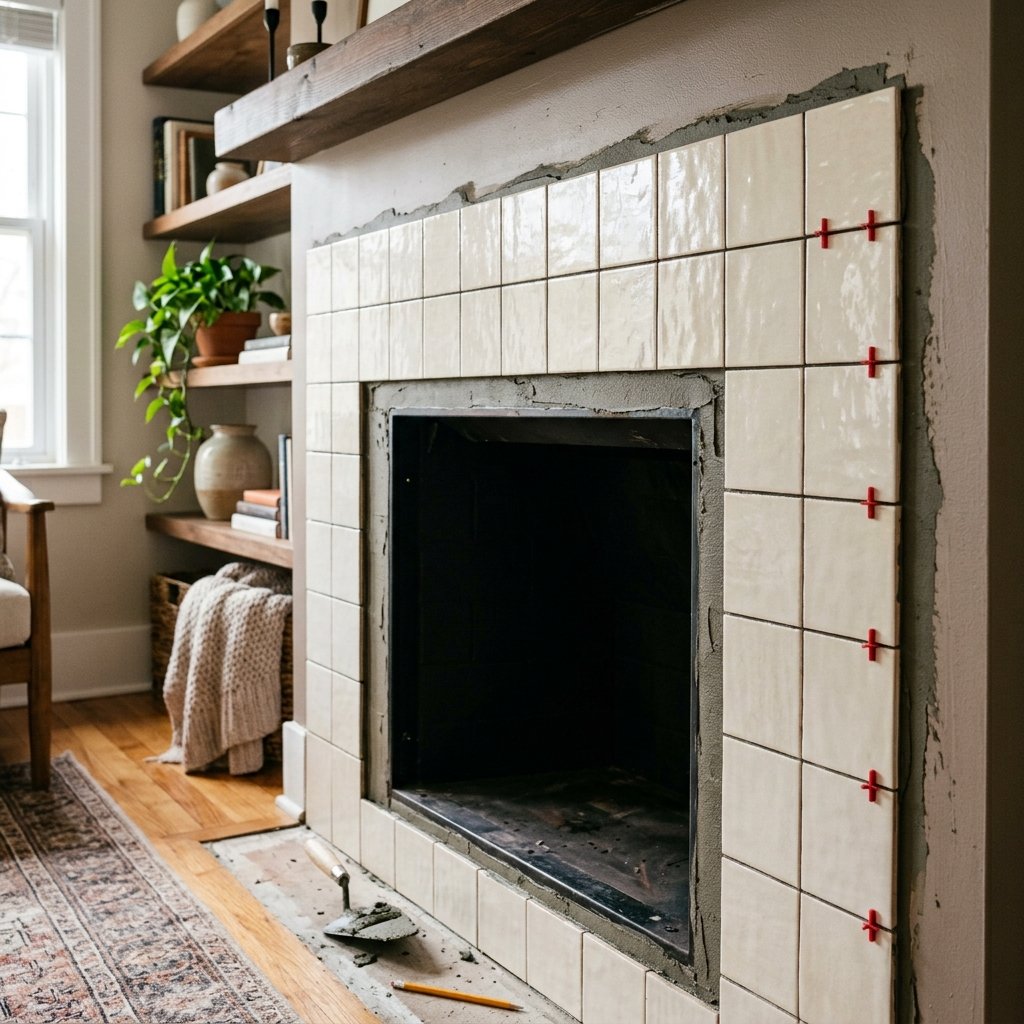
Step 18: Finish the Edges
The edges of your tile installation should look intentional and finished.
Depending on the design, you may use:
- Bullnose tile
- Metal tile edging
- Stone trim
- A suitable profile
- Carefully finished tile edges
Choose an edge treatment that complements your tile.
This small detail can make the difference between a project that looks homemade and one that looks professionally planned.
Common Mistakes to Avoid
A DIY fireplace tile project can look beautiful, but several mistakes can create unnecessary problems.
1. Tiling over loose brick
Tile won’t solve an unstable substrate.
Repair the underlying problem first.
2. Ignoring heat requirements
Not every tile, adhesive, backer board, or sealant is appropriate for fireplace applications.
Always check manufacturer specifications.
3. Skipping layout planning
Starting without planning can leave you with awkward cuts and uneven patterns.
4. Forgetting the firebox clearance
Never assume you can simply cover every visible part of the fireplace with tile.
Follow the fireplace manufacturer’s requirements and local code.
5. Rushing the cure time
Allow setting materials and grout to cure for the time specified by their manufacturers.
6. Using too much adhesive
Excess setting material can squeeze through grout joints and create problems.
7. Creating uneven grout lines
Use spacers and regularly check alignment.
8. Choosing tile based only on appearance
A beautiful tile isn’t necessarily appropriate for every fireplace application.
Performance matters just as much as style.
How to Choose a Fireplace Tile Color
The fireplace is often one of the largest visual features in a living room, so color matters.
White
Creates a bright, timeless appearance.
Cream
Feels warmer and works beautifully with natural wood.
Gray
Pairs well with modern interiors.
Green
Adds a sophisticated natural element.
Black
Creates a dramatic statement.
Natural stone tones
Work especially well in rustic and organic interiors.
If your room already contains lots of colors, a neutral fireplace may work best.
If the rest of your space is simple, patterned or colorful tile can become the focal point.
How to Make a Tiled Fireplace Look Expensive
You don’t necessarily need expensive tile to create a high-end appearance.
Focus on the details.
Use a consistent grout color that complements the tile rather than competing with it.
Plan your tile layout carefully.
Keep grout lines straight.
Choose an edge treatment that looks intentional.
Then finish the fireplace with simple decor rather than overcrowding the mantel.
A restrained design often looks more sophisticated than one filled with accessories.
Final Thoughts
Learning how to tile a brick fireplace can completely change the character of a room.
What once looked dark and dated can become a bright, modern, cozy focal point with the right tile and careful installation.
The most important part of the project isn’t choosing the prettiest tile—it’s making sure the fireplace, substrate, tile, setting materials, clearances, and installation method are all appropriate for one another.
Take your time preparing the brick, plan the layout before setting tile, measure carefully, and don’t rush the curing process.
And if you’re working around an active fireplace and aren’t certain about heat exposure, firebox clearances, chimney conditions, or building requirements, bring in a qualified professional.
With proper preparation and attention to detail, a tiled fireplace can become one of the most beautiful upgrades in your home.

