

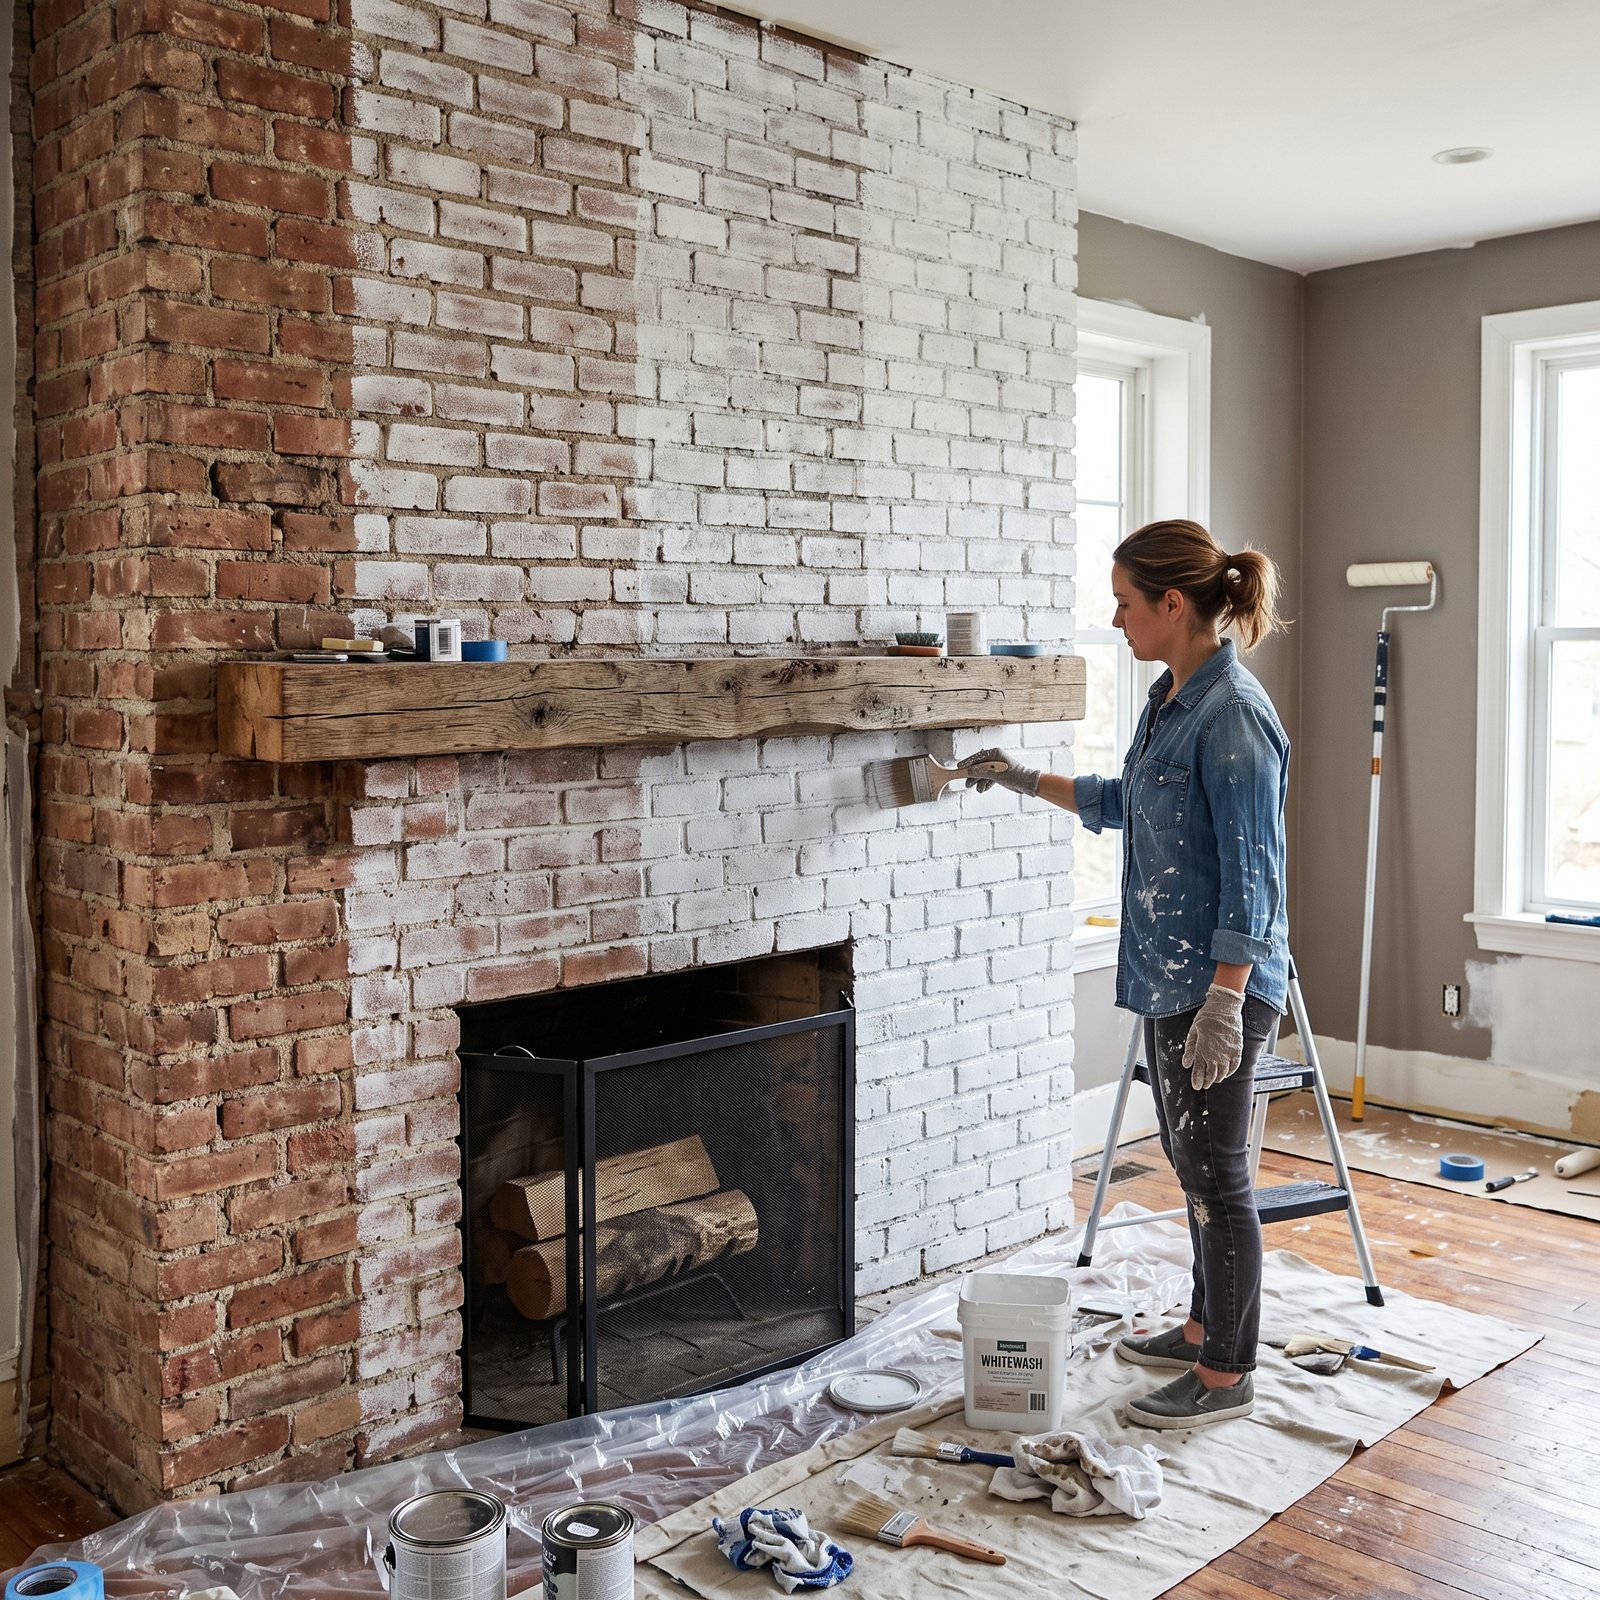
A brick fireplace can be one of the most beautiful features in a home, but traditional red, orange, or dark brick does not always fit a lighter or more modern decorating style. If your fireplace feels too dark or outdated, whitewashing brick is an easy and affordable way to give it a fresh new look without completely covering the natural character of the brick.
The best part is that whitewashing does not have to make your fireplace look completely white. You can control how much of the original brick shows through, creating anything from a subtle farmhouse finish to a brighter, more modern appearance.
In this guide, you’ll learn how to whitewash a brick fireplace step by step, what supplies you need, how to prepare the brick, how to make a simple whitewash mixture, and how to get an even finish while keeping the beautiful texture of the brick visible.
Why Whitewash a Brick Fireplace?
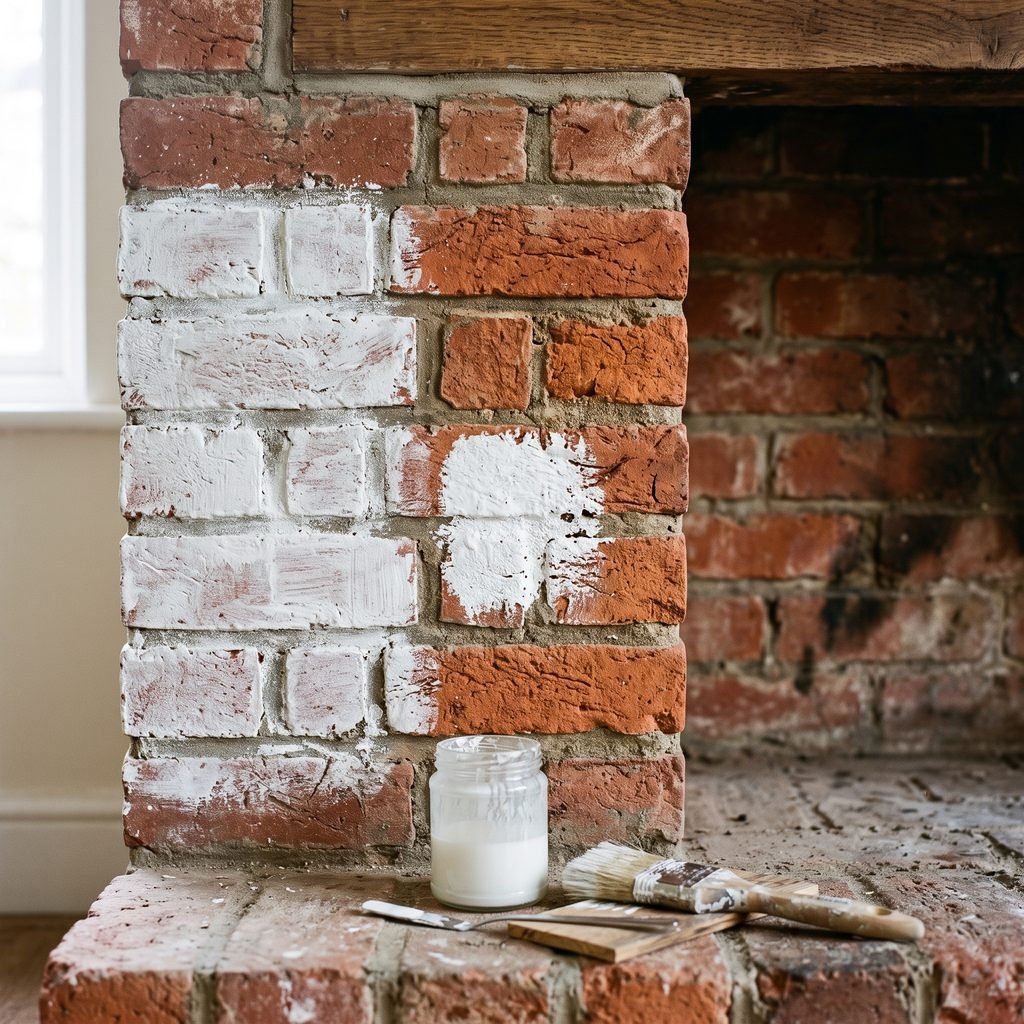
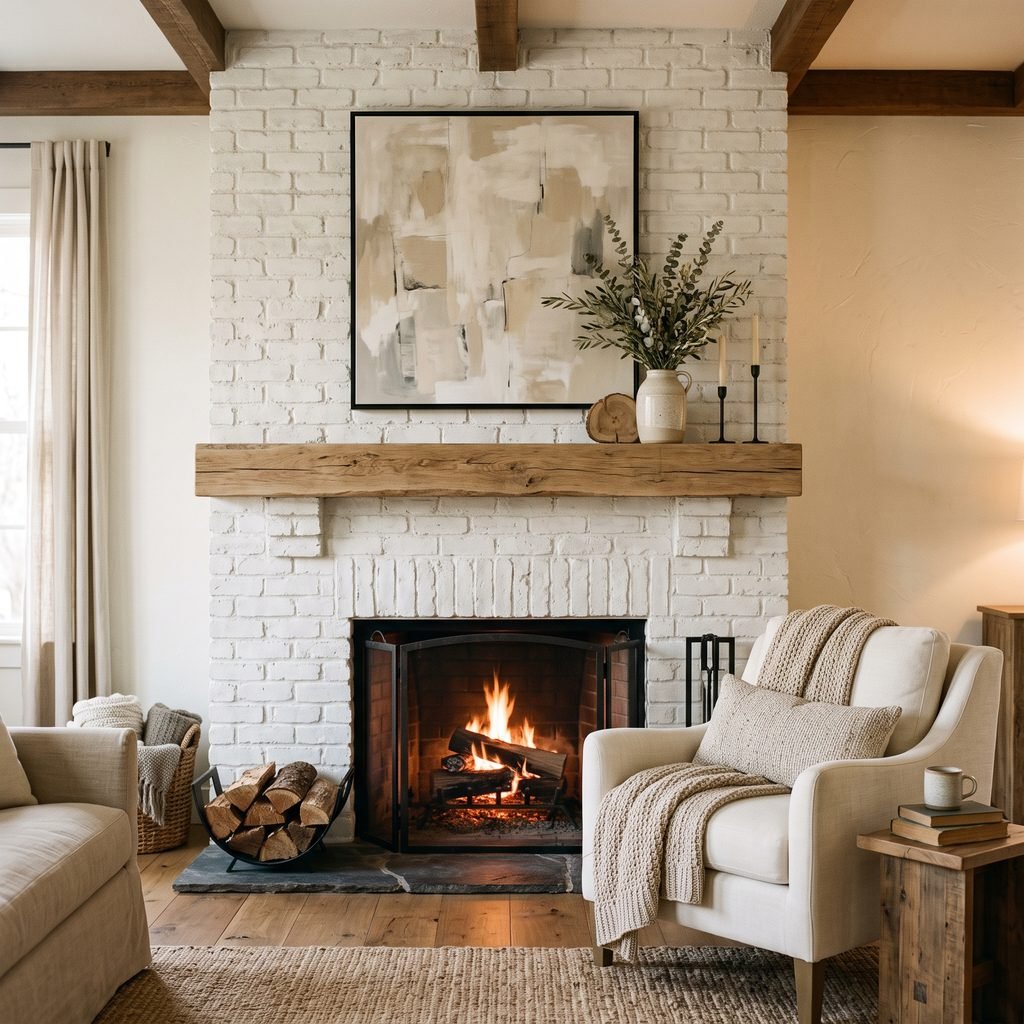
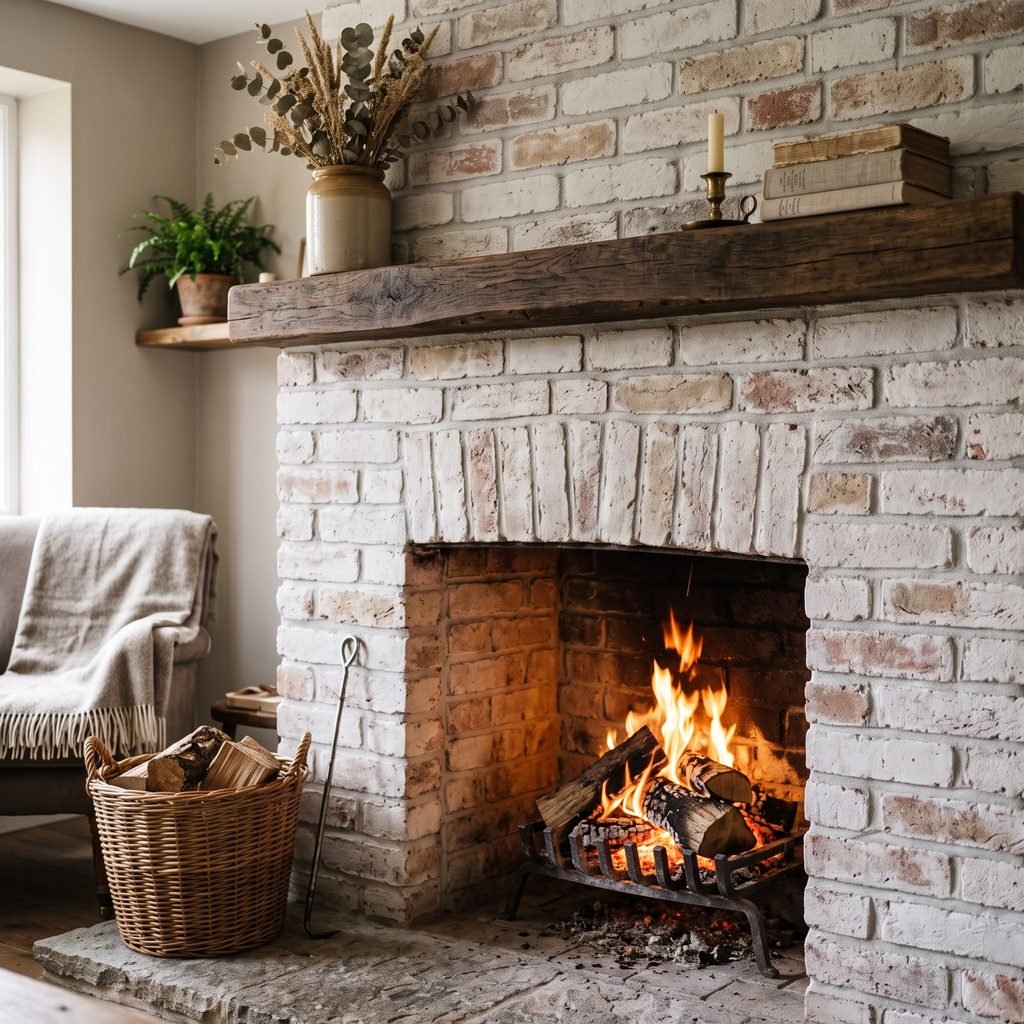
Whitewashing is popular because it changes the color of the fireplace while allowing the original brick texture and character to remain visible.
Unlike completely painting brick, whitewashing creates a more natural, slightly weathered appearance. The amount of coverage can also be adjusted depending on the look you want.
Here are a few reasons to consider whitewashing your fireplace:
- It brightens a dark room.
- It softens strong red or orange brick.
- It creates a cozy farmhouse or cottage look.
- It works well with modern, Scandinavian, and traditional interiors.
- It is relatively inexpensive.
- You can control how much brick remains visible.
- It can update an older fireplace without replacing the brick.
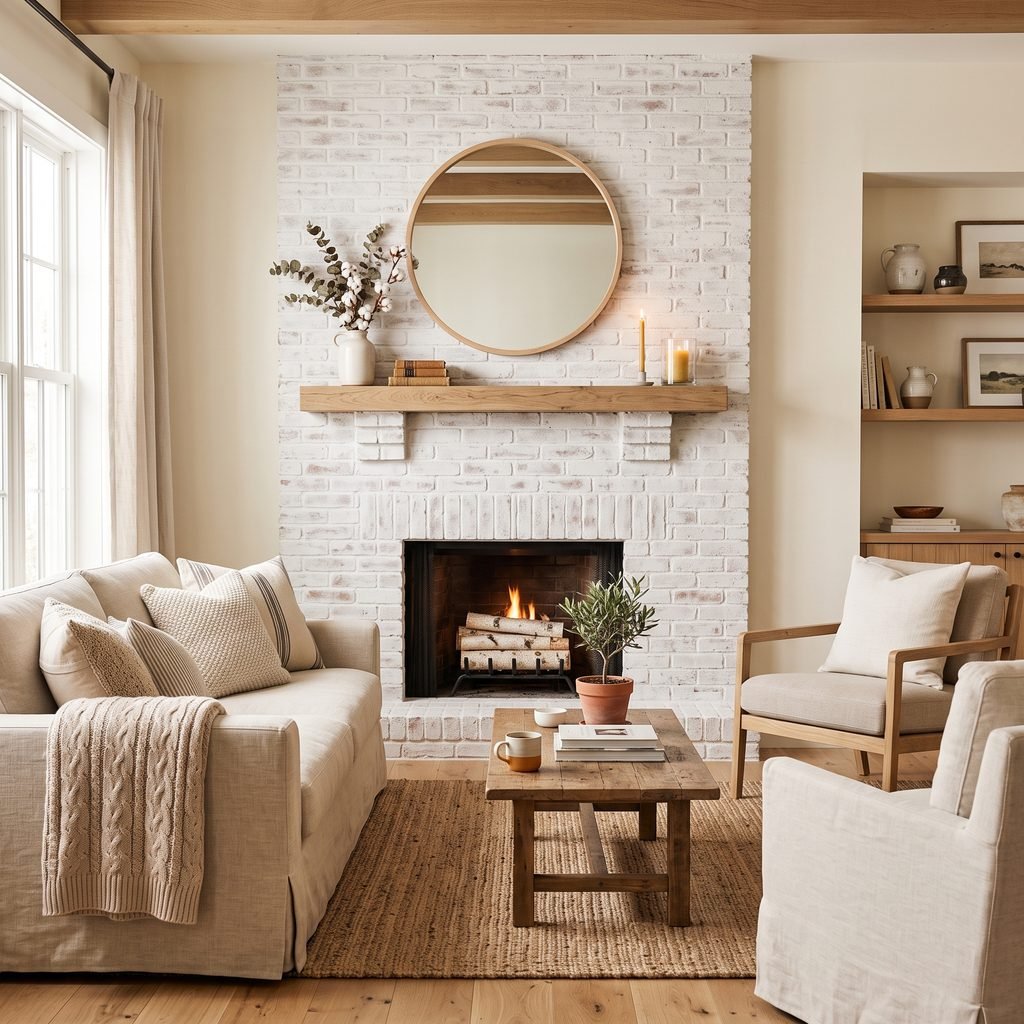
Whitewashed brick also pairs beautifully with neutral furniture, natural wood, greenery, black accents, and warm lighting.
Whitewashing vs. Painting Brick
Before you start, it is important to understand the difference between whitewashing and painting brick.
When you paint brick, you generally apply a solid coat of paint that covers most of the original color and texture.
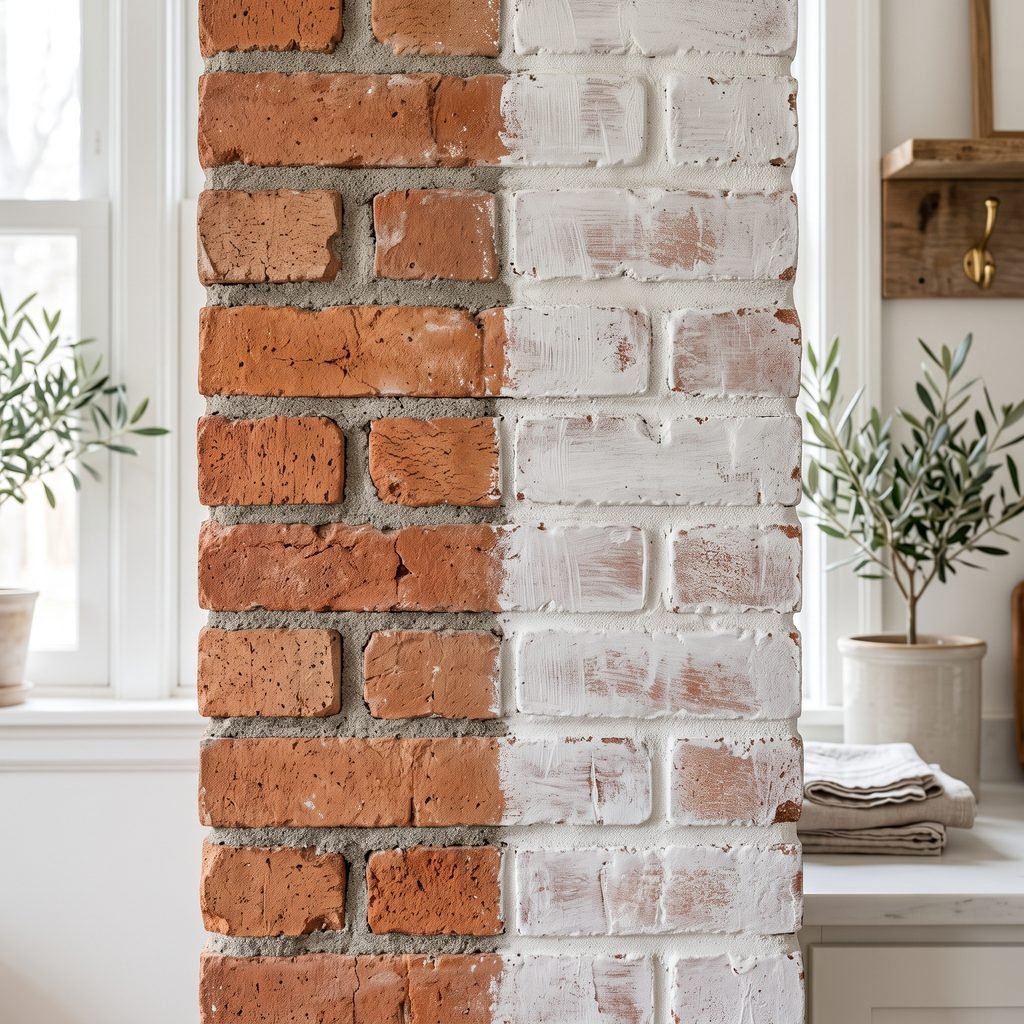
Whitewashing is different. A diluted white coating is applied to the brick, allowing some of the original brick color to show through.
This creates a softer and more dimensional finish.
If you love the texture of your existing brick but want to tone down its color, whitewashing is usually a great option.
What You Need to Whitewash a Brick Fireplace
You don’t need a long list of expensive supplies for this project.
Materials
- White latex paint or masonry-safe white paint
- Water
- Paint bucket or mixing container
- Stirring stick
- Paintbrush
- Small angled brush for mortar lines
- Clean sponge
- Spray bottle filled with water
- Drop cloth or plastic sheeting
- Painter’s tape
- Rubber gloves
- Clean rags
- Mild dish soap
- Scrub brush
- Vacuum or soft brush
The exact supplies can vary depending on the condition and type of your brick fireplace.
If the fireplace is used regularly, make sure the products you choose are appropriate for the surface and intended temperature exposure. Do not apply ordinary paint or whitewash directly inside the firebox or onto areas exposed to direct flames.
Step 1: Clean the Fireplace
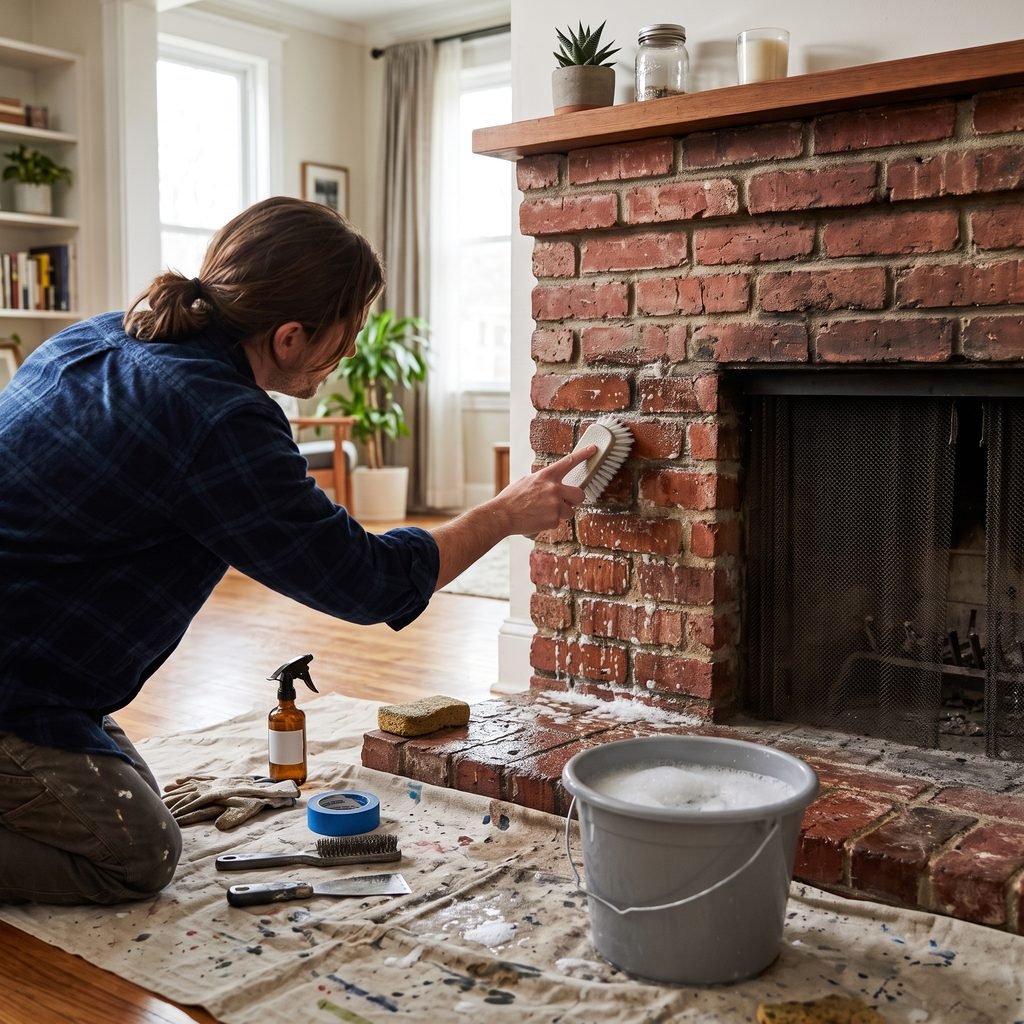
The first step is one of the most important: clean the brick thoroughly.
Brick can collect dust, soot, grease, dirt, and other buildup over time. If you apply whitewash over a dirty surface, the finish may look uneven and may not adhere properly.
Start by removing everything around the fireplace.
Cover the floor and nearby furniture with a drop cloth or plastic sheeting.
Use a vacuum with a brush attachment to remove loose dust and debris.
Then mix warm water with a small amount of mild dish soap. Use a scrub brush or sponge to gently clean the brick.
Pay particular attention to areas that have visible soot or grime.
Avoid soaking the brick unnecessarily. After cleaning, allow the surface to dry completely before continuing.
Step 2: Protect the Surrounding Area
Whitewashing can be messy, especially when the mixture is diluted.
Use painter’s tape around areas you don’t want to cover.
Protect:
- Flooring
- Mantel surfaces
- Trim
- Nearby walls
- Furniture
- Fireplace hardware
Press the painter’s tape firmly against the edges so the whitewash doesn’t seep underneath.
Place a drop cloth directly underneath the fireplace.
This small preparation step can save you a lot of cleanup later.
Step 3: Test the Whitewash First
Before applying anything to the entire fireplace, test your whitewash on a small, inconspicuous area.
This is especially important because different types of brick absorb whitewash differently.
A mixture that looks perfect on one fireplace may look much lighter or darker on another.
Testing allows you to see:
- How much the brick absorbs
- How transparent the mixture is
- How quickly it dries
- Whether you like the final color
- Whether you want more or less coverage
Allow your test area to dry before making your final decision.
Remember that the whitewash may look different when completely dry than it does when wet.
Step 4: Make Your Whitewash Mixture
One of the easiest ways to create a traditional whitewash effect is to dilute white paint with water.
A common starting point is:
1 part white paint to 1 part water.
For example:
- 1 cup white paint
- 1 cup water
Mix the two thoroughly.
However, don’t feel like you have to follow this ratio exactly.
If you want more brick color showing through, add a little more water.
If you want more coverage, use slightly less water or add more paint.
The goal is to create a mixture that is thin enough to soak into the brick but still provides a noticeable white finish.
For your first attempt, it is better to start with a thinner mixture and build up coverage gradually.
Step 5: Lightly Dampen the Brick
Before applying your whitewash, lightly mist a small section of the brick with water using a spray bottle.
You don’t want the brick soaking wet.
A light mist can help slow down absorption and make it easier to work with the whitewash.
Work in manageable sections rather than spraying the entire fireplace at once.
Step 6: Apply the Whitewash
Now it’s time for the fun part.
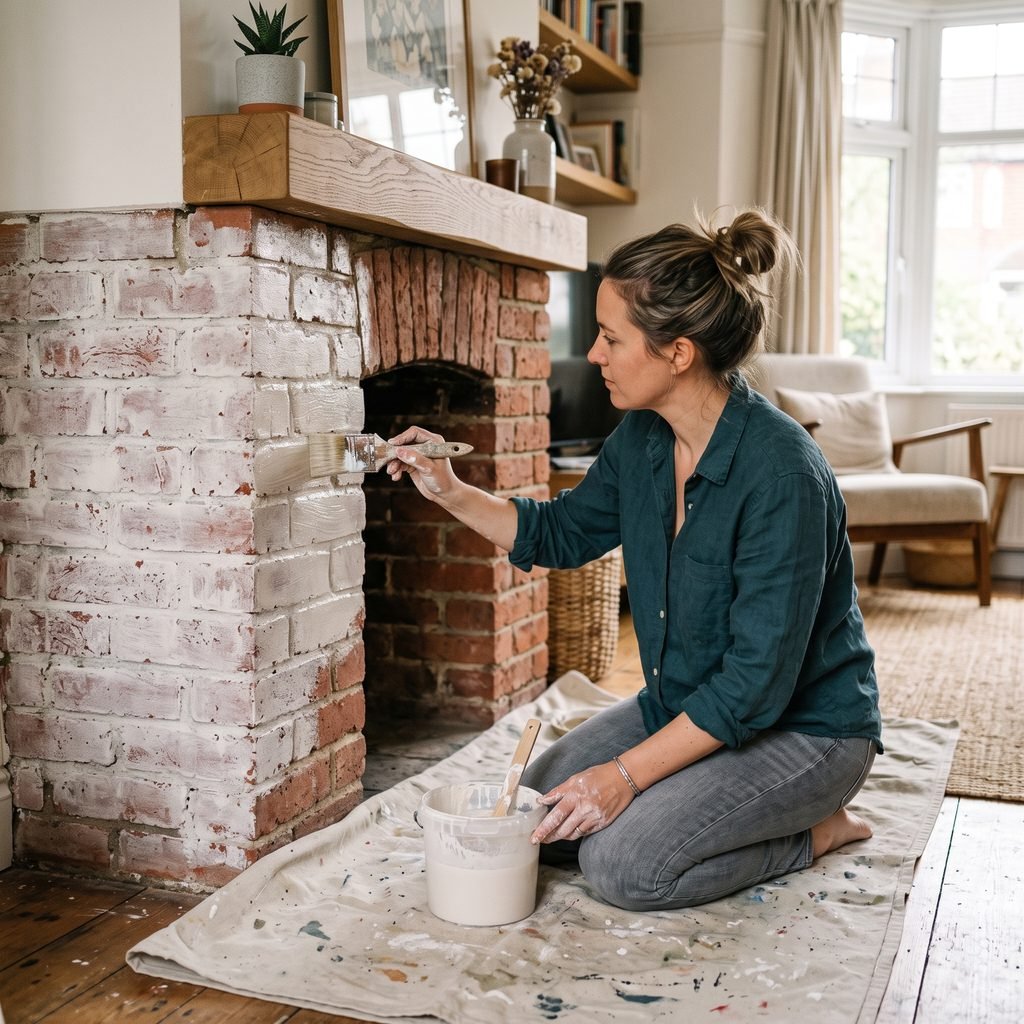
Dip your paintbrush into the whitewash mixture and apply it directly to the brick.
Work in small sections.
Use a relatively light coat at first. Pay attention to the mortar joints as well as the brick faces.
You don’t have to make every brick look exactly the same.
In fact, slight variation is one of the things that makes whitewashed brick look natural.
If one section looks too heavily covered, use a clean damp sponge or rag to gently wipe away some of the whitewash.
If another section looks too dark, apply another thin coat.
Step 7: Use a Damp Sponge for a Natural Finish
If you want a more authentic, weathered whitewashed appearance, a damp sponge can be your best friend.
After applying the whitewash, gently dab or wipe certain areas with a damp sponge.
This removes some of the whitewash and exposes more of the original brick underneath.
Try using different amounts of pressure.
Light pressure will remove a small amount.
More pressure will expose more brick.
The goal isn’t to make every brick identical. The slight variation creates depth and character.
You can also use this technique if you accidentally apply too much whitewash to one area.
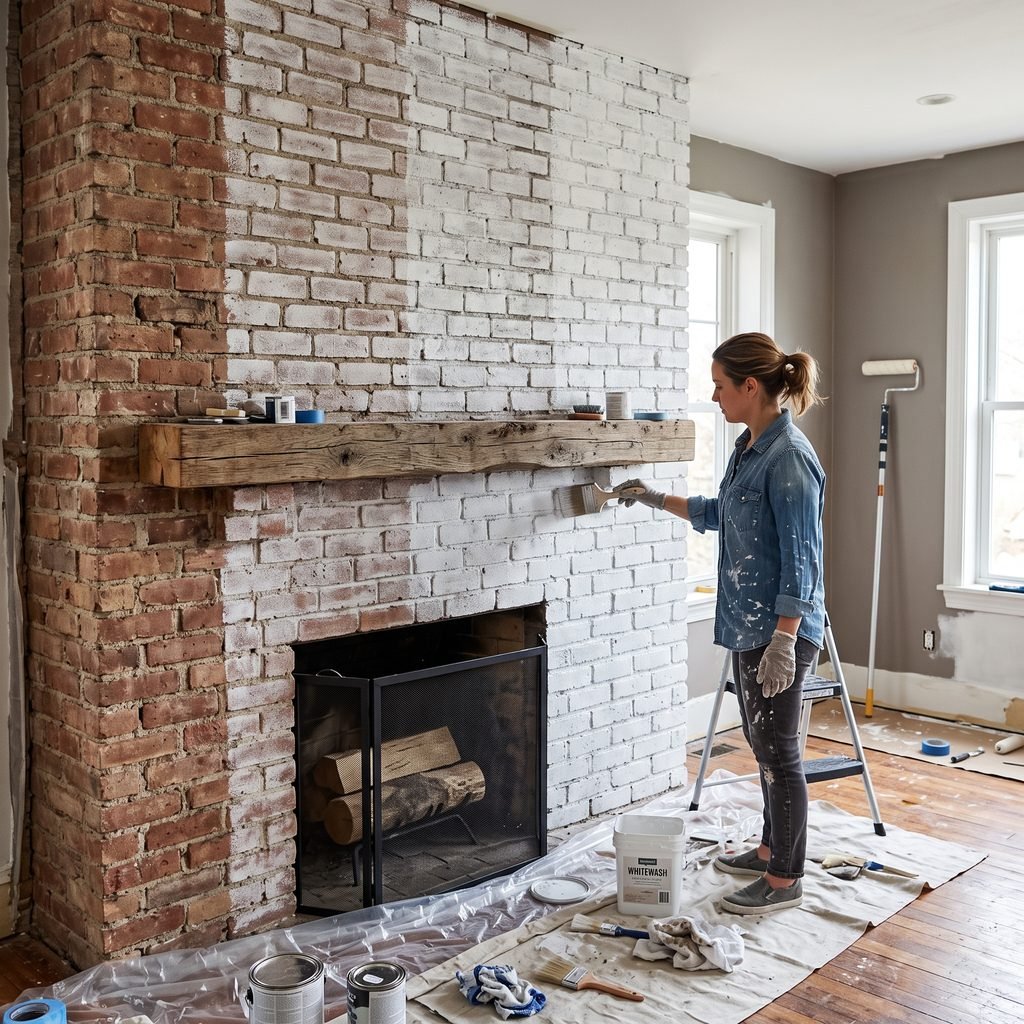
Step 8: Build Up the Coverage Slowly
Don’t rush to make the fireplace completely white.
It is much easier to add another layer than to remove too much whitewash later.
Step back every few minutes and look at the fireplace from across the room.
This is important because a fireplace can look very different up close compared with how it looks from the seating area.
If you want a subtle farmhouse look, you may only need one light coat.
For a brighter appearance, allow the first layer to dry and add another thin coat.
Step 9: Let the Fireplace Dry Completely
Once you’re happy with the coverage, leave the fireplace alone and allow it to dry completely.
The drying time will depend on:
- Temperature
- Humidity
- Paint type
- Amount of water used
- Brick porosity
- Number of coats
Don’t judge the final appearance while the whitewash is still wet.
As it dries, the color and level of transparency can change.
Once dry, inspect the fireplace from different angles and in different lighting.
If some areas look too dark, you can apply another thin coat.
If some areas are too white, carefully dampen and wipe them while the finish is still suitable for adjustment.
Step 10: Clean Up the Edges
After the whitewash has dried, carefully remove your painter’s tape.
Check the edges around the fireplace.
If you notice any small imperfections, use a damp cloth or small brush to clean them up.
Avoid aggressively scrubbing the newly finished surface.
The final look should feel slightly imperfect and natural rather than perfectly uniform.
How to Get the Perfect Whitewashed Brick Look
The beauty of whitewashing is that you can customize it.
For a Very Light Whitewash
Use a more diluted mixture and apply a thin coat.
This allows much of the original brick color to remain visible.
For a Classic Farmhouse Look
Use moderate coverage with some areas of brick showing through.
Use a sponge to create subtle variations.
For a Brighter Modern Look
Apply additional thin layers until the brick is significantly lighter.
However, leave some texture visible so the fireplace doesn’t simply look like a flat painted wall.
For a Rustic Look
Allow more variation between individual bricks.
Don’t worry if some bricks are noticeably lighter than others.
Natural imperfections can make the finished fireplace more interesting.
Whitewashed Brick Fireplace Styling Ideas
Once your fireplace is finished, styling it can completely change the look of your room.
Add a Simple Wood Mantel
Natural wood looks beautiful against whitewashed brick.
Choose a chunky reclaimed-wood mantel for a farmhouse appearance or a simple smooth wood mantel for a modern look.
Decorate With Greenery
Plants, eucalyptus, olive branches, or simple faux greenery can add warmth and contrast.
Use Neutral Decor
Cream, beige, tan, white, and soft gray accessories work especially well with whitewashed brick.
Add Black Accents
Black candle holders, picture frames, fireplace accessories, or lighting can create contrast against the lighter brick.
Keep the Mantel Simple
You don’t need dozens of decorations.
A large mirror, artwork, vase, or a few carefully selected accessories can be enough.
Common Mistakes to Avoid
Whitewashing is a relatively simple DIY project, but a few mistakes can affect the final result.
1. Skipping the Cleaning Step
Dirty brick can prevent the whitewash from adhering evenly.
Always clean the surface first.
2. Applying Too Much at Once
A heavy coat can cover the brick more than you intended.
Start with a thin layer and build up gradually.
3. Not Testing the Mixture
Different brick surfaces absorb moisture differently.
Always test your whitewash before covering the entire fireplace.
4. Making Every Brick Identical
Perfect uniformity can make the fireplace look painted rather than whitewashed.
Some variation usually creates a more natural result.
5. Forgetting About the Surrounding Area
Protect your floors, walls, and furniture before you begin.
6. Using the Wrong Product Near Heat
A fireplace is not the same as an ordinary wall.
Only use products appropriate for the specific areas you’re treating, and keep ordinary whitewash/paint away from the firebox and surfaces exposed to direct flame or excessive heat.
Can You Whitewash a Brick Fireplace Without Paint?
Yes, there are traditional lime-based whitewashing methods that use hydrated lime and water rather than latex paint.
However, these methods require more care and preparation.
For a simple DIY home makeover, a diluted white paint or purpose-made masonry product is often easier to control.
If you’re working with historic brick, special masonry, or a fireplace with unusual heat exposure, research the appropriate finish before starting.
How Much Does It Cost to Whitewash a Brick Fireplace?
One of the biggest advantages of whitewashing is the relatively low cost.
If you already have basic painting supplies, you may only need:
- A small amount of white paint
- Water
- Painter’s tape
- Drop cloth
- Sponge
- Brush
This can make whitewashing dramatically less expensive than replacing the brick, installing a new surround, or hiring someone to completely remodel the fireplace.
The exact cost depends on the size of your fireplace and the materials you already have.
How Long Does a Whitewashed Brick Fireplace Last?
The longevity depends on the type of product used, the condition of the brick, and how much wear the fireplace receives.
A decorative fireplace that isn’t exposed to heavy heat or frequent cleaning can maintain its appearance for a long time.
If your fireplace is regularly used, however, heat and soot can affect the finish.
Inspect the surface periodically and follow the product manufacturer’s recommendations for maintenance.
Final Thoughts
Learning how to whitewash a brick fireplace is a simple way to transform an outdated or overly dark fireplace without completely hiding the character of the brick.
The key is to work slowly.
Clean the brick thoroughly, test your mixture, start with a light coat, and build up the coverage gradually. Use a damp sponge to soften areas that look too white, and don’t worry about creating a perfectly uniform finish.
The little variations are what give whitewashed brick its beautiful, lived-in character.
Whether you’re going for a cozy farmhouse look, a modern neutral space, or a rustic cottage-inspired room, a whitewashed fireplace can become a beautiful focal point.
And because the project requires relatively few materials, it is an approachable weekend DIY for homeowners who want to refresh their living space without a major renovation.

