

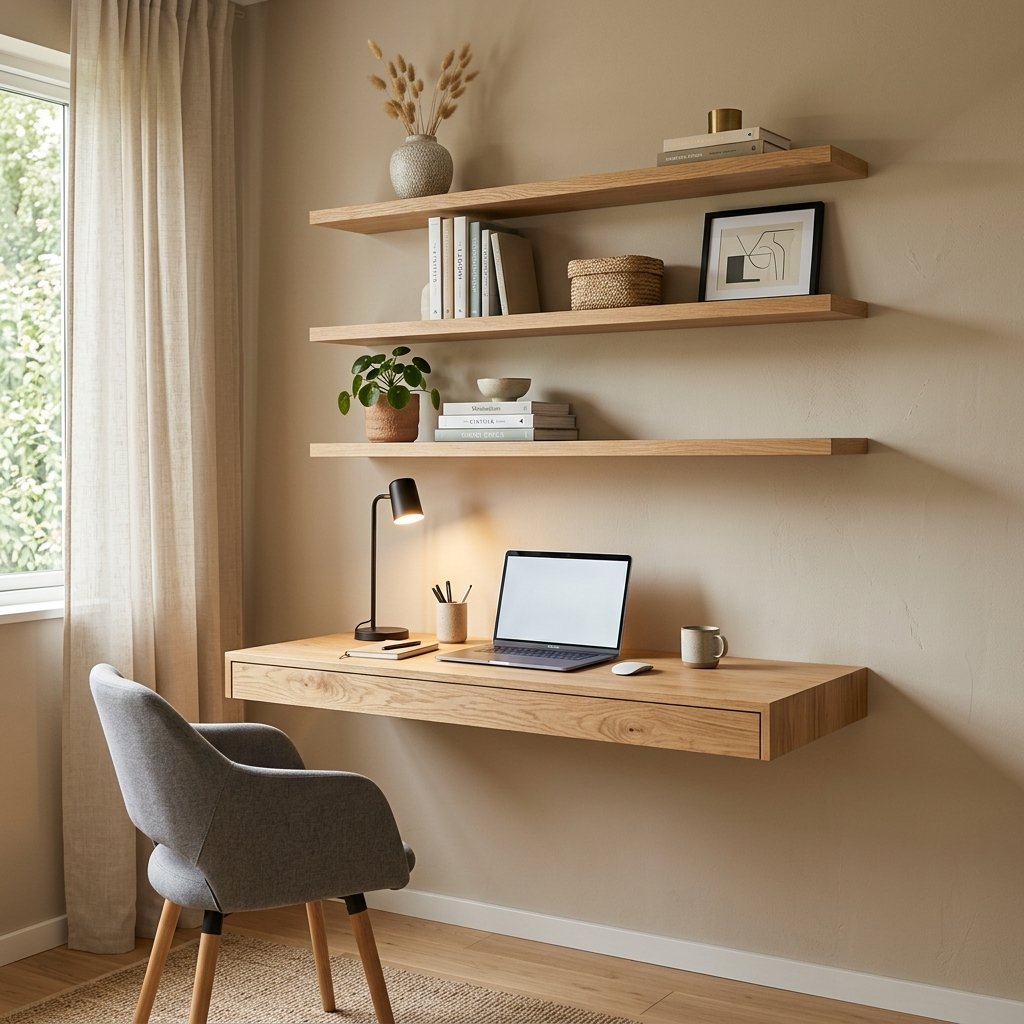
A DIY floating desk and shelves can turn an unused wall into a beautiful and functional workspace without taking up valuable floor space.
Whether you’re creating a compact home office, a homework station, a bedroom workspace, or a small creative corner, a wall-mounted desk paired with floating shelves can give you plenty of room to work while keeping the floor underneath open.
This type of project is especially useful in small rooms and apartments where every inch matters. Instead of purchasing a bulky desk and separate bookcase, you can create a custom setup that fits your wall perfectly.
The best part is that you can customize almost everything—from the length and depth of the desk to the number of shelves, wood finish, and overall style.
In this guide, we’ll walk through how to plan and build a simple DIY floating desk with shelves, along with styling ideas to make the finished workspace look polished and intentional.
Why Build a Floating Desk and Shelves?
A floating desk has one major advantage over a traditional desk: it doesn’t require floor space underneath.
That makes it ideal for:
- Small bedrooms
- Apartments
- Home offices
- Children’s rooms
- Study corners
- Craft spaces
- Hallways
- Small living areas
Adding shelves above the desk gives you even more storage without making the room feel crowded.
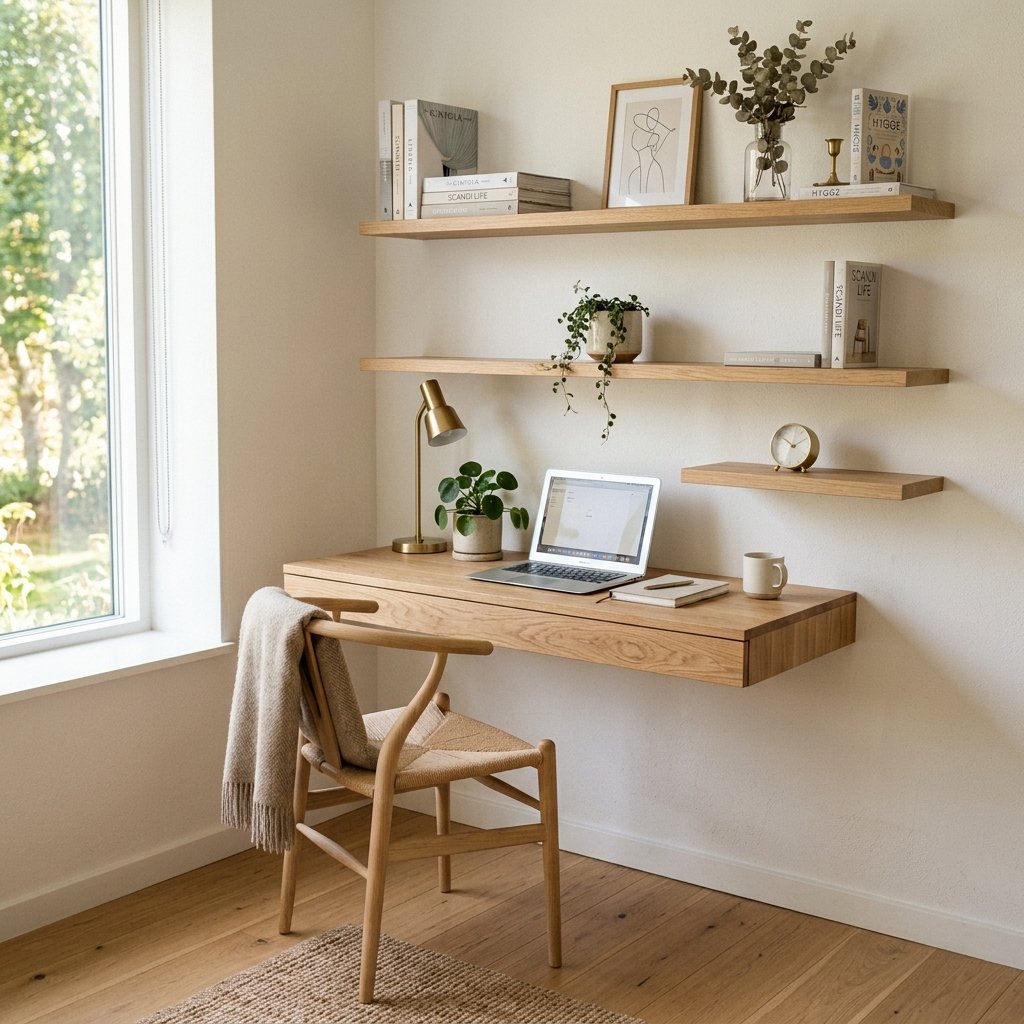
You can use the shelves for books, plants, artwork, office supplies, baskets, or decorative objects.
The result is a compact workstation that combines storage, functionality, and home decor in one wall.
Materials You’ll Need
One advantage of this project is that you can keep the materials relatively simple.
For the floating desk
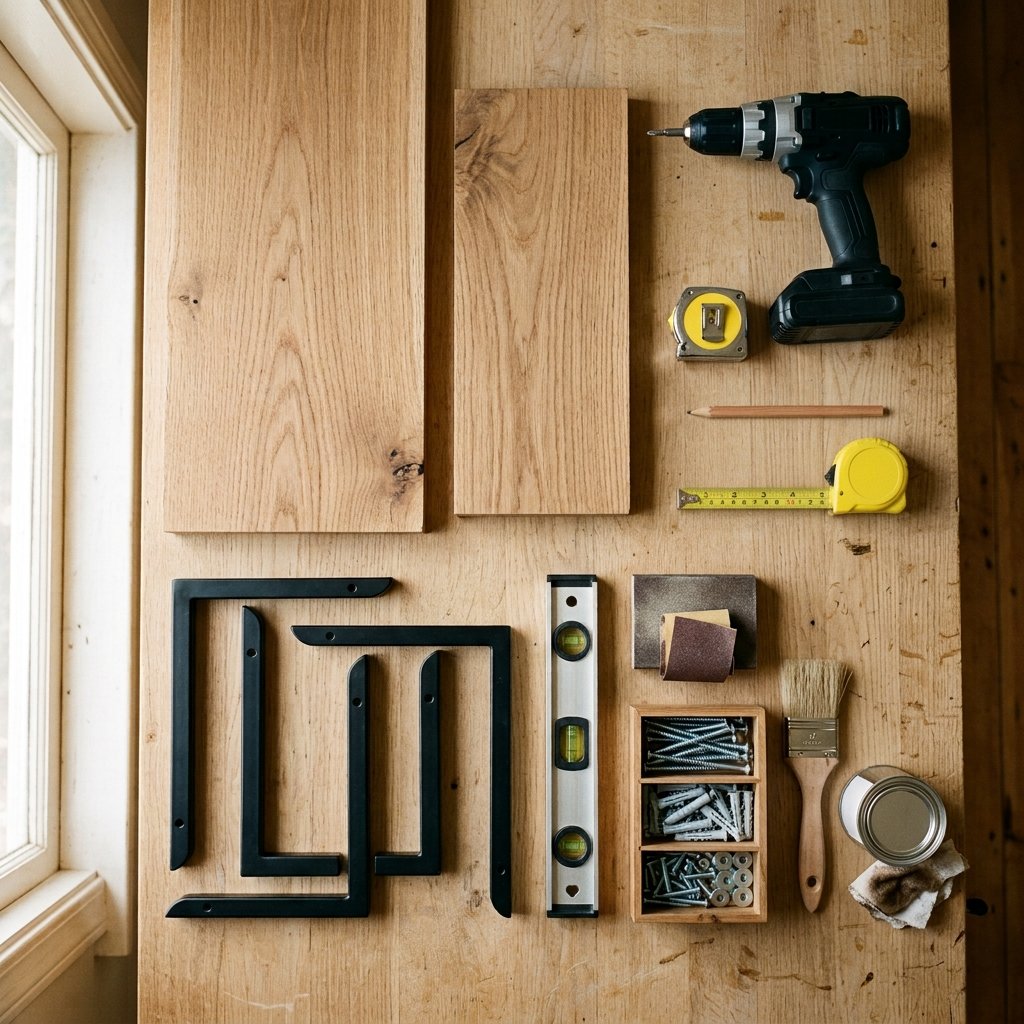
- Solid wood board, plywood, or a suitable desktop panel
- Heavy-duty wall brackets or a suitable concealed mounting system
- Screws
- Wall anchors appropriate for your wall type
- Wood finish, paint, or stain
- Sandpaper
For the shelves
- Wooden boards
- Floating shelf brackets or mounting hardware
- Screws
- Appropriate wall anchors
- Sandpaper
- Wood stain or paint
Basic tools
You may need:
- Measuring tape
- Pencil
- Level
- Drill
- Screwdriver
- Stud finder
- Saw, if boards need cutting
- Sanding block or orbital sander
- Paintbrush
The exact hardware you need depends on the wall material, desk size, and weight the desk and shelves will carry.
Important: A floating desk needs secure support. Use mounting hardware designed for your wall type and follow the manufacturer’s weight and installation instructions. When possible, anchor the desk into wall studs rather than relying solely on drywall anchors.
Step 1: Choose the Right Wall
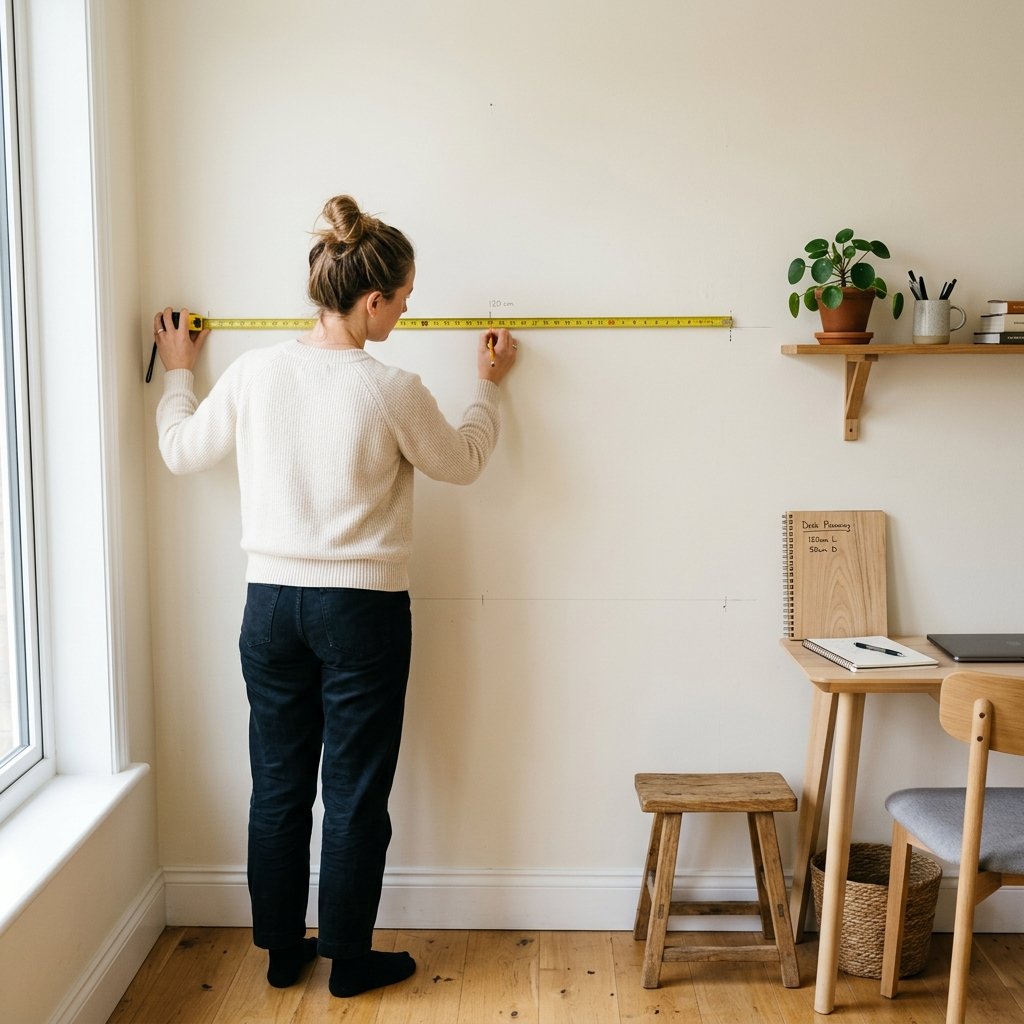
Before buying materials, decide where your floating desk will go.
Look for a wall that provides enough room for the desk and chair while still allowing you to move comfortably around the workspace.
Measure the available wall width.
Also consider:
- Nearby doors
- Windows
- Electrical outlets
- Radiators or vents
- Existing furniture
- Natural light
- Ceiling height
A wall near a window can provide beautiful natural light during the day, although you should avoid positioning the desk where direct sunlight creates glare on your screen.
If you’re working in a very small room, a floating desk can sometimes fit into an otherwise unused corner.
Step 2: Determine the Desk Size
One of the biggest advantages of building your own desk is that you aren’t restricted to standard furniture dimensions.
Measure the wall and determine how large you want the desktop to be.
Think about what you’ll actually use the desk for.
A laptop-only workspace may need considerably less depth than a setup with a large monitor, keyboard, notebooks, and other equipment.
Avoid making the desk unnecessarily deep if floor space is limited.
A slightly shallower desktop can make a small room feel much more open.
Step 3: Choose Your Wood
The desktop and shelves can be made from several types of wood.
Solid wood creates a beautiful natural appearance and can be stained to highlight the grain.
Plywood can also work well, particularly when finished with attractive edge treatment or veneer.
For a more budget-friendly project, you can look for appropriately sized pine boards or furniture-grade panels.
The most important consideration is choosing material that is appropriate for the span, thickness, and expected load.
For a desk that will hold heavier equipment, don’t simply choose a thin board because it looks attractive.
The support system matters just as much as the desktop material.
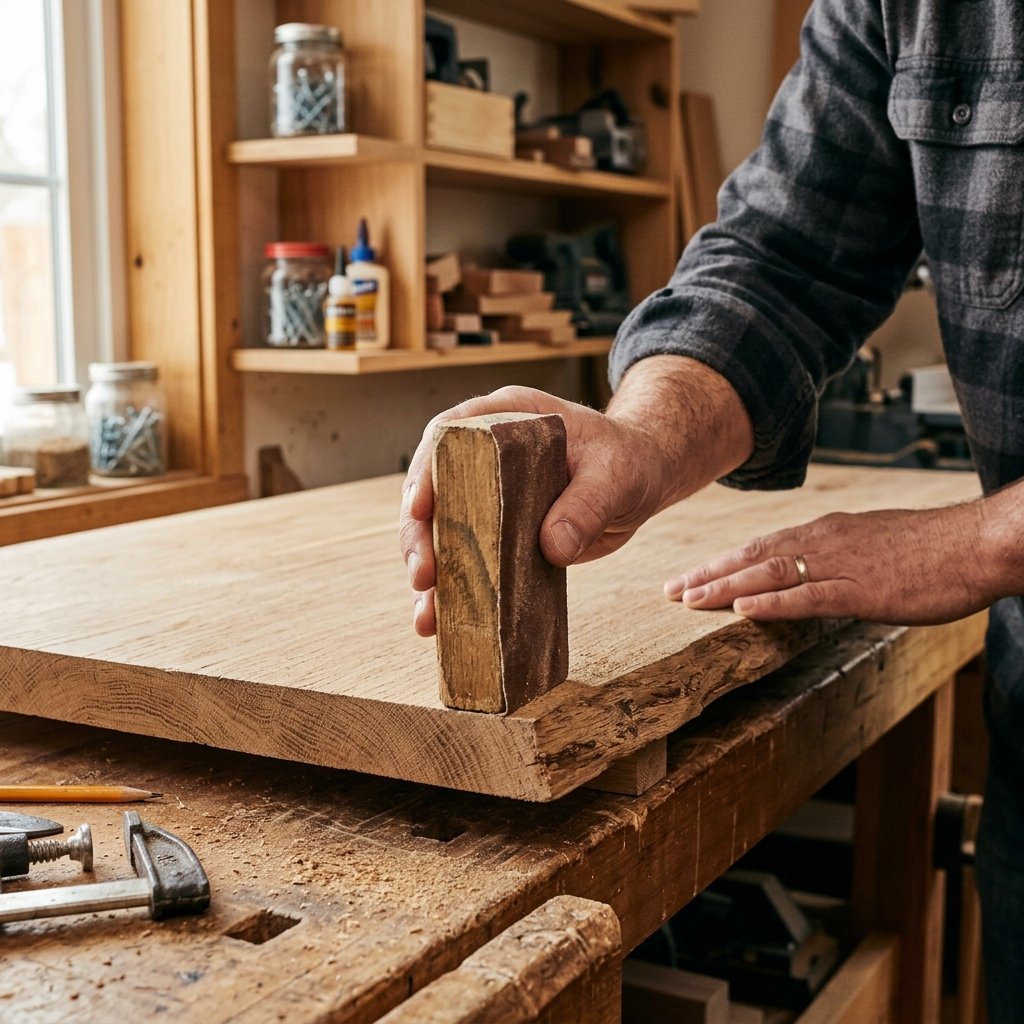
Step 4: Sand the Wood
If you’re using unfinished wood, sand the surfaces before installing them.
Start with an appropriate medium grit and move toward a finer grit to create a smooth finish.
Pay special attention to the edges.
A slightly rounded or softened edge can make a floating desk feel more polished and comfortable to use.
Remove all sanding dust before staining or painting.
Step 5: Choose a Finish
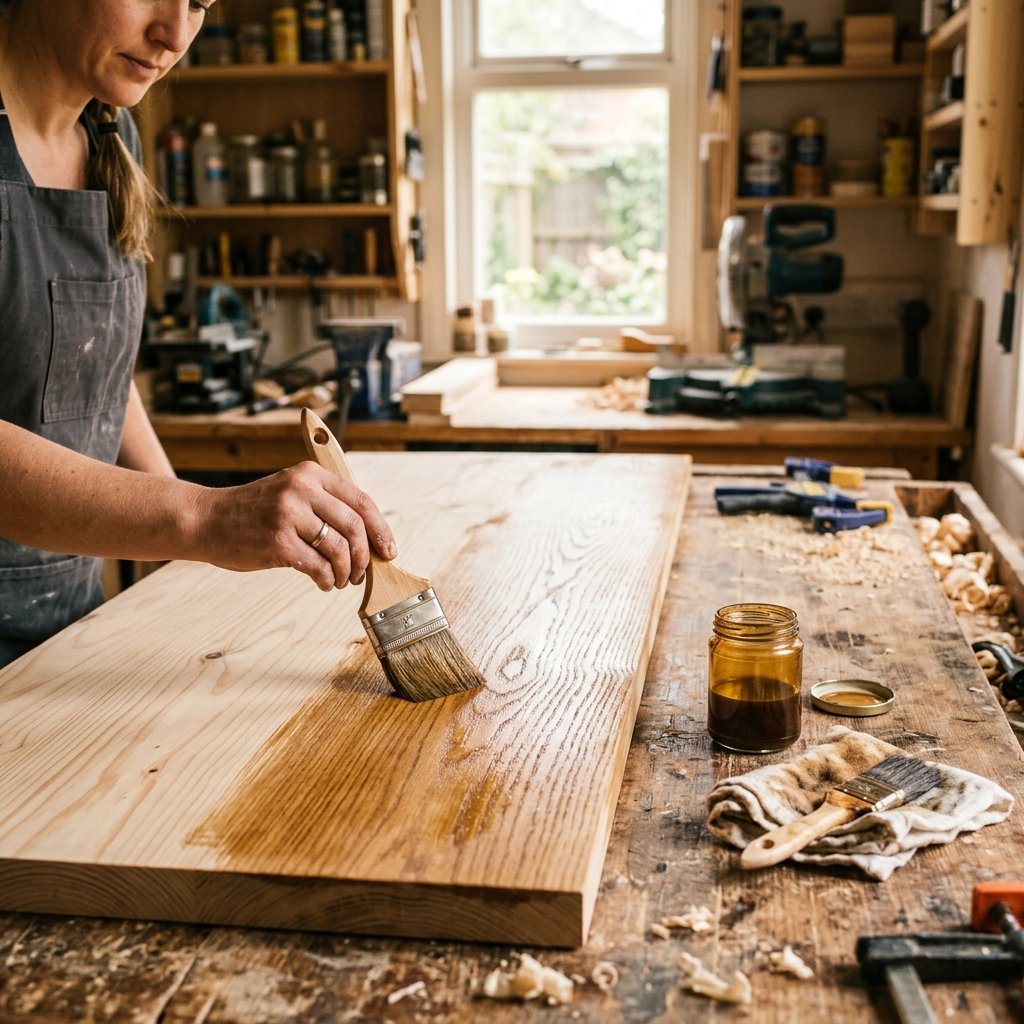
Your finish can completely change the character of the desk.
Natural wood
A clear finish lets the grain remain visible and works beautifully in Scandinavian, modern, and minimalist interiors.
Warm wood stain
Walnut, oak, or medium brown stains can create a cozy traditional or farmhouse look.
White paint
White works particularly well in small rooms because it keeps the workspace feeling light and airy.
Dark paint
Charcoal, black, or deep green can create a dramatic modern workspace.
You can also paint the shelves and desk the same color as the wall for a subtle built-in appearance.
Step 6: Find the Wall Studs
This is one of the most important steps.
A floating desk needs strong support, particularly because people may accidentally lean on the desktop or place heavy equipment on it.
Use a stud finder to locate wall studs and mark their positions.
Where possible, attach the desk’s support hardware directly to studs.
If the desired location doesn’t align perfectly with studs, use an appropriate mounting system designed for the wall construction and expected load.
Don’t assume that any generic drywall anchor will safely support a desk.
When in doubt, choose stronger hardware or consult a qualified professional.
Step 7: Install the Desk Support
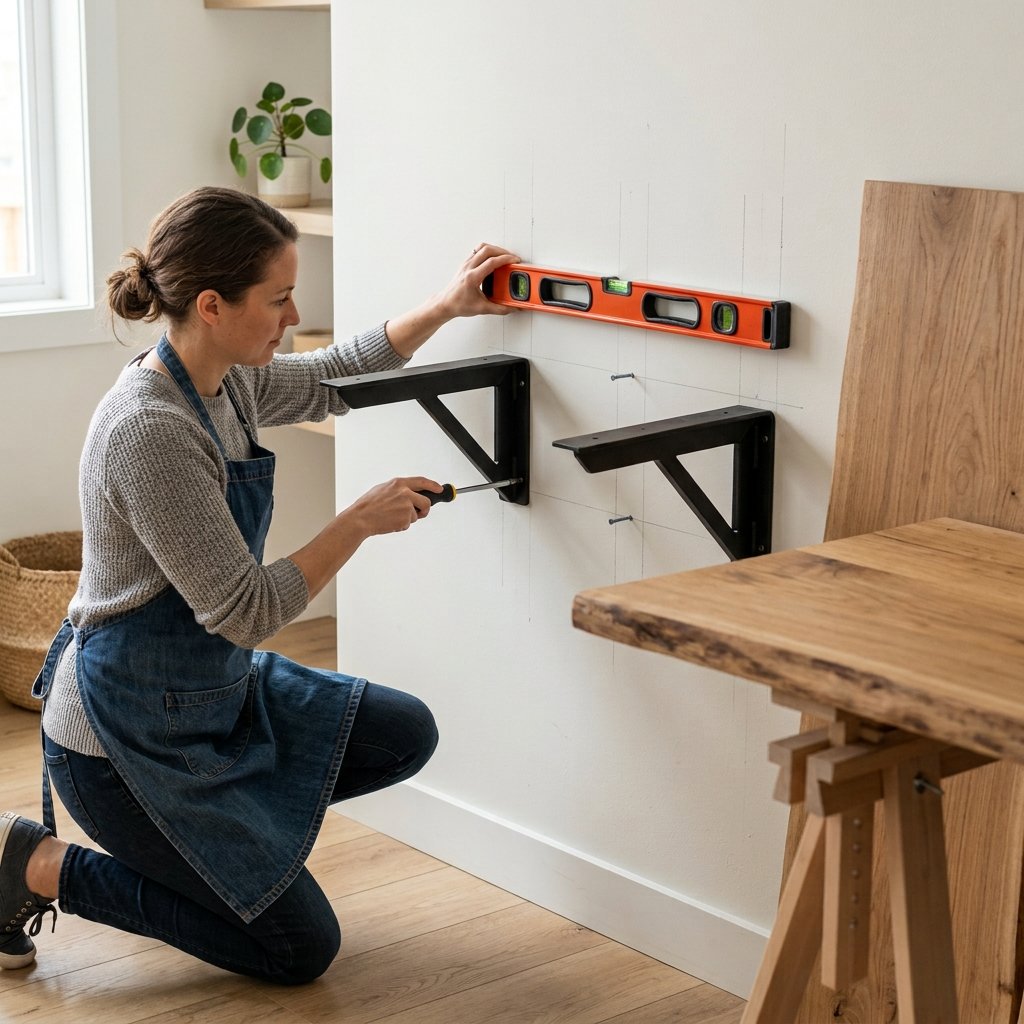
Once you’ve marked the mounting points, position your brackets or support system.
Use a level to make sure everything is perfectly horizontal.
A slightly crooked desk can be surprisingly noticeable.
Pre-drill holes where appropriate, then install the mounting hardware according to the manufacturer’s instructions.
Double-check the stability before placing the desktop on top.
Step 8: Attach the Desktop
Once the support system is securely mounted, place the desktop into position.
Depending on your chosen hardware, the desktop may be screwed into the brackets from underneath or attached using another concealed mounting method.
Follow the instructions for your specific hardware.
Check the desk from several angles.
Make sure it is level, stable, and securely attached before putting any equipment on it.
Don’t skip this safety check.
A floating desk should feel solid and secure when you gently test it.
Step 9: Plan Your Floating Shelves
Now it’s time to create the storage above the desk.
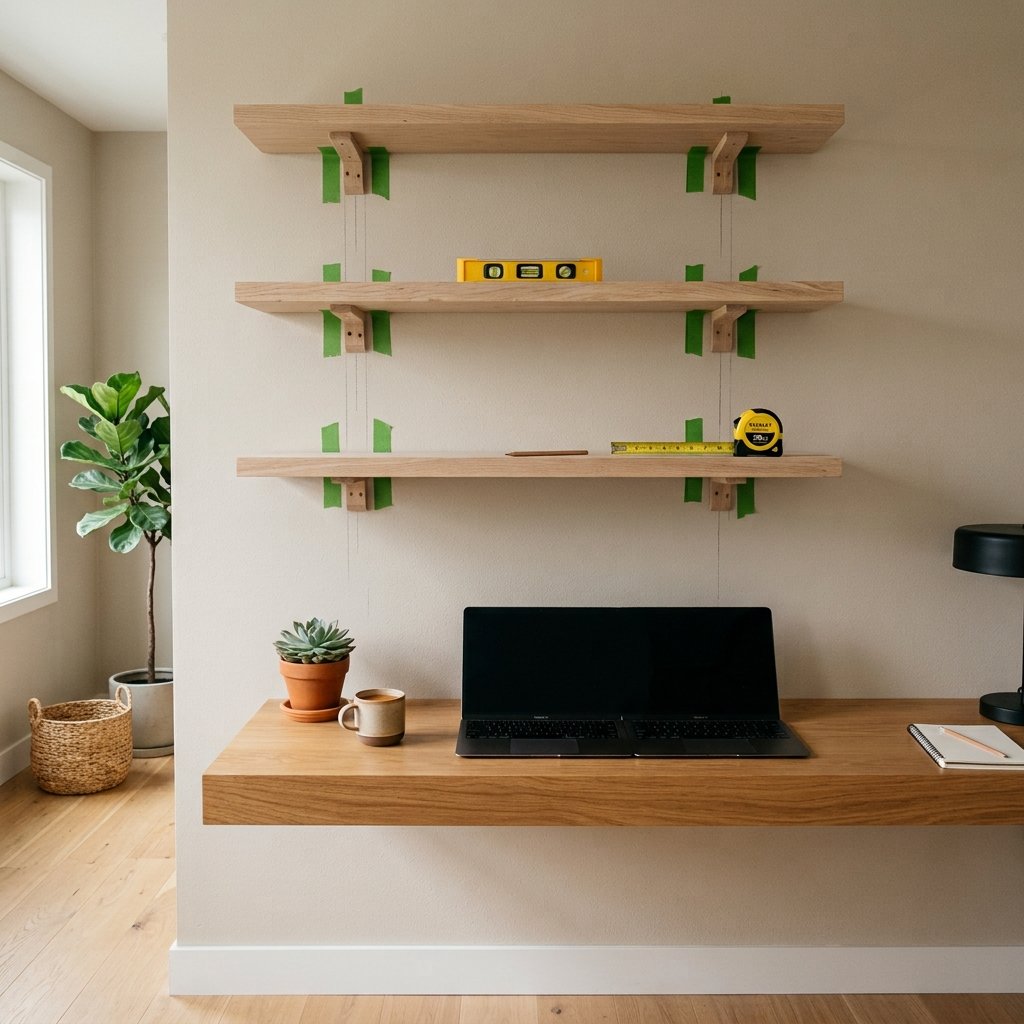
Think about how many shelves you actually need.
For most setups, two or three shelves are enough.
Too many shelves can make a small workspace feel visually crowded.
Leave enough space between the desktop and first shelf to comfortably use your computer or display.
Then consider the spacing between each shelf.
You can use equal spacing for a clean modern look or vary the spacing for a more relaxed appearance.
Step 10: Install the Floating Shelves
Once you’ve finalized the layout, mark the mounting points for each shelf.
Again, use a level.
Install the appropriate shelf hardware according to the manufacturer’s instructions and the type of wall you’re working with.
Check that each shelf is secure before adding decorations.
Remember that decorative shelves can end up carrying more weight than expected.
Books, ceramic objects, plants, and storage baskets can quickly add up.
Choose hardware accordingly.
How to Style Your DIY Floating Desk and Shelves
Once everything is installed, styling can turn a simple workspace into a beautiful part of your home.
Add a Small Plant
A small houseplant can soften the workspace and bring some natural texture to the shelves.
If your desk doesn’t receive enough natural light, choose a plant that suits the available conditions or use a realistic artificial option.
Display a Few Favorite Books
Instead of filling every shelf with books, mix them with decorative objects.
Stacking a few books horizontally can create different heights.
Use Small Baskets
Baskets are useful for hiding cables, stationery, chargers, and other small items.
They also add texture to the shelves.
Add Framed Artwork
A small framed print can make the workspace feel more personal.
Choose artwork that complements the colors already present in the room.
Keep the Desk Clutter-Free
One of the biggest benefits of a floating desk is its clean appearance.
But that advantage can disappear quickly if the desktop becomes a storage area.
Try to keep only the items you use regularly on the desk.
Use the shelves and baskets for everything else.
Cable management is especially important.
Use cable clips, sleeves, or a cable tray underneath the desk to keep cords organized and out of sight.
A clean desktop can make even a small workspace feel significantly larger.
Ideas for Different Rooms
You don’t have to use this project exclusively as a traditional home office.
Bedroom
Create a compact vanity, study desk, or small workstation.
Kids’ room
Build a homework station with shelves for books and school supplies.
Living room
Create a small work-from-home corner without introducing a large piece of furniture.
Craft room
Use deeper shelves to store craft supplies and a wider desktop for projects.
Entryway
A narrow floating desk can function as a small drop zone for keys, mail, and everyday essentials.
Final Thoughts
A DIY floating desk and shelves is a practical project that can give you a custom workspace without sacrificing valuable floor space.
The beauty of building it yourself is that you can adapt the dimensions, materials, colors, and storage to your exact needs.
Keep the desk simple, choose sturdy mounting hardware, carefully plan the shelf placement, and finish the wood in a color that complements your existing decor.
Then add a few thoughtful accessories—books, plants, baskets, artwork, and lighting—to make the workspace feel like a natural part of your home.
Whether you live in a small apartment or simply want a cleaner, more streamlined workspace, a floating desk and shelves can be a surprisingly effective solution.
And because the design is so customizable, you can create something that looks less like a piece of office furniture and more like a beautiful built-in feature designed specifically for your home.

