

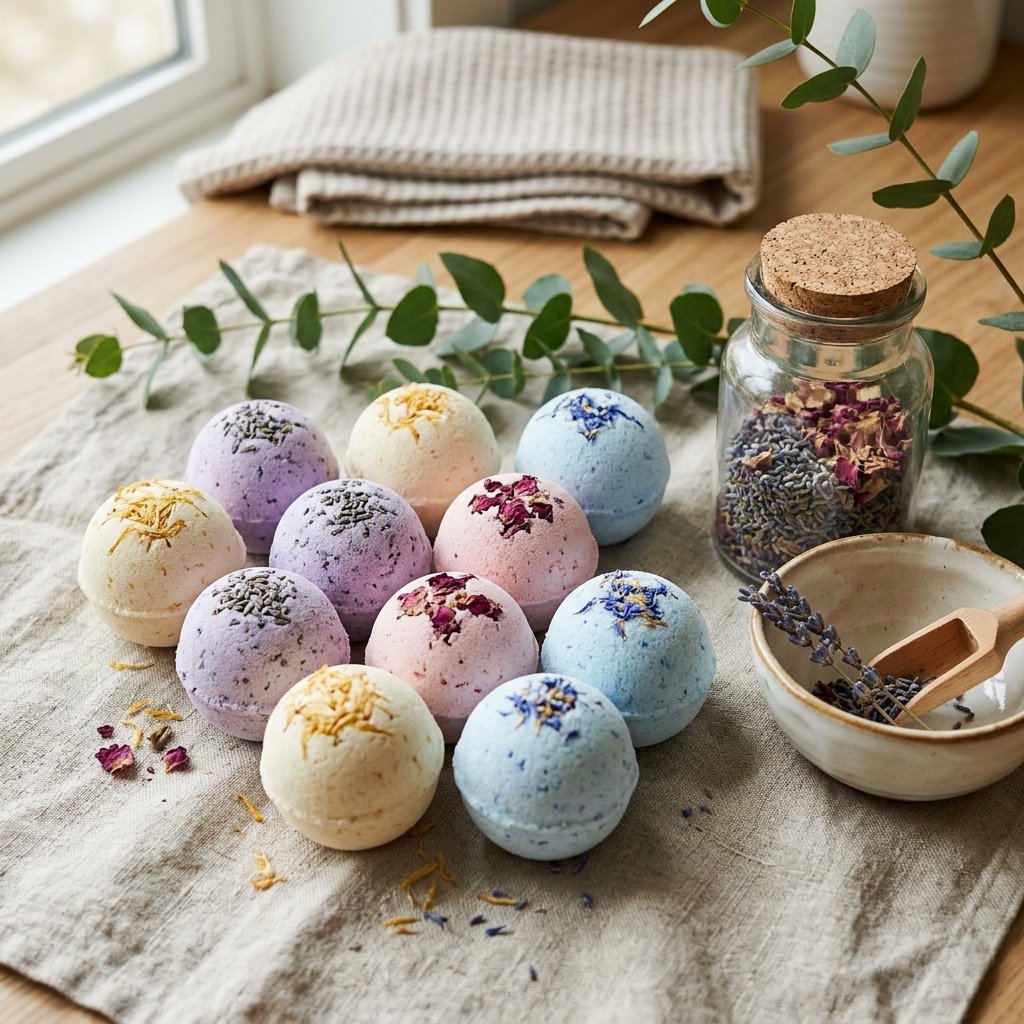
There’s something special about turning an ordinary bath into a relaxing little spa experience. And you don’t need expensive bath products to do it.
Making DIY homemade bath bombs is a fun and relatively simple project that lets you customize everything from the scent and color to the shape and ingredients.
They’re also a great handmade gift idea for birthdays, holidays, Mother’s Day, bridal showers, or simply as a thoughtful little treat for friends and family.
The basic process involves combining dry ingredients with a small amount of liquid binder, pressing the mixture into molds, and allowing the bath bombs to dry completely.
The trick is getting the consistency right. Too much liquid can activate the mixture prematurely, while too little can make the bath bombs difficult to hold together.
In this guide, we’ll walk through a beginner-friendly bath bomb recipe, explain the ingredients, share decorating ideas, and cover common mistakes so you can make your own homemade bath bombs successfully.
What Are Bath Bombs?
Bath bombs are compact mixtures of ingredients designed to dissolve in bathwater.
The classic fizzing effect comes from the reaction between an acid, commonly citric acid, and a base such as baking soda when they come into contact with water.
Once placed in the bath, the ingredients dissolve and create bubbles and fizz.
Bath bombs can also contain ingredients such as:
- Fragrance
- Essential oils
- Colorants
- Dried botanicals
- Clay
- Skin-conditioning ingredients
However, more ingredients don’t necessarily make a better bath bomb.
For beginners, keeping the recipe relatively simple is often the easiest way to get consistent results.
DIY Homemade Bath Bomb Ingredients
Here’s a simple starting recipe.
Dry ingredients
- 1 cup baking soda
- ½ cup citric acid
- ½ cup cornstarch
- ½ cup fine Epsom salt
Wet ingredients
- 1–2 teaspoons lightweight carrier oil, such as fractionated coconut oil
- Fragrance or essential oil, used according to the supplier’s skin-safe usage recommendations
- A small amount of skin-safe bath bomb colorant, if desired
- Witch hazel or water in a fine misting bottle, used sparingly if needed
The exact amount of liquid required can vary depending on humidity and the ingredients you’re using.
Important: Use ingredients specifically intended and labeled for cosmetic or bath use. Avoid adding anything that could irritate skin or create an unsafe bathtub surface.
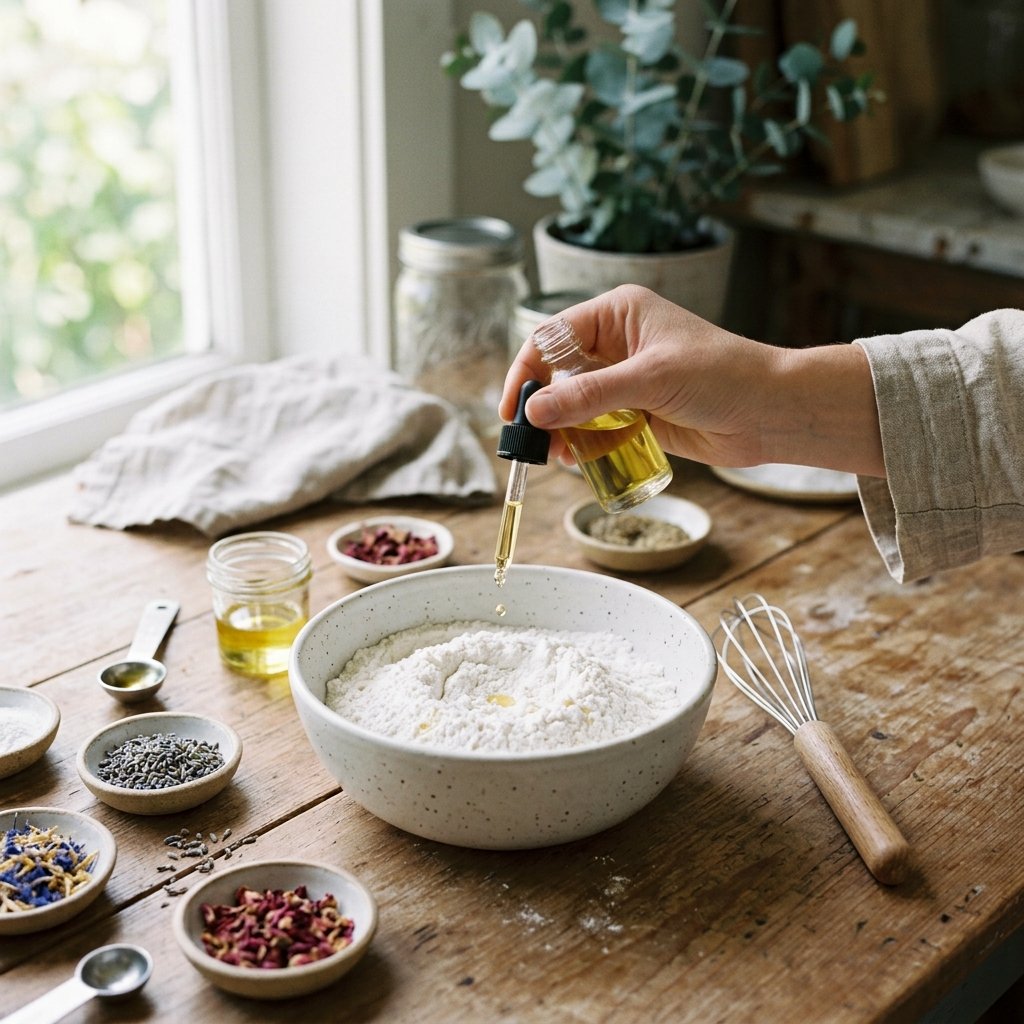
What Equipment Do You Need?
You don’t need specialized equipment.
Gather:
- Large mixing bowl
- Small measuring bowls
- Measuring cups
- Measuring spoons
- Whisk
- Bath bomb molds
- Fine mist spray bottle
- Disposable gloves
- Airtight storage container
A digital kitchen scale can also make measuring ingredients more consistent.
For colored bath bombs, use dedicated cosmetic-making equipment rather than equipment you also use for food preparation if the product instructions recommend it.
Step 1: Prepare Your Workspace
Bath bomb mixtures are sensitive to moisture.
Before you begin, make sure your workspace is dry.
Keep water away from the mixing bowl until you’re ready to add tiny amounts of moisture.
Cover your work surface if you’re using colorants.
Put on gloves, especially if you have sensitive skin or are handling concentrated fragrance or essential oils.
Have your molds and storage container ready before you start mixing.
Once the ingredients are combined, you’ll want to work relatively efficiently.
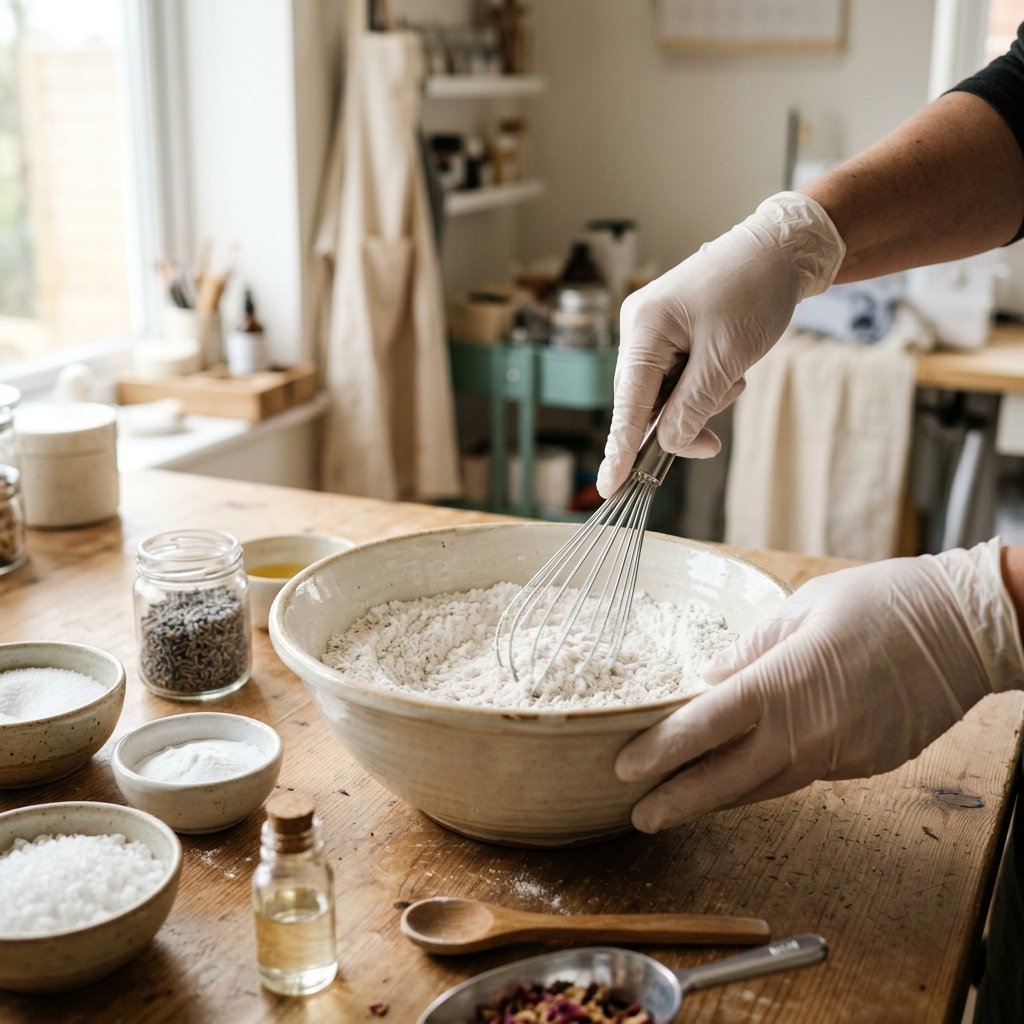
Step 2: Mix the Dry Ingredients
Add the baking soda, citric acid, cornstarch, and Epsom salt to a large bowl.
Whisk everything thoroughly.
Break up any clumps.
The goal is to distribute the ingredients evenly before adding fragrance, oil, or color.
If you’re using a powder colorant, you can incorporate it into the dry ingredients at this stage according to the colorant manufacturer’s instructions.
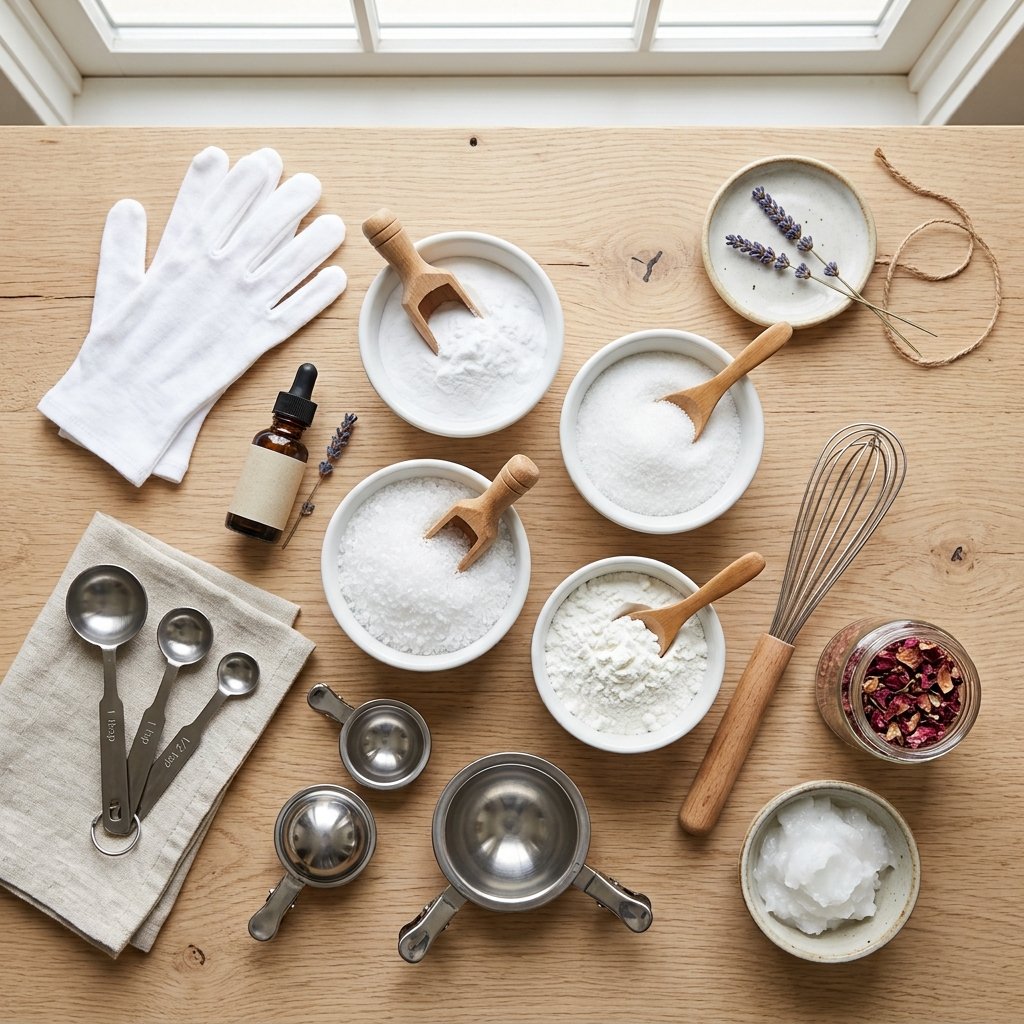
Step 3: Add Your Fragrance
Choose a fragrance or essential oil that is specifically appropriate for bath and skin use.
Add it gradually while mixing.
If you’re using essential oils, don’t assume that every essential oil is automatically safe for use in bath products.
Some can irritate skin or have specific dilution and usage requirements.
Always follow the supplier’s recommended skin-safe usage rate.
Popular scent combinations include:
Lavender + vanilla
Soft and relaxing.
Peppermint + eucalyptus
Fresh and invigorating.
Sweet orange + vanilla
Warm and cheerful.
Rose + geranium
Floral and elegant.
Lemon + lavender
Fresh and calming.
Keep the fragrance level appropriate for the product.
More fragrance isn’t necessarily better.
Step 4: Add Your Carrier Oil
Add a small amount of carrier oil to the dry mixture.
Fractionated coconut oil is one possible option because it remains liquid and can be incorporated relatively easily.
Other cosmetic-grade carrier oils may also work depending on the recipe.
Mix thoroughly.
The mixture should still look mostly dry.
You’re not trying to create a wet paste.
The goal is simply to introduce enough oil and moisture for the mixture to hold together when compressed.
Step 5: Add Color Carefully
Color is completely optional.
If you want colorful bath bombs, choose a colorant specifically designed and approved for bath or cosmetic use.
Avoid using random food coloring without checking whether it’s appropriate for your intended product and application.
You can create:
- Soft pink
- Lavender
- Pale blue
- Mint green
- Cream
- Peach
Pastel shades often look especially beautiful in bath bombs.
If you’re making multiple colors, divide the mixture into separate bowls.
Then add the color gradually.
Remember that some pigments can stain tubs, towels, or skin, so always test your formulation before making a large batch.
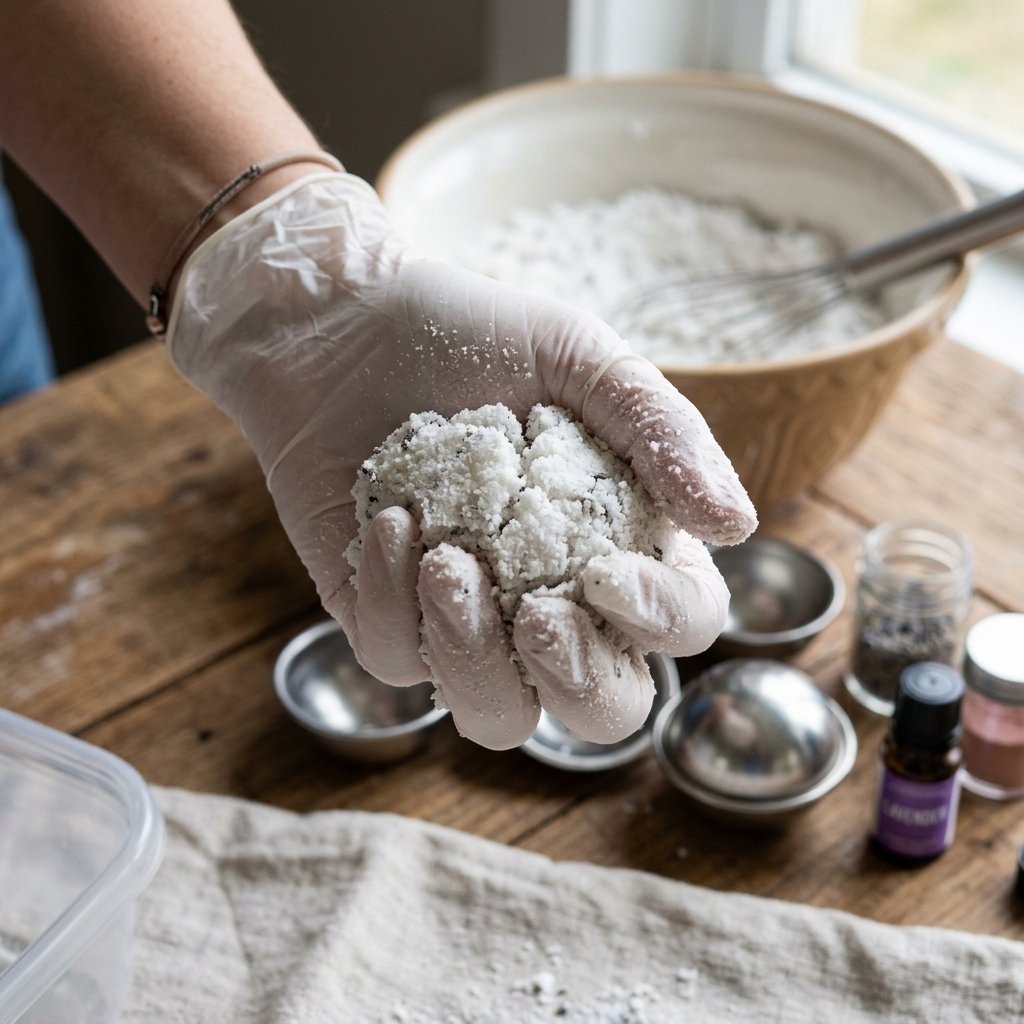
Step 6: Check the Consistency
This is one of the most important steps.
Take a small amount of the mixture and squeeze it firmly in your hand.
It should hold together when compressed.
If it immediately falls apart, it needs a tiny bit more moisture.
Use your spray bottle to add one very light mist at a time while mixing.
Don’t pour water into the bowl.
The mixture can begin reacting immediately if too much water is introduced.
Keep testing until it has the consistency of slightly damp sand that holds together when squeezed.
Step 7: Fill Your Bath Bomb Molds
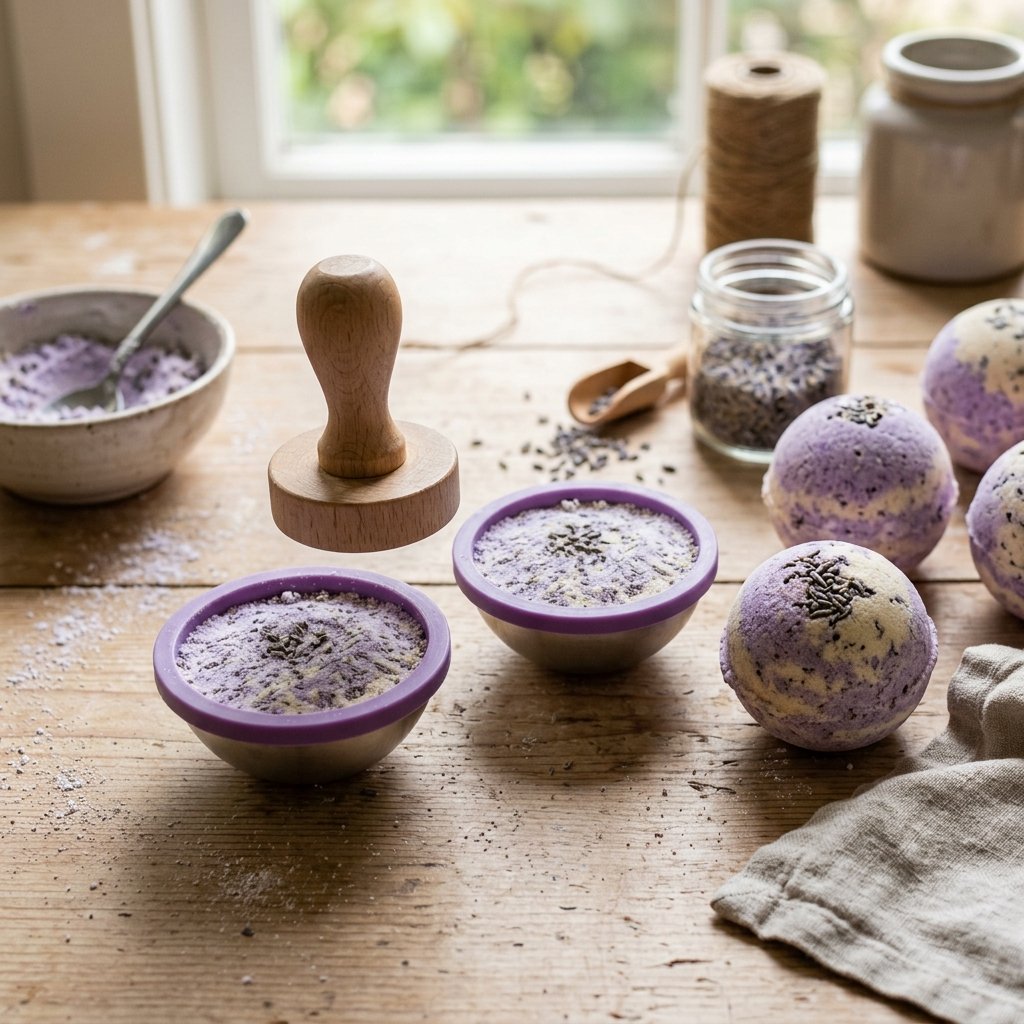
Now it’s time to use your molds.
Fill both halves generously.
Press the mixture firmly into each half.
Don’t simply sprinkle the mixture into the mold.
Compression is what helps create a bath bomb that holds its shape.
Once both halves are filled, press them together firmly.
If the mixture is at the right consistency, it should compact without becoming wet or sticky.
Step 8: Remove the Bath Bomb From the Mold
Carefully separate the mold.
Depending on the mold design, you may need to gently tap one side or slowly lift it away.
Don’t rush this step.
Freshly molded bath bombs can be fragile.
If one breaks apart, simply return the mixture to the bowl, adjust the consistency if necessary, and try again.
Silicone molds can be particularly convenient because they can make releasing the finished product easier.
Step 9: Let the Bath Bombs Dry
Place the finished bath bombs on a dry surface or tray.
Allow them to dry according to the recipe and environmental conditions.
Humidity can make bath bombs much more difficult to dry.
Avoid placing them in a steamy bathroom.
A cool, dry room is generally preferable.
Don’t package them before they’re completely dry.
If you seal them while they still contain excess moisture, they can soften, crumble, or begin reacting.
Step 10: Store Them Properly
Once completely dry, store your bath bombs in an airtight container.
Keep them:
- Dry
- Cool
- Away from direct sunlight
- Away from humidity
- Away from children and pets
If you’re giving them as gifts, package them individually in suitable moisture-resistant packaging.
The goal is to keep atmospheric moisture from reaching the bath bombs before they’re used.
Easy DIY Bath Bomb Variations
Once you’ve mastered the basic recipe, you can experiment with different themes.
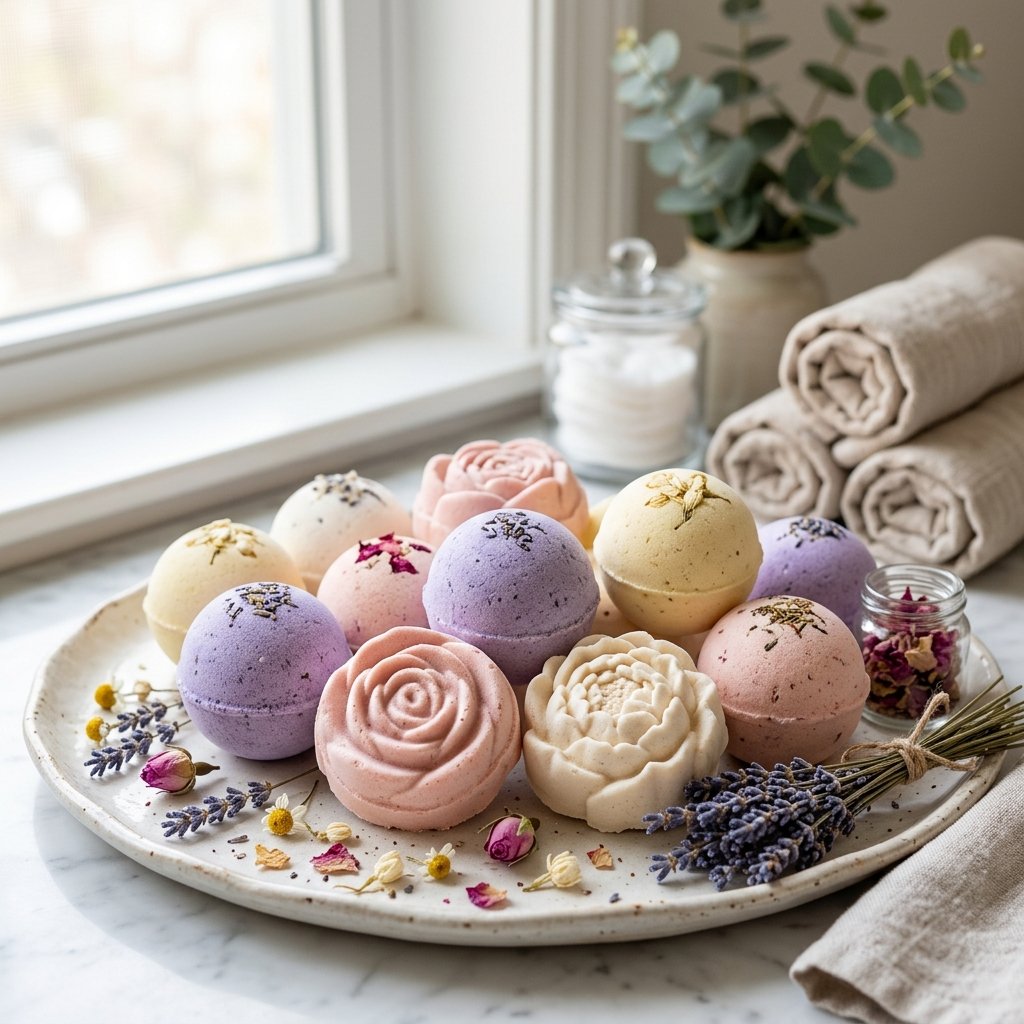
Lavender Bath Bombs
Use a skin-safe lavender fragrance or essential oil and a subtle purple color.
For decoration, you can use a small amount of suitable dried lavender, provided it’s appropriate for your formulation and doesn’t create plumbing or skin concerns.
Rose Bath Bombs
Create soft pink bath bombs using a skin-safe fragrance and appropriate cosmetic colorant.
A rose-inspired scent can make these particularly beautiful as gifts.
Citrus Bath Bombs
Try a citrus-inspired fragrance such as orange or lemon, provided the specific fragrance or essential oil is appropriate for bath use.
Citrus scents can create a bright, fresh feeling.
DIY Bath Bomb Gift Ideas
Homemade bath bombs make lovely gifts because you can personalize them for different occasions.
Birthday gift
Create a colorful collection and package them in a simple gift box.
Mother’s Day
Use soft floral scents and elegant neutral packaging.
Bridal shower
Make white or blush bath bombs and package them individually.
Christmas
Use seasonal scents and simple winter-inspired colors.
Self-care gift basket
Pair bath bombs with:
- A soft towel
- Candle
- Body lotion
- Tea
- Sleep mask
Choose products that are appropriate for the recipient and package everything in a reusable basket or box.
How to Make Bath Bombs Without a Mold
Don’t have bath bomb molds?
You can still experiment.
Try using small silicone molds designed for crafts or food, provided they’re appropriate for your ingredients and easy to clean.
You can also compress the mixture into small containers or shape it carefully by hand.
However, traditional bath bomb molds tend to produce the recognizable round shape most people associate with bath bombs.
Why Are My Bath Bombs Falling Apart?
If your bath bombs crumble when you remove them from the mold, the mixture may not contain enough moisture or may not have been compressed firmly enough.
Try adding a very small amount of moisture using a fine mist and mix thoroughly before testing again.
Don’t add large amounts of liquid.
Another possible problem is insufficient compression.
Press the mixture firmly into the mold.
Also check the humidity in your room.
Very dry or very humid conditions can affect the consistency.
Why Are My Bath Bombs Expanding?
If your bath bombs puff up, bubble, or expand while drying, excess moisture may have activated the citric acid and baking soda prematurely.
This is one reason it’s important to introduce liquid extremely slowly.
High humidity can also contribute to the problem.
Work in a dry environment and keep the mixture protected from moisture.
Bath Bomb Safety Tips
Because bath bombs come into contact with skin, safety should always come before appearance.
Use skin-safe ingredients
Only use fragrances, colorants, and other additives that are appropriate for bath and cosmetic use.
Be careful with essential oils
Natural doesn’t automatically mean irritation-free.
Follow appropriate dilution and usage guidelines.
Avoid slippery oils
Too much oil can make a bathtub slippery.
Test your formulation
Before giving homemade bath bombs to others, test a small batch yourself and observe how the product behaves in water.
Be careful with botanicals
Large amounts of dried flowers, herbs, glitter, or other decorative materials can create plumbing, cleanup, or skin concerns.
Keep them away from children
Bath bombs can look like candy.
Store them safely and clearly label them.
Final Thoughts
Making DIY homemade bath bombs is a fun project that can turn a few simple ingredients into something that feels luxurious and special.
The most important part is controlling moisture.
Keep your dry ingredients completely mixed, add liquid slowly, use appropriate skin-safe fragrances and colorants, and allow the finished bath bombs to dry thoroughly before storing them.
Once you’ve mastered the basic recipe, you can experiment with different scents, colors, shapes, and packaging.
And because homemade bath bombs are easy to personalize, they can also make thoughtful handmade gifts for birthdays, holidays, bridal showers, or self-care gift baskets.
Start with a simple batch, keep your first design uncomplicated, and experiment from there.
Sometimes the best DIY projects are the ones that turn an ordinary evening at home into something that feels a little more special.

