

DIY moss balls are one of those simple decorating projects that can make a bowl, tray, shelf, or seasonal centerpiece look instantly more finished.
They are especially useful if you like natural, organic decor but do not want to buy expensive decorative filler. A few moss-covered balls can add color, texture, and softness to coffee tables, entryway consoles, dining tables, bookshelves, and spring displays.
You can make them in different sizes, use several types of preserved or faux moss, and adjust the finished look from neat and polished to loose and woodland-inspired.
This project is also beginner-friendly. The basic process is simply to cover lightweight balls with moss using a suitable adhesive, fill in any gaps, trim loose pieces, and arrange the finished balls in a decorative container.
The biggest difference between a moss ball that looks homemade and one that looks polished is how evenly the moss is layered and how carefully the edges and gaps are handled.
Here is how to make DIY moss balls step by step, plus ideas for styling them throughout your home.
Why Make DIY Moss Balls?
Decorative moss balls work in many decorating styles because they add texture without introducing a strong pattern.
They fit beautifully with:
- Farmhouse decor
- Cottage style
- Organic modern rooms
- Traditional interiors
- Spring decorating
- Garden-inspired decor
- Neutral spaces
They are also flexible.
A bowl of moss balls can sit on a coffee table in spring, move to an entryway console in summer, and become part of a woodland-style holiday arrangement later in the year.
Once made, they can be reused again and again.
What Kind of Moss Should You Use?
Different mosses create different looks.
Sheet Moss
Sheet moss can cover larger areas quickly and creates a slightly rugged, natural appearance.
Preserved Moss
Preserved moss often has soft texture and rich color. Because preservation methods vary, follow the product’s care instructions and keep it away from excess moisture if directed.
Reindeer Moss
Reindeer moss creates a fluffy, dimensional look.
It can be especially attractive when mixed with flatter moss.
Faux Moss
Artificial moss may be useful if you want a consistent color or a material that does not shed as easily.
You can also combine more than one moss type for a natural layered effect.
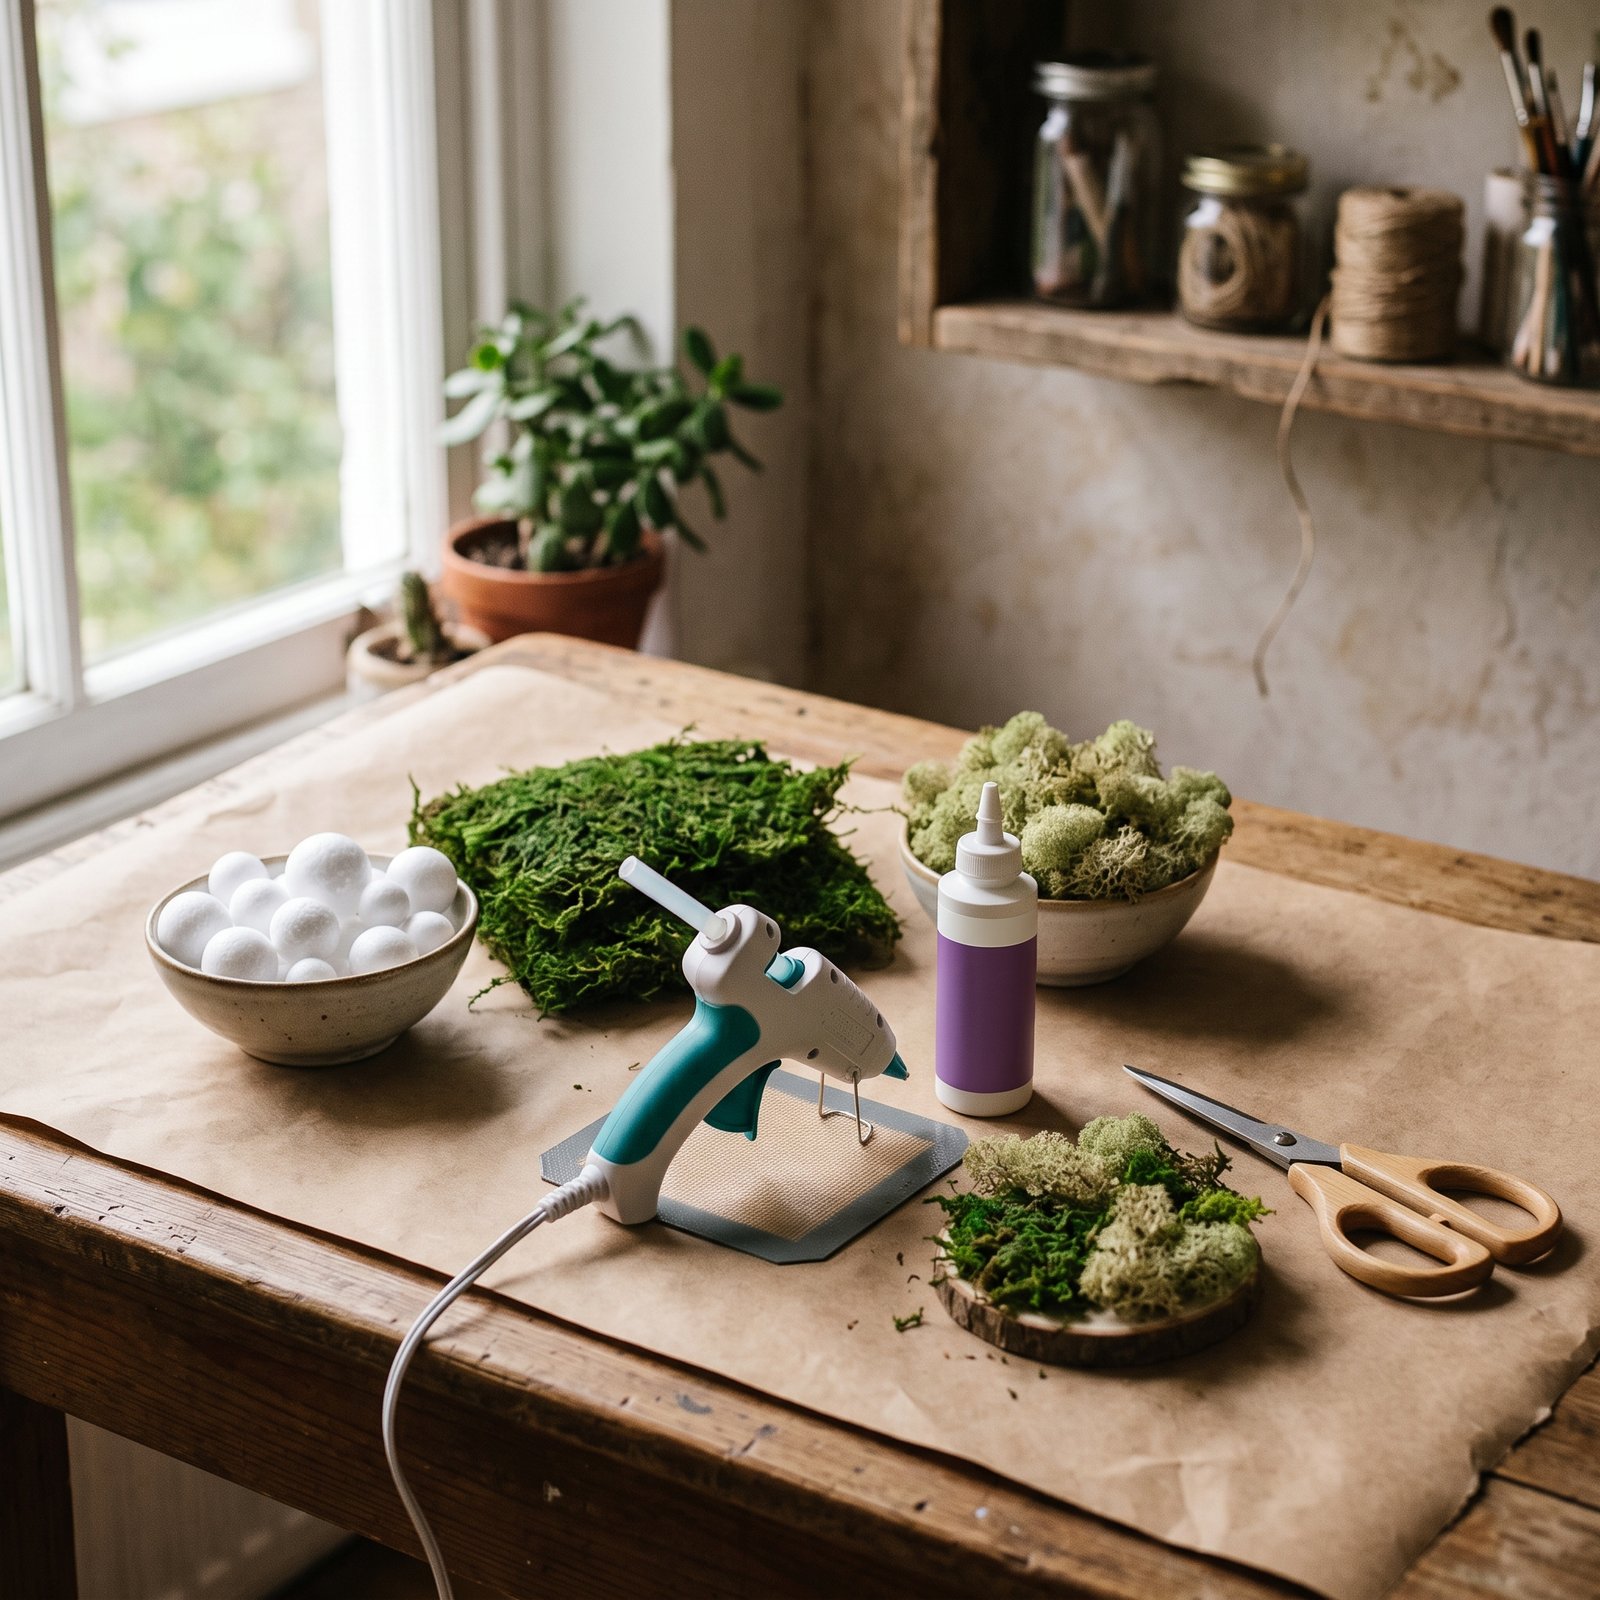
Materials for DIY Moss Balls
You only need a few supplies:
- Lightweight craft balls in assorted sizes
- Preserved, dried, or faux moss
- Craft adhesive suitable for your materials
- Hot glue gun, optional
- Glue sticks
- Scissors
- Disposable gloves, optional
- Drop cloth or kraft paper
- Small bowl or tray for loose moss
Lightweight foam craft balls are convenient because they are easy to cover and do not add much weight to decorative bowls.
If using hot glue, work carefully. Hot glue and the tip of a glue gun can cause burns, and some foam products may react poorly to excessive heat. Check compatibility and use a lower-temperature approach where appropriate.
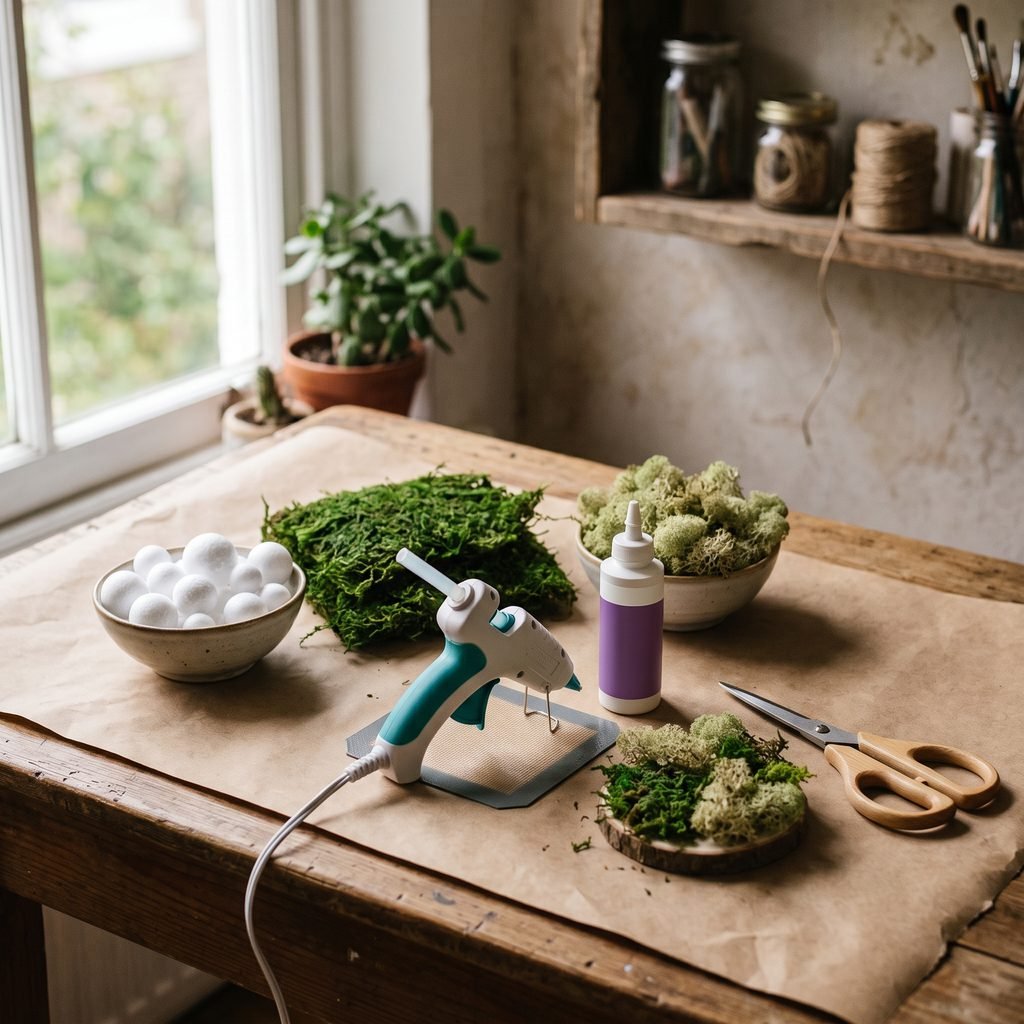
Step 1: Protect Your Work Surface
Moss can be messy.
Before starting, cover the table with:
- Kraft paper
- Newspaper
- Disposable table covering
- Scrap cardboard
Keep a small bowl or tray nearby to catch loose pieces.
This makes cleanup easier and lets you reuse moss fragments for filling small gaps later.
If the moss is dusty, work in a well-ventilated area and avoid rubbing your face or eyes while handling it.
Step 2: Break the Moss Into Manageable Pieces
Do not try to wrap one giant sheet around the entire ball.
Instead, separate the moss into smaller sections.
Pieces a few inches across are easier to shape around a curved surface.
For flatter sheet moss, gently pull sections apart by hand.
For loose moss, gather small handfuls.
Avoid making every piece exactly the same size. Slight variation helps create a more natural-looking finish.
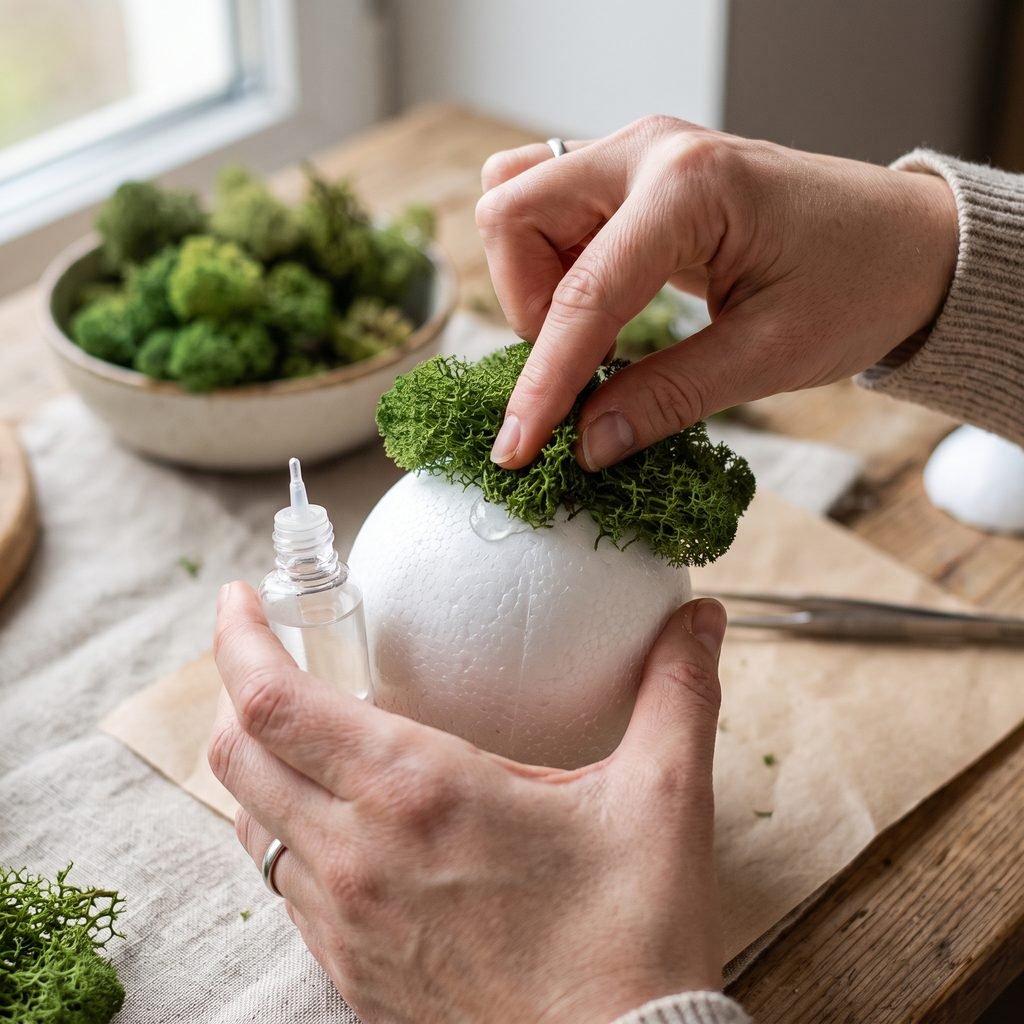
Step 3: Add Adhesive to a Small Section
Work on one area at a time.
Apply a small amount of adhesive to the craft ball, then press moss onto it.
Depending on the glue you use, you may need to hold the moss briefly while it bonds.
Do not coat the entire ball with adhesive at once.
Working in sections gives you more control and reduces mess.
If using hot glue, apply small amounts rather than large puddles.
Step 4: Overlap the Moss Slightly
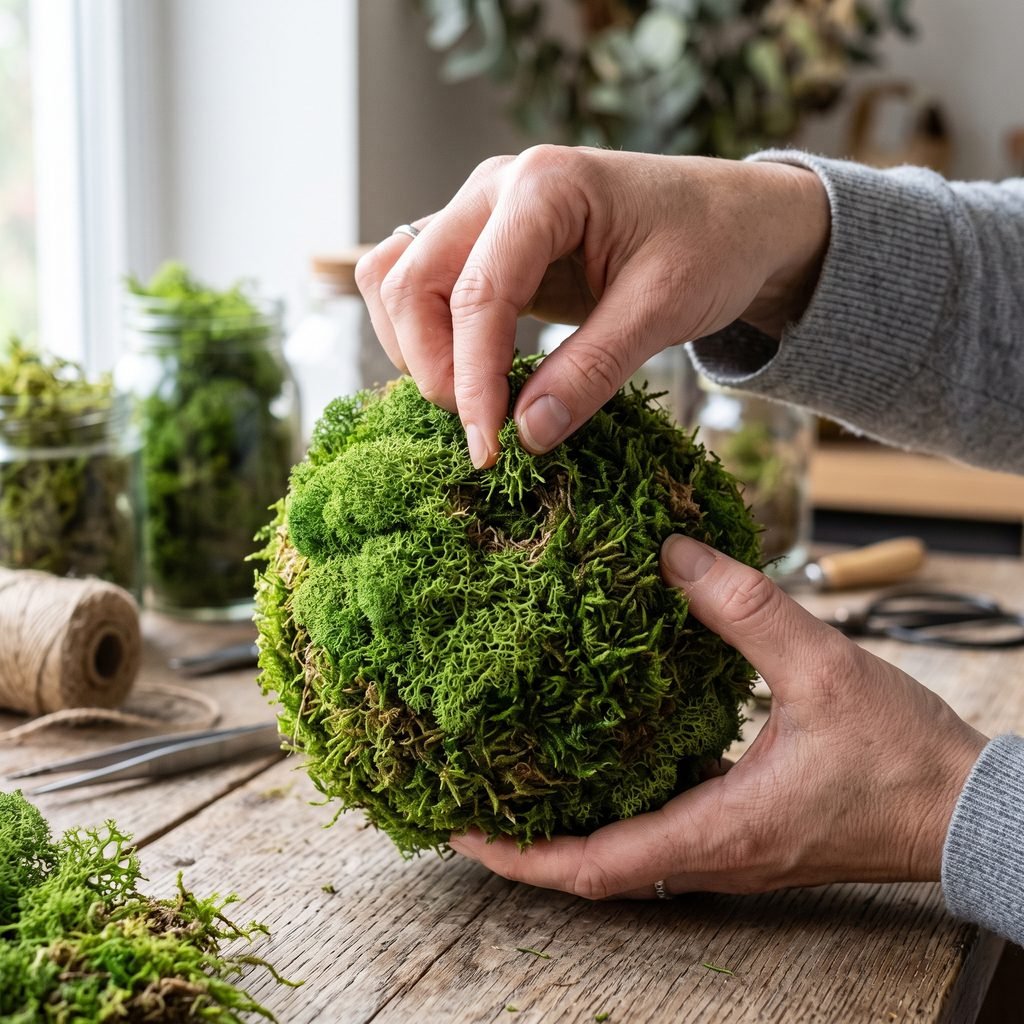
As you move around the ball, overlap the moss pieces.
This helps hide:
- Foam
- Seams
- Thin patches
- Glue
Think of the process almost like layering shingles.
Each new section should cover part of the previous one.
Do not worry about making the surface perfectly smooth.
A little unevenness makes the finished moss ball look more organic.
Step 5: Rotate the Ball as You Work
Continue turning the ball and filling uncovered sections.
If you place it directly on the table while the glue is still wet, moss may flatten or stick to the surface.
Instead, hold it gently or rest the finished portion in a soft container while working.
Keep checking the ball from different angles.
It is easy to miss bare patches when looking at only one side.
Step 6: Fill Small Gaps With Loose Moss
Once the main surface is covered, inspect the ball closely.
Look for visible:
- White foam
- Glue
- Thin spots
- Seams
Use small moss fragments to fill those areas.
This step makes a major difference in the final look.
Do not throw away the little pieces that fall onto your work surface. They are perfect for these final touch-ups.
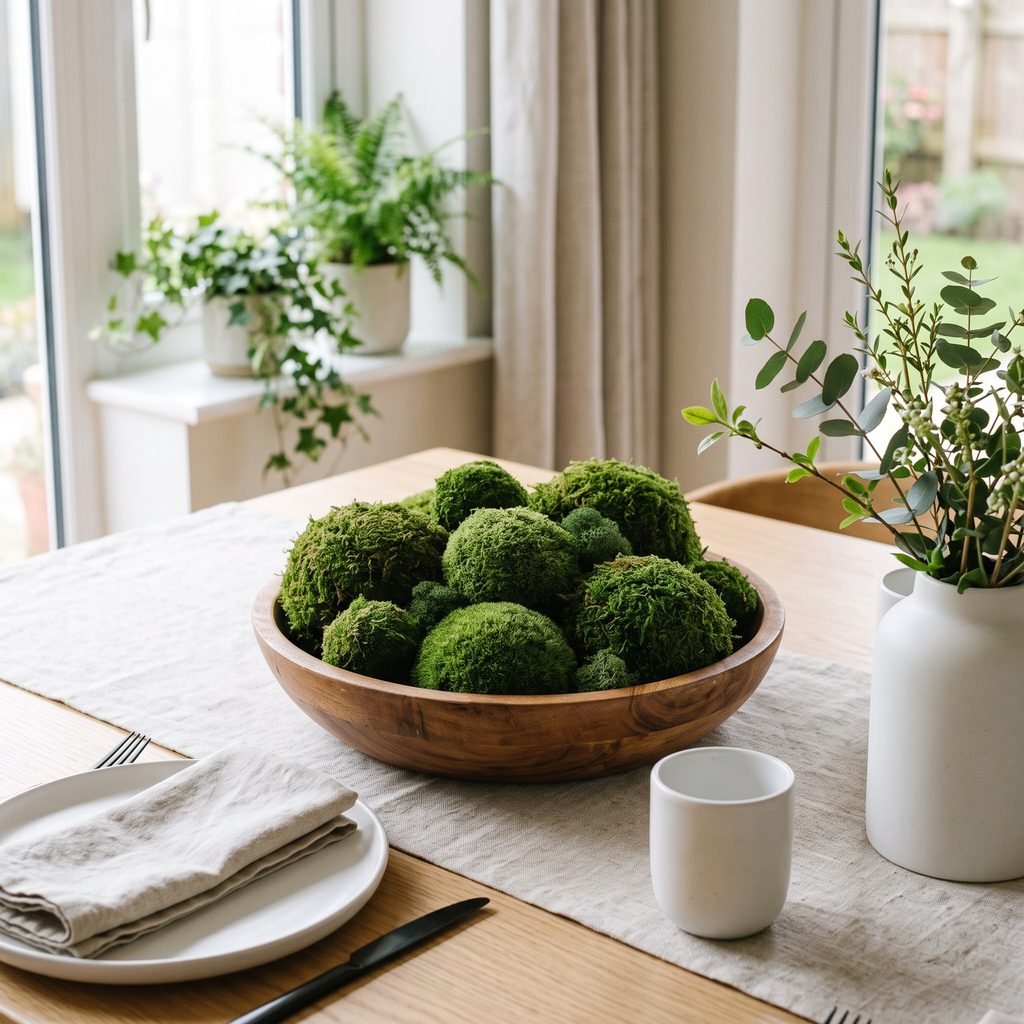
Step 7: Trim the Moss
Once the glue is secure, use scissors to trim overly long or awkward pieces.
You do not need a perfectly round surface.
The goal is simply to remove strands that look noticeably messy.
For a natural style, leave some texture.
For a more formal decorative bowl, trim the surface slightly more evenly.
Rotate the ball as you cut so the finished shape stays balanced.
Step 8: Make Several Different Sizes
Moss balls look better in groups.
Instead of making six identical balls, try mixing sizes.
For example, use:
- A few larger balls
- Several medium balls
- A few small filler balls
Variation creates a more collected look.
Odd-number groupings often work particularly well in bowls and tabletop arrangements.
How to Make DIY Moss Balls Look More Expensive
The materials may be inexpensive, but a few details can make the finished project look more polished.
Mix Moss Textures
Combine sheet moss with a little reindeer moss or another textured variety.
This creates depth.
Use Rich, Natural Greens
Avoid moss that looks excessively neon or artificial if you want a realistic appearance.
Cover Every Gap
Visible foam immediately makes the project look unfinished.
Make Several Sizes
Different sizes look more intentional than a group of identical balls.
Keep the Styling Simple
Do not surround the moss balls with too many other decorative objects.
Let the texture do the work.
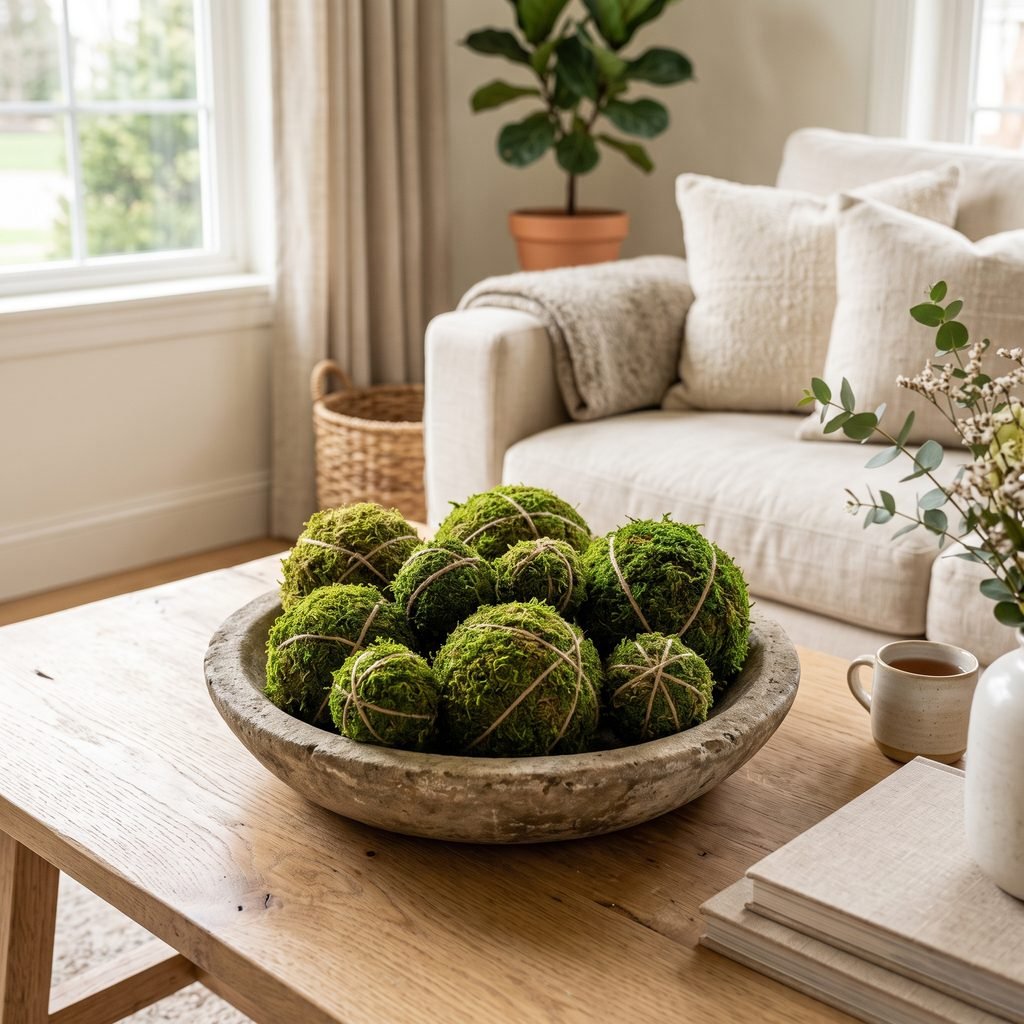
DIY Moss Balls With Twine
You can add a little extra texture by wrapping sections with natural twine.
After covering the ball with moss, loosely wrap twine around it several times.
Tie it discreetly.
This creates a rustic, garden-inspired look.
Use this version sparingly.
A few twine-wrapped balls mixed with plain moss balls usually look more balanced than making every one identical.
DIY Moss Balls With Grapevine
Another variation is to use small grapevine balls as the base.
Instead of completely covering them, tuck moss into and around the vines.
This creates a looser woodland look.
The vine structure remains partly visible, adding more texture.
These work especially well in:
- Rustic bowls
- Spring centerpieces
- Porch displays
- Woodland holiday decor
If using natural vine material, check for loose sharp ends before placing the finished pieces where children or pets may reach them.
DIY Moss Balls With Natural Accents
You can personalize moss balls with small decorative additions.
Try:
- Tiny faux flowers
- Small faux fern pieces
- Natural-looking twigs
- Miniature faux mushrooms
- Simple ribbon
Keep the additions subtle.
A moss ball covered with too many embellishments can quickly start looking more like a craft project than home decor.
How to Style Moss Balls in a Bowl
A shallow decorative bowl is one of the easiest ways to use them.
Choose a bowl made from:
- Wood
- Stone
- Ceramic
- Metal
- Woven material
Mix several sizes and allow them to overlap naturally.
Do not arrange them in perfectly even rows.
The display should feel casually collected.
Moss Balls for Coffee Table Decor
Moss balls add color to a neutral coffee table without requiring flowers.
Place them in a low bowl or tray.
Pair with:
- Coffee table books
- Candle
- Small vase
- Decorative box
Keep the arrangement low enough that it does not interfere with conversation or television sightlines.
If using candles nearby, keep moss and other potentially combustible materials safely away from open flames and heat.
Battery-operated candles can be a lower-risk decorative option where appropriate.
Moss Ball Centerpiece Ideas
For a dining table centerpiece, place moss balls in:
- Long wooden dough-style bowl
- Ceramic pedestal bowl
- Low basket
- Footed stone bowl
You can mix in a few branches or simple greenery if desired.
Avoid creating a centerpiece so tall that guests cannot comfortably see across the table.
For a spring look, combine the green moss with white ceramic pieces or light natural wood.
Spring Decorating With Moss Balls
Moss is especially useful for spring because it adds greenery without relying on fresh flowers.
Use moss balls with:
- White tulips
- Faux branches
- Terracotta pots
- Natural wood
- Woven baskets
- Pale ceramics
The contrast between bright green and soft neutrals creates a fresh seasonal look.
You can also place a few moss balls beneath a glass cloche for a simple botanical display.
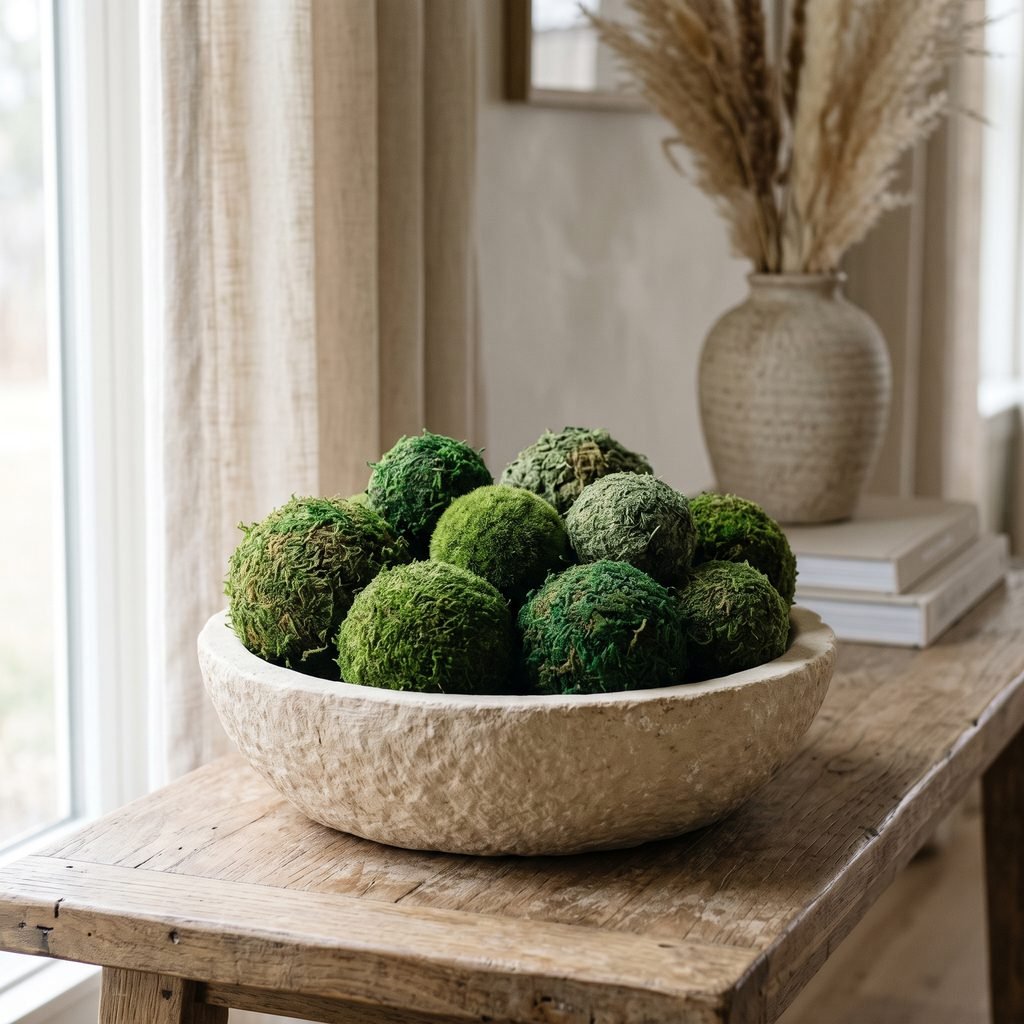
Moss Balls for a Mantel
Moss balls can add natural color to a fireplace mantel, but placement matters.
Use them inside a bowl or decorative vessel rather than scattering loose moss directly across the mantel.
Keep all decor outside required fireplace clearances and away from heat, flames, vents, openings, or other areas restricted by the fireplace manufacturer.
Requirements vary by fireplace type.
Follow the manufacturer’s instructions for your specific fireplace.
Moss Balls for Bookshelves
Small moss balls are excellent shelf fillers.
Place one or two inside:
- Small bowl
- Footed dish
- Mini urn
- Decorative box
The green color can break up rows of neutral books and ceramics.
Avoid placing moss balls on every shelf.
Repeating them once or twice is enough to make the display feel connected.
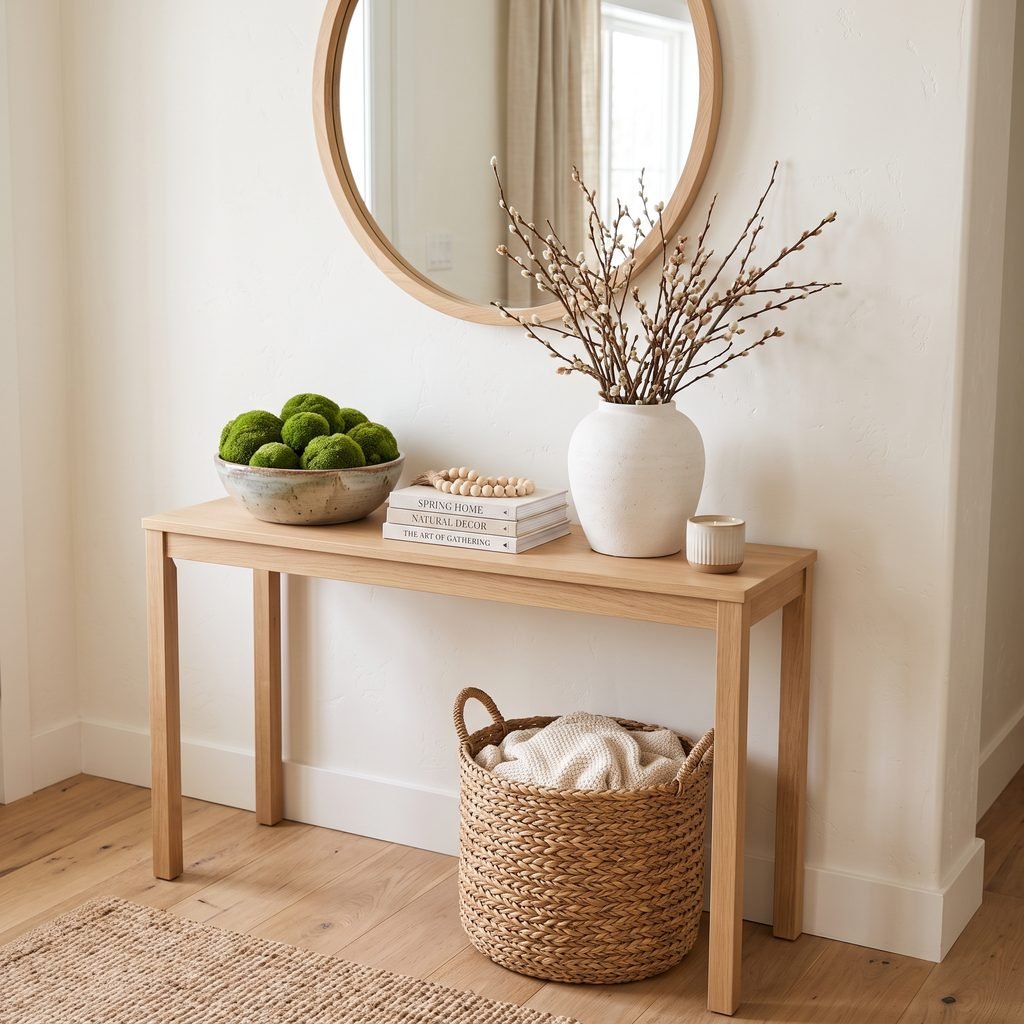
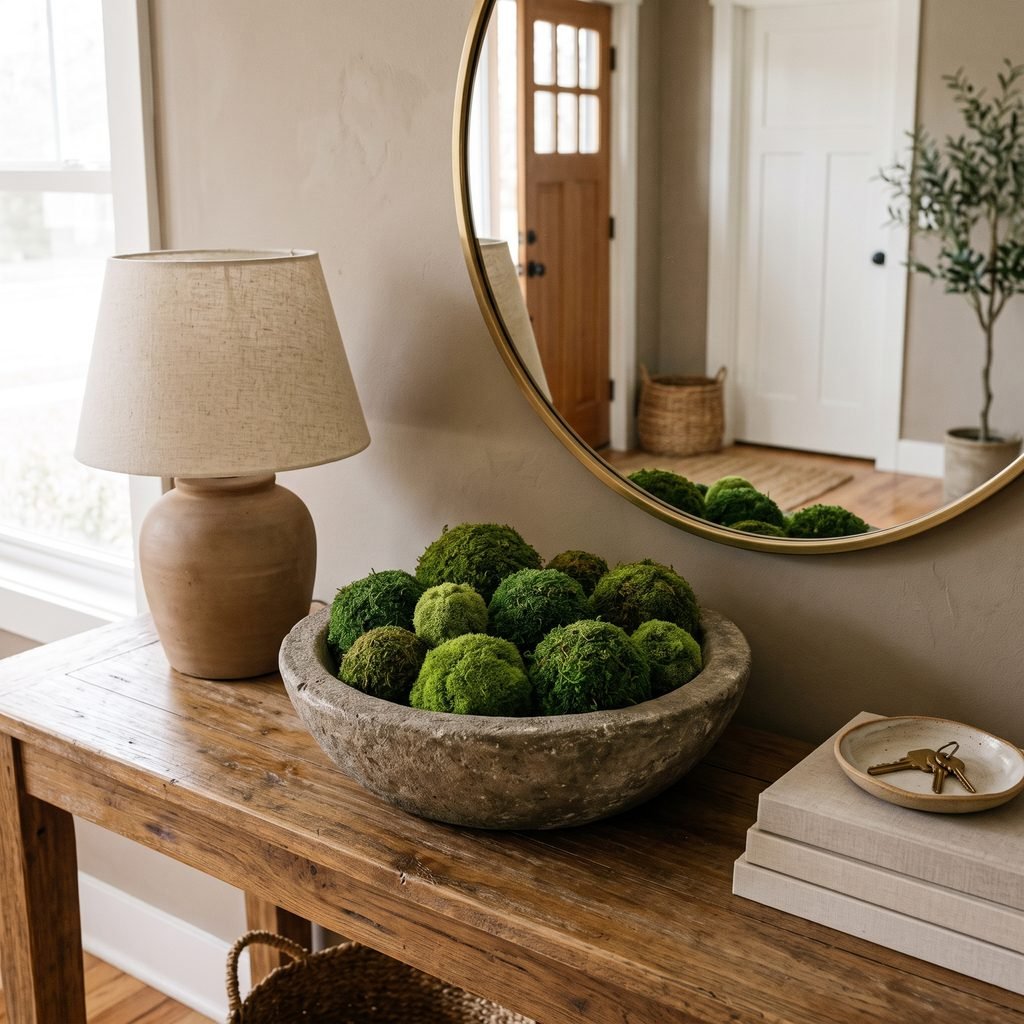
Moss Balls for Entryway Decor
An entryway is another easy location.
Place a bowl of moss balls on a console and pair it with:
- Lamp
- Mirror
- Small stack of books
- Vase
- Basket
Because moss provides plenty of texture, keep the rest of the arrangement relatively simple.
This works particularly well for the transition from winter into spring.
Can You Use Real Moss for Decorative Moss Balls?
You can use suitable natural moss products, but freshly collected live moss is different from preserved or dried craft moss.
Live moss has environmental and moisture needs and may contain soil, insects, or other organisms.
For indoor decorative projects, commercially prepared preserved, dried, or faux moss is generally easier to work with.
If collecting natural materials outdoors, make sure collection is permitted and avoid taking moss from protected property or ecosystems.
How to Keep Moss Balls From Shedding
Some shedding is normal.
To reduce it:
- Use enough adhesive
- Press moss securely
- Fill loose areas
- Trim excessively long strands
- Handle gently
If the particular moss product allows a compatible fixative or sealant, follow its instructions.
However, applying a heavy coating may change the moss color or texture, so always test first.
How to Store Decorative Moss Balls
When the season changes, store them carefully.
Place them in a box where they will not be crushed.
Use lightweight tissue or paper between pieces if needed.
Keep them in a dry location according to the moss product’s care recommendations.
Avoid packing heavy seasonal decor on top of them.
Common DIY Moss Ball Mistakes
Using Too Much Glue
Large amounts of adhesive can become visible and make the moss stiff.
Leaving Foam Showing
Inspect every angle before finishing.
Using Only Tiny Moss Pieces
This can create a patchy appearance. Start with larger pieces and use tiny ones only for gaps.
Making Every Ball the Same Size
Varied sizes create a more natural display.
Trimming Too Much
Perfectly smooth moss can look artificial.
Overdecorating Them
The moss itself already provides plenty of interest.
Placing Them Near Open Flame
Keep dried, preserved, faux, and natural decorative materials away from candles, fireplace openings, and other heat sources.
DIY Moss Ball Safety Tips
This is a simple craft, but a few precautions are worth keeping in mind.
- Protect your work surface.
- Follow adhesive manufacturer instructions.
- Use hot glue carefully to avoid burns.
- Check that adhesives are compatible with foam or other base materials.
- Use adequate ventilation where recommended.
- Wash hands after handling dusty natural materials.
- Keep loose craft moss, adhesives, and small decorative pieces away from young children and pets.
- Keep moss decor away from open flames and high heat.
- Inspect natural materials for sharp pieces, insects, or debris.
- Use scissors carefully and store tools securely after the project.
FAQ About DIY Moss Balls
How do you make DIY moss balls?
Cover lightweight craft balls with preserved, dried, or faux moss using an appropriate adhesive. Work in sections, overlap the moss, fill gaps, and trim any excessively loose pieces.
What can I use as the base for moss balls?
Lightweight craft balls are convenient, but grapevine balls can also create a more rustic, textured look.
What type of moss works best?
Sheet moss is easy for broad coverage, while reindeer moss adds texture. Preserved or faux moss can both work depending on the appearance you want.
Can I use hot glue on moss balls?
Often, yes, depending on the moss and base material. Use small amounts, protect yourself from burns, and verify that heat will not damage the craft ball.
How many moss balls should I put in a bowl?
It depends on the bowl size. Use enough to create a full arrangement without forcing them into a tightly packed pile. Mixing several sizes usually creates a more natural display.
How do you keep moss from falling off?
Use adequate adhesive, overlap pieces, press them securely, fill gaps, and avoid excessive handling.
Are decorative moss balls only for spring?
No. They work year-round and can be used in organic, farmhouse, traditional, woodland, and seasonal decorating.
Final Thoughts
DIY moss balls are an easy way to add natural texture and color to your home without spending much on decorative accessories.
The process is simple: start with lightweight balls, attach moss in overlapping sections, fill every visible gap, trim the finished surface, and make several different sizes.
From there, styling is easy.
Pile them into a stone bowl on a coffee table, arrange them in a wooden centerpiece, use a few on a bookshelf, or add them to a spring console display.
For the most polished look, avoid making them too perfect.
Natural variation, mixed textures, and slightly irregular surfaces are exactly what give moss balls their charm.
With a few basic supplies and a little time, you can create reusable decorative accents that work throughout the year.

