

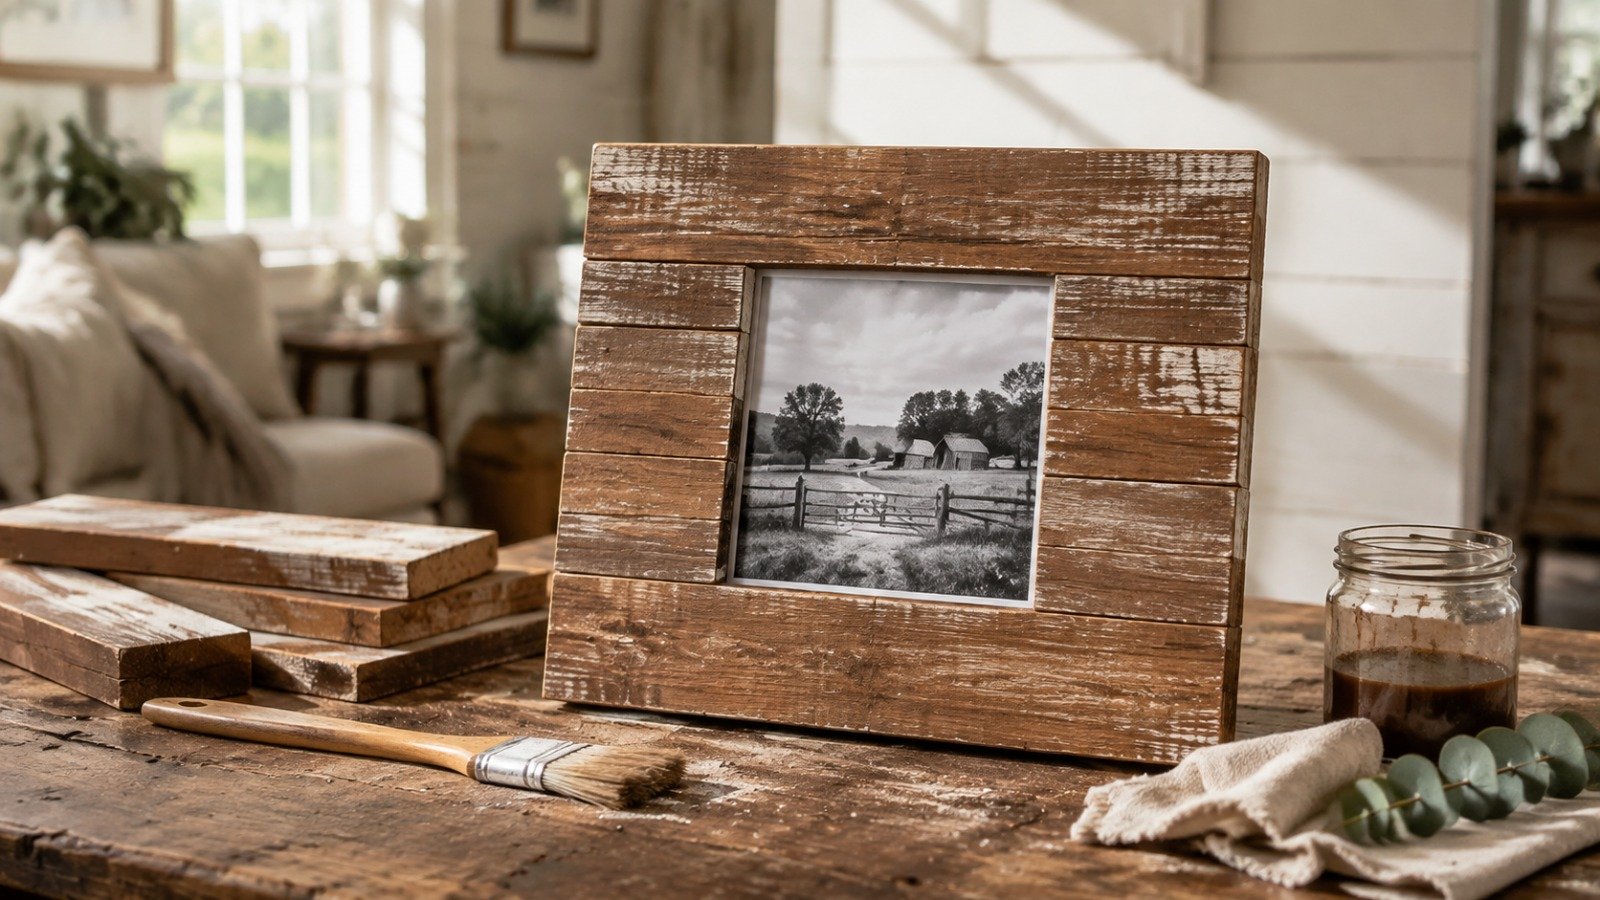
If you love the warm, weathered look of farmhouse and rustic decor, a DIY rustic faux pallet picture frame is an easy way to bring that style into your home without needing an actual wooden pallet.
This simple project combines the character of reclaimed wood with the personal touch of your favorite photograph. The finished frame can work beautifully in a living room, bedroom, entryway, hallway, or gallery wall, and you can customize the size, stain color, and decorative details to match your home.
The best part? You don’t need advanced woodworking skills to create one.
With a few inexpensive materials, some basic tools, and a little creativity, you can make a rustic-looking picture frame that feels much more expensive than it actually is.
In this tutorial, we’ll walk through how to make a faux pallet picture frame step by step, including how to create the weathered wood appearance, assemble the frame, and add those small finishing touches that give it an authentic rustic feel.
What Is a Faux Pallet Picture Frame?
A faux pallet frame is designed to look like it was made from reclaimed pallet wood, but it is constructed using ordinary wood boards or inexpensive craft lumber.
Instead of trying to dismantle a real pallet, you can use new boards and give them a distressed, weathered finish.
This approach has several advantages.
It’s easier to control the size of your frame, the boards are generally cleaner and easier to work with, and you can choose exactly how rustic or polished you want the finished piece to look.
The result is a decorative frame with the appearance of reclaimed wood without the hassle of sourcing and preparing an old pallet.
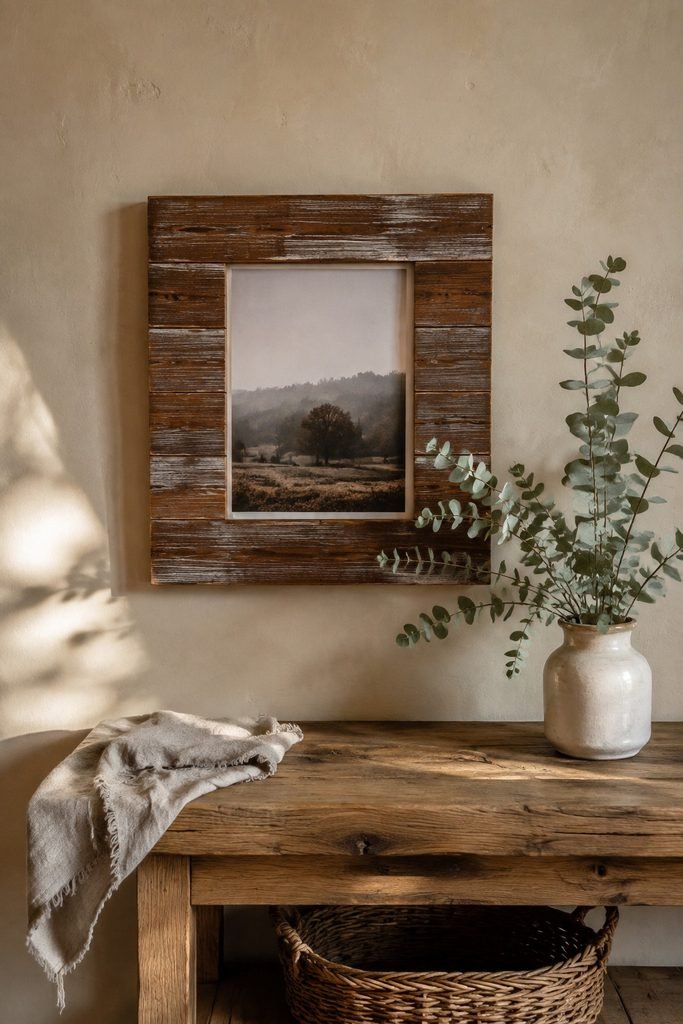
Materials You’ll Need
You don’t need a long shopping list for this DIY project.
Basic materials
- Wooden boards or pine boards
- Wood stain
- White, cream, or gray paint
- Sandpaper
- Wood glue
- Small nails or screws
- Picture or photo
- Picture-frame backing
- Hanging hardware
- Optional decorative hardware
For a more authentic pallet appearance, choose boards with slightly different grain patterns.
You don’t necessarily want every board to look identical. Small variations in color and texture help create the appearance of reclaimed wood.
Tools
Depending on the design and size of your frame, you may need:
- Measuring tape
- Pencil
- Saw
- Paintbrushes
- Hammer
- Screwdriver
- Clamps
- Staple gun
If you’re using pre-cut boards, you may be able to complete the project with very few tools.
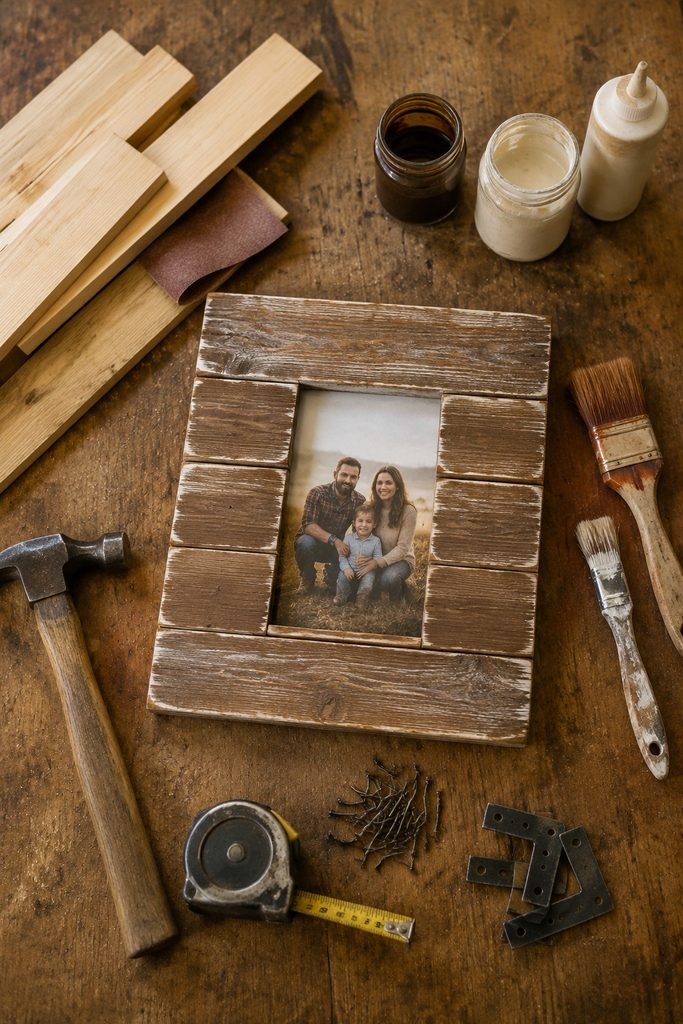
Step 1: Decide on the Size of Your Frame
Before cutting any wood, decide how large you want your finished picture frame to be.
A standard 8-by-10-inch photograph is a good starting point for a small decorative frame, but you can easily scale the project up for larger artwork or family photographs.
Measure your photograph first.
Then decide how much of the wooden frame you want visible around it.
For example, if your photo is 8 by 10 inches, you might create an outer frame measuring approximately 12 by 14 inches.
Write down your measurements before cutting anything.
Taking a few minutes to plan the layout will help you avoid wasting materials.
A helpful tip
If you’re creating several frames for a gallery wall, make them in different sizes rather than making every frame identical.
A combination of rustic frames can create a much more relaxed farmhouse-style display.
Step 2: Cut Your Wooden Boards
Once you’ve decided on your dimensions, measure and mark the boards.
The exact cutting arrangement will depend on the style of frame you’re making.
For a simple faux pallet appearance, you can arrange several narrow boards horizontally across the front of the frame.
You can either create a traditional rectangular frame around the photograph or make a larger wooden backing and attach a smaller frame opening to the front.
If you’re not comfortable using a saw, ask your local hardware or home-improvement store whether they offer wood-cutting services.
Always use appropriate protective equipment and follow the manufacturer’s safety instructions when operating power tools.
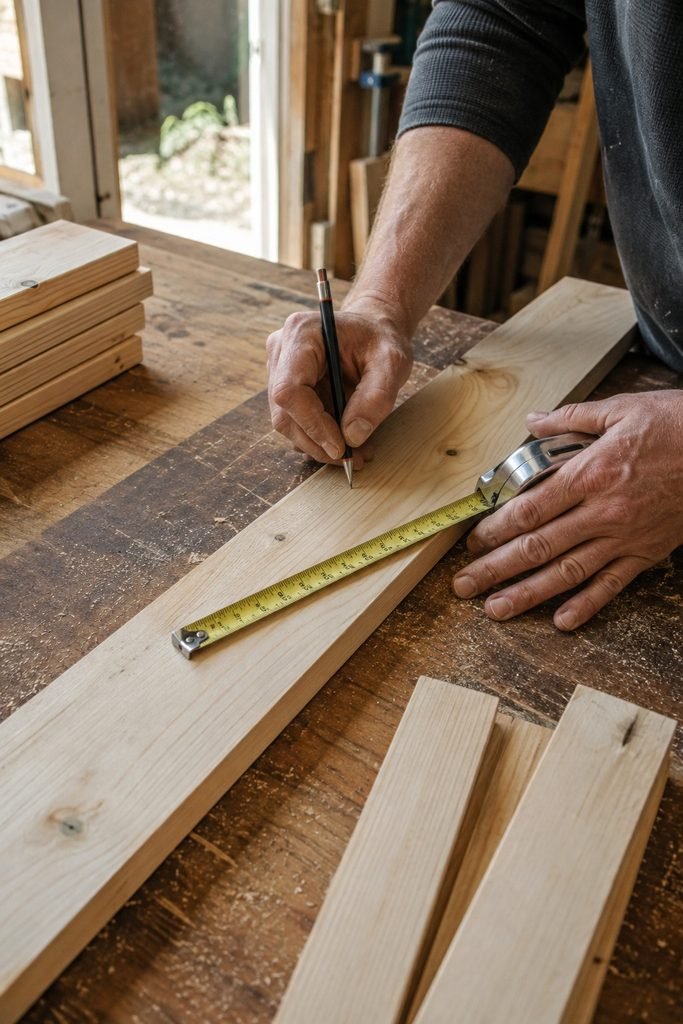
Step 3: Create the Weathered Wood Look
This is where the project really starts to look like reclaimed pallet wood.
If you’re using new pine boards, they may look too clean and uniform at first.
Fortunately, you can easily add character.
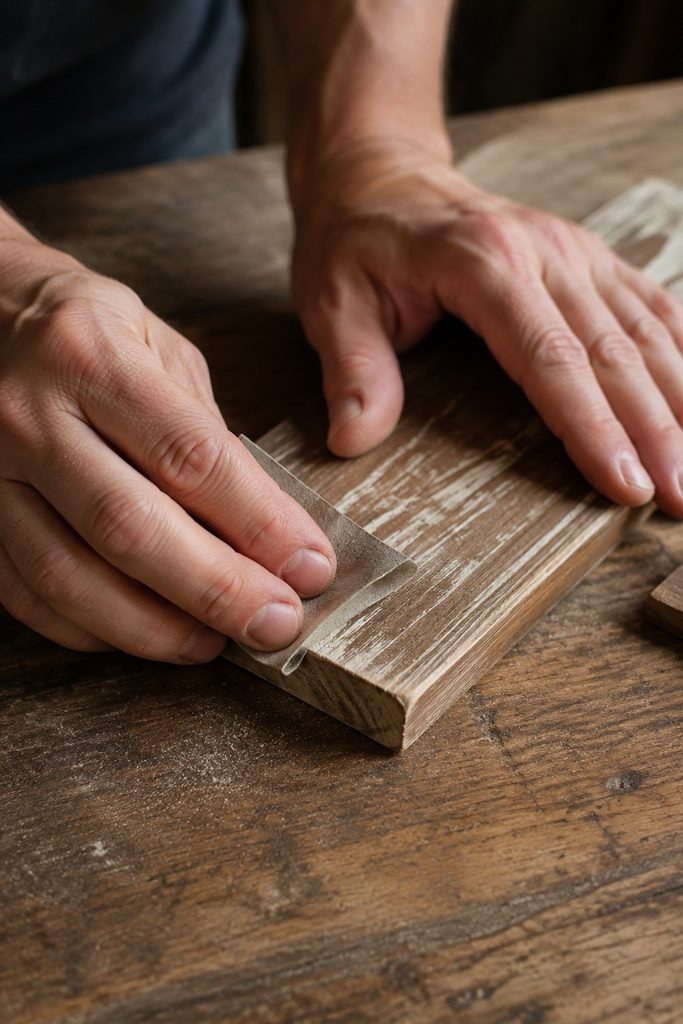
Start by lightly sanding the boards.
You don’t need to make them perfectly smooth. In fact, leaving a little natural texture will help create the rustic appearance you’re looking for.
You can also gently distress selected areas by sanding corners and edges more heavily.
Add some imperfections
For a more authentic reclaimed-wood effect, you can create subtle variations in the surface.
For example, lightly sand certain areas more than others or add a few shallow marks to imitate years of wear.
Don’t overdo it.
The goal is to make the boards look naturally aged rather than artificially damaged.
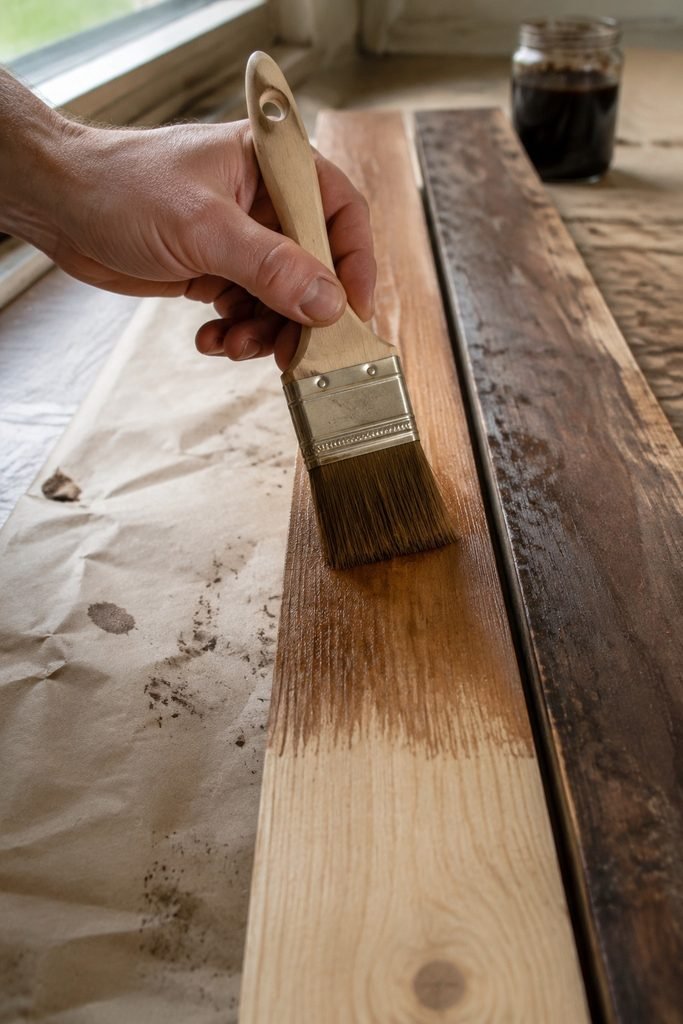
Step 4: Apply Your Base Stain
Choose a wood stain that fits the style of your room.
Warm walnut, medium brown, weathered gray, and dark oak can all work beautifully for rustic decor.
Apply the stain according to the manufacturer’s instructions.
Allow the boards to dry completely before moving to the next step.
If you want more variation between the boards, use slightly different amounts of stain.
One board might be darker while another is lighter.
That variation is one of the details that can make faux pallet wood look much more convincing.
Step 5: Add a Whitewashed or Distressed Finish
For an even more rustic farmhouse appearance, consider adding a thin layer of white or cream paint over the stained wood.
This creates a beautiful weathered effect.
The technique is simple.
Apply a small amount of paint to your brush and remove most of it before brushing lightly across the wood.
You want the stain underneath to remain visible.
Once the paint has dried, lightly sand selected areas.
The darker wood will show through in places, creating the appearance of naturally aged paint.
You can use this technique with:
- White paint
- Cream paint
- Light gray
- Soft sage green
- Muted blue
For a classic farmhouse look, white and warm brown make an especially attractive combination.
Step 6: Arrange the Boards
Once the wood has completely dried, lay the boards out on a flat surface.
Experiment with different arrangements before permanently attaching them.
You can keep the boards perfectly aligned for a cleaner look or allow tiny variations in spacing for a more authentic reclaimed-wood appearance.
If you’re making a frame with multiple horizontal boards, check that the overall shape is square.
A measuring tape and straight edge can help.
This is also the perfect time to decide where your photograph will sit.
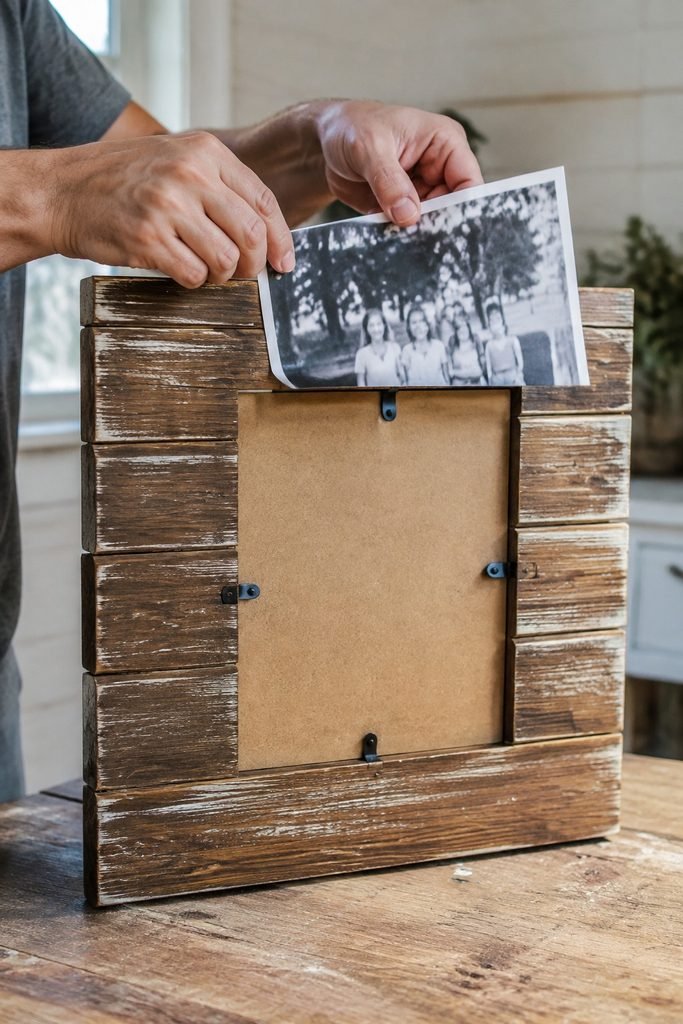
Step 7: Assemble the Frame
Once you’re happy with the arrangement, it’s time to assemble the frame.
Wood glue can help hold the boards in position, while small nails or screws can provide additional support.
If you’re making a traditional frame, pay close attention to the corners.
For a simpler pallet-style design, you can create a wooden backing and attach the boards directly to it.
The construction method you choose will depend on the size of your frame and how much weight it needs to support.
For larger frames, use a sturdier construction and appropriate hanging hardware.
Allow any glue to dry completely before continuing.
Step 8: Add the Photograph
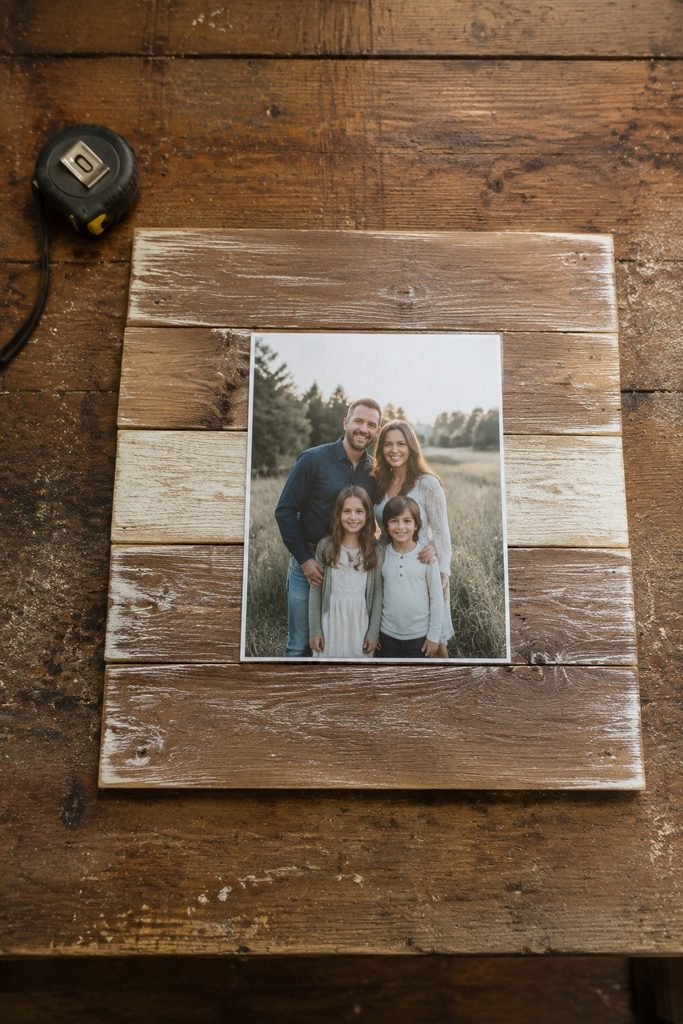
Once the frame is assembled and completely dry, add your photograph.
You can use a printed family photo, vacation picture, wedding photograph, botanical print, landscape image, or piece of artwork.
For a farmhouse-inspired look, photographs with warm or slightly muted colors often complement weathered wood beautifully.
Black-and-white photography is another great option if you prefer a more classic appearance.
You can also create a series of frames using photographs from the same event or family occasion.
Step 9: Add Decorative Details
The beauty of a DIY project is that you can personalize it.
Consider adding a few subtle decorative details.
Small metal brackets can emphasize the industrial farmhouse style.
A simple rope hanger can create a more rustic appearance.
You could also add a small wooden sign, metal corner accents, faux greenery, or a subtle stencil design.
Just remember that the photograph should remain the focal point.
Too many decorative elements can make the frame look busy.
How to Make Your Faux Pallet Frame Look More Authentic
The most convincing rustic decor usually isn’t perfectly symmetrical.
Here are a few ways to create a more natural reclaimed-wood appearance:
Mix wood tones
Use slightly different shades of brown rather than making every board identical.
Distress the edges
Focus your sanding on corners and edges where natural wear would occur.
Keep some imperfections
Don’t try to make every board completely smooth.
Avoid excessive distressing
A few realistic imperfections usually look better than making the wood appear heavily damaged.
Use subtle color variation
A combination of brown, cream, gray, or muted tones can create depth.
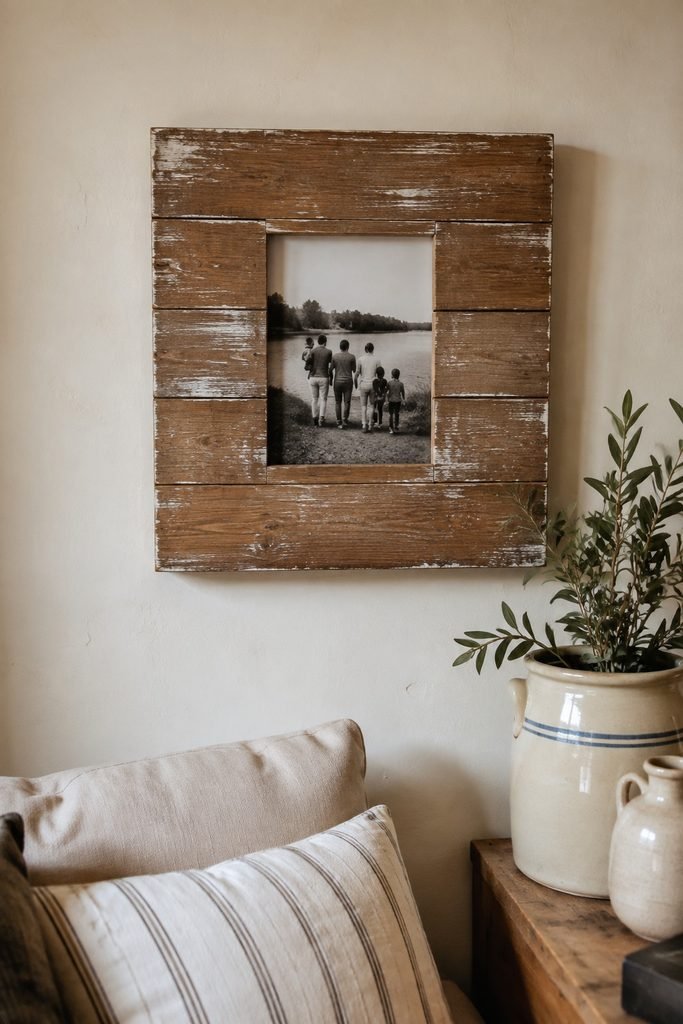
Where to Display Your Rustic Picture Frame
Once your frame is finished, there are plenty of ways to use it around your home.
Living room
Hang it above a console table, fireplace, or sofa.
Bedroom
Use it as part of a gallery wall or place it on a dresser.
Entryway
A rustic family photograph can make an entryway feel more personal and welcoming.
Hallway
Create a collection of similarly styled frames along a hallway wall.
Home office
Use a landscape, inspirational photograph, or family image to add warmth to your workspace.
Create a Rustic Gallery Wall
If you love the finished frame, consider making several variations.
You could combine the faux pallet frame with:
- Vintage photographs
- Botanical prints
- Woven wall baskets
- Rustic signs
- Antique-style mirrors
- Landscape artwork
- Simple wooden shelves
Keep a consistent color palette so the collection feels intentional.
For example, warm brown wood, cream, black, and muted green can create a beautiful rustic farmhouse palette.
Final Thoughts
Creating a DIY rustic faux pallet picture frame is a simple way to add warmth and personality to your home without spending a lot on ready-made decor.
The project is also easy to customize.
Change the stain, experiment with whitewashing, use different board widths, add decorative hardware, or create several frames in different sizes.
You don’t need reclaimed pallet wood to get the look. With ordinary wooden boards and a few finishing techniques, you can create a frame that has the character and warmth of aged wood while still fitting your own decorating style.
Whether you’re decorating a farmhouse-style living room, creating a cozy bedroom gallery wall, or looking for a handmade gift idea, this project is an inexpensive and creative way to turn a simple photograph into a beautiful piece of home decor.
And perhaps the best part is that every frame can be slightly different—which is exactly what makes rustic decor so charming.
Quick Project Recap
Project: DIY rustic faux pallet picture frame
Skill level: Beginner to intermediate
Style: Rustic, farmhouse, vintage-inspired
Main materials: Wood boards, stain, paint, sandpaper, photo, hanging hardware
Best for: Living rooms, bedrooms, entryways, hallways, gallery walls
With a little patience and creativity, you can transform simple boards into a personalized piece of rustic wall decor that looks right at home in your space.

