

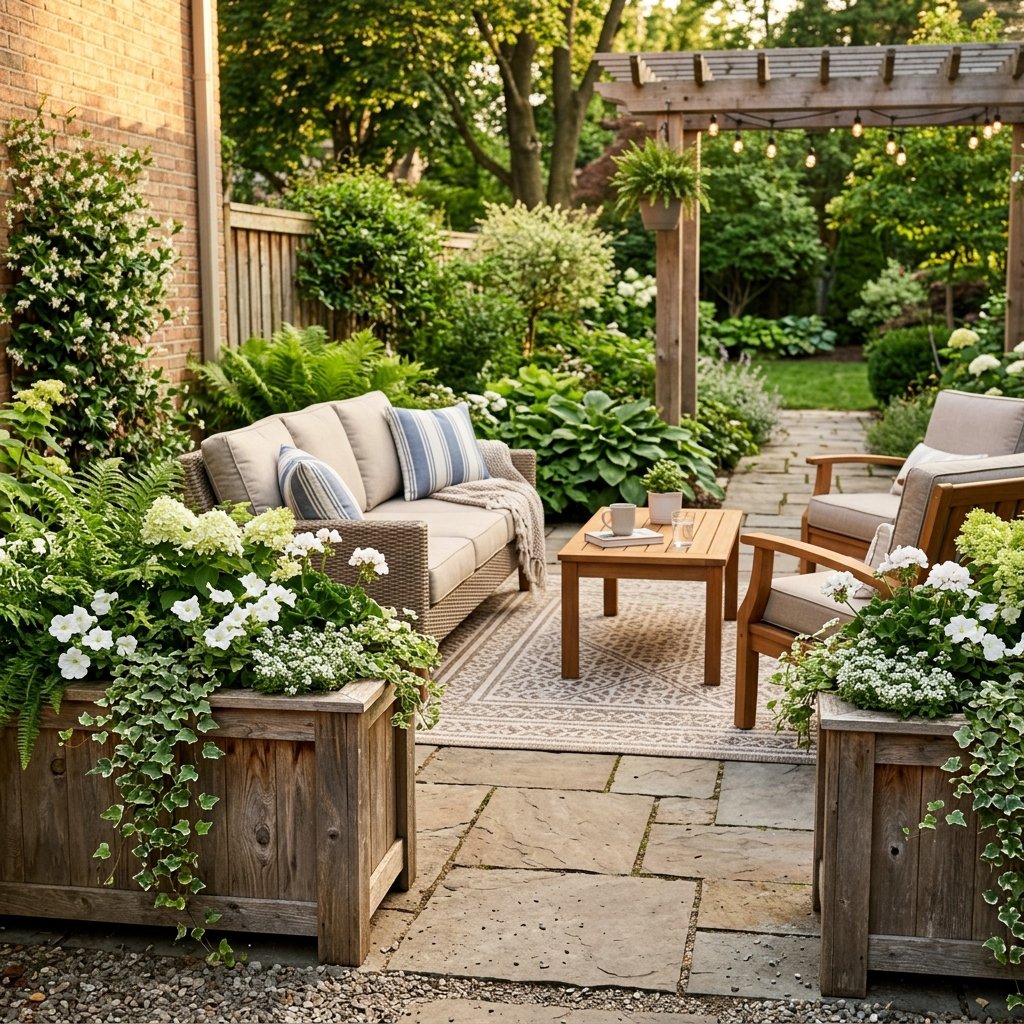
A DIY wood planter box is a practical way to add greenery, flowers, or herbs to a porch, patio, deck, or backyard.
It is also a great beginner-friendly woodworking project because the basic design can be surprisingly simple. With exterior-suitable lumber, straightforward cuts, drainage, and a weather-resistant finish, you can build a planter that looks much more custom than a typical plastic container.
The key is planning for outdoor conditions.
Wood moves as moisture levels change, wet soil is heavy, and constantly damp lumber can deteriorate quickly. A successful planter needs adequate support, drainage, suitable fasteners, and a design that prevents the wood from staying unnecessarily wet.
This guide walks through how to build a DIY wood planter box while leaving the dimensions flexible so you can customize it for your space and plants.
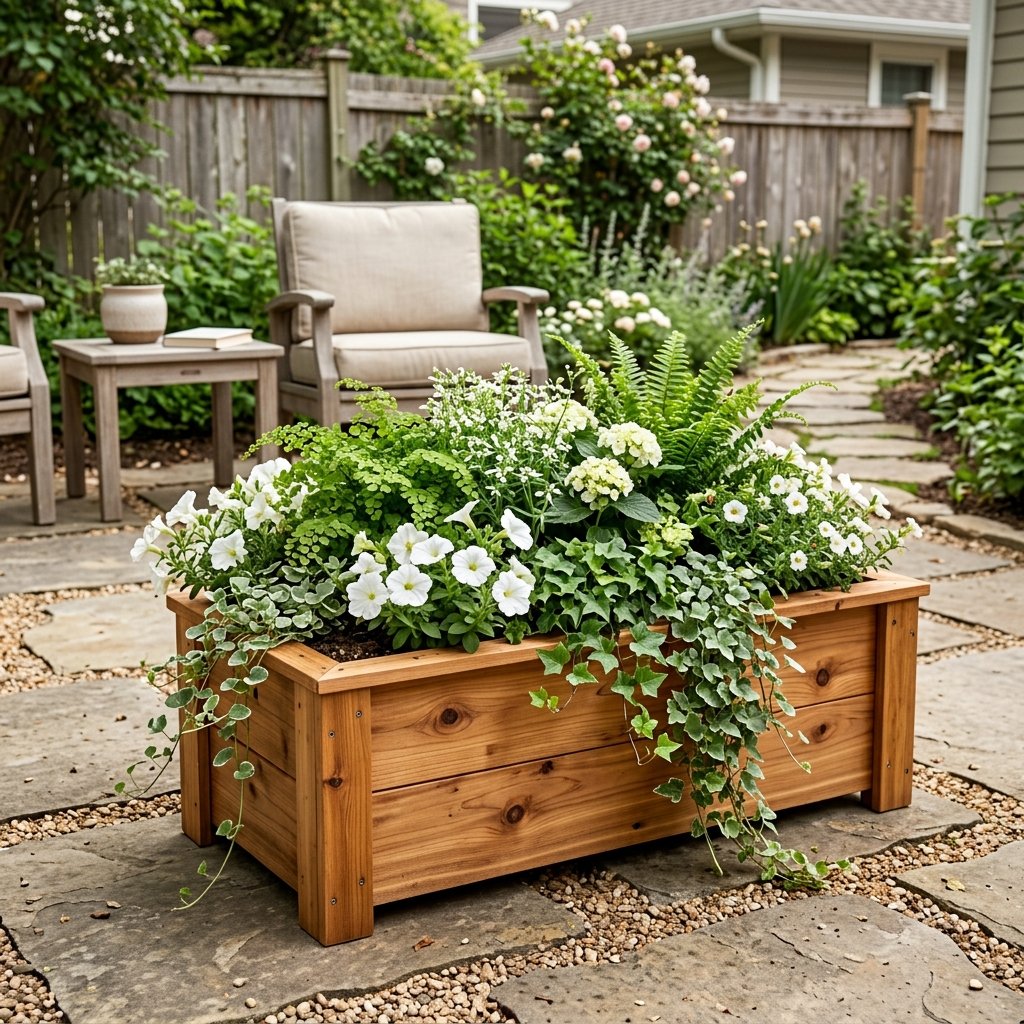
Before You Build: Decide How the Planter Will Be Used
Before buying lumber, decide what you actually want to plant.
Will your planter hold:
- Annual flowers
- Herbs
- Ornamental grasses
- Small shrubs
- Seasonal arrangements
- Individual nursery pots
The answer affects the size, depth, drainage, and structural demands of the box.
A small herb planter and a large soil-filled patio planter should not be constructed exactly the same way.
Also consider where the planter will sit.
Make sure a deck, balcony, shelf, or other elevated surface can safely support the completed planter, especially after soil is added and thoroughly watered. Large containers can become very heavy.
Materials and Tools
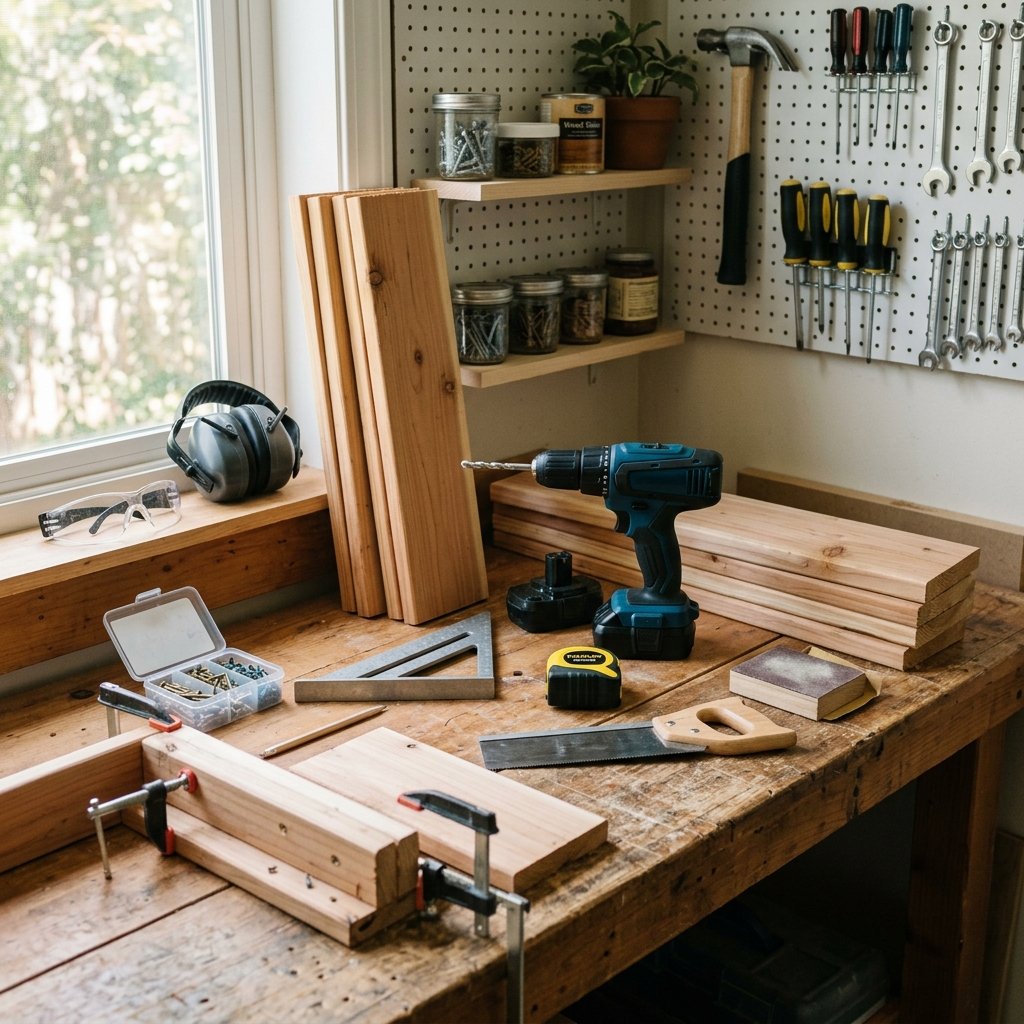
Your exact materials will depend on the size and design, but a basic wood planter may require:
- Exterior-suitable lumber
- Exterior-rated corrosion-resistant screws or appropriate fasteners
- Wood glue rated for the intended exposure, if your design uses glue
- Exterior-compatible wood finish or paint
- Appropriate liner or inner container if desired
- Landscape fabric or screening where appropriate
- Potting mix suited to your plants
- Plants
Useful tools may include:
- Tape measure
- Pencil
- Square
- Saw
- Drill/driver
- Drill bits
- Sander or sanding block
- Clamps
- Eye protection
- Hearing protection
- Dust protection appropriate for the work
Always follow the instructions for your tools, lumber, fasteners, finishes, and other materials.
How to Build a DIY Wood Planter Box
Step 1: Choose Your Planter Dimensions
Start by measuring the location where the planter will go.
Think about:
- Available width
- Available depth
- Desired height
- Mature plant size
- Soil volume
- Finished weight
A long planter can look beautiful along a patio or porch, but increasing the dimensions also increases soil weight and pressure on the sides.
For a large planter, additional framing or reinforcement may be necessary.
Instead of copying dimensions blindly, design the box for its specific location and intended plants.
Step 2: Sketch the Planter
A quick sketch can prevent mistakes later.
Draw:
- Front
- Back
- Two sides
- Bottom
- Interior supports
- Legs or feet if included
Write your planned dimensions beside each piece.
Remember to account for board thickness when calculating the final measurements.
A simple rectangular box is usually the easiest design for beginners.
Step 3: Choose Wood Suitable for the Project
Outdoor planters face moisture, sun, temperature changes, and soil exposure.
Choose lumber appropriate for outdoor use and the finish you plan to apply.
Depending on availability and budget, suitable options may include naturally durable species or lumber intended for exterior construction.
If growing edible plants, research the specific lumber, treatment, liner, and finish you intend to use rather than assuming every outdoor material is appropriate for food-growing applications.
Also inspect boards before buying them.
Look for reasonably straight pieces without major splitting, twisting, or damage.
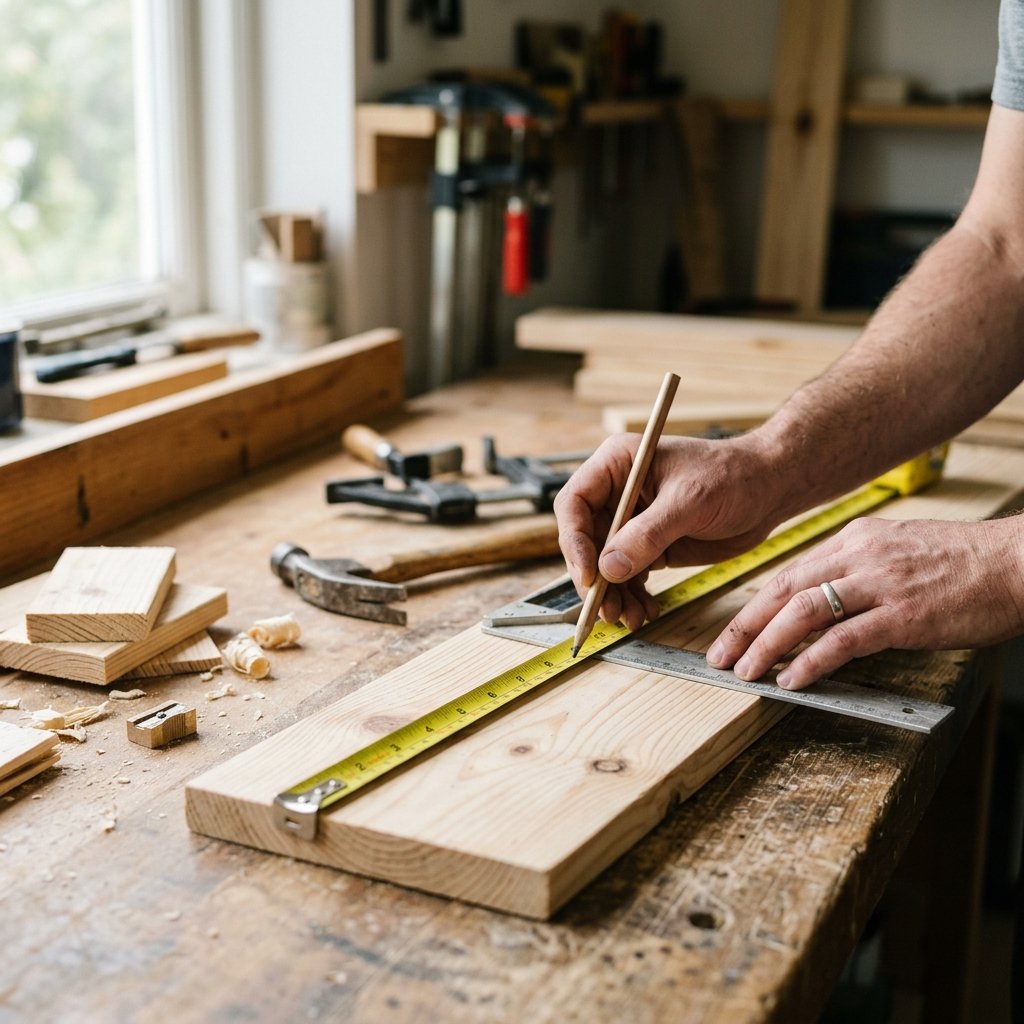
Step 4: Measure and Mark the Boards
Measure carefully before cutting.
Use a square to create straight cut lines.
It can help to mark each piece as you go:
- Front
- Back
- Left
- Right
- Bottom
- Supports
Check your measurements against the plan before making each cut.
This takes a little longer but can prevent wasting lumber.
Step 5: Cut the Pieces
Cut the boards according to your plan.
Support the material properly and follow the tool manufacturer’s operating instructions.
Wear appropriate eye and hearing protection.
Keep hands away from cutting paths, and do not use a power tool unless you are comfortable operating it safely.
If you do not own a saw, some lumber retailers may offer cutting services.
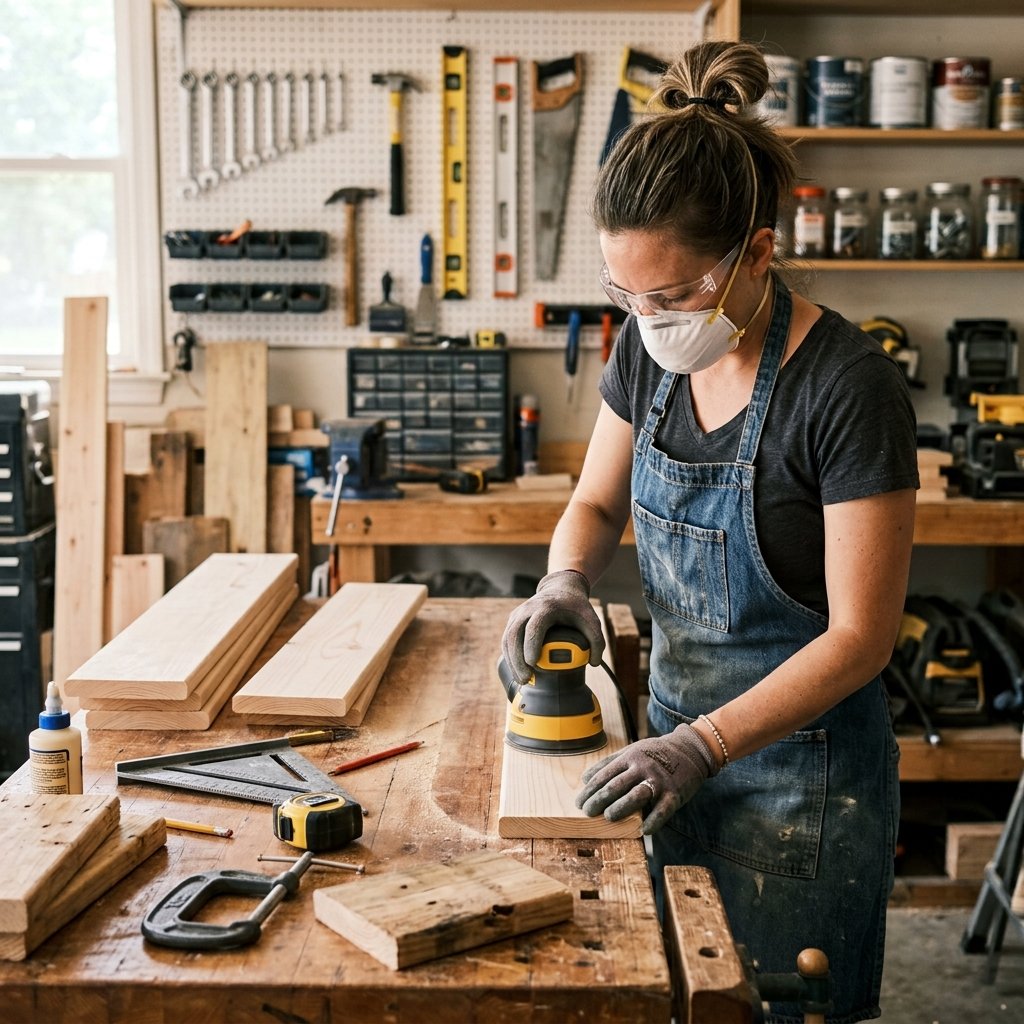
Step 6: Sand the Cut Pieces
Sand rough edges and splinters before assembly.
Pay particular attention to:
- Cut ends
- Top edges
- Corners
- Areas that will be touched frequently
You do not necessarily need to make outdoor lumber furniture-smooth.
The goal is to remove sharp edges, loose splinters, and rough areas that could interfere with assembly or finishing.
Manage wood dust appropriately and use suitable respiratory protection when required.
Step 7: Assemble the Side Panels
Lay out the boards that form the sides.
Depending on your design, the boards may attach directly to corner supports or to an interior frame.
Check for square as you assemble.
Predrilling may help reduce splitting, particularly near board ends or when recommended for the fasteners and wood you are using.
Use fasteners suitable for exterior exposure and compatible with the lumber.
Step 8: Join the Four Sides
Attach the front and back panels to the side panels or corner supports.
Do not fully trust your eye.
Use a square and check the dimensions as you work.
A box that begins slightly out of square can become noticeably crooked by the time the bottom and trim are installed.
Clamps can make this step easier by holding pieces in position while fastening.
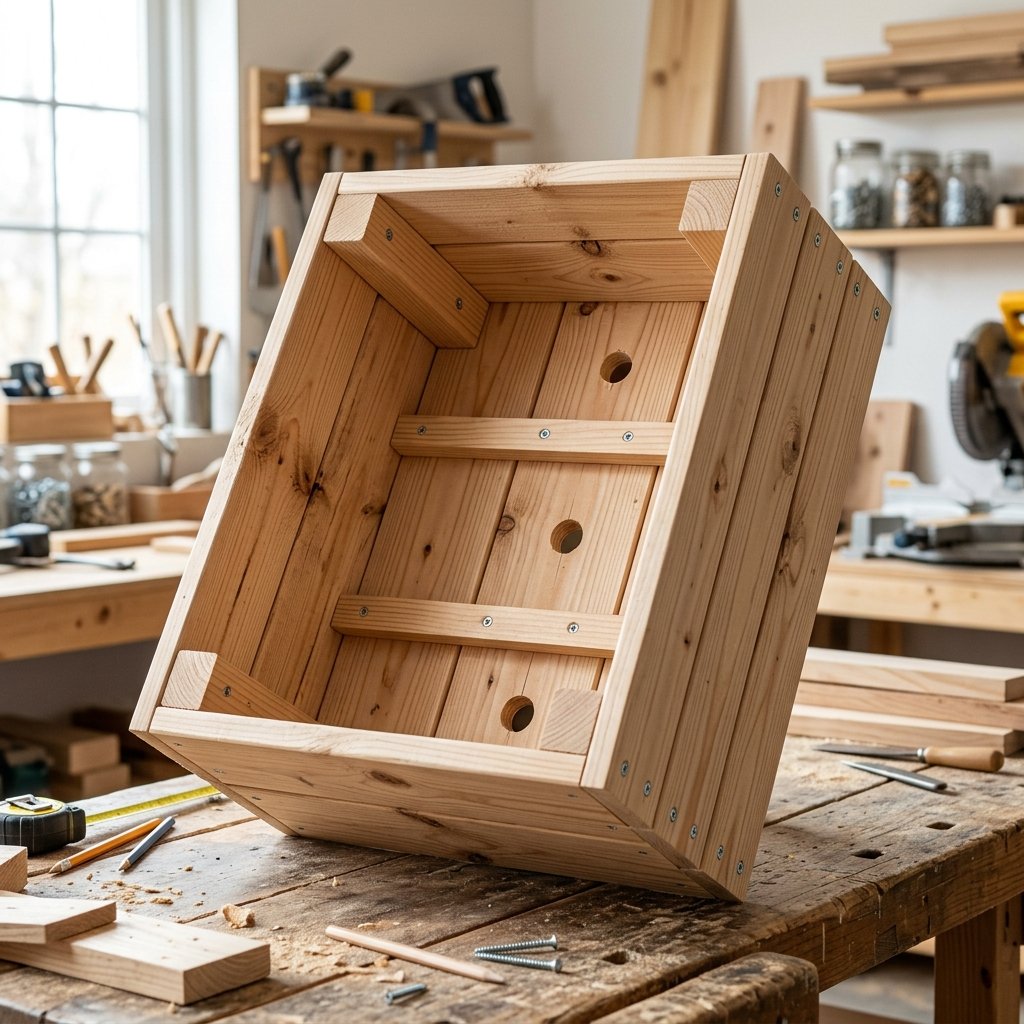
Step 9: Build a Strong Bottom
The bottom must support wet potting mix and plants.
A small planter may need only a relatively simple base, while a long or deep planter may require additional support.
Do not underestimate the weight of wet soil.
If you are building a large planter, design the framing accordingly rather than relying on thin boards spanning a long distance without reinforcement.
The bottom should also allow water to drain.
Step 10: Provide Drainage
Drainage is essential.
Water should not remain trapped at the bottom of the planter.
Depending on the design, drainage may be provided through:
- Gaps between suitable bottom boards
- Purpose-made drainage openings
- An inner planting container with drainage
Make sure drainage water has somewhere safe to go.
This is especially important on:
- Wood decks
- Balconies
- Finished patios
- Porches
Standing water can stain surfaces and contribute to deterioration.
Do not block drainage holes with an impermeable liner.
Step 11: Consider Raising the Planter
Small feet or spacers can help keep the planter base from sitting directly in standing water.
They may also improve airflow beneath the box.
If you add feet, make sure they are:
- Strong
- Stable
- Securely attached
- Appropriate for the finished weight
Avoid creating a top-heavy planter with narrow or unstable legs.
Step 12: Decide Whether to Use a Liner
A liner can reduce direct contact between damp potting mix and some wooden surfaces, but it needs to be used thoughtfully.
Do not create a watertight bag that traps water against the wood.
If using an appropriate liner, maintain drainage at the bottom.
Another practical approach is to build the decorative wood box around a removable planting container.
That can make planting and long-term maintenance easier.
Step 13: Add Optional Top Trim
Top trim can make a simple planter look more finished.
It can also conceal board edges and create a substantial profile.
You might use:
- Simple flat boards
- Mitered trim
- Straight overlapping corners
For an easy beginner project, simple square joints are perfectly fine.
A clean, well-built planter does not need complicated joinery to look attractive.
Step 14: Fill Fastener Holes if Desired
If you plan to paint the planter, you may want to fill visible fastener holes with an exterior-compatible filler suitable for the material and finish.
For a rustic stained planter, leaving some fasteners visible may be perfectly acceptable.
Follow the filler manufacturer’s drying and sanding directions before applying finish.
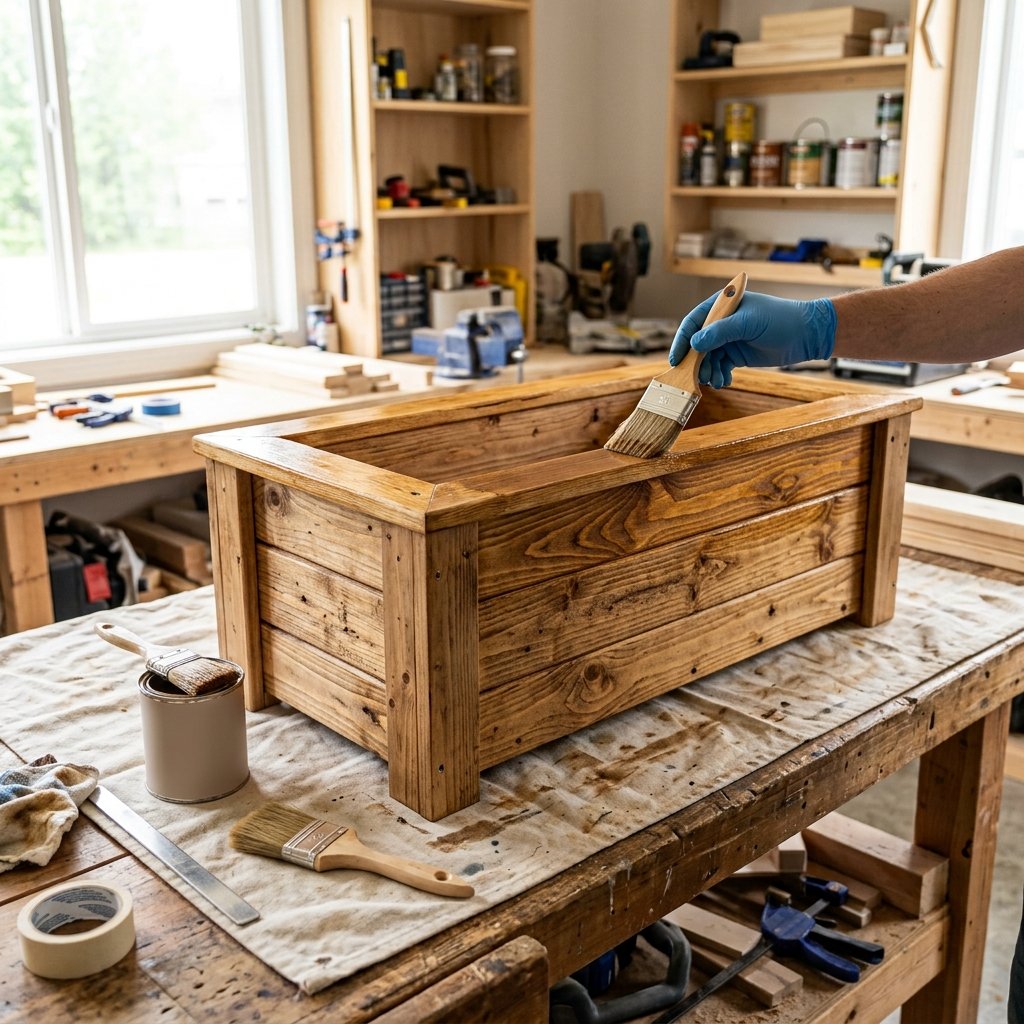
Step 15: Apply an Outdoor-Suitable Finish
A finish can improve appearance and help the wood handle outdoor exposure.
Options may include:
- Exterior paint system
- Exterior wood stain
- Exterior wood finish
- Suitable penetrating finish
The correct system depends on the lumber and desired look.
Follow the product instructions for:
- Surface preparation
- Compatible primer
- Application temperature
- Number of coats
- Recoat times
- Curing
Coat exposed end grain and other vulnerable areas as recommended.
If the planter will hold edible plants, verify the suitability of any finish and construction materials for the intended application.
Step 16: Add Potting Mix
Once the finish has cured sufficiently for the intended use, prepare the planter for planting.
Use potting mix appropriate for containers and the plants you selected.
Avoid automatically filling a container with ordinary garden soil.
Container plants need appropriate drainage and growing conditions.
For a particularly large decorative planter, consider whether the entire depth truly needs to be filled with growing medium. The correct setup depends on the plants, root requirements, drainage, and planter design.
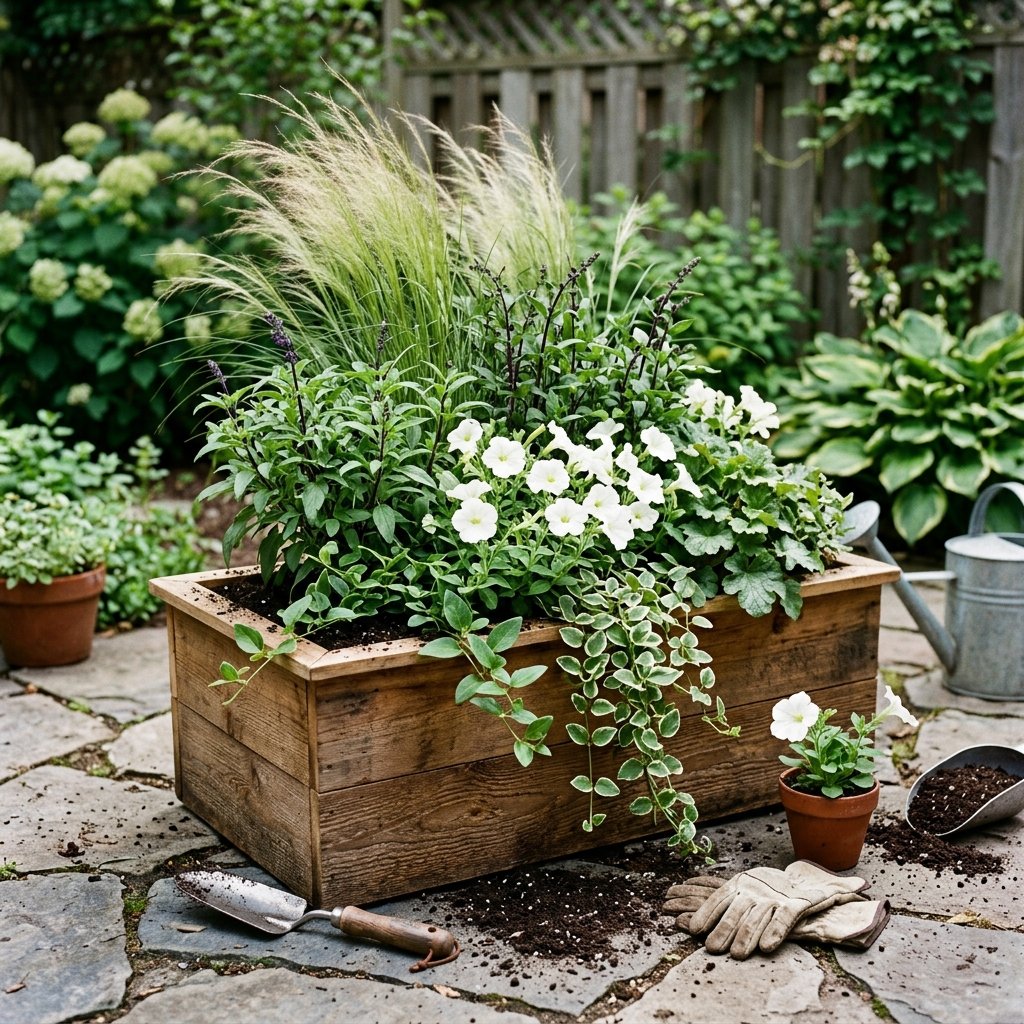
Step 17: Add the Plants
Now comes the fun part.
For a decorative flower planter, combine plants with different shapes.
You might use:
- Taller focal plant
- Medium filler plants
- Trailing plants
Choose plants that have compatible needs for:
- Sun
- Water
- Soil
- Climate
Avoid combining plants with dramatically different moisture requirements in the same container.
Easy DIY Wood Planter Box Design
If you are new to woodworking, keep the design simple.
A basic planter can consist of:
- Two long panels
- Two short end panels
- Four corner supports
- Supported bottom
- Optional feet
- Optional top trim
You do not need decorative angles, complex joinery, or expensive tools.
Straight cuts and careful assembly can produce a beautiful result.
DIY Wood Planter Box With Legs
Adding legs can give a planter a more furniture-like appearance.
This style works particularly well on:
- Covered porches
- Patios
- Entryways
Keep the planter proportionate.
Very tall legs beneath a heavy soil-filled box can create stability concerns.
For taller designs, pay extra attention to the center of gravity, connections, surface level, and overall load.
DIY Raised Wood Planter Box
A raised planter can make gardening more comfortable because the planting surface is higher.
It can work well for:
- Herbs
- Lettuce
- Flowers
- Compact vegetables
However, a raised planter is structurally more demanding than a small decorative flower box.
Wet soil is heavy, so the legs, frame, fasteners, and bottom need to be designed for the expected load.
For a large elevated garden bed, use an appropriate structural plan rather than simply adding legs to a basic planter box.
DIY Wood Planter Box for a Porch
A planter can add greenery to an entry without taking up much room.
Try a long, narrow design beside:
- Front door
- Porch railing
- Steps
Choose plants suited to the porch’s actual sunlight.
A covered north-facing porch may need very different plants from an uncovered space receiving strong afternoon sun.
Make sure the planter does not narrow required walking space or create a trip hazard.
DIY Wood Planter Box for a Patio
Patios can accommodate larger planters.
Use them to:
- Frame seating
- Define dining areas
- Add privacy
- Soften hard surfaces
- Create a garden border
Repeating two or three matching planters can make a patio look especially cohesive.
DIY Wood Planter Box for Privacy
Long planters can support tall plants that create a softer visual screen.
Depending on climate and conditions, you might consider appropriate:
- Ornamental grasses
- Shrubs
- Tall annuals
- Climbing plants with a trellis
Remember that taller plants catch wind.
The planter needs enough size, weight, and stability to remain secure.
If attaching a tall privacy screen or trellis, make sure the structure is properly designed for wind loads rather than relying on a lightweight planter for support.
DIY Wood Planter Box With a Trellis
A trellis can turn a simple planter into a vertical garden.
It can support suitable climbing plants and provide visual height.
The trellis should be securely attached and appropriate for:
- Mature plant weight
- Wind
- Outdoor exposure
Large freestanding trellises may require independent anchoring.
How to Make a Wood Planter Look Expensive
Small details can make a simple DIY planter look much more polished.
Use Wider, Simple Boards
A clean design often looks more substantial than lots of decorative pieces.
Add Top Trim
A finished top edge gives the box a custom look.
Hide or Align Fasteners
Consistent fastener placement makes the project look cleaner.
Choose a Simple Finish
Natural wood, black, charcoal, warm brown, and muted green can all look sophisticated.
Build Matching Planters
A pair of identical planters creates symmetry around a doorway or patio.
Use Full, Layered Planting
The plants themselves have a huge impact on the final appearance.
DIY Wood Planter Box Color Ideas
Natural Wood
Works beautifully with green plants and neutral patios.
Black
Creates a modern, dramatic look.
Charcoal
A softer alternative to black.
White
Fresh and classic, especially on a covered porch.
Muted Green
Allows the planter to blend into the landscape.
Warm Brown
Works well with traditional and rustic outdoor spaces.
Test finishes on scrap wood when possible because the wood species and surface preparation can affect the final appearance.
Common DIY Wood Planter Box Mistakes
Forgetting Drainage
Trapped water is bad for both plants and the planter.
Making the Bottom Too Weak
Wet soil can put significant stress on the base.
Using Interior Fasteners
Outdoor exposure can cause unsuitable fasteners to deteriorate.
Ignoring Finished Weight
Large planters can become extremely heavy.
Using Unsuitable Lumber
Choose materials appropriate for exterior exposure and your intended planting use.
Skipping End-Grain Protection
Cut ends can be vulnerable to moisture and should be treated as recommended by the finish system.
Making a Watertight Liner
A liner that traps water can create more problems than it solves.
Planting Before the Finish Is Ready
Follow the finish manufacturer’s curing instructions.
Building Without Checking for Square
Small errors become more noticeable as assembly continues.
DIY Wood Planter Box Safety Tips
Woodworking projects require appropriate safety precautions.
Keep these points in mind:
- Wear eye protection when cutting, drilling, and sanding.
- Use hearing protection with loud power tools.
- Manage wood dust and use appropriate respiratory protection when necessary.
- Follow all power-tool manufacturer instructions.
- Secure boards properly before cutting or drilling.
- Keep hands away from blades and bits.
- Use exterior fasteners compatible with your lumber.
- Follow coating and finish ventilation requirements.
- Be cautious when handling treated or previously finished lumber.
- Verify material suitability if growing edible plants.
- Design large planters for the weight of wet soil.
- Make elevated planters stable and resistant to tipping.
- Consider the load capacity of decks, balconies, and other raised surfaces.
- Keep drainage water from creating slippery walking areas.
If the project is unusually large, elevated, attached to a structure, or intended for a balcony or rooftop, additional structural guidance may be appropriate.
FAQ About DIY Wood Planter Boxes
What wood should I use for an outdoor planter box?
Choose lumber suitable for exterior exposure and compatible with your intended finish and planting use. Availability, durability, cost, and whether you are growing edible plants can all influence the choice.
Does a wood planter box need drainage holes?
A planter needs a way for excess water to drain. The exact method can be drainage openings, appropriately spaced bottom boards, or an inner container with its own drainage.
Should I line a wood planter box?
You can, but the liner should not prevent drainage or trap water against the wood. A removable inner planting container can also be a practical solution.
Can I put soil directly into a wood planter?
That depends on the wood, construction, finish, and intended lifespan. Direct soil contact keeps the interior damp, so consider how the planter will drain and whether a suitable liner or inner pot would improve durability.
Can I grow vegetables in a DIY wood planter?
Yes, provided the planter is appropriately sized for the crops and the lumber, treatments, liners, finishes, and growing medium are suitable for edible gardening.
How do I stop a wood planter from rotting?
Use appropriate exterior materials, provide excellent drainage, avoid unnecessary standing water, raise the planter where useful, and maintain the exterior finish according to its instructions.
Can I build a planter box without advanced woodworking tools?
Yes. A simple rectangular design can be built with basic straight cuts and straightforward fasteners.
Should I paint or stain a wood planter box?
Either can work if the product is appropriate for the lumber and outdoor exposure. Paint provides an opaque finish, while stain or other wood finishes can preserve more of the natural wood appearance.
Final Thoughts
A DIY wood planter box can be one of those simple projects that makes an outdoor space feel noticeably more finished.
Start with a straightforward design and customize the dimensions for your porch, patio, deck, or garden.
Pay particular attention to the practical details: choose appropriate lumber and fasteners, build a bottom strong enough for the intended load, provide good drainage, and use an exterior finish suited to the materials.
Then let the plants provide the finishing touch.
A combination of taller greenery, medium-height flowers, and trailing plants can turn even a basic rectangular box into a beautiful focal point.
Whether you build one planter beside the front door or a matching pair for the backyard patio, a simple wood design can provide a custom look without requiring complicated woodworking.

