

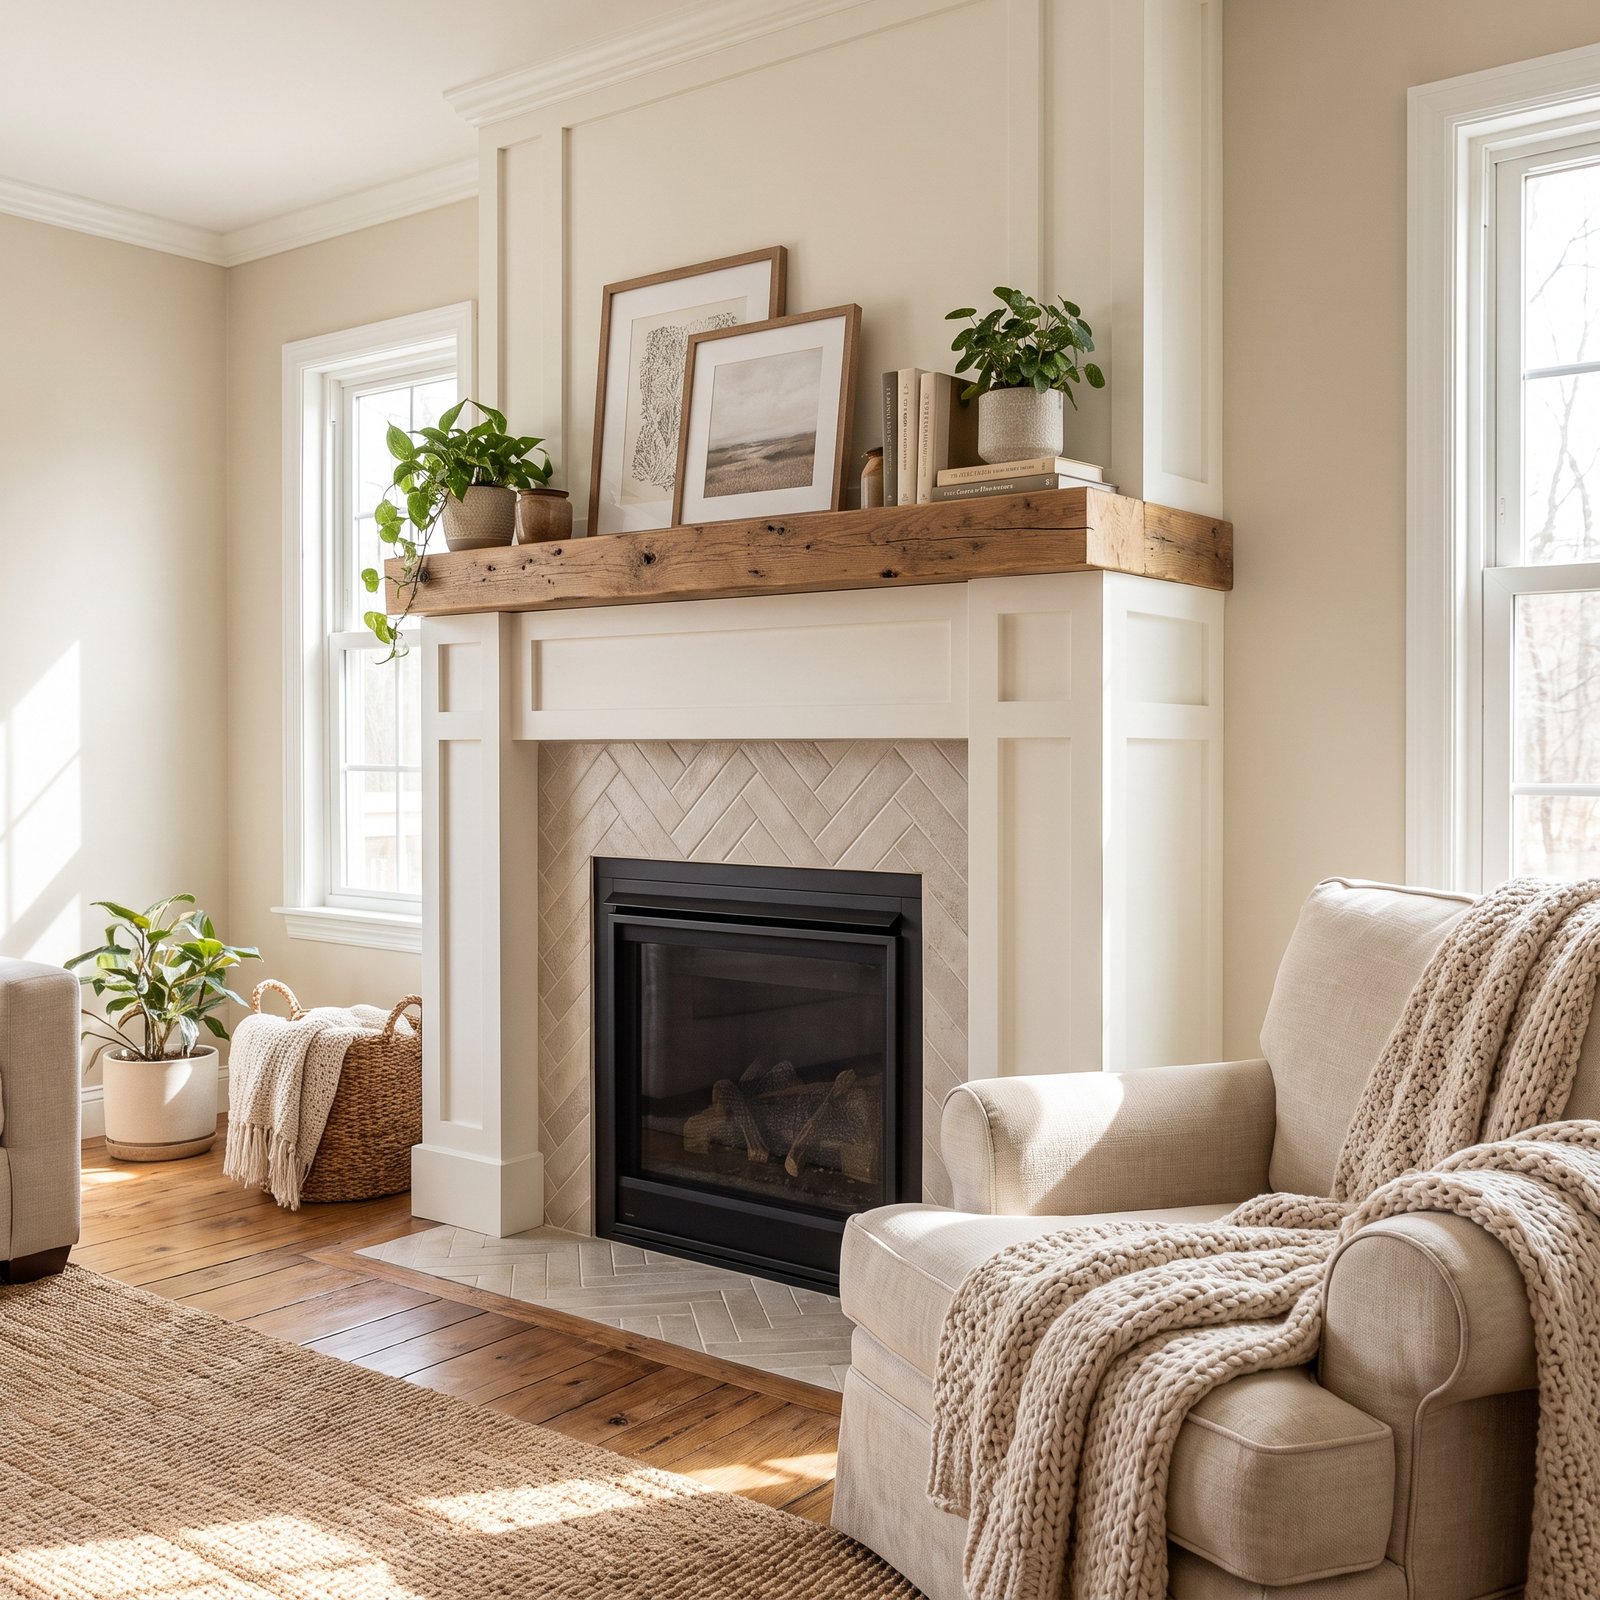
Learning how to build a fireplace surround can completely change the look of a living room. A plain firebox or builder-basic fireplace can become a real focal point with the addition of simple trim, a mantel, and a finished surround that fits the style of the room.
A DIY fireplace surround can be traditional with layered molding, modern with clean lines, rustic with wood details, or simple and transitional with painted trim. The construction itself is often manageable for a confident beginner, but there is one part of the project that deserves extra attention: fire safety and required clearances.
Fireplaces are not all built the same. A masonry wood-burning fireplace, factory-built wood fireplace, gas fireplace, and electric fireplace can each have different requirements for combustible materials, mantel projections, vents, facing materials, and service access. Current building-code provisions for masonry fireplaces also regulate how close combustible trim can be to the opening, while factory-built fireplace manufacturers may specify their own clearance diagrams and required noncombustible zones.
Because of that, treat the measurements in your fireplace manual and applicable local code as part of the design—not something to check after the surround is built.
With that safety point established, here is a practical way to plan and build a polished fireplace surround.
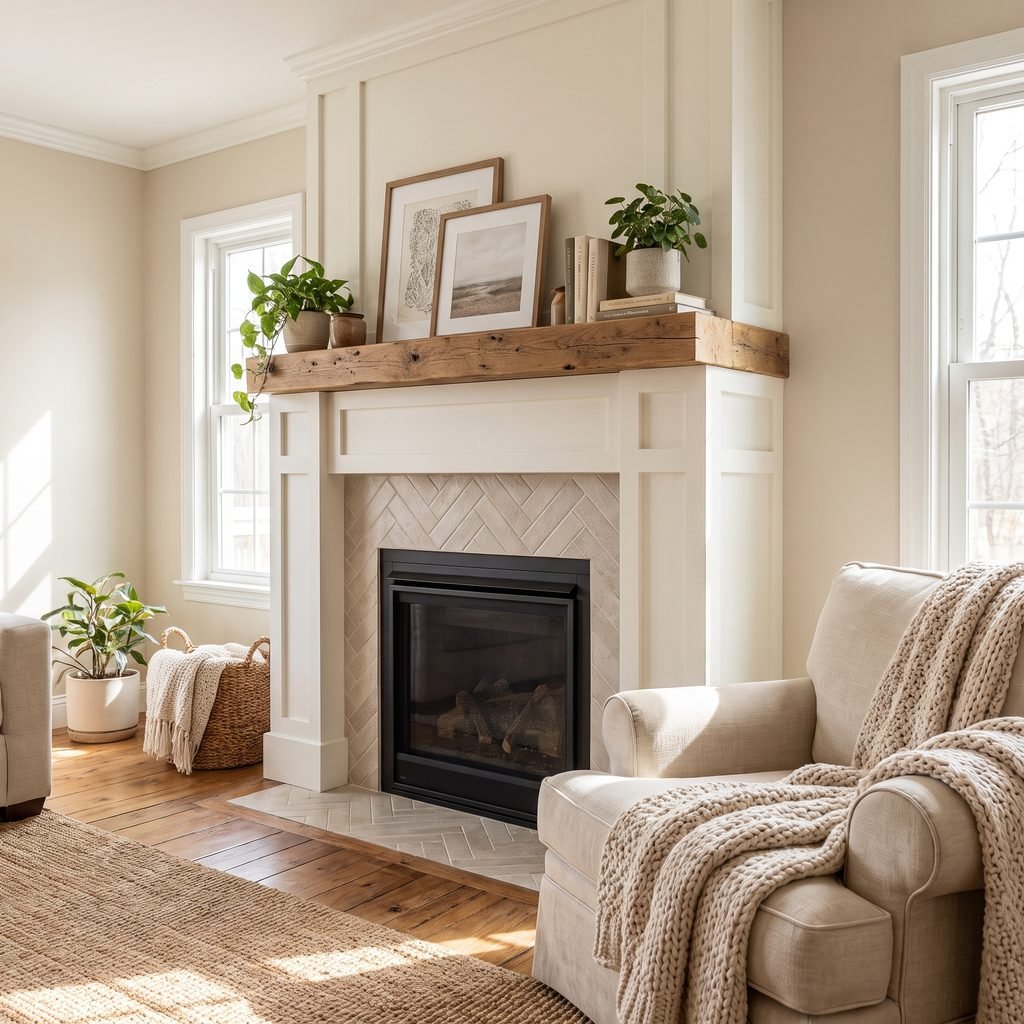
What Is a Fireplace Surround?
The term fireplace surround can describe the decorative and finished area around the fireplace opening.
Depending on the design, it may include:
- Side columns or legs
- Header above the firebox
- Mantel shelf
- Decorative trim
- Noncombustible facing
- Tile, stone, brick, or another approved material
- Painted woodwork outside required clearance zones
The hearth is technically a separate component, although visually it is often designed as part of the same fireplace makeover.
For this tutorial, the focus is on building a decorative wood fireplace surround around an existing fireplace, with the assumption that any area requiring noncombustible material is already properly constructed or will be finished with an approved material.
Before You Build: Identify Your Fireplace Type
Do this before buying lumber.
Determine whether you have a:
- Traditional masonry fireplace
- Factory-built wood-burning fireplace
- Gas fireplace or gas insert
- Electric fireplace
- Other manufactured appliance
If the fireplace has a manufacturer label, model number, or installation manual, locate it.
The manual may include specific requirements for:
- Combustible trim
- Mantel height
- Mantel depth
- Side clearances
- Noncombustible facing
- Vent openings
- Louvers
- Air inlets
- Service panels
For example, a Heatilator installation manual warns that specified noncombustible clearances must be maintained and that finishing materials must not block airflow, louvers, doors, or service access.
Those requirements override the aesthetic plan.
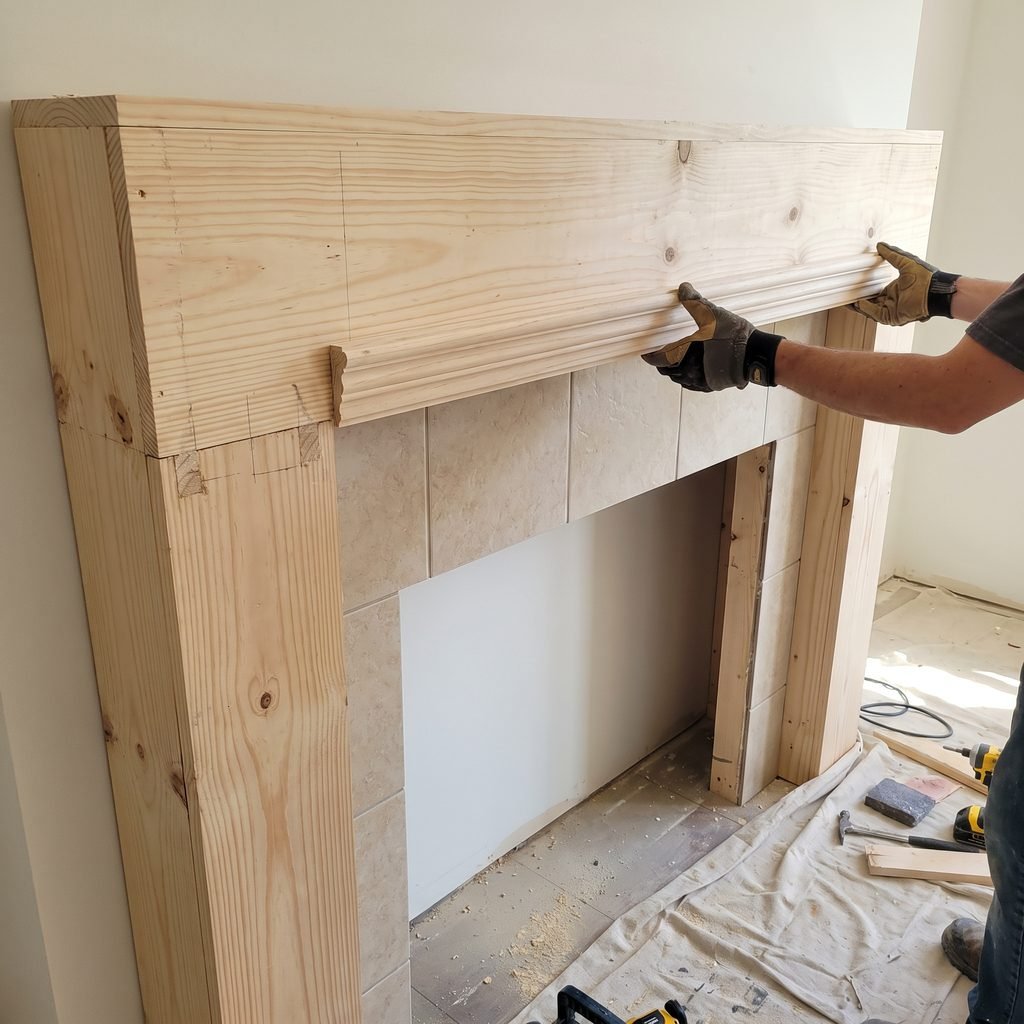
Understand Fireplace Clearance Requirements
Do not assume that because you have seen wood trim close to a fireplace online, the same dimensions are safe for yours.
For masonry fireplaces, current ICC code language includes restrictions on combustible woodwork and trim near the opening. For example, the cited code section states that combustible material generally cannot be within 6 inches of the fireplace opening and places additional projection limits on combustible material within 12 inches.
That does not mean you should automatically use those dimensions for every fireplace.
Factory-built appliances can have different listed clearances, and local jurisdictions may adopt different editions or amendments.
Your safest process is:
- Find the fireplace make and model if applicable.
- Obtain the installation manual.
- Identify all combustible-material and mantel-clearance requirements.
- Check applicable local building requirements.
- Design your surround outside those limits.
If documentation is missing or the fireplace configuration is unclear, consult a qualified fireplace professional or local building official before installing combustible trim.
Decide on the Fireplace Surround Style
Once you know where materials are allowed, decide how you want the finished fireplace to look.
Simple Transitional Surround
This is one of the easiest DIY styles.
Use straight boards to create two vertical legs and a horizontal header, then finish them with a substantial mantel shelf.
Traditional Fireplace Surround
Add more layers:
- Base blocks
- Decorative molding
- Crown molding
- Paneled sections
- Layered mantel trim
Traditional designs can look beautiful but require more precise cutting.
Modern Fireplace Surround
Keep everything simple.
Use wide flat boards, minimal seams, and a straightforward mantel.
You can even skip a projecting mantel if the fireplace design and room style suit it.
Craftsman-Style Surround
Use square proportions, substantial vertical legs, and simple built-up trim instead of ornate molding.
This style is beginner-friendly because many cuts are straight.
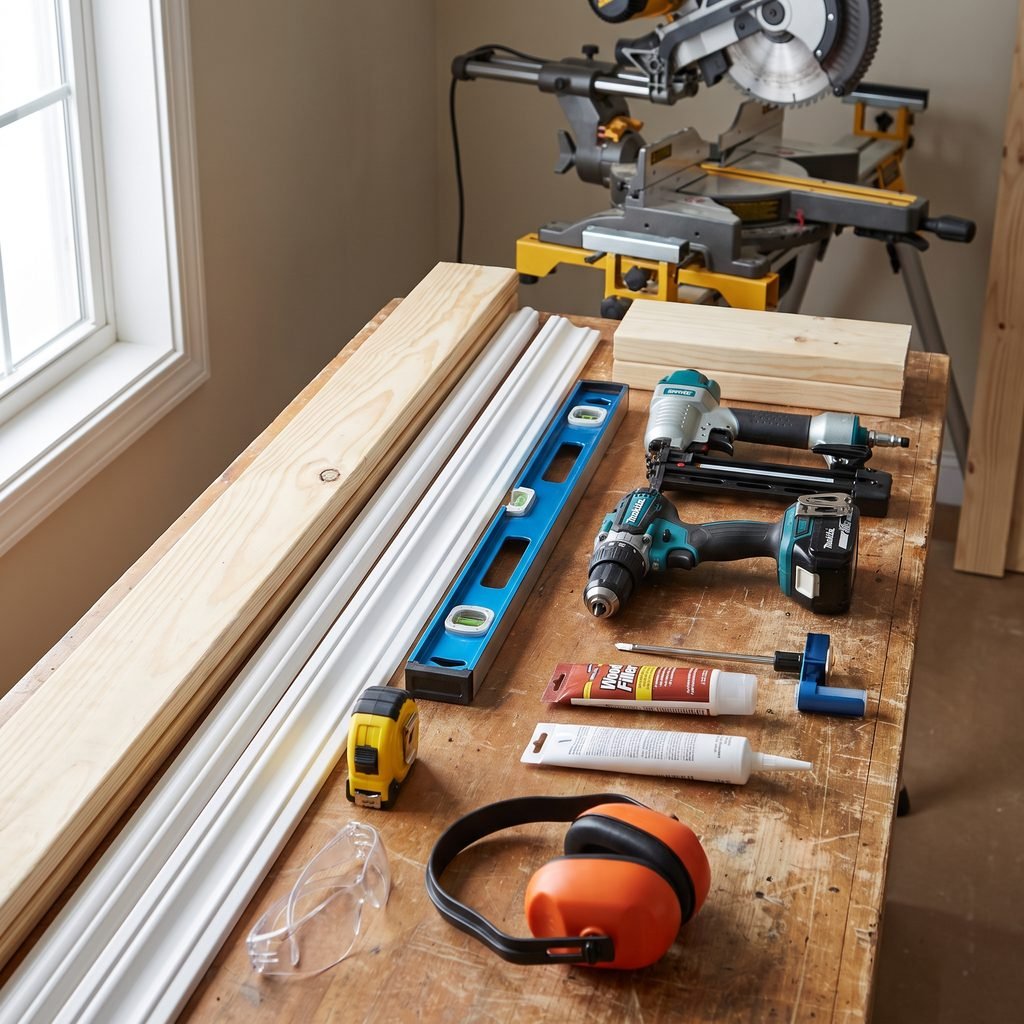
Materials and Tools
Your exact materials will depend on the design and fireplace requirements.
A typical painted wood surround might use:
- Dimensional lumber or paint-grade boards
- Plywood or MDF where appropriate and permitted
- Decorative molding
- Mantel shelf board
- Wood glue
- Construction adhesive where appropriate
- Finish nails
- Screws
- Wood filler
- Paintable caulk
- Primer
- Interior paint
- Sandpaper
Possible tools include:
- Tape measure
- Pencil
- Level
- Stud finder
- Miter saw or circular saw
- Brad or finish nailer
- Drill/driver
- Clamps
- Caulk gun
- Safety glasses
- Hearing protection
- Dust protection appropriate for the materials
Do not use MDF, wood, adhesive, trim, or another combustible material inside an area that your fireplace instructions or applicable code require to be noncombustible.
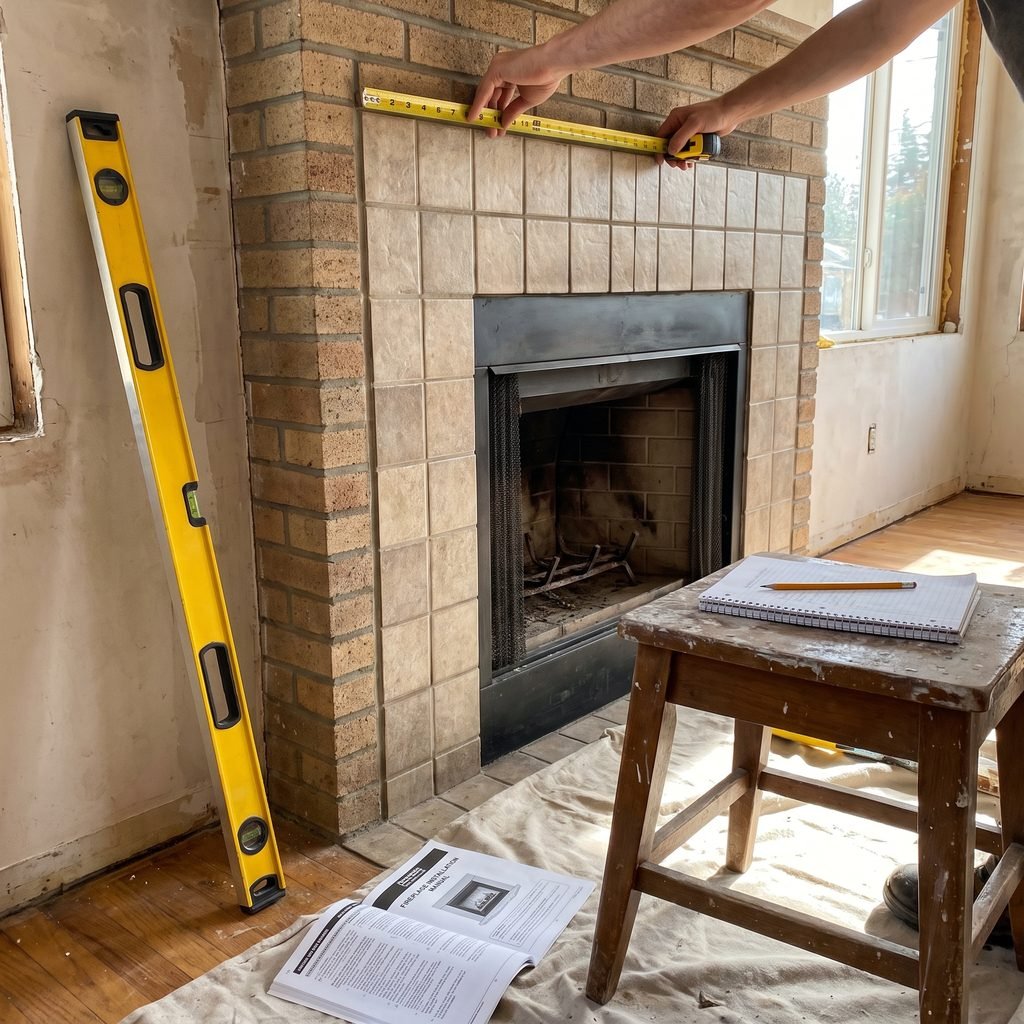
How to Build a Fireplace Surround Step by Step
Step 1: Measure the Existing Fireplace
Measure:
- Width of fireplace opening
- Height of opening
- Width of existing noncombustible facing
- Distance to nearby walls
- Hearth width and depth
- Ceiling height
- Desired overall surround width
- Desired mantel height
Then mark required combustible clearances on a sketch.
This becomes your no-build zone for combustible trim.
Measure more than once before cutting anything.
Fireplace walls and old masonry are not always perfectly square, so check the width at several points.
Step 2: Sketch the Surround
You do not need complicated design software.
A simple front-view drawing with dimensions is enough.
Draw the fireplace opening first.
Then add the vertical legs, top header, and mantel.
For balanced proportions, the surround should look substantial enough for the fireplace without dominating the entire wall.
In a small room, a very oversized mantel can look heavy.
In a large room with high ceilings, narrow trim can look undersized.
Also consider furniture placement and television height if a TV will be installed nearby.
Step 3: Mark the Wall
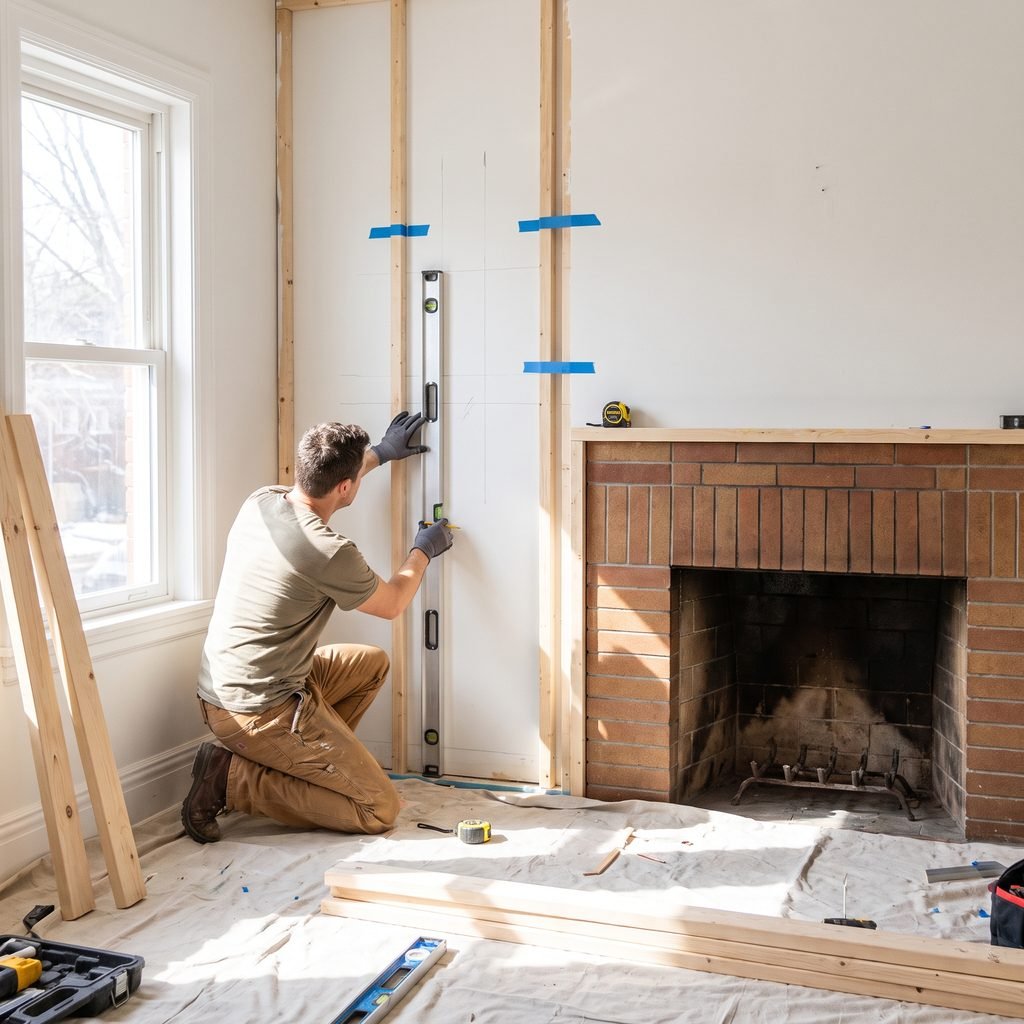
Use a level and pencil to transfer your surround dimensions to the wall.
Mark:
- Outer edges
- Inner edges
- Top of surround
- Mantel location
- Stud positions
A stud finder can help locate framing where the surround will be attached.
Confirm stud locations using an appropriate method before driving long fasteners, especially where electrical wiring, plumbing, or gas components may be present.
Do not drill blindly into the wall around a fireplace.
Gas fireplaces in particular may have concealed components nearby.
Step 4: Build the Two Side Legs
For a simple design, each side leg can be constructed from a wide face board.
Cut the boards to length and dry-fit them before fastening.
Use the level to make sure each side is perfectly vertical.
If you want more depth, you can build out the legs using additional framing or layered boards, provided the finished design respects all required clearances.
Attach the pieces to suitable framing using the appropriate fasteners.
Do not depend entirely on drywall anchors for a substantial mantel assembly when structural fastening is available.
The exact fastening approach depends on your wall construction and surround design.
Step 5: Install the Top Header
The header bridges the space between the two vertical legs.
Cut it carefully so the joints are tight.
Check that it is level before fastening.
For a simple surround, this may be a single wide board.
For a more traditional design, the header can become a decorative section with:
- Applied molding
- Panel trim
- Layered boards
- Decorative blocks
Remember that decorative wood closest to the fireplace opening still needs to remain outside all combustible-material restrictions.
Step 6: Build Out the Trim
This is where a basic rectangle begins looking like a finished fireplace surround.
You can add narrow trim around the outer perimeter or build a more dimensional profile by layering boards.
One beginner-friendly method is to use:
- Wide flat base boards
- Narrower trim along the edges
- A decorative molding detail near the top
Keep the design symmetrical.
If one side has layered molding, repeat it on the other.
Dry-fit each piece before applying adhesive or nails.
Step 7: Build or Install the Mantel Shelf
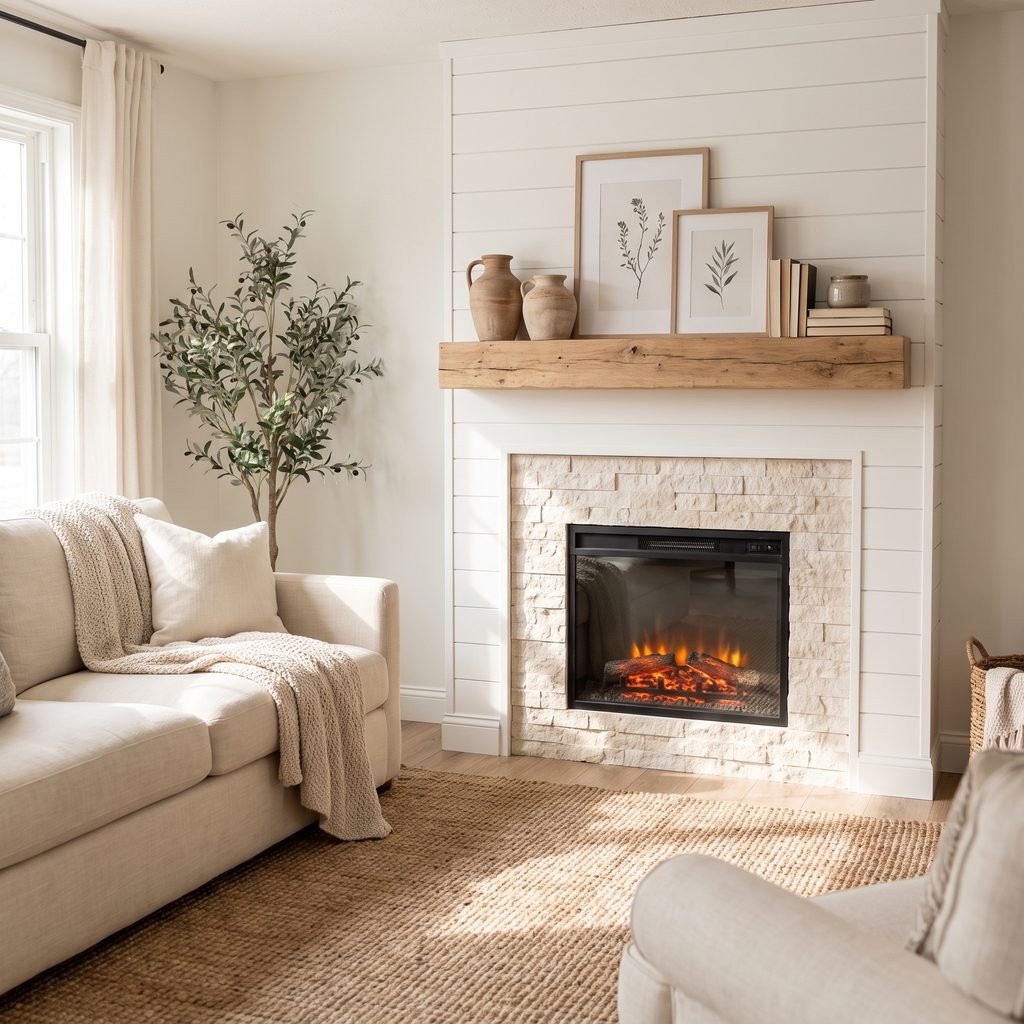
The mantel is the projecting shelf at the top of the surround.
It can be:
- A single thick board
- A built-up hollow box
- A wood beam
- Layered dimensional lumber
- A manufactured mantel
The important issue is not just height.
Projection matters too.
Code provisions and manufacturer instructions can change required distances based on how far a combustible mantel projects from the fireplace. The ICC language cited for masonry fireplaces specifically addresses combustible projection near the opening, while manufactured fireplace manuals may provide their own mantel projection diagrams.
Before selecting mantel depth, confirm the allowable dimensions for your fireplace.
Then make sure the shelf is securely anchored to structural framing according to the design and anticipated load.
Do not assume decorative trim alone can support a heavy mantel.
Step 8: Add Noncombustible Facing if Needed
Depending on the existing fireplace, you may have an exposed section between the firebox and wood surround that needs finishing.
Common fireplace-facing materials can include:
- Tile
- Stone
- Brick
- Approved noncombustible panels or products
The appropriate material depends on the fireplace and installation requirements.
Do not assume that ordinary drywall, MDF, plywood, or decorative wood can be substituted for a required noncombustible facing.
Some factory-built fireplace manuals specifically prohibit combustible sheathing in designated noncombustible zones.
If you are unsure which facing materials are approved for your fireplace, consult the installation documentation.
Step 9: Fill Nail Holes and Seams
Once construction is complete, begin the finish work.
Fill visible nail holes with an appropriate wood filler.
Let it dry and sand smooth.
Use paintable caulk for small joints where trim meets the wall or another painted board.
Do not use ordinary decorative caulk in locations exposed to fireplace temperatures unless it is specifically appropriate for that use.
Some appliance installations require particular high-temperature sealants near the unit, so follow the manufacturer instructions for those areas.
Step 10: Sand the Surround
Careful sanding makes a noticeable difference.
Focus on:
- Filled nail holes
- Rough board edges
- Uneven joints
- Molding transitions
Remove sanding dust before priming.
Wear suitable respiratory protection when sanding materials that create fine dust, particularly MDF.
Step 11: Prime
Primer helps create a consistent finish and can improve paint adhesion.
Prime:
- Raw wood
- MDF
- Filled areas
- Patched spots
Use a primer suitable for your material and chosen paint system.
Let it dry according to the product instructions.
Then lightly sand if recommended.
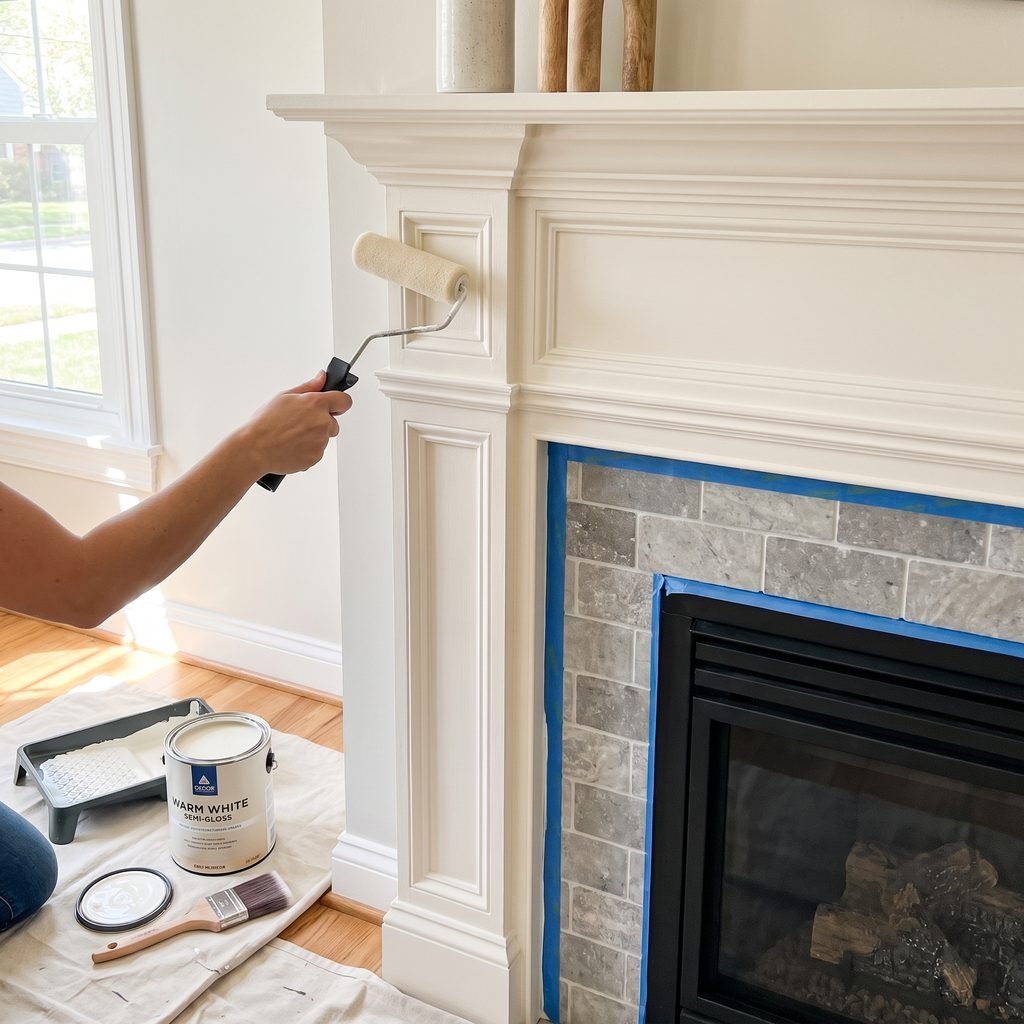
Step 12: Paint the Fireplace Surround
A painted fireplace surround is often easiest to maintain when finished in a durable trim-appropriate paint.
White is classic, but it is not your only option.
Consider:
- Warm white
- Cream
- Black
- Charcoal
- Greige
- Deep green
- Navy
Make sure any coating used near heat is appropriate for its location and fireplace configuration.
Do not paint manufacturer-required vents, louvers, glass, controls, labels, or other components unless the fireplace manufacturer specifically permits it.
How to Make a Fireplace Surround Look Built-In
Small finishing decisions are what make a DIY fireplace surround look like part of the house rather than an added-on box.
Connect It to Existing Trim
If your room has substantial baseboards, consider integrating the surround legs neatly into them.
Matching or complementing existing trim profiles can make the fireplace feel original to the room.
Use Consistent Reveal Lines
Keep the spacing between boards even.
Uneven strips and inconsistent gaps make a surround look less polished.
Caulk Appropriate Painted Joints
Small wall-to-trim gaps can often be made nearly invisible with careful caulking.
Fill Every Visible Nail Hole
Do not rely on paint to hide fasteners.
It usually will not.
Sand Between Finish Steps
Smooth filler and primer create cleaner final paintwork.
Choose the Mantel Depth Carefully
A mantel that is much too shallow can look weak, while a very deep shelf can dominate the surround and may create clearance problems.
Safety requirements come first; aesthetics come second.
Fireplace Surround Design Ideas
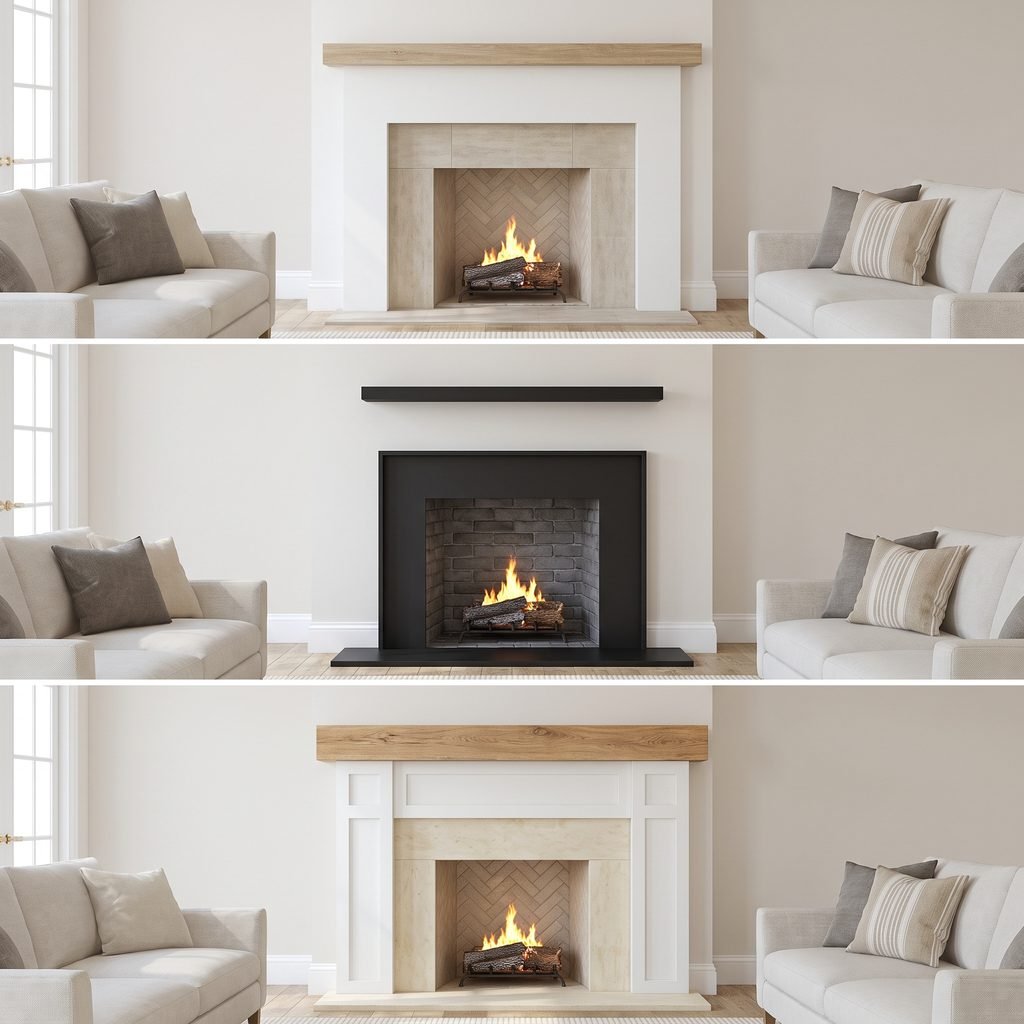
Simple White Fireplace Surround
Wide flat boards and a substantial white mantel work in almost any room.
Pair the surround with neutral tile for a timeless look.
Black Fireplace Surround
Black can make a fireplace dramatic without requiring elaborate trim.
Keep the surrounding walls light for contrast.
Wood Mantel With Painted Surround
A stained or natural wood mantel adds warmth to a painted surround.
Again, confirm allowable mantel dimensions and combustible clearances first.
Floor-to-Ceiling Fireplace Wall
Instead of stopping at the mantel, extend the design upward.
Possible treatments include:
- Panel molding
- Vertical paneling where permitted
- Tile
- Stone
- Painted drywall outside restricted areas
If the fireplace manufacturer requires ventilation or access above the unit, do not cover it.
Traditional Paneled Surround
Create decorative rectangles with applied molding on the legs and header.
This works especially well in rooms with crown molding or traditional trim.
Can You Build a Fireplace Surround Over Brick?
Sometimes.
If you have an existing brick fireplace, a wood surround can often be designed around the brick while leaving the required noncombustible area exposed.
The fastening method may involve attachment to adjacent framing or properly fastening into masonry where suitable.
Do not cover:
- Required hearth areas
- Required noncombustible facing
- Vents
- Cleanouts
- Access panels
If you want to cover brick immediately adjacent to a functioning fireplace with another material, confirm that the proposed assembly is approved for that fireplace.
Can You Use MDF for a Fireplace Surround?
MDF is popular for painted trim because it is smooth and easy to work with.
However, MDF is combustible.
It should only be used in locations where combustible trim is permitted and required fireplace clearances are maintained.
Never place MDF inside a noncombustible zone simply because it will eventually be painted.
The same caution applies to plywood and ordinary lumber.
Can You Put Wood Around a Gas Fireplace?
Potentially, but the fireplace’s installation manual is critical.
Factory-built gas fireplaces commonly have detailed finishing instructions showing exactly where combustible framing or trim can and cannot go.
Some models also require clear airflow openings and continued access to service areas.
A manufacturer manual may explicitly state that vents or louvers cannot be obstructed because doing so can create excessive temperatures and a fire hazard.
If the manual cannot be located, identify the model and obtain the correct documentation before beginning.
How to Build a Fireplace Surround Without a Nail Gun
A nail gun is convenient but not essential.
Depending on the design, you may be able to use:
- Finish nails driven by hand
- Screws placed in concealed locations
- Appropriate structural fasteners
- Wood glue in suitable wood-to-wood joints
Construction adhesive may be useful in some assemblies, but it should not replace necessary mechanical fastening.
Remember that a mantel may carry decorations and other loads.
Its support needs to be structural, not merely cosmetic.
Common Fireplace Surround Mistakes
Building Before Checking Clearances
This is the most important mistake to avoid.
Design around the fireplace requirements first.
Copying Measurements From Another Fireplace
Two fireplaces can look similar while requiring completely different clearances.
Use specifications for your actual unit.
Blocking Vents or Service Panels
Decorative trim should never interfere with required airflow or maintenance access.
Making the Mantel Too Deep
A deeper mantel changes how far combustible material projects toward the firebox.
Confirm the allowed projection before building.
Attaching Everything Only to Drywall
A substantial surround and mantel should be adequately supported.
Locate structural framing or use another appropriate fastening method.
Skipping the Dry Fit
Check boards before fastening.
Walls, masonry, and floors may not be perfectly level or square.
Caulking Large Construction Errors
Caulk is useful for small finish gaps, not for disguising major measuring mistakes.
Painting Before Everything Is Installed
It is sometimes helpful to pre-prime pieces, but final filling, caulking, sanding, and painting usually look best after the surround is assembled.
Fireplace Surround Safety Checklist
Before considering the project complete, check that:
- All combustible trim meets the requirements for your fireplace.
- The mantel height and projection are permitted.
- Required noncombustible surfaces remain intact.
- Nothing blocks vents or louvers.
- Controls and service panels remain accessible.
- The surround is securely fastened.
- The mantel is adequately supported.
- No wiring, plumbing, or gas components were damaged during installation.
- The fireplace operates normally after construction.
Manufacturer requirements are particularly important with listed factory-built fireplaces. Do not modify the firebox or fireplace assembly itself unless the manufacturer specifically allows the modification.
For masonry fireplaces, applicable codes may also impose specific clearances between the opening and combustible trim.
If any part of the installation is uncertain, have it inspected by an appropriate qualified professional before using the fireplace.
FAQ About Building a Fireplace Surround
Is building a fireplace surround beginner-friendly?
A simple decorative surround using straight boards and basic trim can be an approachable DIY carpentry project. The more important challenge is making sure the design meets fireplace clearances and is structurally secure.
How close can wood trim be to a fireplace?
There is no single dimension that should be applied to every fireplace. Masonry fireplace codes contain clearance requirements for combustible trim, while factory-built units have manufacturer-specific instructions. Check the requirements for your actual fireplace and local jurisdiction.
What material should go directly around the fireplace opening?
Where noncombustible facing is required, use an approved material suitable for the fireplace installation. Depending on the design, this might include appropriate tile, stone, brick, or another listed noncombustible product.
Can I attach a mantel directly to drywall?
A substantial mantel should normally be secured using a fastening method capable of supporting its weight and anticipated loads. Drywall itself is not structural framing.
Can I build a fireplace surround around an existing brick fireplace?
Often, yes, provided required masonry, hearth areas, clearances, ventilation, and access remain compliant and the new surround is properly attached.
Can MDF be used around a fireplace?
MDF can potentially be used as decorative trim outside required combustible-clearance and noncombustible zones. It is a combustible product, so do not use it where noncombustible material is required.
Should I tile before or after building the wood surround?
Either sequence may be possible depending on the design. Planning both finishes together first is more important than the order. The tile or other approved facing needs to cover any area that must remain noncombustible.
Do I need a permit to build a fireplace surround?
Requirements vary by location and scope. A decorative trim change may be treated differently from modifying a firebox, gas line, venting system, hearth, chimney, or appliance. Check local requirements before making changes beyond cosmetic trim.
Final Thoughts
Learning how to build a fireplace surround is mostly a matter of careful measuring, straightforward carpentry, and patient finish work.
A simple surround can be built from two vertical legs, a horizontal header, trim, and a securely supported mantel. Add a properly finished noncombustible facing where required, fill and sand the woodwork, and paint everything for a clean built-in appearance.
But a fireplace is different from an ordinary accent wall.
Before cutting lumber, identify the fireplace type and check the installation requirements for combustible trim, mantel height, mantel projection, noncombustible facing, ventilation, and service access. Current codes for masonry fireplaces and manufacturer instructions for factory-built units both demonstrate why those details matter.
Once those boundaries are established, the decorative part becomes much easier.
Keep the proportions simple, anchor the surround securely, take your time with the trim work, and finish every seam carefully. The result can transform an ordinary fireplace into a focal point that looks like it was always meant to be part of the room.

