

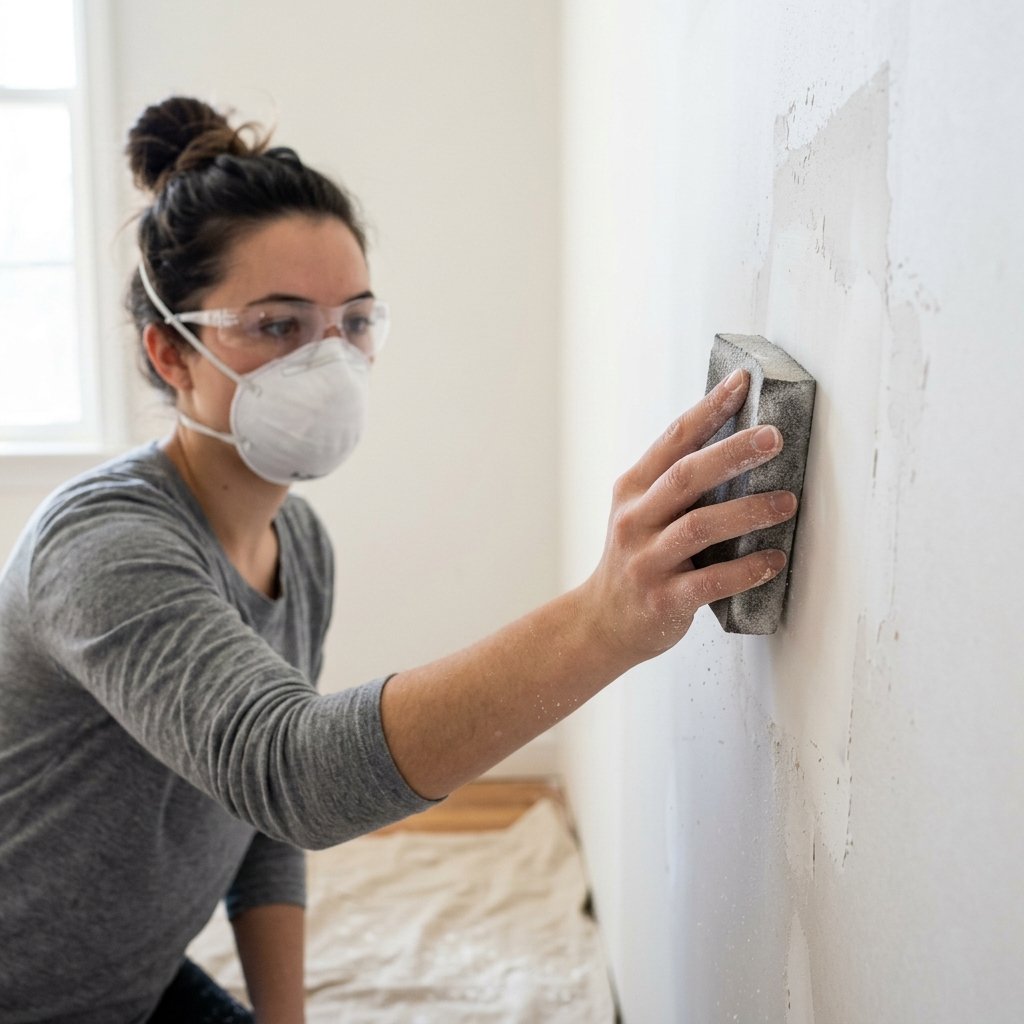
A fresh coat of paint can completely transform a room, but even the most beautiful paint color won’t look its best if the walls aren’t properly prepared first. Knowing how to prep walls for painting can help you achieve a smoother finish, better paint adhesion, and a more professional-looking result.
Wall preparation might not be the most exciting part of a painting project, but it is arguably one of the most important. Small imperfections such as nail holes, cracks, dust, grease, peeling paint, and uneven surfaces can become surprisingly noticeable once a new coat of paint goes on.
The good news is that preparing walls doesn’t have to be complicated.
With the right tools and a little patience, you can prepare your walls properly before opening that paint can. Whether you’re repainting a bedroom, refreshing a living room, or tackling an entire house, these steps will help you create a clean surface that is ready for paint.
Why Is Wall Preparation So Important?
Before getting into the steps, it’s worth understanding why preparation matters.
Paint needs a clean, stable surface to adhere properly. If you paint directly over dust, grease, loose paint, or damaged areas, the new paint may not bond properly.
You may eventually notice:
- Peeling or flaking paint
- Uneven texture
- Visible cracks
- Bumps and dents
- Patchy color
- Poor adhesion
- Brush or roller marks
- A rough-looking finish
Proper preparation helps prevent many of these problems.
It also gives your paint a smoother surface to work with, allowing the final color and finish to look much closer to what you envisioned.
1. Remove Wall Decor and Furniture
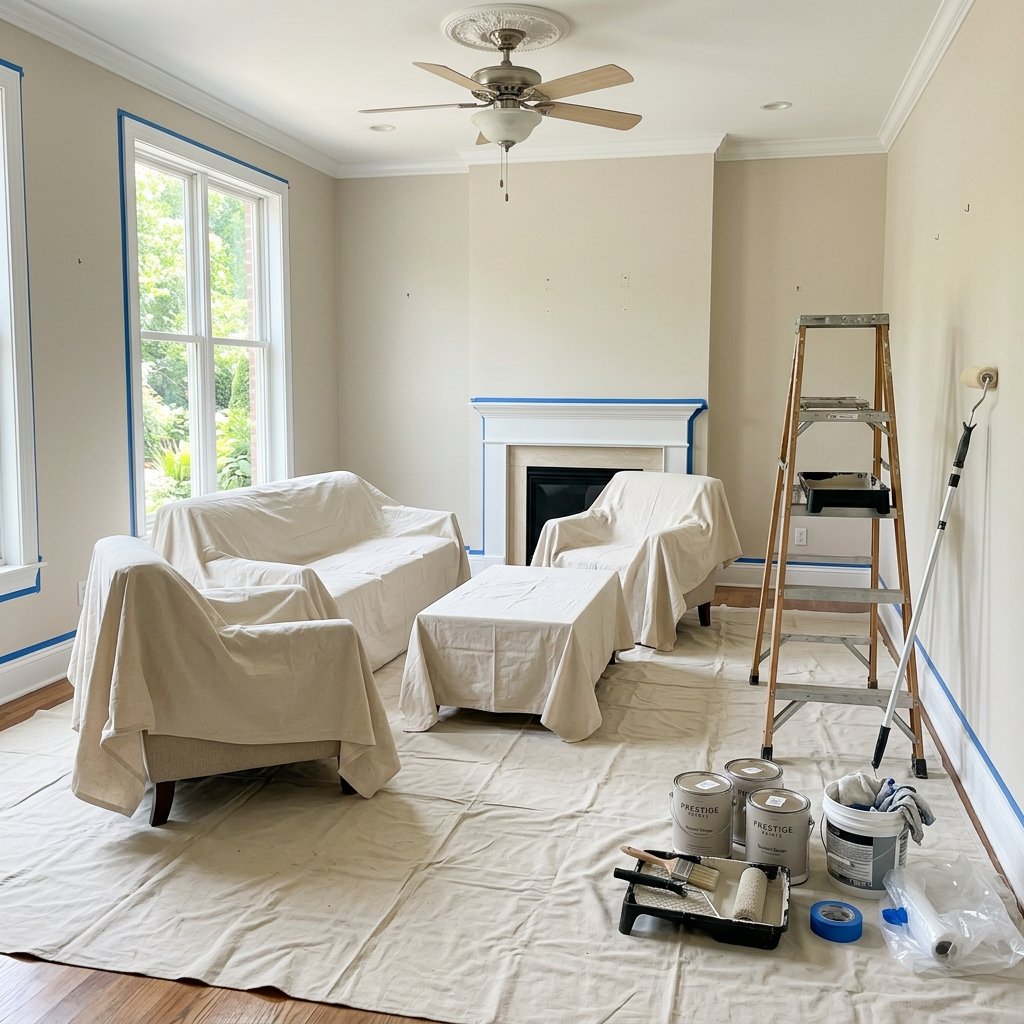
Start by clearing the wall you’re going to paint.
Remove:
- Artwork
- Mirrors
- Shelves
- Wall hooks
- Curtains and curtain hardware
- Switch plates
- Outlet covers
- Other removable decorations
Move furniture away from the walls whenever possible.
Ideally, give yourself enough room to move comfortably while working. Painting becomes much easier when you aren’t constantly trying to squeeze between furniture and the wall.
Cover remaining furniture with drop cloths or protective plastic.
Also protect your floors.
Even if you are careful, drips and splatters can happen.
2. Inspect the Walls Carefully
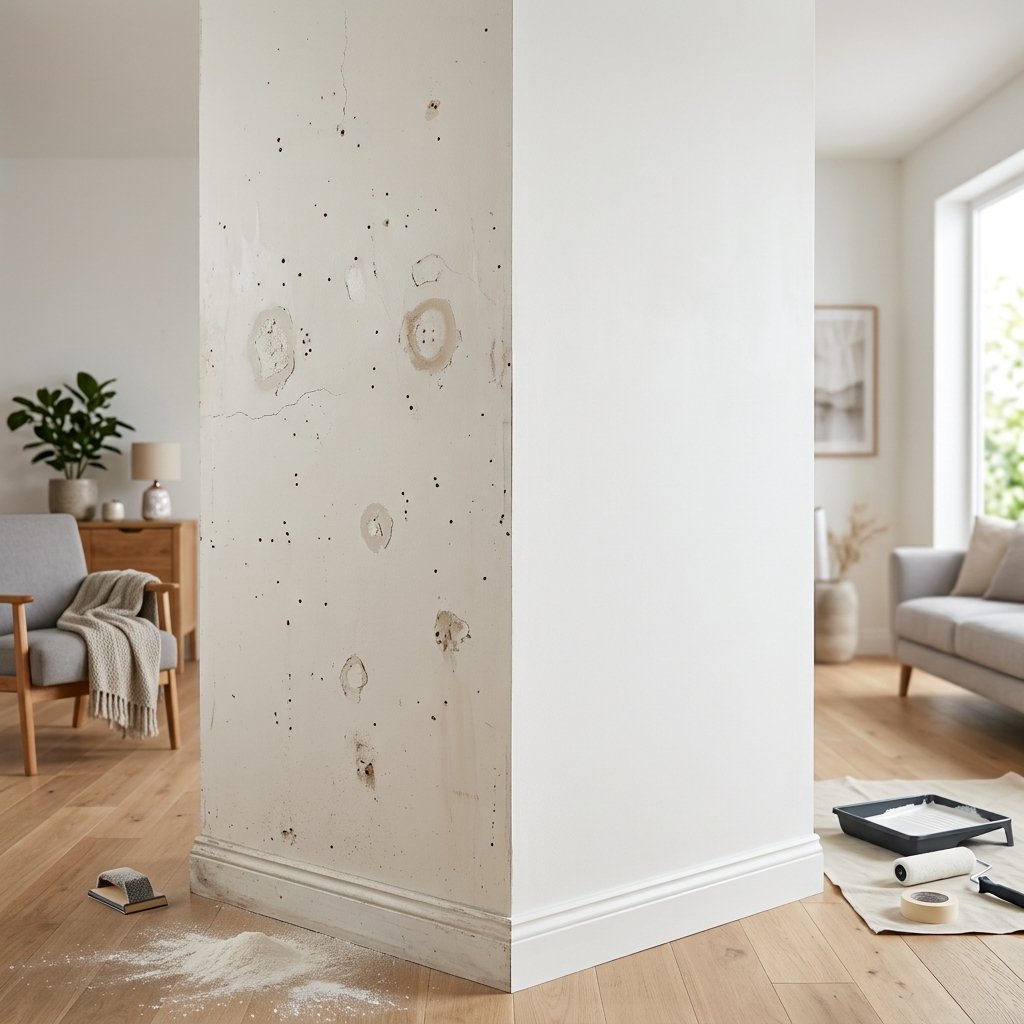
Before cleaning or repairing anything, take a few minutes to inspect the entire wall.
Look closely for:
- Nail holes
- Small cracks
- Dents
- Scratches
- Peeling paint
- Bubbling areas
- Water stains
- Grease marks
- Mold or mildew
- Loose wallpaper
- Uneven patches
Good lighting can help you identify imperfections that aren’t obvious at first glance.
Run your hand gently across the surface as well.
You may be able to feel bumps or uneven areas that are difficult to see.
This inspection will help you determine how much preparation your walls actually need.
Not every wall requires the same amount of work.
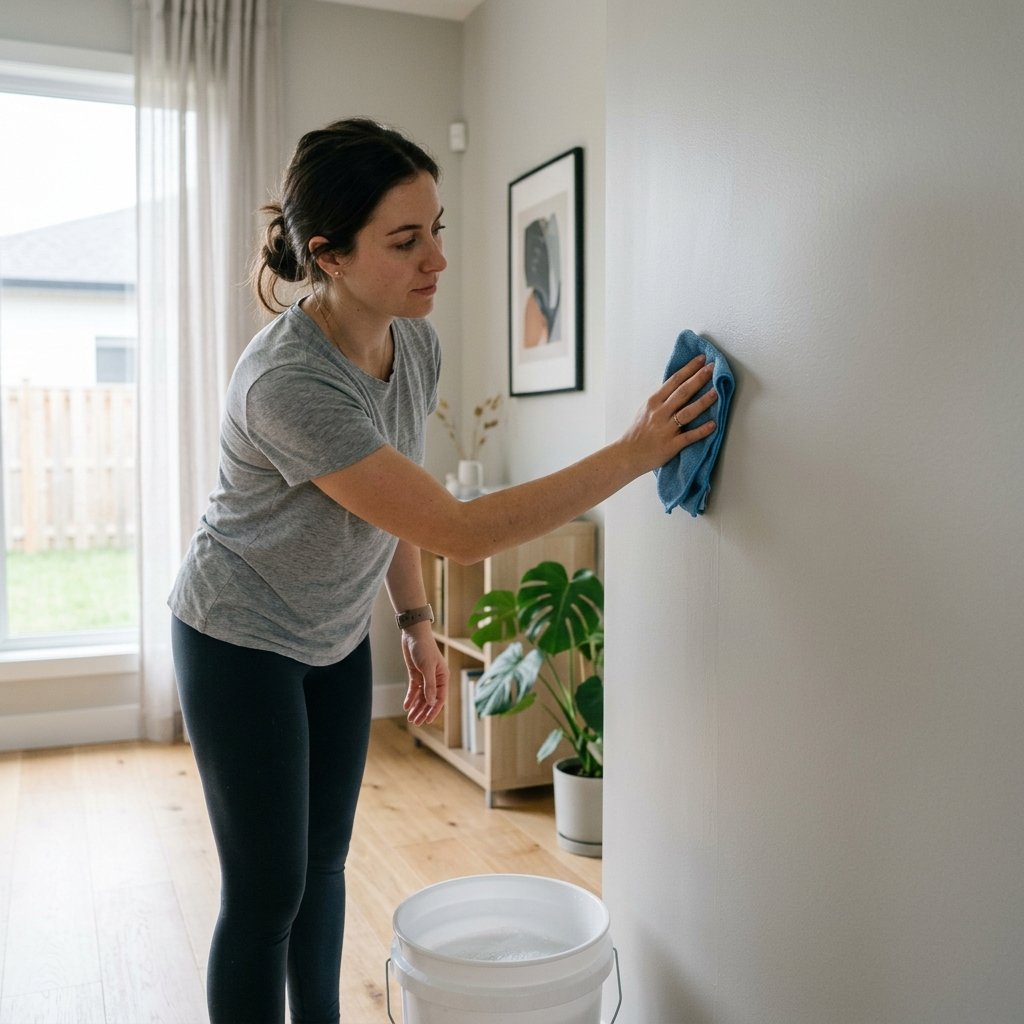
3. Clean the Walls
One of the most commonly overlooked steps is cleaning.
Walls collect dust, fingerprints, cooking residue, pet hair, and other buildup over time.
Paint applied over a dirty surface may not adhere properly.
For lightly dirty walls, a soft sponge or microfiber cloth with warm water may be enough.
For kitchens, bathrooms, or heavily used areas, you may need a suitable household cleaner that can remove grease and grime.
Always follow the cleaner’s instructions and make sure the wall is completely dry before moving on.
Avoid soaking drywall.
Excessive moisture can damage the paper surface and create additional problems.
4. Remove Loose or Peeling Paint
If you notice areas where existing paint is peeling, flaking, or bubbling, don’t simply paint over them.
The loose material needs to be removed first.
Use a paint scraper to carefully remove unstable paint.
Work gently so you don’t unnecessarily damage the wall underneath.
Once the loose paint has been removed, lightly sand the edges where the old paint meets the exposed surface.
The goal is to create a smooth transition.
If the peeling paint is widespread, particularly if it appears to be caused by moisture, investigate the underlying problem before repainting.
Painting over an unresolved moisture issue won’t solve the problem.
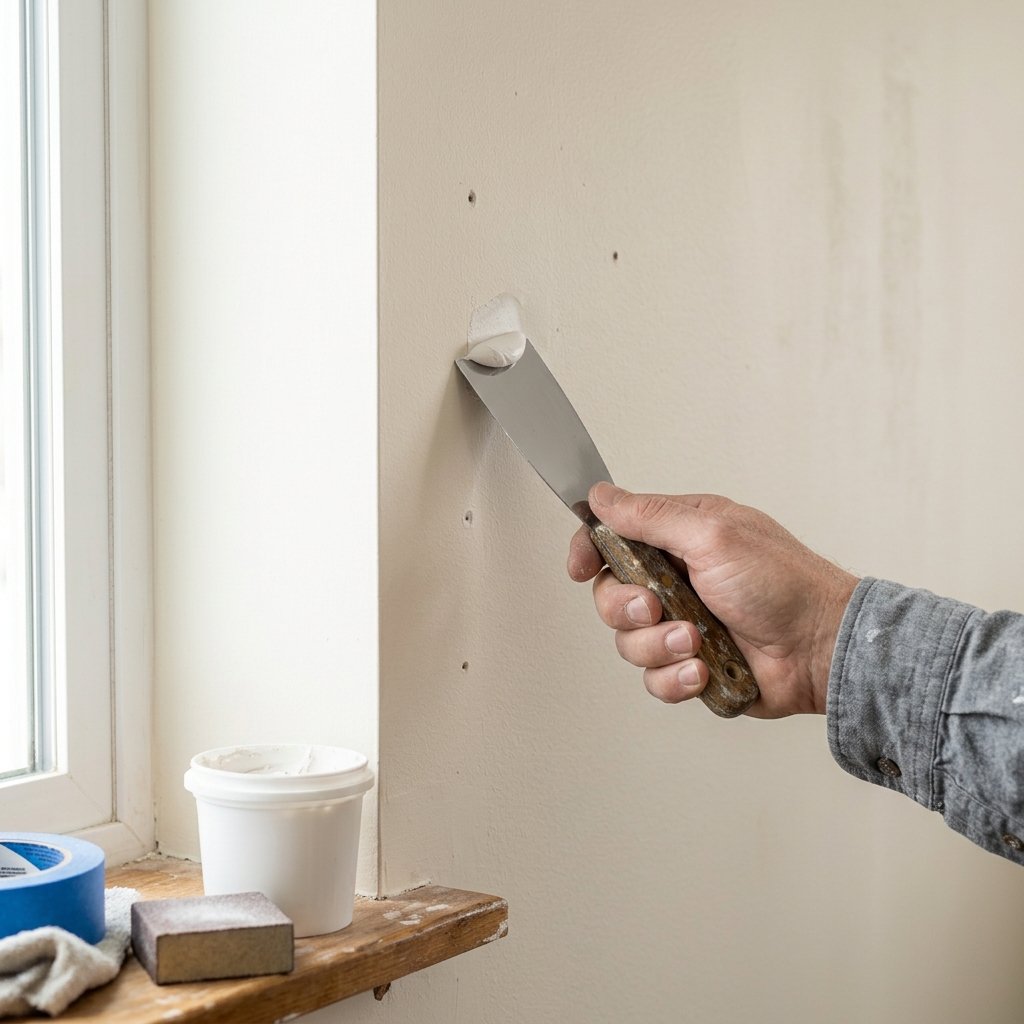
5. Fill Nail Holes and Small Dents
Small holes and dents are easy to overlook before painting but can become very noticeable once fresh paint is applied.
Use an appropriate lightweight spackling compound or wall filler to repair minor imperfections.
Apply the filler with a putty knife and smooth it as much as possible.
Don’t worry if the repaired area isn’t perfectly smooth after the first application.
Allow it to dry according to the product instructions.
You can then sand it lightly until it blends with the surrounding wall.
For larger holes or significant drywall damage, a more substantial repair may be necessary.
6. Repair Cracks
Small surface cracks can often be repaired as part of normal wall preparation.
Clean the area around the crack and remove any loose material.
Apply an appropriate filler or patching compound and allow it to dry completely before sanding.
However, don’t automatically treat every crack as a simple cosmetic issue.
Large, recurring, or widening cracks may indicate an underlying structural or moisture-related problem.
If you’re unsure about the cause of a significant crack, it’s better to have it evaluated before painting.
For ordinary small surface imperfections, careful filling and sanding can usually create a much smoother surface.
7. Sand the Walls
Sanding is one of the most important steps for achieving a smooth-looking finish.
You don’t necessarily need to sand the entire wall aggressively.
Instead, focus on:
- Filled holes
- Repaired cracks
- Rough patches
- Peeling paint edges
- Uneven areas
- Glossy surfaces that need to be dulled
Use appropriate sandpaper or a sanding sponge and work gently.
Your goal is to smooth imperfections and create a suitable surface for the new paint.
Avoid excessive sanding, particularly on drywall, because aggressive sanding can damage the paper surface.
After sanding, remove all the dust before painting.
8. Remove All Dust
After sanding, your walls may look clean, but there can still be a fine layer of dust covering the surface.
Don’t skip this step.
Use a clean microfiber cloth, soft brush, or suitable vacuum attachment to remove sanding dust.
Pay attention to:
- Wall surfaces
- Baseboards
- Window frames
- Trim
- Floor edges
- Nearby furniture
If dust remains on the wall, it can become trapped beneath the new paint and create a rough texture.
Give the room a final inspection before moving forward.
9. Check for Stains and Problem Areas
Certain stains require more preparation than ordinary dirt.
Common examples include:
- Water stains
- Smoke stains
- Grease
- Crayon marks
- Ink
- Rust
- Heavy discoloration
Some stains can bleed through ordinary paint even after cleaning.
In these situations, an appropriate stain-blocking primer may be necessary.
If the stain is caused by an ongoing issue such as a leak, address the underlying problem before painting.
A fresh coat of paint should be the final step—not a temporary cover-up.
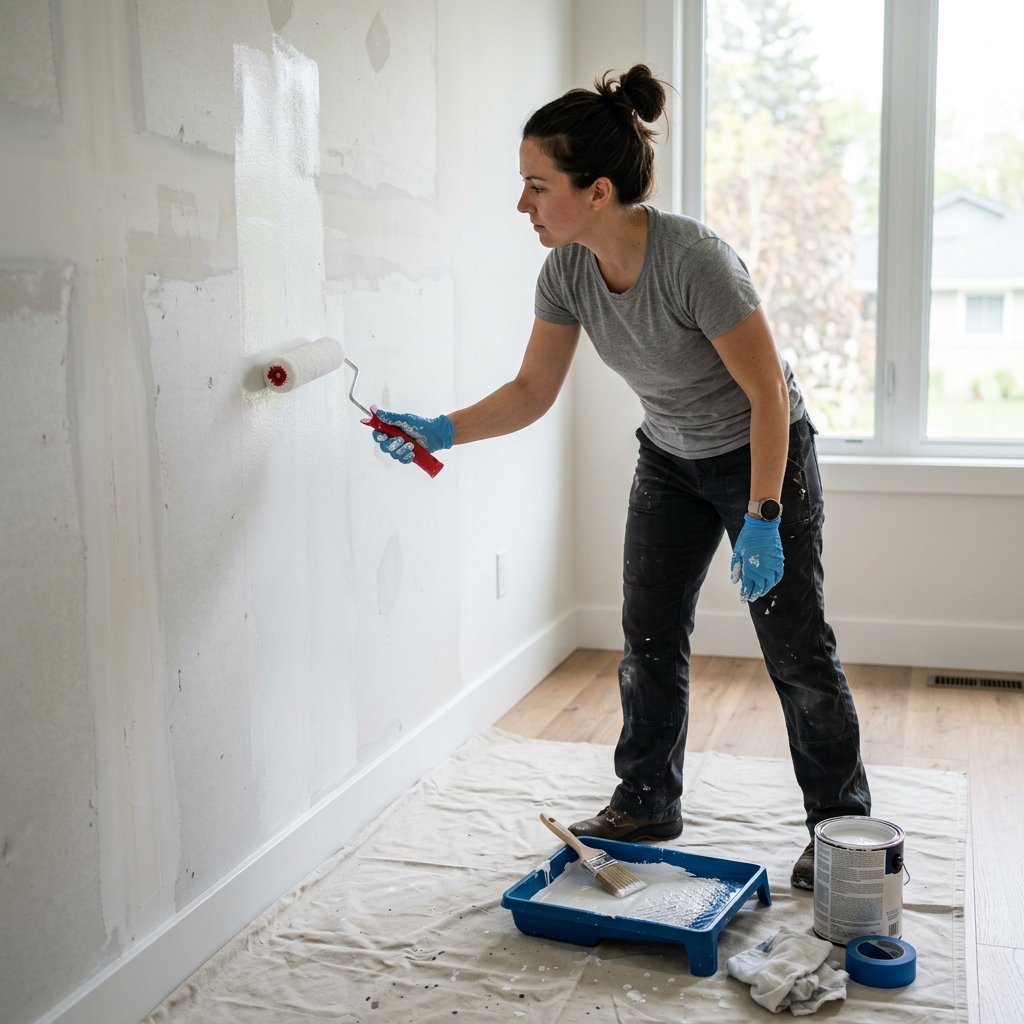
10. Decide Whether You Need Primer
Primer isn’t necessarily required for every painting project, but it can make a significant difference in certain situations.
Consider using primer when:
- You’re painting over a dramatically different color
- The wall has been repaired extensively
- The surface is porous
- You’re painting new drywall
- You’re covering stains
- You’re painting over a glossy surface
- You’re dealing with uneven absorption
Primer can help create a more uniform surface and improve the performance of your finish coat.
Choose a primer appropriate for your wall surface and the type of paint you’re using.
11. Protect Trim, Windows, and Fixtures
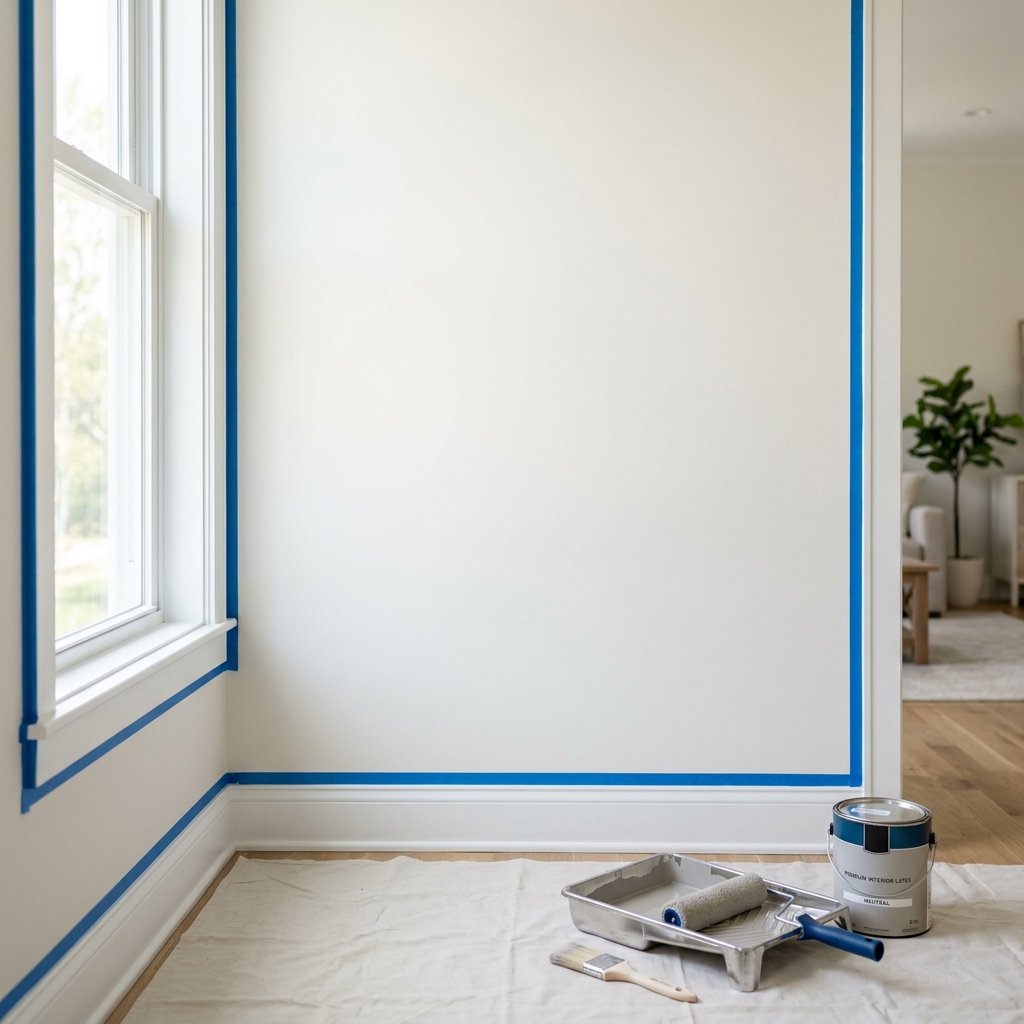
Once the walls are clean, repaired, and ready, protect anything you don’t want painted.
Use painter’s tape around:
- Baseboards
- Door frames
- Window trim
- Built-in cabinets
- Other permanent fixtures
Take your time when applying the tape.
Straight, carefully placed tape can make cutting in much easier.
However, don’t rely entirely on painter’s tape. Good brush control is still important.
For large areas, cover floors and furniture with drop cloths.
12. Choose the Right Paint Finish
Wall preparation is essential, but your paint choice also affects the final appearance.
Different rooms may benefit from different finishes.
Matte or flat
Creates a low-sheen appearance and can help disguise minor wall imperfections.
Eggshell
A popular choice for many living areas because it offers a subtle sheen and is generally easier to clean than flat paint.
Satin
Provides more sheen and can be useful in areas that need easier cleaning.
Higher-sheen finishes
These can be durable and washable but may emphasize surface imperfections.
If your walls aren’t perfectly smooth, a lower-sheen finish can sometimes create a more forgiving appearance.
13. Test Your Paint Color
Before painting the entire room, test your chosen color.
Paint a sample on the wall or use large sample boards.
Look at it during different times of the day.
Morning light, afternoon sunlight, evening lighting, and artificial bulbs can all affect how a color appears.
A color that looks perfect in a store can look surprisingly different inside your home.
Testing first can save you from repainting an entire room later.

14. Make Sure the Wall Is Completely Dry
Before applying paint, make sure the wall is clean and completely dry.
This is especially important if you’ve washed the walls or used water-based cleaning solutions.
Don’t rush the drying process.
A clean, dry, stable surface gives your primer and paint the best chance of adhering properly.
15. Do a Final Inspection
Before opening the paint can, stand back and inspect the wall one last time.
Look for:
- Remaining holes
- Visible cracks
- Dust
- Rough patches
- Uneven repairs
- Peeling paint
- Missed stains
Use bright lighting if possible.
It’s much easier to fix a problem now than after you’ve painted the entire wall.
Run your hand gently over repaired areas to make sure they feel smooth.
Once everything looks good, you’re ready to paint.
Common Wall Preparation Mistakes to Avoid
Even a straightforward painting project can go wrong when preparation is rushed.
Here are some common mistakes to avoid.
Painting over dirty walls
Dust and grease can prevent paint from adhering properly.
Skipping repairs
Small holes and cracks can become more visible after painting.
Sanding too aggressively
Especially on drywall, excessive sanding can damage the surface.
Ignoring peeling paint
Loose paint will continue causing problems beneath a new coat.
Forgetting primer
Certain surfaces and stains require primer for the best results.
Rushing between steps
Give cleaners, fillers, primer, and paint enough time to dry according to their product instructions.
Not protecting the room
Paint splatters are much easier to prevent than clean up later.
How Long Does It Take to Prep Walls for Painting?
The answer depends on the condition of the walls.
A relatively clean room with smooth walls may only require a few hours of preparation.
Older walls with multiple nail holes, cracks, peeling paint, or stains may take significantly longer.
Don’t let the calendar pressure you into rushing.
The time spent preparing the walls can have a bigger impact on the final result than trying to finish the painting quickly.
Final Thoughts
Learning how to prep walls for painting is one of the best ways to improve the final appearance of a DIY painting project.
Clean the walls, repair imperfections, remove loose paint, sand rough areas, eliminate dust, address stains, and use primer when appropriate.
Most importantly, don’t treat preparation as something you need to get through before the “real” project starts.
Wall preparation is part of the project.
The smoother and cleaner your surface is before painting, the easier it will be to achieve an even, professional-looking finish.
So before you pick up your roller, take the time to prepare your walls properly. Your future self—and your freshly painted room—will thank you.

