

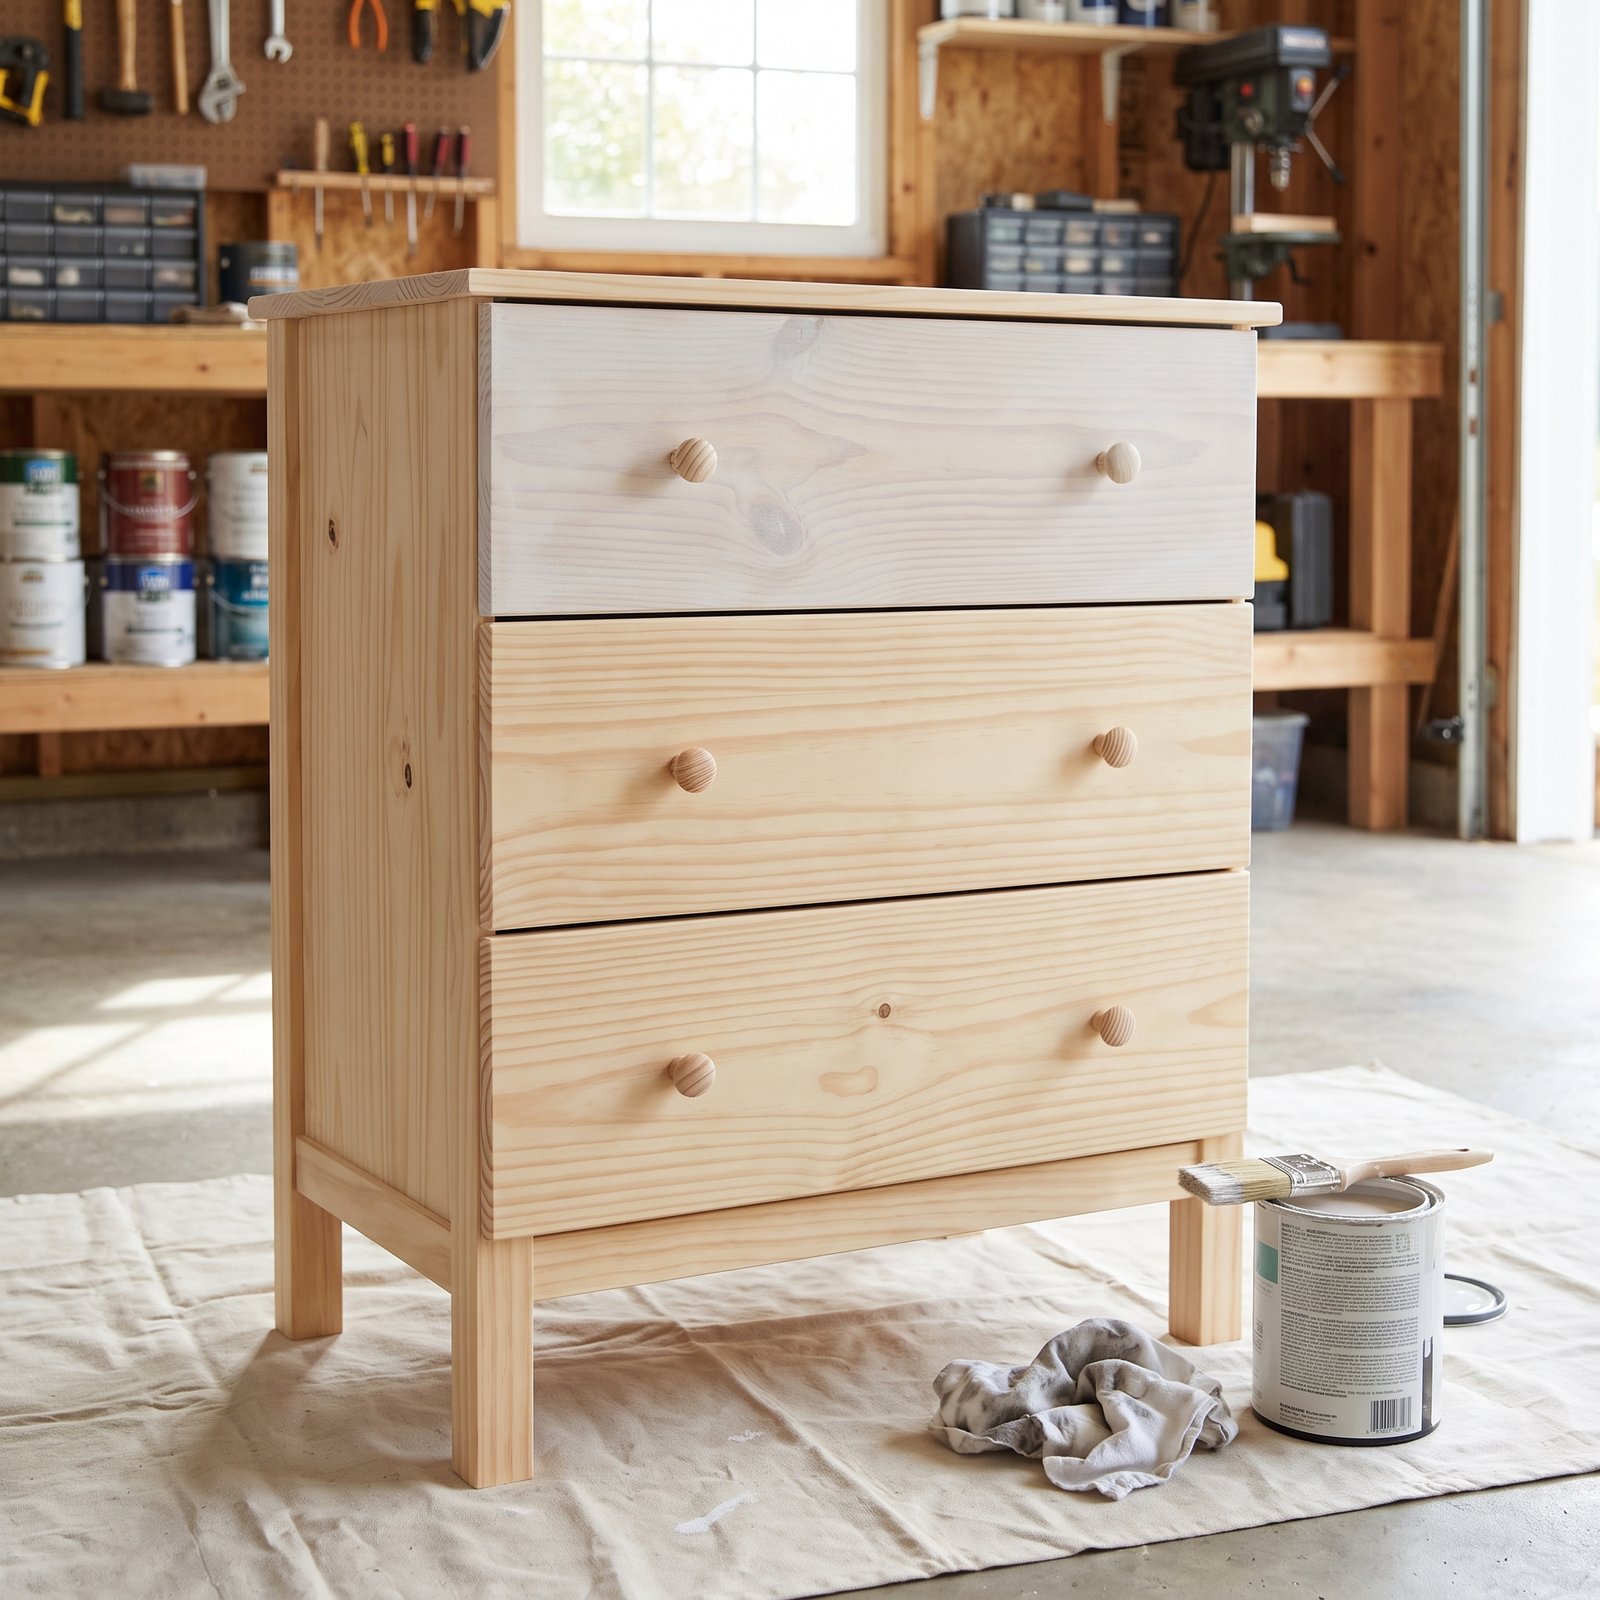
Learning how to whitewash wood is an easy way to give furniture, paneling, shelves, crates, or other wood surfaces a lighter, softer look without completely hiding the natural grain.
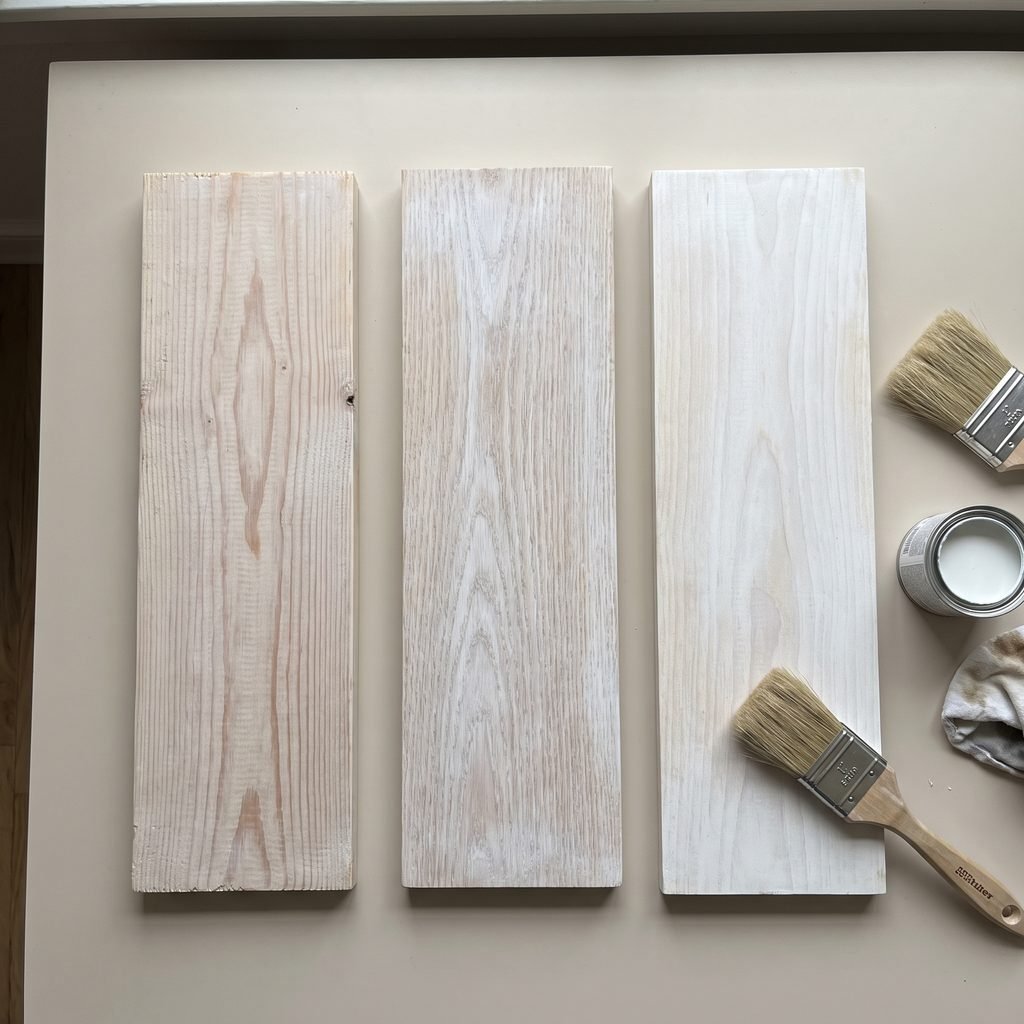
Unlike an opaque coat of paint, whitewashing creates a semi-transparent finish. The wood still shows through, but the overall color becomes brighter and more muted. Depending on how much paint you use and how much you wipe away, the result can look rustic, coastal, farmhouse-inspired, Scandinavian, or simply more relaxed and aged.
The process is beginner-friendly, but surface preparation matters. Bare or lightly finished wood usually accepts a whitewash more predictably than glossy, sealed, or heavily stained surfaces. The type of wood also affects the final appearance because different species absorb paint differently.
In this guide, you will learn how to prepare the wood, mix a simple whitewash, apply it evenly, adjust the opacity, avoid common mistakes, and protect the finished surface when needed.
What Is Whitewashing?
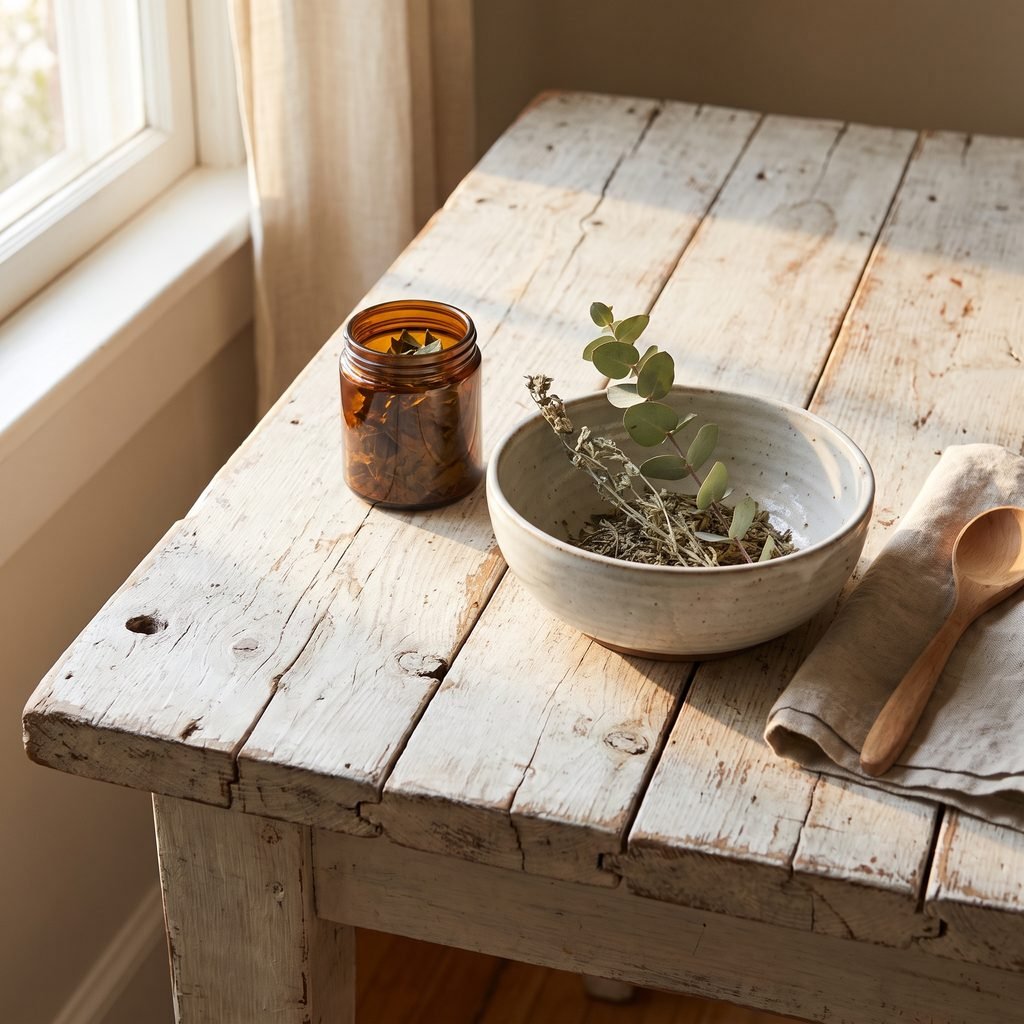
Traditional whitewash was often made from lime and water, but modern DIY projects commonly use diluted water-based paint to create a similar translucent look on decorative wood surfaces.
For most indoor furniture and decor projects, a simple paint-and-water mixture is easier to work with.
The goal is not to cover the wood completely.
A good whitewashed finish should still allow some of the following to show through:
- Wood grain
- Natural color variation
- Knots
- Texture
- Subtle imperfections
That visible variation is part of the appeal.
What Kind of Wood Can You Whitewash?
You can whitewash many types of wood, including:
- Pine
- Oak
- Cedar
- Plywood
- Reclaimed wood
- Wood paneling
- Furniture
- Shelves
- Crates
- Decorative boards
Bare wood is usually the easiest surface.
Painted, varnished, stained, or sealed wood may require sanding or stripping first, depending on the finish and the look you want.
If the existing coating is glossy, the diluted paint may not bond or absorb evenly.
Always test a small hidden area before committing to the entire project.
What You Need
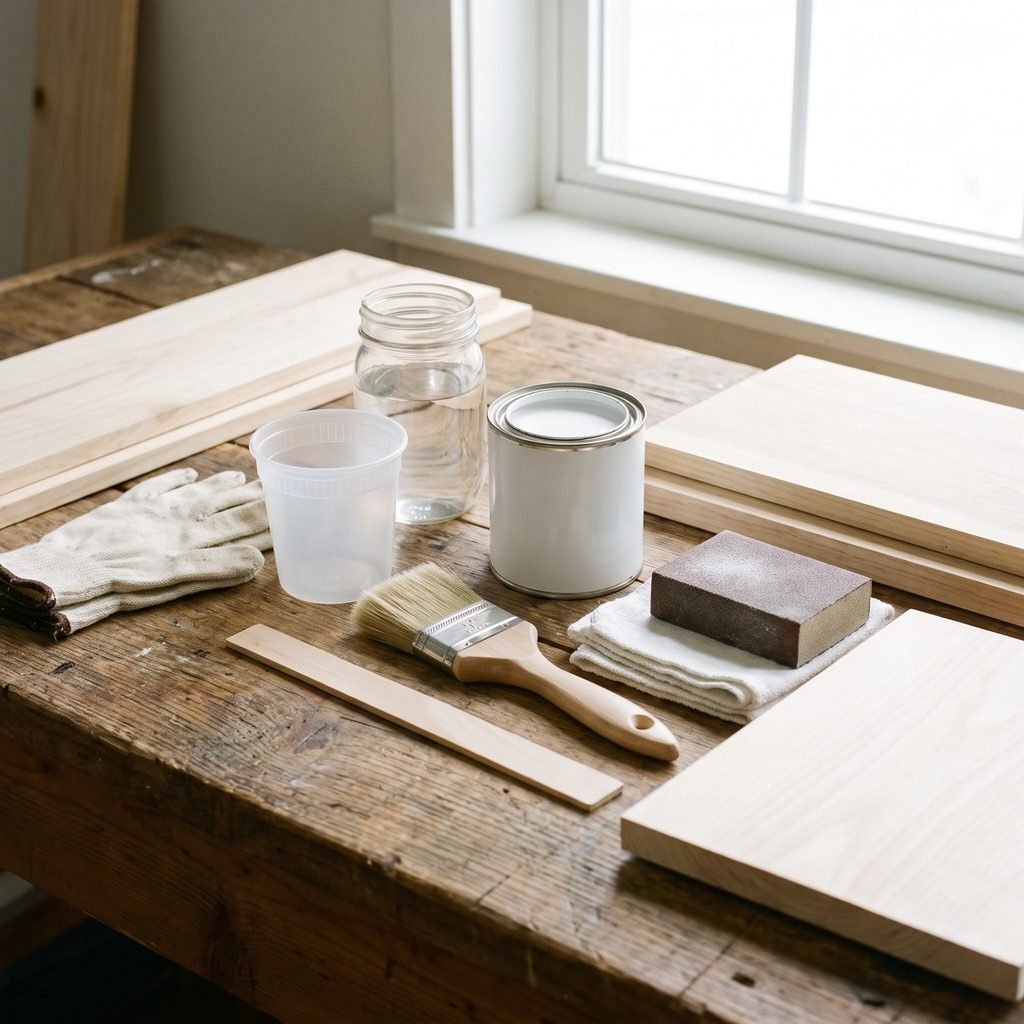
For a basic whitewashing project, you may need:
- White or off-white water-based paint
- Clean water
- Mixing container
- Paintbrush
- Clean lint-free rags
- Sandpaper or sanding block
- Drop cloth
- Gloves
- Stir stick
- Optional clear protective topcoat
For larger surfaces, you may also want:
- Orbital sander
- Vacuum or brush for sanding dust
- Extra rags
- Small roller for certain applications
Choose a paint appropriate for the surface and intended location.
For indoor decorative projects, a water-based interior paint is commonly used. For outdoor wood, use coatings suitable for exterior exposure and follow the product instructions.
How to Whitewash Wood Step by Step
Step 1: Clean the Wood
Start with a clean surface.
Remove:
- Dust
- Dirt
- Grease
- Wax
- Sticky residue
If you are working with furniture, pay special attention to handles, edges, and frequently touched areas.
Use a cleaning method appropriate for the wood and existing finish.
Allow the surface to dry completely before sanding.
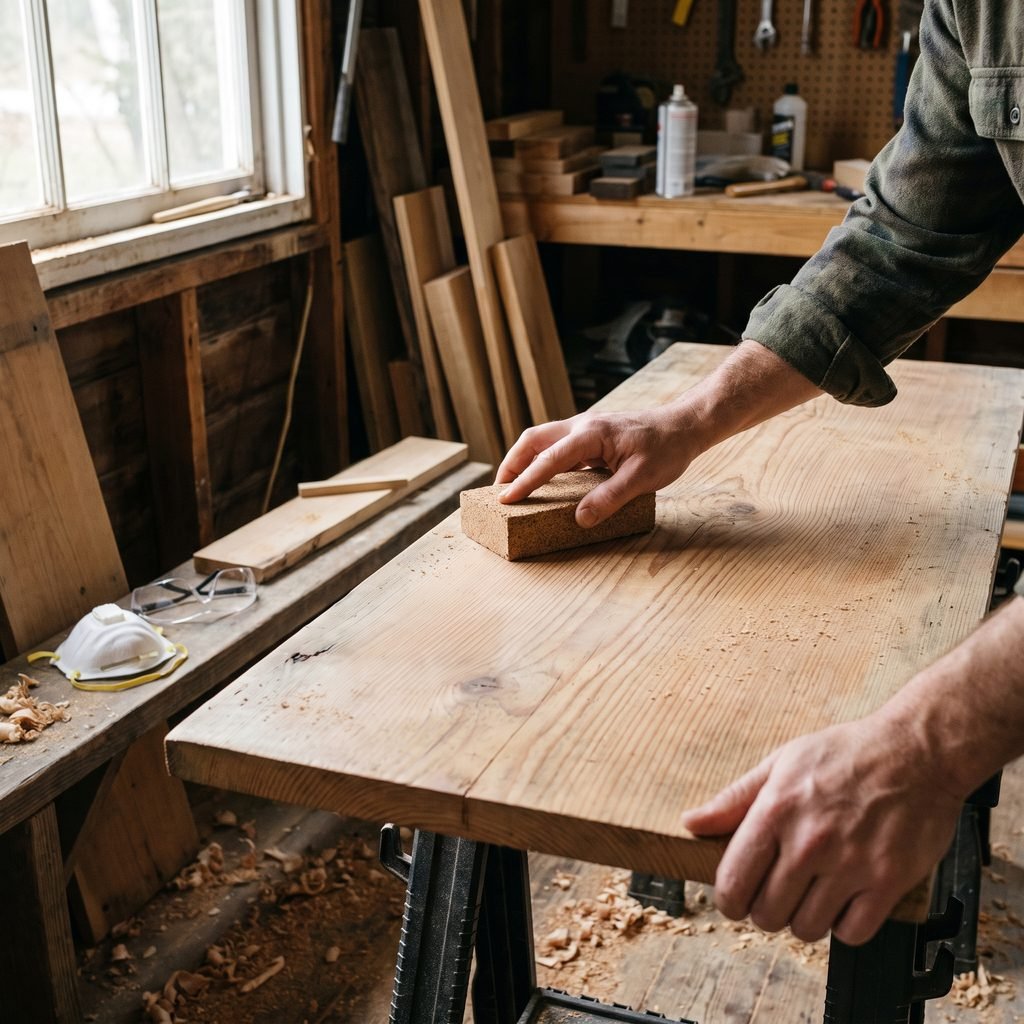
Step 2: Sand the Surface
Sanding helps create a more even whitewash.
For bare wood, light sanding may be enough to smooth rough areas and open the surface slightly.
For previously finished wood, you may need to sand more thoroughly to reduce gloss and expose enough wood for the wash to grip and absorb.
Always sand in the direction of the grain where practical.
Wear eye protection and suitable dust protection.
If the existing finish is old and you do not know what it contains, avoid aggressively sanding it until you have considered whether hazardous coatings may be present. Older painted surfaces can potentially contain lead, so appropriate testing and safety procedures may be necessary.
After sanding, remove all dust.
Step 3: Test Your Whitewash Mixture
A simple starting mixture is diluted white paint and water.
The exact ratio can vary depending on:
- Paint thickness
- Wood absorbency
- Desired opacity
- Application method
Rather than relying on one fixed formula, start with a small test batch.
For a lighter, more transparent finish, use more water.
For stronger coverage, use more paint.
Mix thoroughly until the consistency is smooth and uniform.
Test it on a scrap piece of the same wood or an inconspicuous area.
Let the test dry before deciding whether to adjust the mixture.
Whitewash often looks more opaque while wet than it does once dry.
Step 4: Work in Small Sections
Do not coat the entire piece at once.
Whitewash dries fairly quickly, especially on porous wood.
Work in manageable areas.
For a tabletop, you might apply the wash to one board or section at a time.
For wall paneling, work along one or two boards before moving on.
This gives you time to wipe and blend before the paint begins to set.
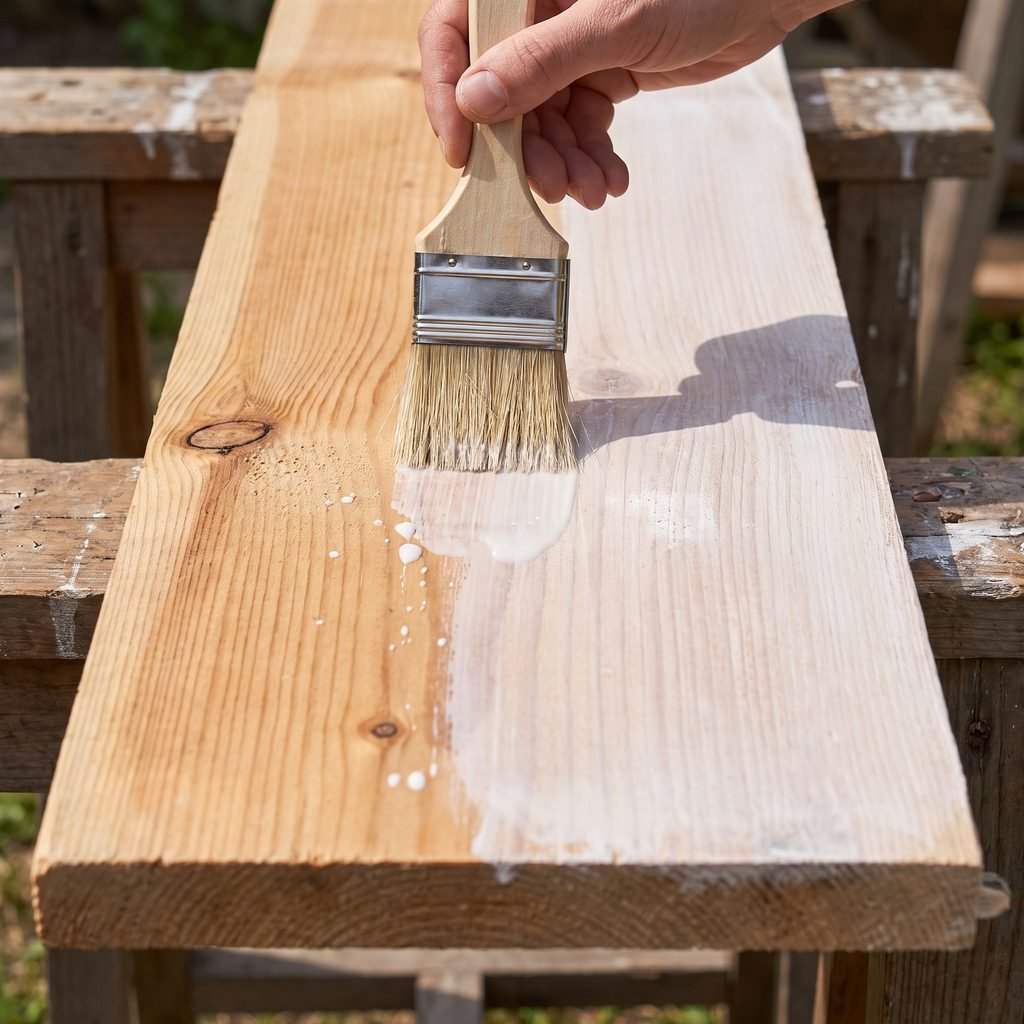
Step 5: Brush the Whitewash Onto the Wood
Dip the brush lightly into the mixture.
Apply the whitewash in the direction of the wood grain.
Use long, even strokes.
Do not overload the surface.
It is easier to build opacity gradually than to remove a heavy coat after it begins drying.
Pay attention to corners, knots, and rough areas because they may absorb more paint than smooth sections.
Step 6: Wipe Away the Excess
While the wash is still wet, use a clean lint-free rag to wipe away excess paint.
Wipe in the direction of the grain.
This step controls how transparent the finish becomes.
For a subtle whitewash, remove more paint.
For a brighter finish, leave more behind.
If one area looks too white, wipe it again before it dries.
If an area looks too bare, you can add another light coat later.
Avoid scrubbing randomly because this can create streaks and uneven patches.
Step 7: Let the First Coat Dry
Allow the surface to dry according to the paint manufacturer’s instructions.
Do not judge the final color while the wood is still wet.
Once dry, step back and evaluate the finish.
Ask yourself:
- Is enough wood grain visible?
- Is the color even?
- Are there dark patches?
- Does it need more coverage?
If you like the result, you may be finished.
If not, add another thin coat.
Step 8: Add a Second Coat if Needed
A second whitewash coat can increase brightness without creating the heavy look of ordinary paint.
Apply another thin layer using the same process:
- Brush it on.
- Work with the grain.
- Wipe away excess.
- Let it dry.
Keep the second coat light.
It is easy to lose the natural wood appearance if too many layers are added.
How to Whitewash Different Types of Wood
Pine
Pine often absorbs finishes unevenly because of its soft grain and knots.
Test carefully.
You may notice more whitewash collecting in softer areas.
This variation can look attractive if you want a rustic finish.
Oak
Oak has a pronounced grain pattern, which makes it especially good for whitewashing.
The white pigment can settle into the grain and create a textured, dimensional look.
Cedar
Cedar can show warm undertones through the whitewash.
If you want to preserve that warmth, use a light application.
Reclaimed Wood
Reclaimed wood can produce beautiful variation, but it may contain old finishes, stains, dirt, nails, or unknown coatings.
Inspect it carefully before sanding or cutting.
Use appropriate protective equipment and avoid disturbing unknown old paint without proper precautions.
Plywood
Plywood can be whitewashed, but the face veneer may be thin.
Sand lightly to avoid damaging the surface.
How to Whitewash Wood Furniture
Furniture is one of the easiest places to use this technique.
Good candidates include:
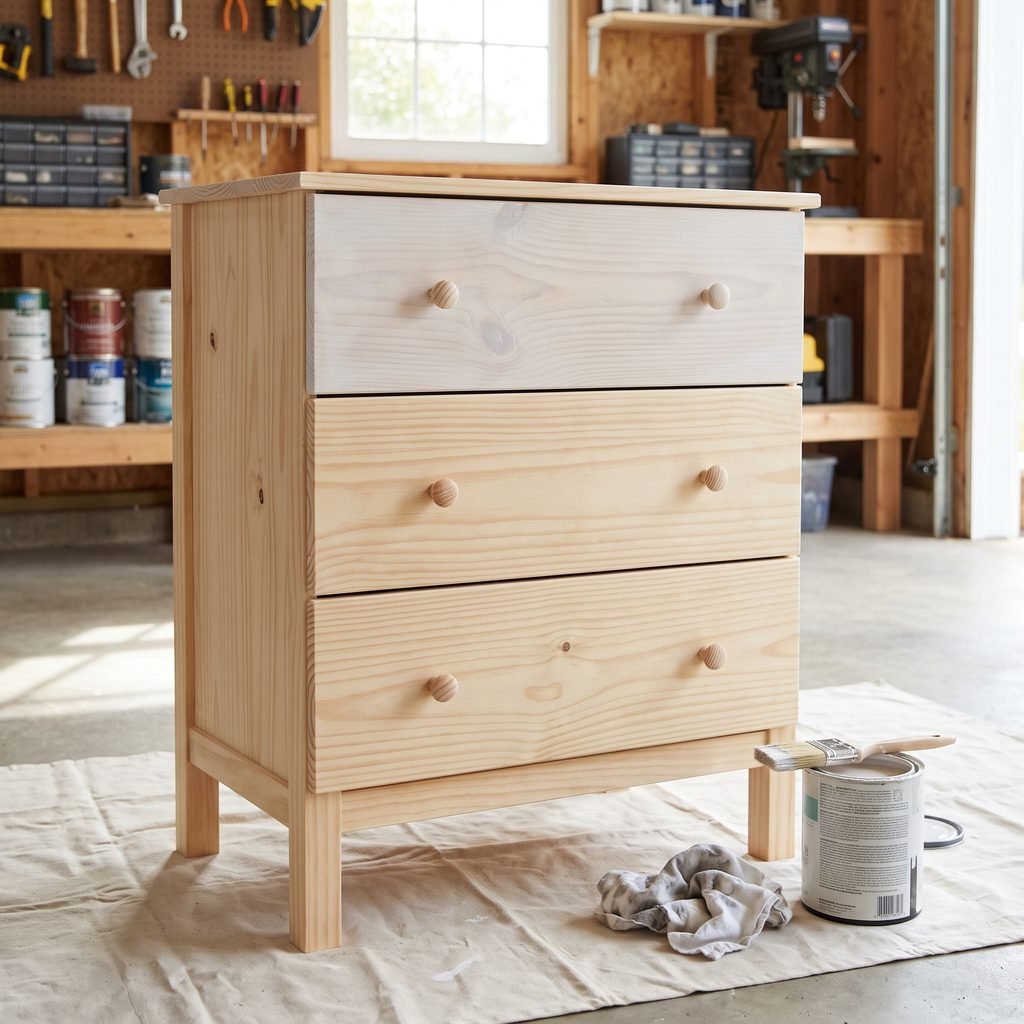
- Dressers
- Nightstands
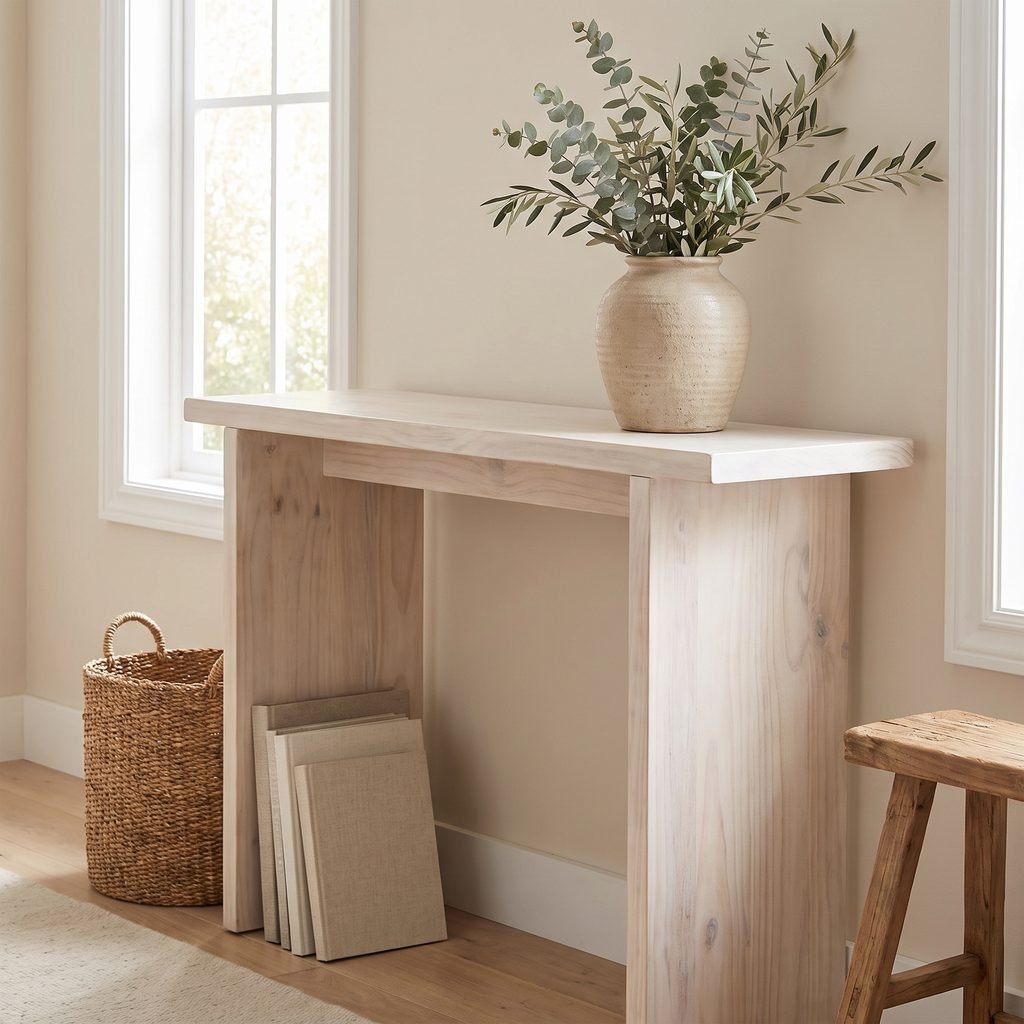
- Console tables
- Coffee tables
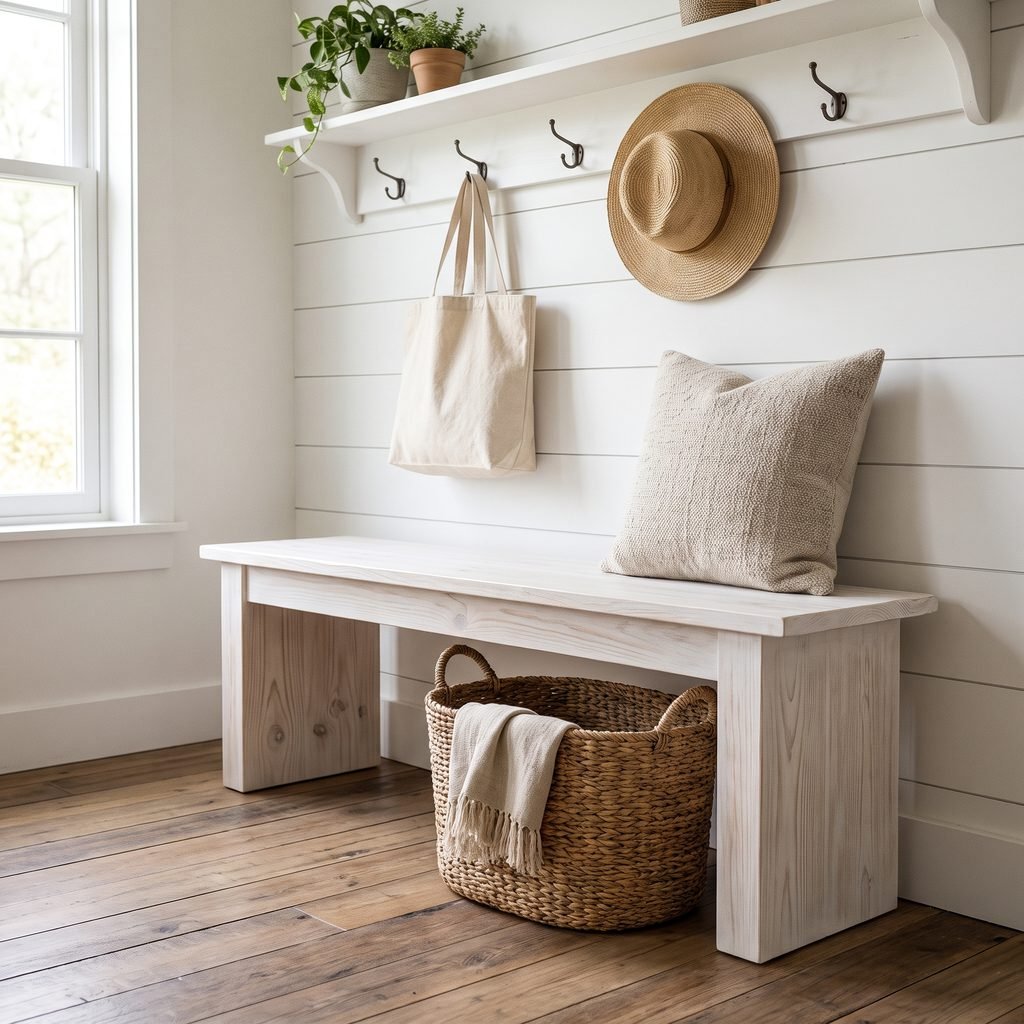
- Benches
- Side tables
- Shelving
Remove hardware before starting where practical.
Clean the piece thoroughly, then sand the surface enough to provide a suitable base.
Apply the whitewash in small sections and wipe it back until you reach the desired transparency.
For furniture that will receive regular wear, consider adding a suitable protective topcoat after the whitewash is fully dry.
How to Whitewash Wood Paneling
Whitewashing dark wood paneling can brighten a room while preserving some texture.
Before starting, decide whether you want:
- A very light wash
- Medium coverage
- A nearly painted appearance
Clean the paneling first.
If the surface is sealed or glossy, sanding or another preparation step may be necessary for adhesion.
Work board by board or in narrow sections.
Because wall paneling covers a large area, consistency matters.
Mix enough whitewash for a substantial section so you do not accidentally create noticeably different shades.
Stir the mixture regularly while working because paint can settle.
How to Whitewash a Wood Fireplace Mantel
A wood mantel can be whitewashed to create a softer rustic appearance.
First, confirm that the existing mantel material and finish are suitable for refinishing.
Clean and sand the surface as needed.
Keep paint and finishing products away from active heat sources during application and curing.
Follow the paint and topcoat manufacturer’s temperature, ventilation, and curing instructions before using the fireplace again.
Do not apply ordinary decorative paint to fireplace surfaces that require heat-resistant or noncombustible materials.
The mantel and decorative surround should also remain compliant with the fireplace’s required clearances.
Whitewash vs. Paint
Whitewash and paint create very different results.
Whitewash
Whitewash allows much of the wood grain to remain visible.
It creates a softer, more natural finish.
Solid Paint
Paint creates much more complete coverage and hides most of the original wood color.
Choose whitewash if you like the wood itself but want it to look lighter.
Choose solid paint if your goal is a smooth, consistent, opaque finish.
Whitewash vs. White Stain
White stain penetrates wood and is formulated specifically as a stain.
A paint-based whitewash sits partly on the surface while also settling into the wood, depending on how porous it is.
The two can look similar, but application, durability, and final appearance vary by product.
If you want a predictable wood-finishing system, a commercially made white stain may be worth considering.
Always follow the manufacturer’s instructions rather than diluting a product unless the label permits it.
How to Make Whitewashed Wood Look More Natural
The best whitewashed finishes often have some variation.
Do not try to make every inch identical.
Instead:
- Follow the grain
- Let knots show through
- Keep some areas slightly lighter
- Avoid thick paint buildup
- Wipe consistently
- Use thin coats
A little imperfection helps preserve the character of the wood.
If the result looks too much like solid paint, lightly sanding selected areas after the finish has dried can sometimes bring back more wood texture.
Use a gentle touch.
How to Make Whitewash Look More Modern
For a cleaner modern look, use less rustic distressing.
Choose:
- Smoothly sanded wood
- Soft warm white
- Thin even application
- Minimal knots
- Simple furniture lines
Avoid aggressively sanding edges after painting.
A more uniform translucent finish works especially well with Scandinavian, coastal, or minimalist decor.
Should You Seal Whitewashed Wood?
That depends on where the wood will be used.
Decorative wall pieces or low-touch objects may not need much additional protection.
Frequently used furniture can benefit from a compatible clear topcoat.
Examples include:
- Dining tables
- Coffee tables
- Benches
- Dressers
- Shelves
Choose a topcoat compatible with the paint or finishing system you used.
Be aware that some clear finishes can slightly change the color of pale wood or white paint.
Test the full finish system on scrap wood first if appearance matters.
Follow all manufacturer drying and curing instructions before placing objects on the surface.
How to Whitewash Wood Without Sanding
Sometimes people want to skip sanding entirely.
Whether that works depends on the existing surface.
Bare, clean, porous wood may accept a wash with little preparation.
A glossy factory finish is different.
Diluted paint may not bond properly to a slick sealed surface.
Instead of assuming sanding is unnecessary, test a small area.
If the wash beads up, scratches off easily, or looks patchy, more surface preparation is probably needed.
A bonding primer may be appropriate for some painted projects, but using primer generally moves the result closer to a painted finish rather than a traditional translucent whitewash.
How to Fix Whitewash That Is Too White
If the whitewash is still wet, wipe away more of it.
If it has already dried, you may be able to lightly sand the surface to expose more natural wood.
Work slowly.
Do not try to remove everything at once.
Another option on some projects is to blend the surface with a more diluted wash afterward, but test first because layering can create unexpected color changes.
How to Fix Uneven Whitewash
Unevenness usually comes from:
- Working too slowly
- Applying too much paint
- Different wood absorbency
- Inconsistent wiping
- Poor surface preparation
If the finish is slightly uneven, a second very thin coat may help blend the surface.
If the problem is severe, light sanding may be necessary before reapplying.
Always let the surface dry completely before deciding what to correct.
Common Whitewashing Mistakes
Skipping the Test Piece
The same mixture can look completely different on pine, oak, plywood, and stained wood.
Always test.
Applying Too Much Paint
A thick coat can hide the grain and turn the project into ordinary painting.
Start thin.
Working on Too Large an Area
The wash can begin drying before you have time to wipe it.
Work in sections.
Ignoring the Existing Finish
A glossy sealed surface may resist the wash.
Prepare it appropriately first.
Wiping Against the Grain
Random wiping can create streaks.
Follow the direction of the wood.
Forgetting That the Color Changes as It Dries
Let test areas dry before adjusting the mixture.
Adding a Topcoat Too Soon
Paint and whitewash need appropriate drying time before another finish is applied.
Follow product instructions.
Whitewashing Safety Tips
Work in a well-ventilated space, especially when sanding, stripping finishes, or applying coatings.
Wear:
- Eye protection
- Gloves when appropriate
- Dust protection suitable for sanding tasks
Follow all product label instructions.
If working with older painted furniture, trim, paneling, or architectural wood, consider the possibility of lead-based paint before sanding or scraping.
Do not sand unknown old coatings aggressively without understanding the risk.
When using power sanders, keep loose clothing and cords out of the work area and secure the piece when necessary.
Allow paint, stains, and clear finishes to dry and cure according to the manufacturer before normal use.
FAQ About How to Whitewash Wood
What is the easiest way to whitewash wood?
A common method is to apply a thin mixture of water-based white paint and water, then wipe away the excess while the finish is still wet.
What kind of paint should I use to whitewash wood?
For many indoor decorative projects, water-based paint is convenient because it can be diluted and cleaned up easily. Choose a paint suitable for the surface and intended use.
Do you have to sand wood before whitewashing?
Not always, but sanding can improve the result. Bare smooth wood may only need light sanding, while glossy or previously finished surfaces may need more preparation.
Can you whitewash stained wood?
Yes, but the existing stain and topcoat affect the result. If the surface is sealed, sanding may be necessary before the whitewash will adhere or absorb properly.
Can you whitewash wood with a roller?
A roller may help on large flat areas, but a brush and rag usually provide more control over the translucent effect and grain direction.
How many coats of whitewash should I use?
Often one or two thin coats are enough. Stop when you have the level of opacity you want.
Do you wipe whitewash off after applying it?
For a paint-based whitewash, wiping away excess while it is wet is a common way to keep the wood grain visible.
Does whitewashed wood need a clear coat?
Not always. Low-touch decorative surfaces may not need one, while furniture and frequently handled wood often benefit from additional protection.
Final Thoughts
Once you learn how to whitewash wood, it becomes a very flexible finishing technique for furniture, shelves, paneling, mantels, reclaimed wood, and DIY decor.
The basic process is simple: clean and prepare the wood, test a diluted white paint mixture, brush it on with the grain, wipe away the excess, and build additional coverage gradually if needed.
The biggest mistake is trying to achieve the final color in one heavy coat.
Whitewash looks best when the wood remains part of the finish.
Let the grain, knots, and natural variation show through, and take the time to test your mixture before covering the whole project.
With a little preparation and a light hand, you can turn dark or unfinished wood into a softer, brighter surface while still keeping the natural character that made you choose wood in the first place.

