

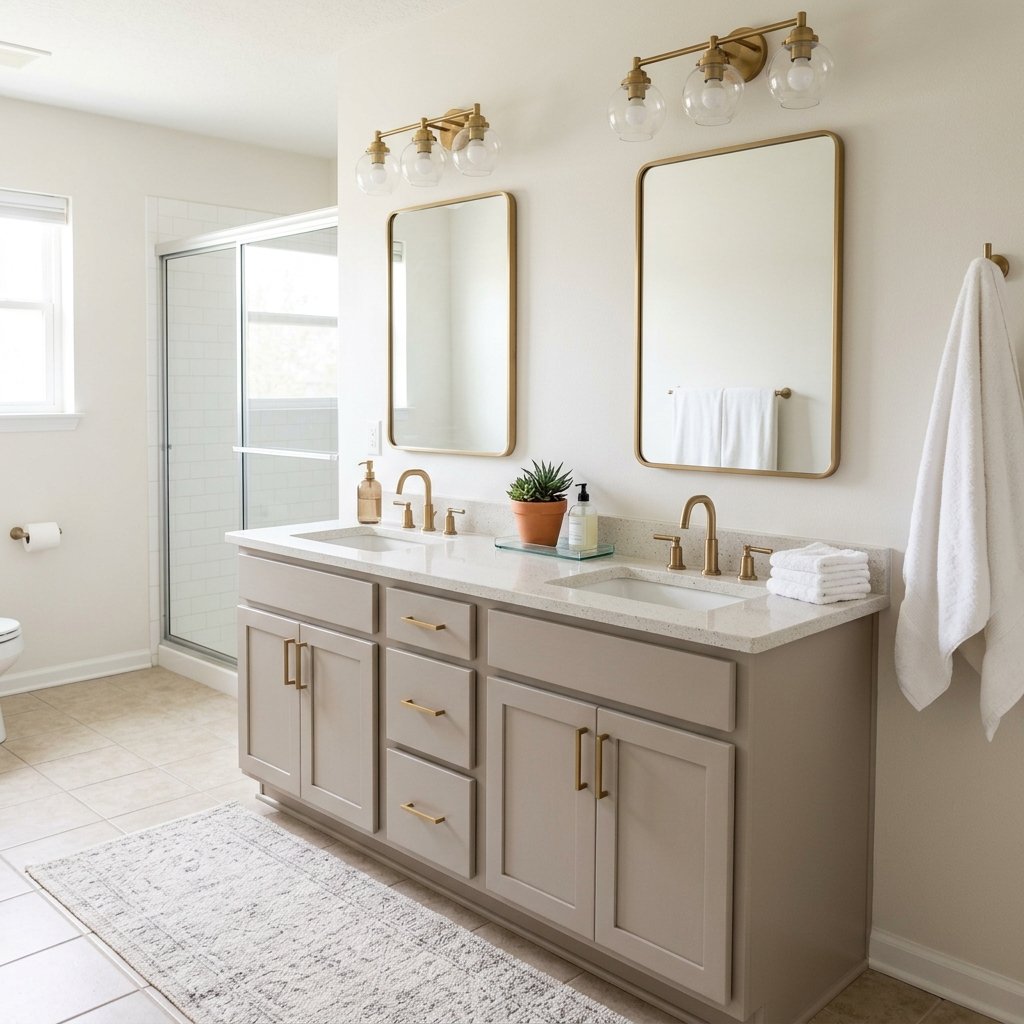
A dated bathroom can make you feel like the only solution is to tear everything out and start over. New tile, a new vanity, new plumbing fixtures, new lighting—it doesn’t take long for a bathroom renovation wish list to become expensive.
But a master bathroom makeover on a budget doesn’t have to mean a complete renovation.
If the basic layout works and the major fixtures are still in good condition, you can often make a surprisingly big difference by improving what’s already there. Paint can change the entire mood of the room. New vanity hardware can update dated cabinetry. A better mirror and light fixture can make the vanity wall feel completely different. Even something as simple as replacing tired towels and clearing clutter from the counters can help.
The key is knowing what to keep, what to update, and where your budget will have the most visual impact.
Before you start ripping out tile or shopping for a new vanity, take a good look at your bathroom. You may be much closer to a beautiful space than you think.
Start With What You Can Keep
The cheapest bathroom fixture is usually the one you don’t have to replace.
Before making your makeover list, look at each major element.
Can you keep the:
- Vanity
- Countertop
- Sink
- Bathtub
- Shower
- Floor
- Toilet
- Mirror
- Lighting
Don’t automatically replace something just because you don’t like the way the room currently looks.
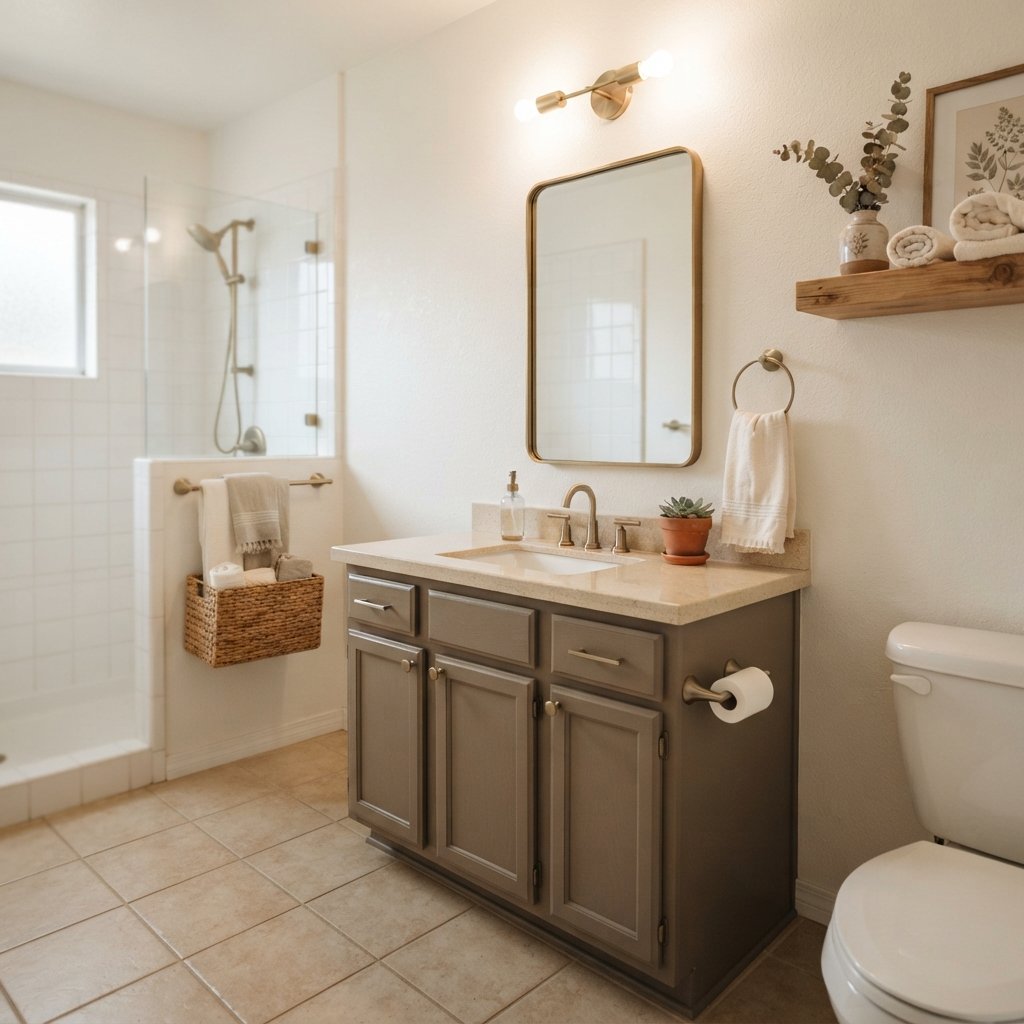
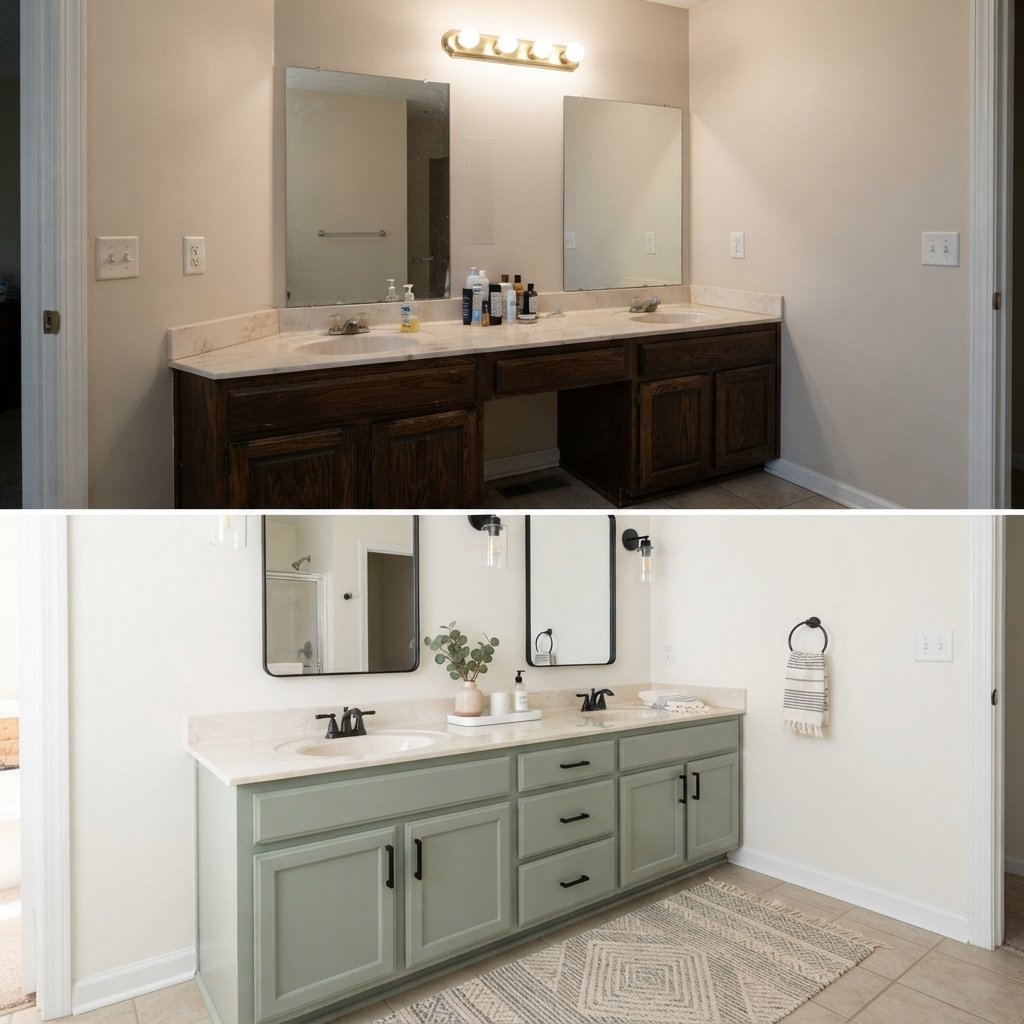
A dated wood vanity, for example, might look completely different after paint and new hardware.
An ordinary builder mirror can potentially be framed or replaced without touching the rest of the vanity.
And neutral tile you don’t particularly love may become much less noticeable once the walls, textiles, lighting, and cabinetry work together.
Spend your budget where it will actually change the room.
Set a Bathroom Makeover Budget Before Shopping
“Budget makeover” means different things to different people.
Instead of starting with a vague goal of spending as little as possible, choose a maximum amount you’re comfortable spending.
Then divide the project into categories:
- Paint and supplies
- Vanity updates
- Hardware
- Mirror
- Lighting
- Plumbing fixtures
- Storage
- Textiles
- Decor
- Unexpected expenses
Leave some money unallocated.
Small home improvement projects have a habit of revealing another tube of caulk, replacement fitting, paint brush, or piece of hardware you didn’t realize you needed.
Decide What Bothers You Most
Stand in the bathroom and identify the three things making it feel dated.
Maybe it’s:
- Dark vanity
- Builder-grade mirror
- Old wall color
Great.
Start there.
Don’t turn a cosmetic makeover into a complete renovation simply because you’re already working in the room.
Solving the biggest visual problems first will help you decide whether anything else really needs changing.
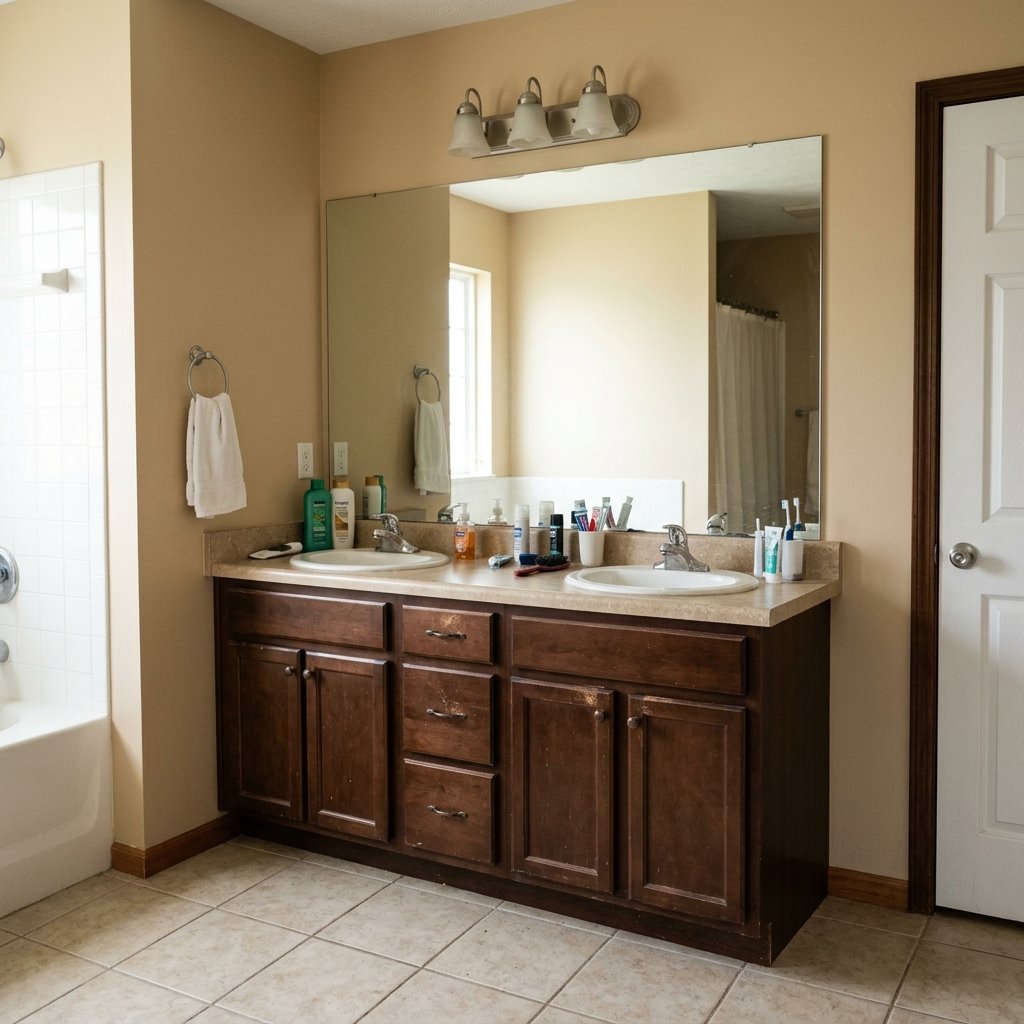
1. Paint the Bathroom Walls
Few projects change a room as quickly and affordably as paint.
Bathroom walls can accumulate:
- Scuffs
- Water marks
- Makeup
- Dust
- General wear
A fresh coat immediately makes the room feel cleaner.
Choose a paint appropriate for bathrooms and the conditions in your space. Follow the manufacturer’s recommendations for surface preparation, primer, application, ventilation, drying, and curing.
Good Bathroom Paint Color Directions
You don’t necessarily need stark white.
Consider:
- Warm white
- Soft greige
- Light taupe
- Muted green
- Soft blue-gray
- Warm beige
Look at the undertones already present in your fixed materials.
If the countertop and tile are warm, an icy blue-gray may emphasize colors you were hoping to minimize.
2. Paint the Existing Vanity
Replacing a bathroom vanity can consume a large portion of a renovation budget.
If yours is structurally sound, painting it may be a much more affordable solution.
A dated vanity can look dramatically different in:
- Warm white
- Soft greige
- Muted sage
- Deep green
- Navy
- Charcoal
- Black
But don’t rush directly into painting.
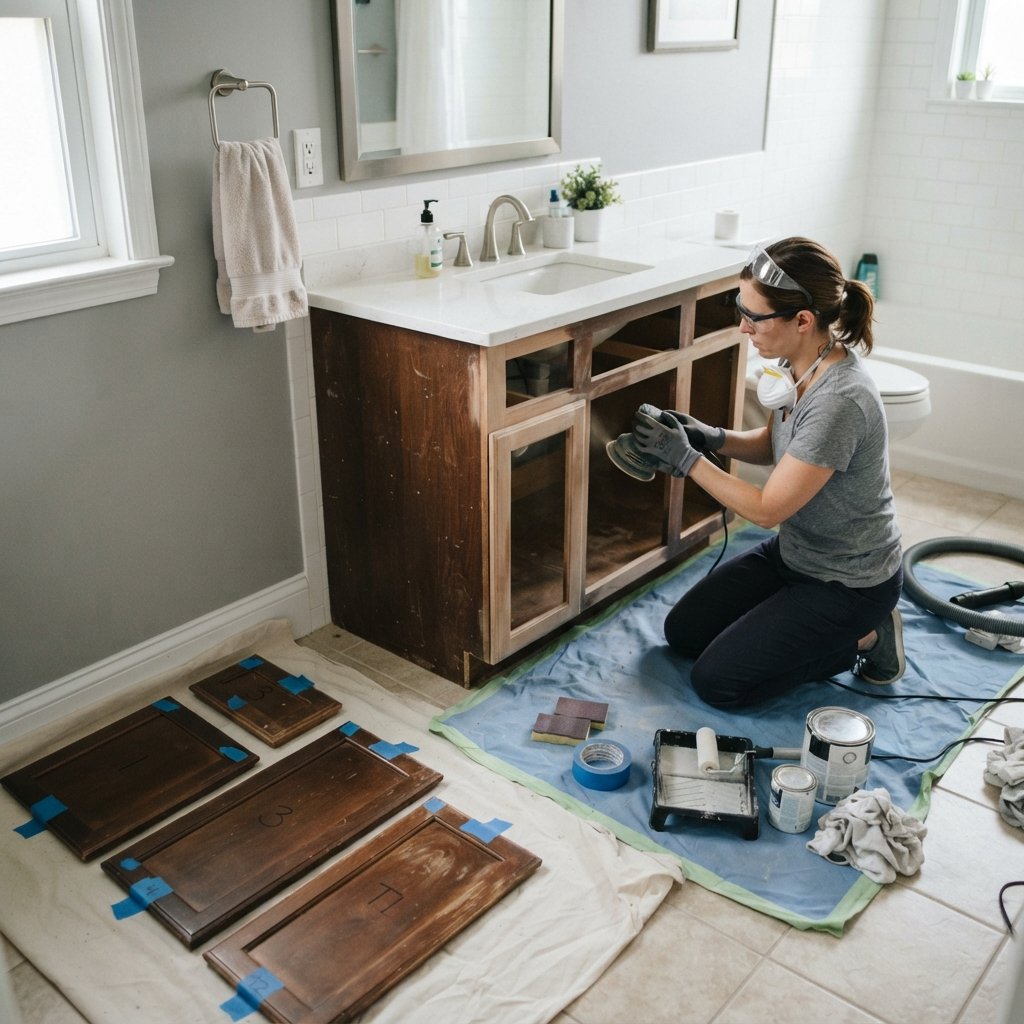
Cabinet preparation matters.
Depending on the existing finish and paint system, preparation may involve:
- Removing doors and hardware.
- Cleaning thoroughly.
- Deglossing or sanding as required.
- Repairing damage.
- Applying an appropriate primer if required.
- Painting with a coating suitable for cabinetry.
- Allowing adequate drying and curing time.
Always follow the coating manufacturer’s instructions rather than relying on a universal process.
3. Replace the Vanity Hardware
New cabinet hardware is one of the easiest ways to make a painted vanity feel finished.
Try:
- Simple knobs
- Bar pulls
- Cup pulls
- Small traditional pulls
Possible finishes include:
- Brass-toned
- Matte black
- Polished nickel
- Brushed nickel
- Bronze
You don’t necessarily have to match every metal finish in the bathroom exactly.
A coordinated mix can work beautifully.
If you want the easiest update, choose hardware that fits the existing holes.
Changing the spacing may require filling and redrilling holes.
4. Update the Mirror
A large frameless builder mirror can dominate a bathroom.
You have several options.
Replace It
Use one or two framed mirrors depending on the vanity configuration.
Frame the Existing Mirror
If the existing mirror is in good condition, adding an appropriate frame can sometimes give it a more custom appearance.
Keep It
If the mirror itself isn’t bothering you, spend the money somewhere else.
Don’t replace things simply because they’re commonly replaced in makeover projects.
5. Update the Vanity Lighting
Bathroom lighting has a major effect on both function and appearance.
A new fixture can update the vanity wall without changing anything else.
Choose lighting that:
- Is appropriately rated for its location
- Provides useful illumination
- Is correctly sized for the mirror and vanity
- Works with the room’s overall style
Electrical work can involve shock and fire hazards.
Turn power off at the breaker and verify that circuits are de-energized before working. If you’re not trained and comfortable doing electrical work, hire a qualified electrician.
Local electrical requirements vary, particularly in wet areas.
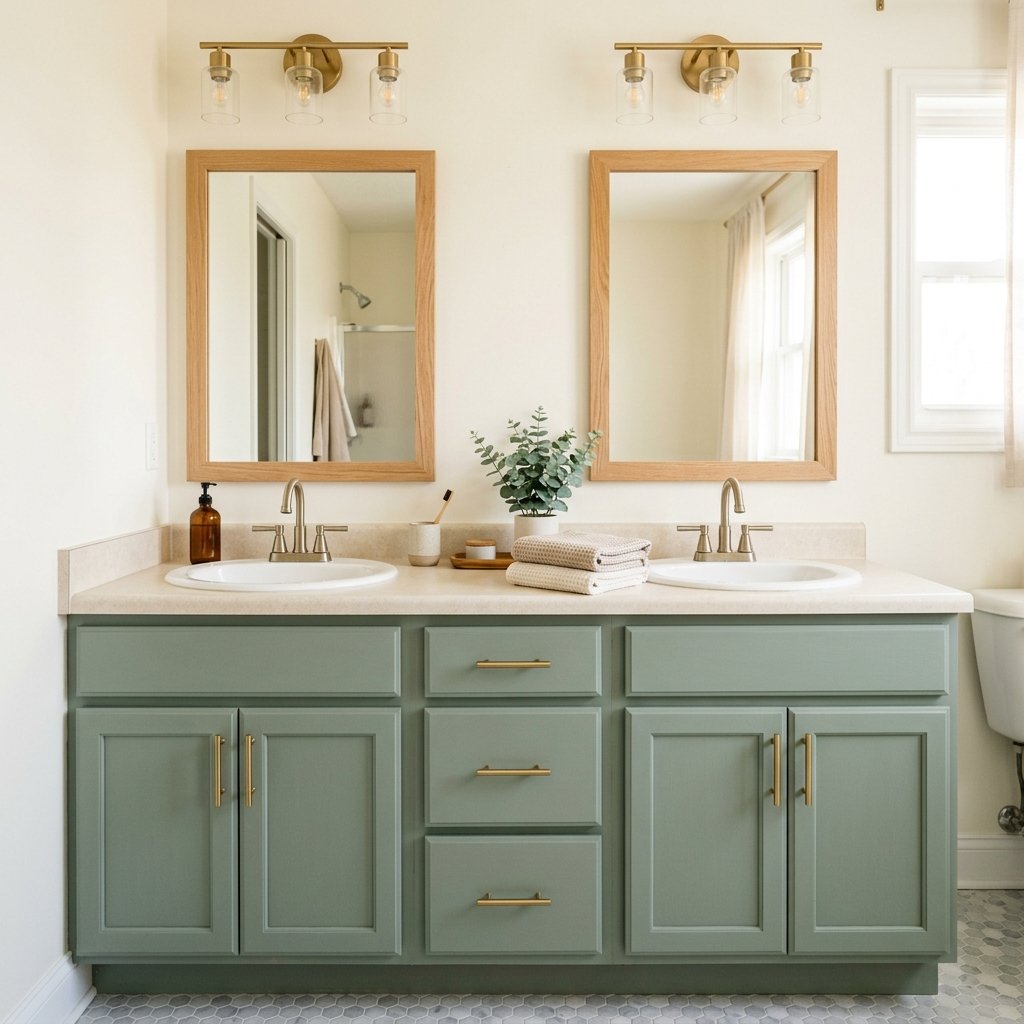
6. Replace a Dated Faucet
A faucet can be a relatively small detail that has a big visual impact.
Before buying one, confirm:
- Sink configuration
- Number of holes
- Hole spacing
- Faucet dimensions
- Clearance
- Drain compatibility where relevant
Don’t purchase a faucet based only on appearance.
Changing plumbing fixtures can reveal corroded valves, old supply lines, or other issues. If you encounter leaks, damaged plumbing, or connections you’re not comfortable handling, call a qualified plumber.
7. Refresh the Caulk
Old caulk can make an otherwise clean bathroom look tired.
Check around appropriate joints near:
- Tub
- Shower
- Sink
- Countertop
- Backsplash
Cracked, mold-damaged, loose, or missing sealant may need to be removed and replaced with a product appropriate for the application.
Follow the sealant manufacturer’s preparation and cure instructions.
Caulk shouldn’t be used to hide water damage or significant movement. If you find soft materials, persistent moisture, or evidence of a leak, address the underlying problem first.
8. Deep Clean the Grout
Before deciding your floor or shower tile needs replacing, clean it thoroughly.
Grout can gradually become darker from dirt, soap residue, and moisture-related staining.
Use cleaning products suitable for your specific tile and grout.
Avoid assuming every DIY cleaning mixture is safe for every surface. Natural stone, specialty tile, and certain grout products may require specific cleaners.
If grout is cracked or missing, cleaning alone won’t solve the problem.
9. Repair Grout Where Needed
Small grout repairs can improve the appearance of tile, but widespread cracking can indicate movement or other underlying issues.
Don’t simply cover recurring cracks.
If grout repeatedly fails or tiles are loose, investigate the cause before making cosmetic repairs.
Water damage around showers and tubs deserves particular attention.
10. Work With Existing Bathroom Tile
One of the best ways to keep a bathroom makeover affordable is to avoid replacing functional tile.
Instead, make it look intentional.
If the floor is beige, repeat warm tones through:
- Wood
- Warm white
- Brass
- Taupe textiles
If the tile is gray, try:
- Warm gray
- Soft white
- Natural wood
- Muted green
Trying to fight an existing undertone often makes it more obvious.
11. Replace the Bathroom Rug
An old bath mat can make the entire room feel tired.
Choose something that:
- Fits the scale of the room
- Is appropriate for bathroom use
- Can be cleaned as required
- Has suitable slip resistance
For a double vanity, a longer runner-style bathroom rug may help visually connect the space.
Don’t use an unsecured decorative rug that becomes a slipping hazard.
12. Upgrade the Towels
New towels are a simple finishing touch.
Try:
- White
- Cream
- Beige
- Muted green
- Soft blue
- Warm gray
You don’t need ten decorative towels.
A small coordinated set of functional towels will make the room feel more intentional.
13. Declutter the Vanity Counter
This update is free.
Remove everything from the counter.
Then return only the items that need to stay out.
You might keep:
- Hand soap
- Small tray
- Toothbrush storage
- One decorative object
Store backups and less frequently used products elsewhere.
A clear countertop makes even an older vanity feel more polished.
14. Use Trays to Corral Everyday Items
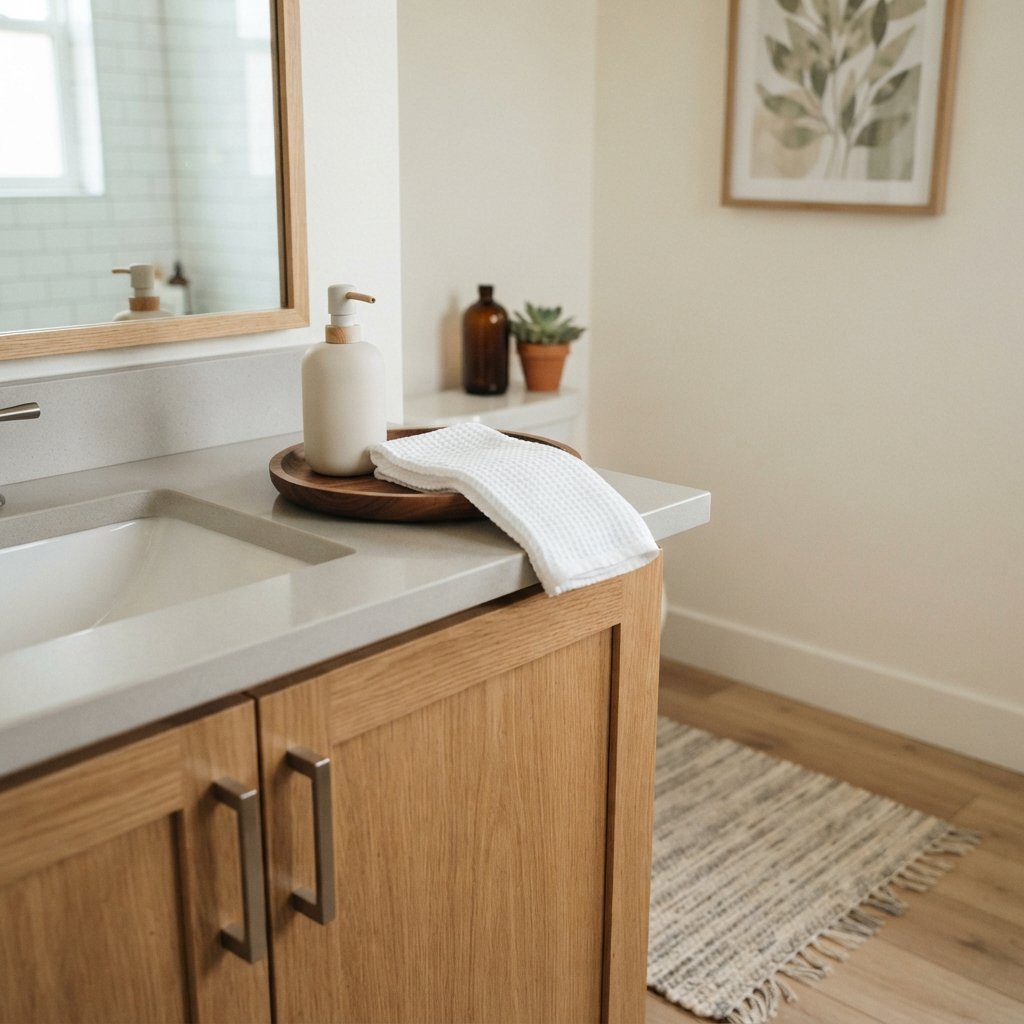
If you need several items on the counter, group them on a tray.
This can turn visual clutter into one intentional arrangement.
Use a tray appropriate for a damp environment.
Avoid materials that will quickly warp, stain, or deteriorate if exposed to water.
15. Add Better Bathroom Storage
A master bathroom makeover isn’t successful if it looks pretty but functions poorly.
Consider inexpensive organization inside:
- Vanity drawers
- Under-sink cabinets
- Linen cabinets
- Medicine cabinets
Use:
- Drawer dividers
- Small bins
- Clear containers
- Pull-out organizers where appropriate
Measure before buying organizers.
It’s surprisingly easy to spend money on containers that don’t actually fit.
16. Add Open Shelving Carefully
An empty wall above a toilet or beside the vanity may work for shelves.
Use them for a limited number of items:
- Towels
- Small basket
- Artwork
- Decorative object
Don’t turn shelves into storage for dozens of toiletries unless that’s genuinely the most functional solution.
Shelves need appropriate anchors and installation methods for the wall material and expected load.
17. Update the Shower Curtain
If your bathroom has a shower curtain, this is one of the quickest ways to change the room.
Choose:
- Crisp white
- Cream
- Subtle stripe
- Small-scale pattern
- Textured neutral
Hanging the curtain higher can sometimes make the room feel taller, provided the rod, curtain, liner, and installation are appropriate.
Make sure the liner still contains water properly.
18. Change the Shower Curtain Hardware
A new rod and curtain rings can make a surprisingly noticeable difference.
Choose finishes that relate to the other metal elements in the room.
Again, they don’t have to match perfectly.
19. Add Simple Artwork
Bathrooms often have awkward blank walls.
One or two pieces of art can make the room feel finished.
Consider:
- Botanical art
- Abstract prints
- Landscape
- Simple vintage-inspired artwork
Choose materials and framing appropriate for the humidity conditions in your bathroom.
Avoid placing valuable or moisture-sensitive artwork where steam or splashing may damage it.
20. Bring in Warm Wood
Bathrooms contain lots of hard surfaces.
Wood can add warmth.
Try:
- Small stool
- Picture frame
- Shelf
- Tray
- Vanity accessory
Choose materials appropriate for bathroom conditions and avoid leaving untreated wood where it will be repeatedly soaked.
21. Add a Plant—If the Room Can Support It
Plants can bring color and softness into a bathroom.
But don’t choose one simply because it’s labeled a “bathroom plant.”
Consider the actual conditions:
- Natural light
- Humidity
- Temperature
- Maintenance
If your bathroom has very little light, a realistic faux plant may be the more practical decorating choice.
Budget Bathroom Makeover Without Replacing the Vanity
If you’re trying to save money, focus on everything around the existing vanity.
Try this combination:
- Paint the vanity.
- Replace hardware.
- Update mirror.
- Update lighting.
- Replace faucet if needed.
- Paint walls.
- Add a new rug.
- Simplify counter decor.
Together, these changes can make the entire vanity wall feel new without replacing the cabinet box.
Bathroom Makeover Without Replacing Tile
Tile removal can turn a cosmetic makeover into a major renovation.
If your tile is intact and functional, try improving everything surrounding it first.
Change:
- Wall paint
- Vanity color
- Hardware
- Mirror
- Lighting
- Towels
- Rug
You may discover that the tile wasn’t really the problem—it simply didn’t work with the previous finishes.
Small Master Bathroom Makeover on a Budget
In a smaller bathroom, avoid adding too many decorative elements.
Focus on:
- Light
- Storage
- Clear counters
- One cohesive color palette
A large mirror can help reflect light.
Wall-mounted storage can preserve floor space.
And matching containers inside cabinets can make limited storage much easier to use.
Builder-Grade Bathroom Makeover Ideas
Builder-grade bathrooms often have perfectly functional materials that simply lack personality.
Common opportunities include:
- Painting the vanity
- Changing hardware
- Replacing the mirror
- Updating lighting
- Painting walls
- Adding shelves
- Replacing towel bars
- Adding artwork
You don’t need to change every builder-grade feature at once.
What Should You Splurge on in a Budget Bathroom Makeover?
Even on a budget, some areas are worth prioritizing.
Fixing Water Problems
Leaks aren’t decorative issues.
Electrical Safety
Wet areas require appropriate fixtures and installation.
Functional Plumbing
A bargain fixture isn’t useful if it leaks or doesn’t fit.
Durable Paint and Finishes
Bathrooms experience moisture and frequent cleaning.
Proper Installation
Don’t save money by taking risks with work beyond your skill level.
Save on cosmetic details instead.
What Can You Save Money On?
Potential places to save include:
- Keeping existing vanity
- Keeping functional tile
- Reusing mirrors
- Painting
- DIY cabinet hardware
- Shopping your home for decor
- Using existing baskets
- Simple artwork
- Updating textiles
The biggest savings often come from not replacing something.
How to Make a Bathroom Look More Expensive on a Budget
You don’t need luxury materials everywhere.
Focus on visual consistency.
Use Fewer Finishes
A restrained palette feels intentional.
Choose Appropriately Sized Hardware
Tiny hardware can look out of scale on a large vanity.
Hang Mirrors Thoughtfully
Pay attention to proportion and spacing.
Keep Counters Clear
Clutter makes expensive materials disappear.
Upgrade Lighting
Good lighting affects everything else.
Use Large-Scale Art
One appropriately sized piece can look more polished than several tiny accessories.
Repeat Materials
If you use warm wood on a shelf, repeat it in a frame or tray.
A Simple Budget Bathroom Makeover Plan
If you’re overwhelmed, work in this order:
Weekend 1: Clear and Plan
Declutter, deep clean, make repairs, set the budget, and order necessary materials.
Weekend 2: Paint
Paint the walls and vanity if included.
Weekend 3: Install Updates
Add hardware, mirror, lighting, faucet, or shelves as appropriate.
Final Day: Style
Add towels, rug, storage, artwork, and simple decor.
Spacing the project out also gives coatings and sealants adequate time to dry and cure according to their instructions.
Bathroom Makeover Safety Considerations
Bathrooms combine water, electricity, plumbing, slippery surfaces, and sometimes heavy fixtures.
Keep safety in mind throughout the project.
- Turn off electricity at the breaker and verify circuits are de-energized before electrical work.
- Hire a qualified electrician when the work is outside your experience or local requirements demand it.
- Shut off water before disconnecting plumbing fixtures.
- Check carefully for leaks after plumbing work.
- Don’t ignore signs of water damage or mold.
- Wear appropriate eye, hand, and respiratory protection when sanding or using products that require it.
- Provide ventilation when painting, priming, caulking, or using adhesives.
- Follow all product instructions and cure times.
- Use appropriate anchors for shelves and mirrors.
- Get help lifting large mirrors or vanities.
- Use slip-resistant rugs or appropriate rug pads.
- Don’t paint or cover over active water damage.
- Follow local requirements for electrical work and fixtures in wet locations.
If you discover significant mold, damaged subflooring, persistent leaks, unsafe wiring, or structural deterioration, stop the cosmetic makeover and address the underlying problem first.
Common Budget Bathroom Makeover Mistakes
Replacing Everything
Keep functional materials whenever possible.
Painting Without Proper Prep
Bathrooms and cabinets need appropriate surface preparation.
Choosing Paint in Isolation
Compare it with tile, counters, and flooring.
Buying Hardware Before Measuring
Check existing hole spacing.
Buying a Faucet Before Checking the Sink
Confirm the configuration first.
Ignoring Lighting
It can completely change how colors look.
Spending Too Much on Decor
Fix the room before accessorizing it.
Following Trends That Fight the Existing Materials
Work with what you have.
Hiding Water Damage
Cosmetic fixes won’t solve moisture problems.
Rushing Cure Times
A coating that’s dry to the touch may not be fully cured.
FAQ About Master Bathroom Makeovers on a Budget
How can I update my master bathroom cheaply?
Start with paint, cabinet hardware, a new rug, towels, decluttering, and simple decor. If the budget allows, update the mirror and lighting next.
How can I update a bathroom without replacing the vanity?
Paint the vanity, replace its hardware, change the mirror and lighting, update the faucet if needed, and simplify the counter styling.
Can you make old bathroom tile look better without replacing it?
Often, yes. Deep cleaning grout and choosing surrounding paint, cabinetry, and textiles that work with the tile’s undertones can make it much less visually dominant.
What should I update first in a dated bathroom?
Start with whatever has the greatest visual impact. Wall paint, vanity color, mirrors, and lighting are often good candidates.
How can I make a builder-grade bathroom look more custom?
Consider painted cabinetry, new hardware, framed mirrors, updated lighting, simple shelving, artwork, and coordinated textiles.
Should bathroom hardware all match?
Not necessarily. Mixing metal finishes can work if it looks intentional. Repeating each important finish more than once can help the combination feel cohesive.
Is painting a bathroom vanity a good budget update?
It can be if the vanity is structurally sound and properly prepared. Use a coating system suitable for cabinetry and follow its preparation and cure requirements.
What shouldn’t I DIY in a bathroom?
That depends on your training and local regulations. Electrical work, complicated plumbing, waterproofing, structural repairs, and significant mold or water-damage remediation may require qualified professionals.
Final Thoughts
A master bathroom makeover on a budget isn’t about finding the cheapest possible version of an expensive renovation.
It’s about avoiding an unnecessary renovation in the first place.
If your bathroom layout works, the vanity is solid, and the tile is in good condition, start by improving those existing elements rather than removing them.
Paint the walls.
Consider painting the vanity.
Change the hardware.
Update the mirror or lighting.
Clean the grout.
Clear off the counter.
Add fresh towels and a rug.
Then look at the room again before deciding what else needs to change.
You may be surprised by how much better the existing countertop or floor looks once it’s surrounded by colors and finishes that actually complement it.
Spend money on the things that matter—water problems, safe electrical work, functional plumbing, and durable finishes—and save on the cosmetic pieces you can update yourself.
A bathroom doesn’t need to be brand new to feel fresh, functional, and beautiful.
Sometimes the best budget makeover is simply learning how to make what you already have work much better.

