

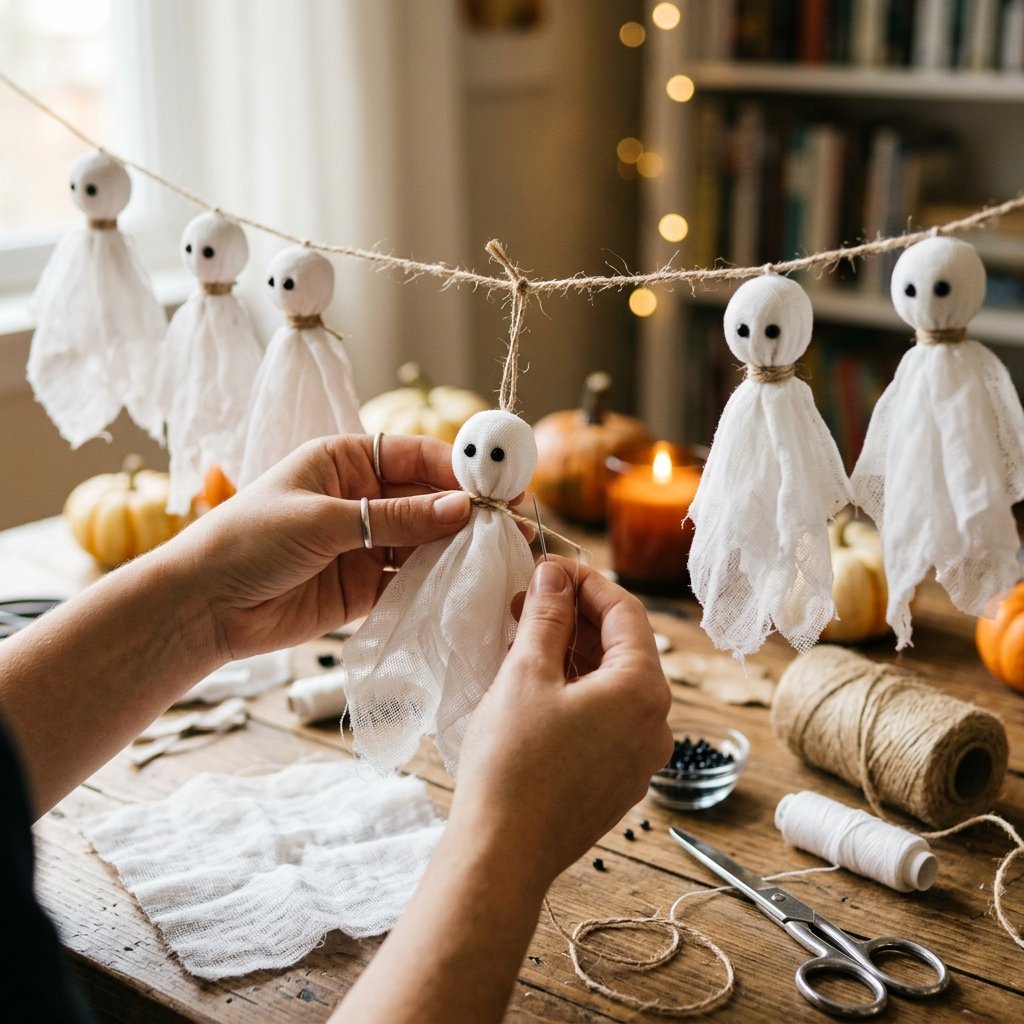
If you’re looking for an easy Halloween decoration that doesn’t require expensive supplies or complicated crafting skills, a simple DIY ghost garland is a perfect project to try.
Ghost garlands are inexpensive, customizable, and can be made in just a short amount of time. You can hang one across a mantel, doorway, staircase, shelf, window, or even a Halloween party table.
The best part is that you can create a spooky look without making your home feel overly scary. Use white fabric, string, yarn, paper, or other lightweight craft materials to create cute little ghosts that fit your decorating style.
Whether you prefer adorable ghosts, traditional spooky decorations, or a minimalist Halloween aesthetic, this project can easily be adapted to match your home.
In this guide, we’ll show you how to make a simple DIY ghost garland, including materials, step-by-step instructions, decorating ideas, variations, and tips for making your finished garland look polished.
What Is a Ghost Garland?
A ghost garland is a decorative string or strand featuring multiple ghost shapes connected or attached along its length.
It’s a simple Halloween craft that can be customized in countless ways.
You can make ghosts from:
- Cheesecloth
- White fabric
- Tissue paper
- Felt
- Cardstock
- Cotton
- Yarn
- Lightweight fabric scraps
For a classic ghost garland, white material combined with black eyes creates an instantly recognizable Halloween decoration.
You can make the ghosts cute and friendly or give them a more traditional spooky appearance.
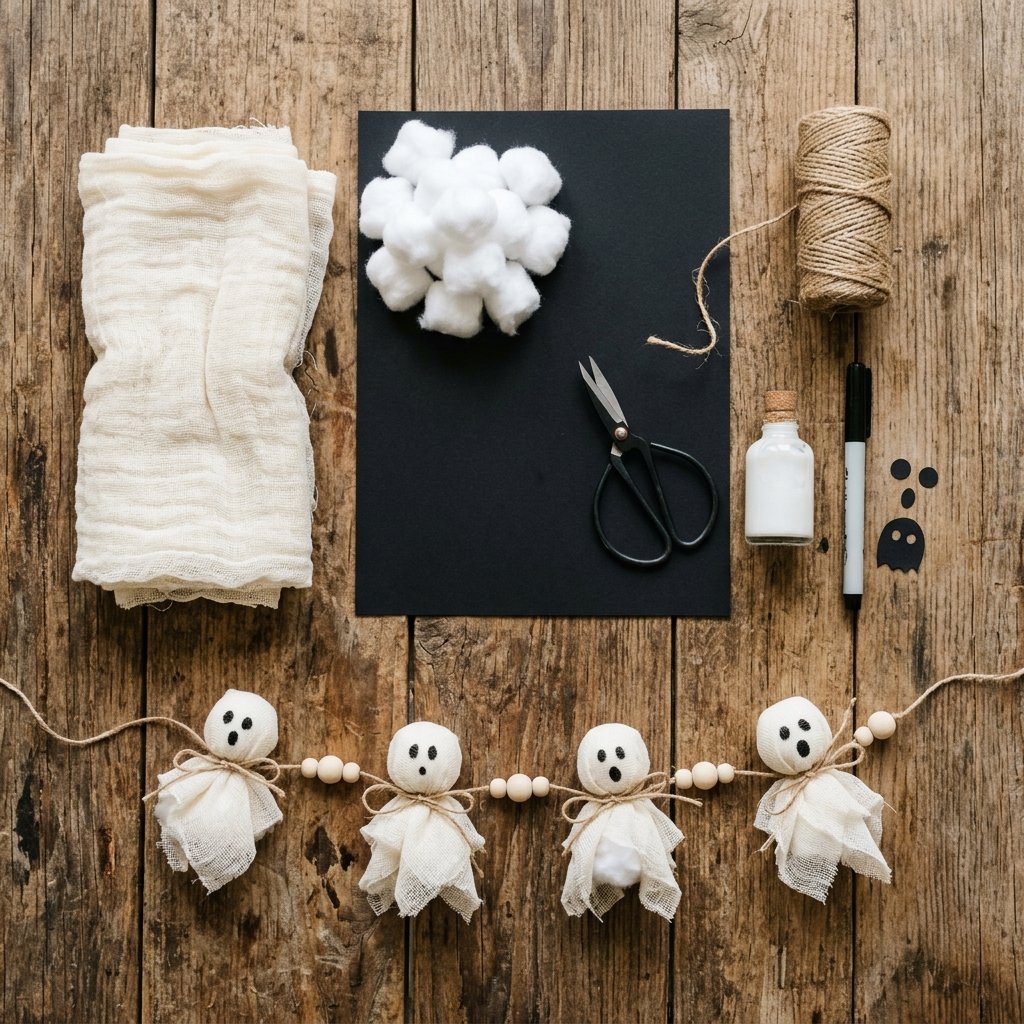
Materials You’ll Need
For this simple DIY version, you don’t need many supplies.
Basic materials
- White cheesecloth or lightweight white fabric
- White cotton balls or crumpled paper
- Black marker
- String, twine, or ribbon
- Scissors
- Craft glue
- Small pieces of black paper or felt
You can also use lightweight wooden or plastic beads if you want to add spacing between the ghosts.
If children are helping, choose age-appropriate materials and supervise scissors and any small pieces.
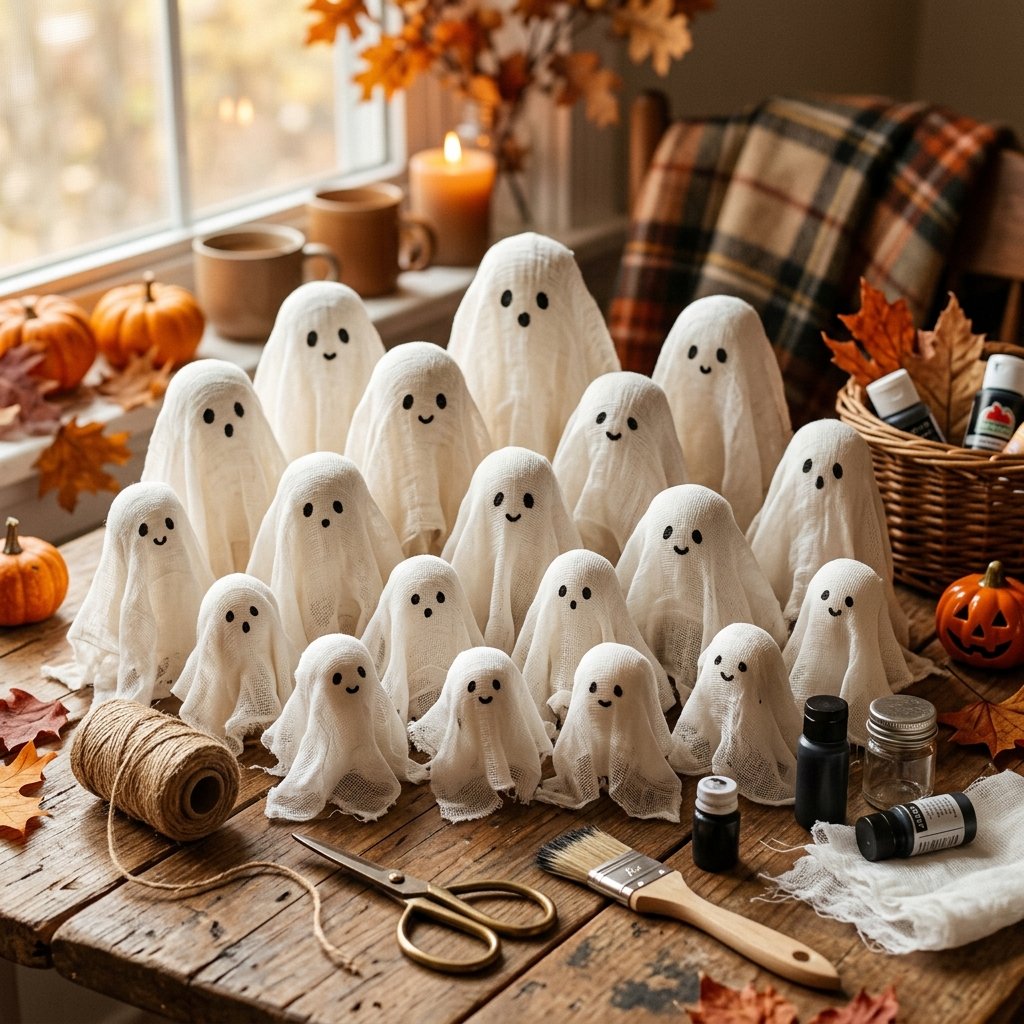
Step 1: Decide How Long You Want Your Garland
Before making the ghosts, determine where you plan to hang the garland.
Measure the space.
You might want a short garland for:
- A bookshelf
- Coffee table
- Small shelf
Or a longer one for:
- Fireplace mantel
- Stair railing
- Large window
- Party backdrop
Give yourself a little extra string at both ends so you have enough room to tie or hang the finished garland.
Step 2: Cut Your Cheesecloth
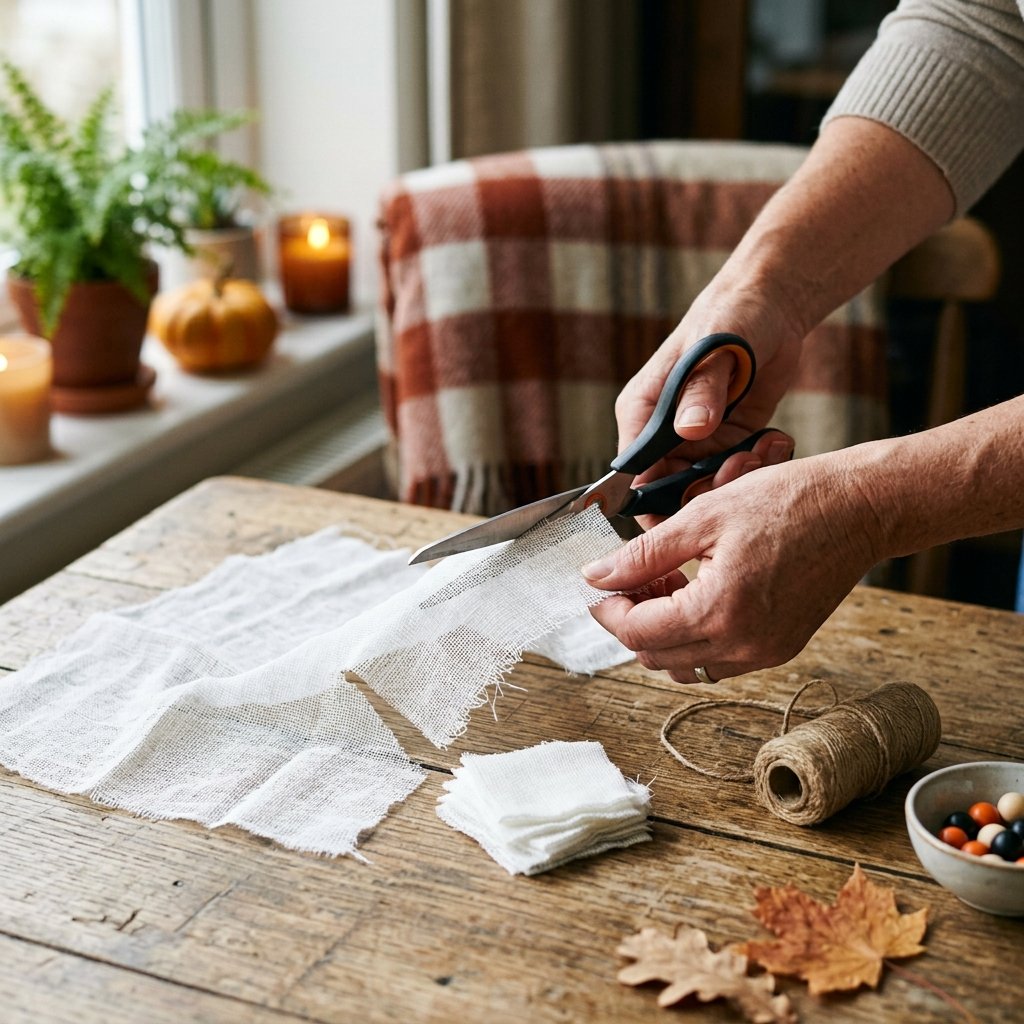
If you’re using cheesecloth, cut it into approximately equal-sized squares.
The size of each square will determine the size of your ghosts.
For small ghosts, use smaller squares.
For larger statement ghosts, cut larger pieces.
Don’t worry about making the edges perfectly straight.
A slightly uneven edge can actually make the ghosts look more natural and handmade.
Step 3: Create the Ghost Shape
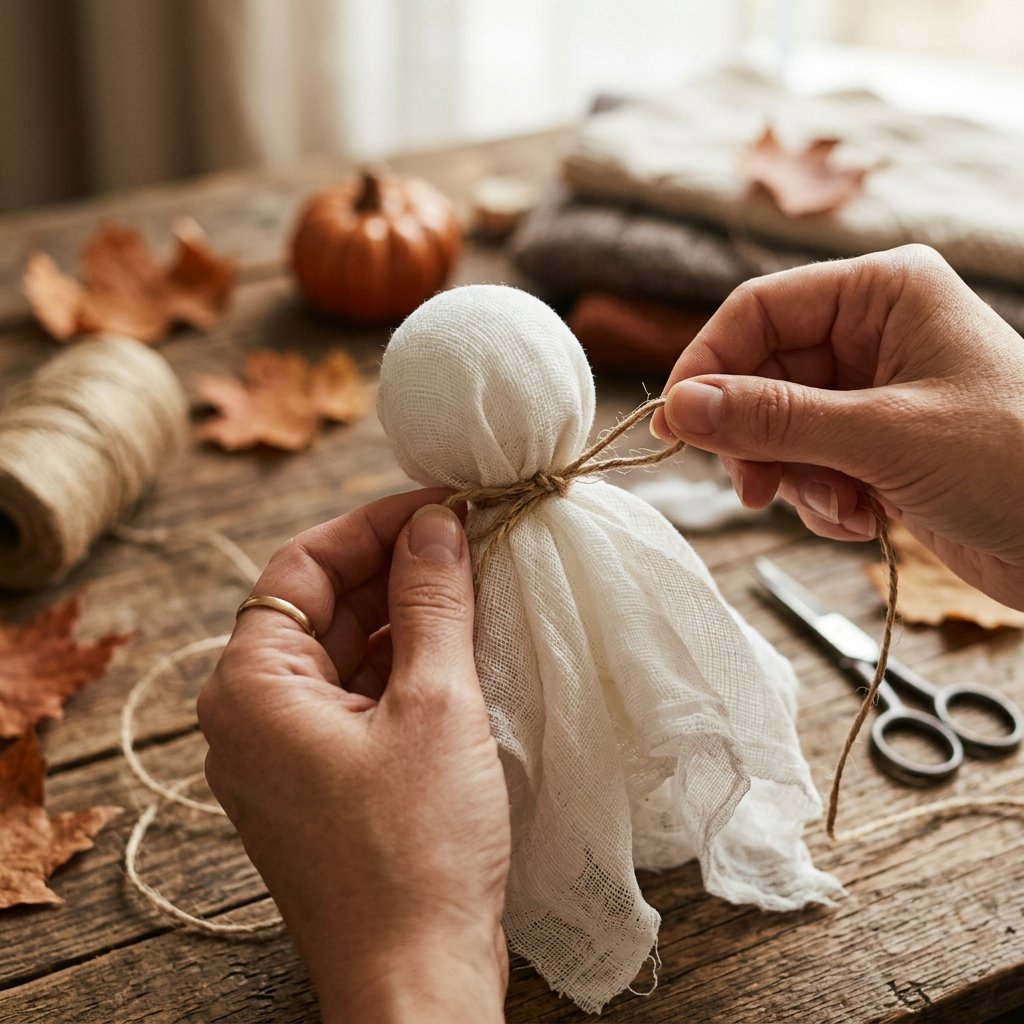
Take one piece of cheesecloth and place it over a small round object.
You could use:
- A small foam ball
- Cotton balls
- Crumpled paper
- A lightweight craft ball
Place the material over the object so it hangs naturally.
The object creates the rounded head of the ghost.
Gather the fabric underneath the head.
You should now have a simple ghost shape.
Don’t make every ghost identical.
Slight variations can make the garland look more playful.
Step 4: Secure the Ghost
Once you’re happy with the shape, secure the gathered fabric underneath the head.
You can use a small piece of string, twine, or another suitable method.
Tie it gently so you don’t damage the fabric.
The bottom of the ghost should remain loose and flowing.
This gives the garland movement and makes each ghost look more like a little floating spirit.
Step 5: Add the Ghost’s Face
Now give your ghosts some personality.
The simplest option is two black eyes.
You can create them using:
- Black paper
- Black felt
- Small fabric pieces
- A black marker
For a cute ghost, make the eyes small and round.
For a spooky ghost, try larger oval-shaped eyes.
You can also add a small mouth.
However, keeping the faces simple often creates the most charming result.
If using markers or paint, make sure the medium is suitable for your chosen fabric and allow it to dry completely.
Step 6: Make More Ghosts
Repeat the process until you have enough ghosts for your garland.
A short garland might need only five or six.
A longer mantel garland may need ten or more.
Vary the sizes slightly to make the arrangement more interesting.
You can also alternate between ghosts with:
- Two eyes
- Eyes and mouths
- Different expressions
- Different sizes
Step 7: Prepare the Garland String
Cut a length of twine, ribbon, yarn, or string.
Choose a material that complements your Halloween decorating style.
Natural twine
Perfect for rustic or farmhouse-style Halloween decor.
Black ribbon
Creates a more dramatic and traditional Halloween appearance.
White string
Creates a subtle minimalist look.
Orange ribbon
Adds a little seasonal color.
Leave extra length at both ends for hanging.
Step 8: Attach the Ghosts
Attach each ghost to the string.
You can tie the string directly around the gathered section of the ghost or attach it using a small amount of craft glue.
Space the ghosts evenly.
Alternatively, use different spacing to create a more casual arrangement.
If your ghosts are lightweight, you don’t need heavy hardware.
Just make sure the hanging method is appropriate for the surface where you’re displaying the garland.
Step 9: Add Extra Decorations
Your ghost garland is already complete at this point, but you can add additional details.
Consider incorporating:
- Small black pom-poms
- Wooden beads
- Tiny orange felt pumpkins
- Black ribbon
- Mini paper bats
- Small faux spider webs
Don’t overload the garland.
The ghosts should remain the main feature.
For a minimalist look, stick with white ghosts and natural twine.
Step 10: Hang Your Ghost Garland
Now comes the fun part!
Your finished garland can be displayed almost anywhere.
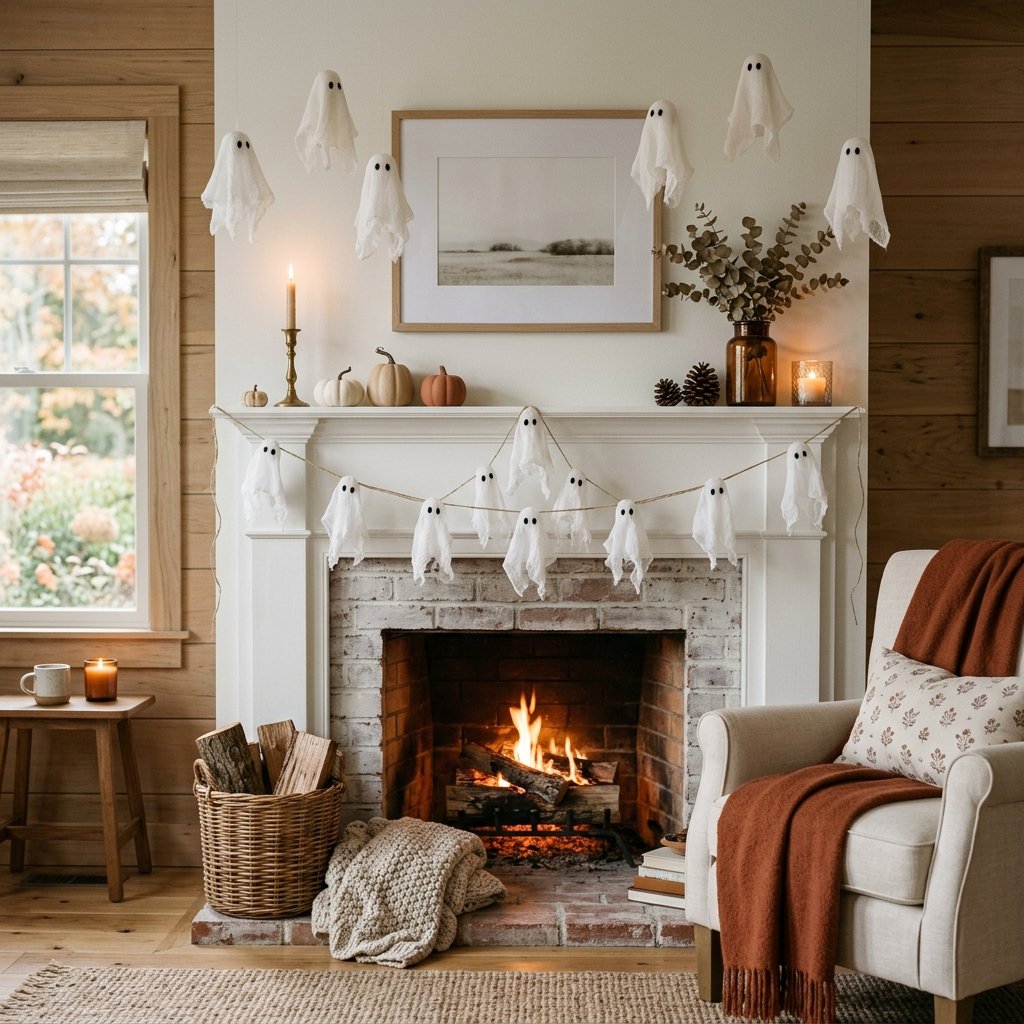
Fireplace mantel
Drape it loosely across the mantel.
Staircase
Attach it carefully along the railing.
Doorway
Hang it above an interior doorway.
Window
Use removable hanging methods where appropriate.
Bookshelf
Let the ghosts hang between books and other Halloween decorations.
Party table
Place the garland along the front edge of a dessert or snack table.
A Paper Ghost Garland Alternative
If you don’t have cheesecloth, paper is another incredibly easy option.
Cut ghost shapes from white cardstock.
Draw simple faces on them.
Then punch a small hole near the top of each ghost.
Thread them onto string.
This version is especially easy for children and classroom Halloween decorations.
You can also use different sizes to create a fun layered effect.
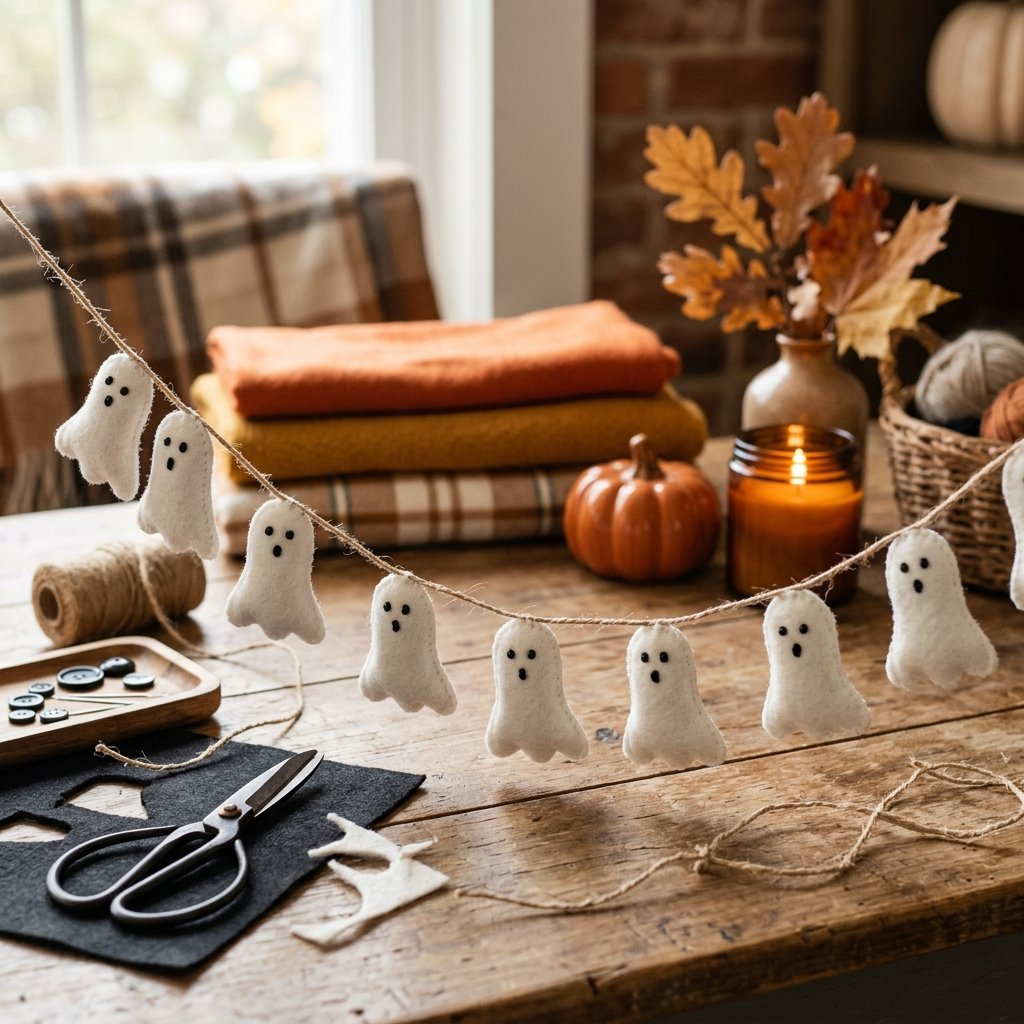
DIY Felt Ghost Garland
Felt creates a slightly more polished version of the project.
Cut ghost shapes from white felt.
Add small black felt circles for the eyes.
Then attach each ghost to a length of ribbon or twine.
You can leave the felt ghosts flat or sew two pieces together if you want a thicker decoration.
Make a Cute Ghost Garland
Not every Halloween decoration needs to be scary.
For a cute ghost garland, use:
- Small round eyes
- Tiny smiles
- Soft white fabric
- Pastel accents
- Natural twine
Pair the garland with small pumpkins, neutral candles, and cozy autumn textures.
This works particularly well if your home has a minimalist or farmhouse decorating style.
Make a Spooky Ghost Garland
For something more traditional, make the ghosts slightly larger and give them larger black eyes.
Use black string or ribbon instead of natural twine.
Hang them in a darker room or combine them with:
- Faux cobwebs
- Black candles
- Paper bats
- Dark pumpkins
Keep the rest of the decorations simple so the ghost garland remains the focal point.
How to Make Your Garland Look More Expensive
One easy way to make a DIY garland look polished is to keep the color palette consistent.
Instead of adding every Halloween color, choose two or three.
For example:
White + black + natural wood
or
White + black + muted orange
or
White + cream + beige
Consistent colors make even inexpensive handmade decorations look intentional.
You can also vary the size and spacing of the ghosts to create a more professionally styled appearance.
Budget-Friendly Ghost Garland Tips
One of the best things about this project is how inexpensive it can be.
Before buying supplies, look around your home.
You may already have:
- Old white fabric
- Cotton balls
- Twine
- Ribbon
- Cardboard
- Paper
- Black markers
You can even repurpose fabric scraps.
If you’re making several garlands, buying materials in larger quantities can reduce the cost per garland.
Ghost Garland Ideas for a Halloween Party
A ghost garland can also become part of your party decor.
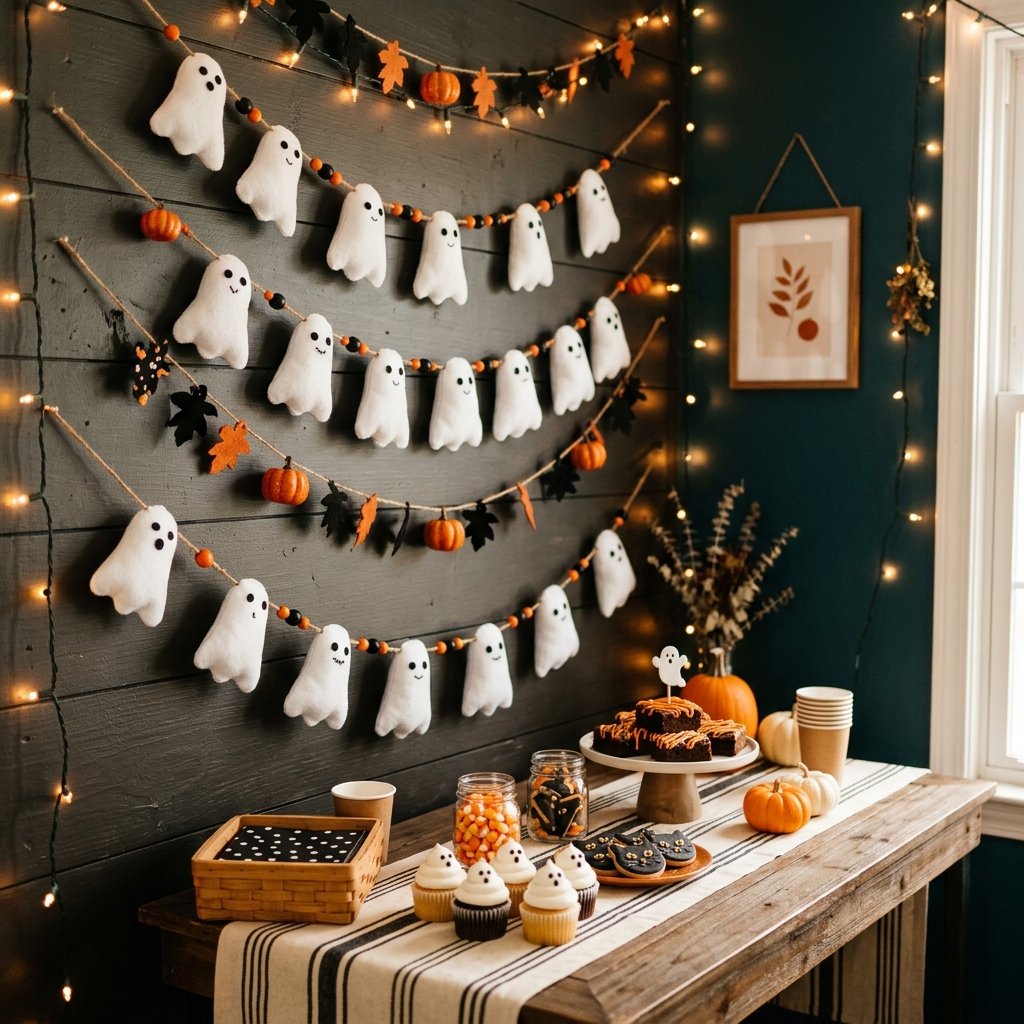
Hang several garlands across a wall to create a simple backdrop.
Add balloons, paper bats, pumpkins, or a dessert table underneath.
For a children’s party, keep the ghosts cute rather than scary.
You can also give each ghost a different facial expression.
Common Mistakes to Avoid
Making the ghosts too heavy
Heavy decorations can pull on the garland and make hanging difficult.
Keep the ghosts lightweight.
Using too much glue
Excess glue can become visible and make the project look messy.
Making every ghost identical
Small variations create a more natural handmade appearance.
Overdecorating the garland
Too many extra decorations can distract from the ghosts.
Hanging it with unsuitable hardware
Use a hanging method appropriate for the surface and weight of your garland.
How Long Does a DIY Ghost Garland Last?
If stored properly, a homemade ghost garland can be reused for multiple Halloween seasons.
After Halloween, carefully remove it and place it somewhere dry.
Avoid crushing the fabric ghosts.
A storage container or large resealable bag can help protect the decoration from dust.
If you’ve used paper, store it flat when possible.
Final Thoughts
A simple DIY ghost garland is one of those Halloween projects that proves seasonal decorating doesn’t have to be complicated or expensive.
With a few basic materials, you can create a charming decoration for your mantel, doorway, staircase, bookshelf, window, or Halloween party.
The basic cheesecloth version is particularly easy to customize. Make tiny ghosts for a delicate garland, larger ghosts for a statement decoration, or mix several sizes together for a playful look.
You can also change the entire feel simply by adjusting the faces, string color, and surrounding decorations.
For a cozy home, pair white ghosts with natural wood and neutral pumpkins. For a traditional Halloween look, combine them with black and orange. And if you’re decorating with children, turn the project into a fun afternoon craft by letting everyone design their own ghost faces.
The possibilities are endless—and the finished garland can become a Halloween decoration you’ll look forward to bringing out every year.

